Windshield
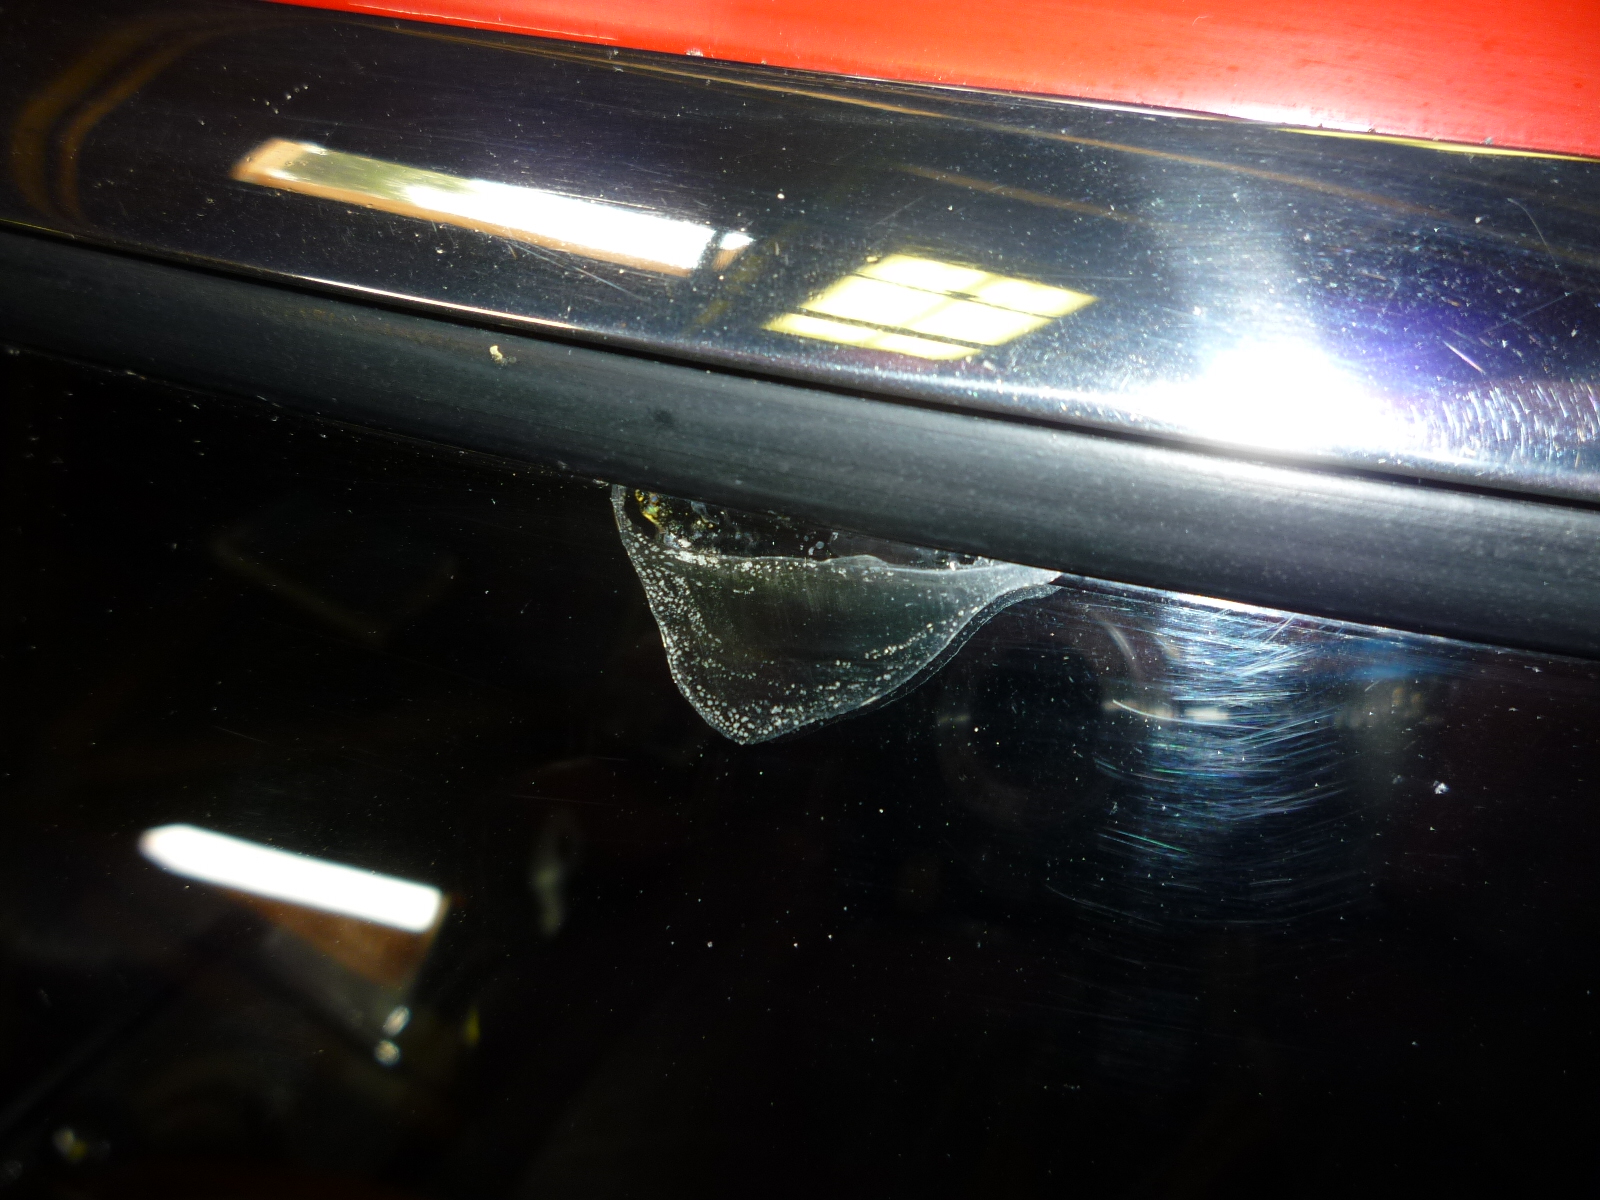
Many years ago, when I first got my car, I was removing the windshield prior to some body work. Everything went fine on the removal, but as I was lifting it clear of the car, I forgot about the rail for the garage door opener. I hit it with the edge of the glass and a surface chip came off. There was no other damage, so the windshield was still usable. Since then, I met the owner of the local Novus franchise. I explained the problem with the chip and he said to bring the car in and he would take a look. He was able to fill in the chip using their system. It wasn't perfect, but much better than the uneven surface that was left from my error.
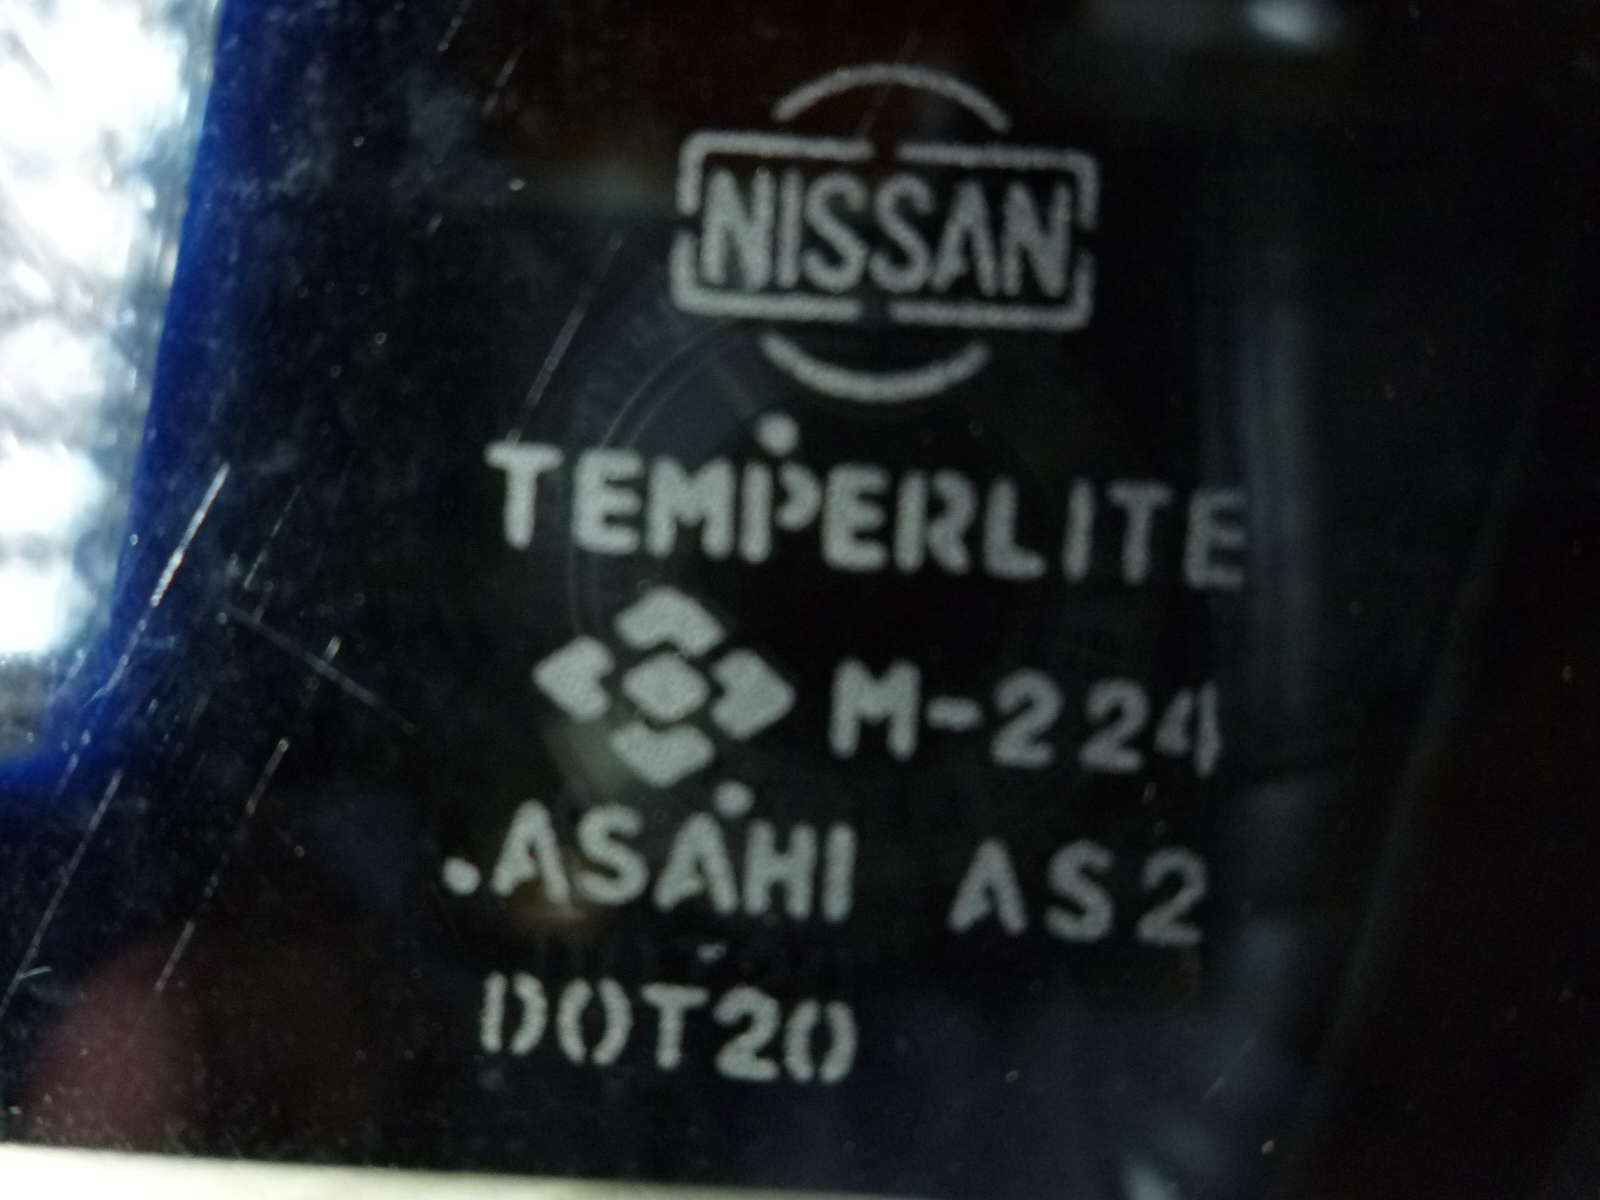
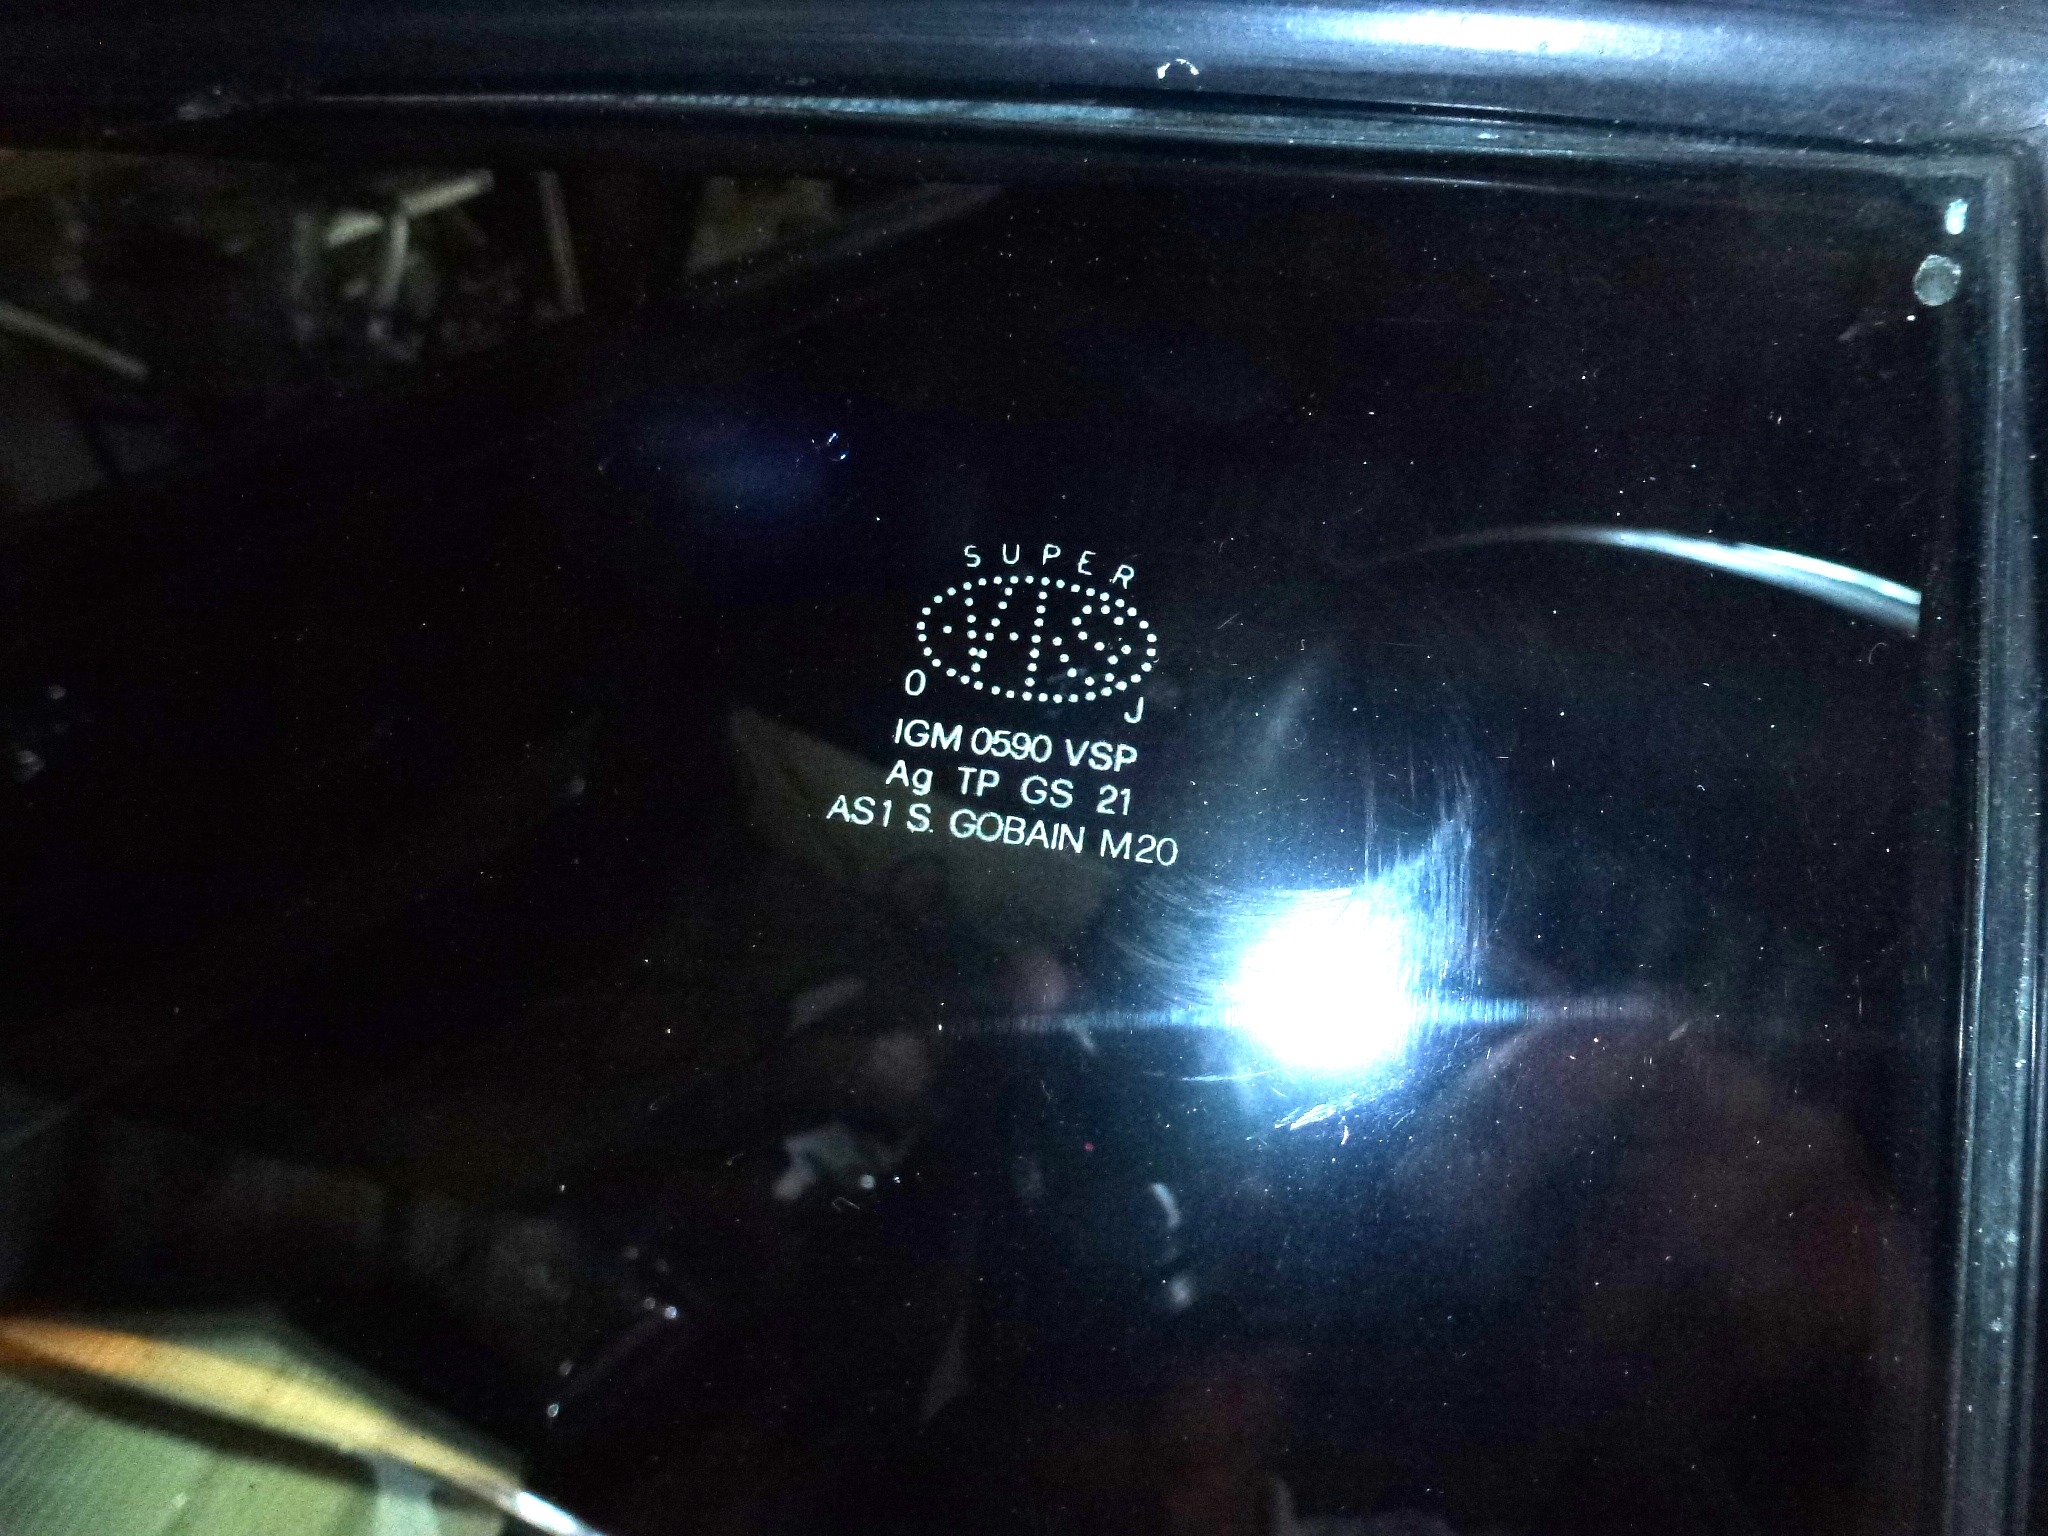
I put off replacing the windshield back then, mainly due to the cost. However, one of the other issues with a new windshield it getting the original 'bug' or manufacture's logo put on it.
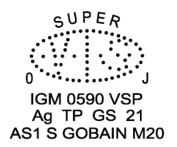
Usually they end up with a current DOT bug etched in the glass. This is one from one of my other cars.
A while ago, I helped Dennison International when they were working on the 'Golden Car', serial 7979. Among other things, they needed a new windshield. The place that they use to make them has a minimum order of three, so I ended up buying one of those. Dennison specifically orders their windshields without any bugs so they put on what they want to.
Buddy Obara (9667) went through this process with his new windshield a couple of years ago. I searched on the web and found Martronics Corporation, a company that makes custom stencils that go with a starter etching kit.
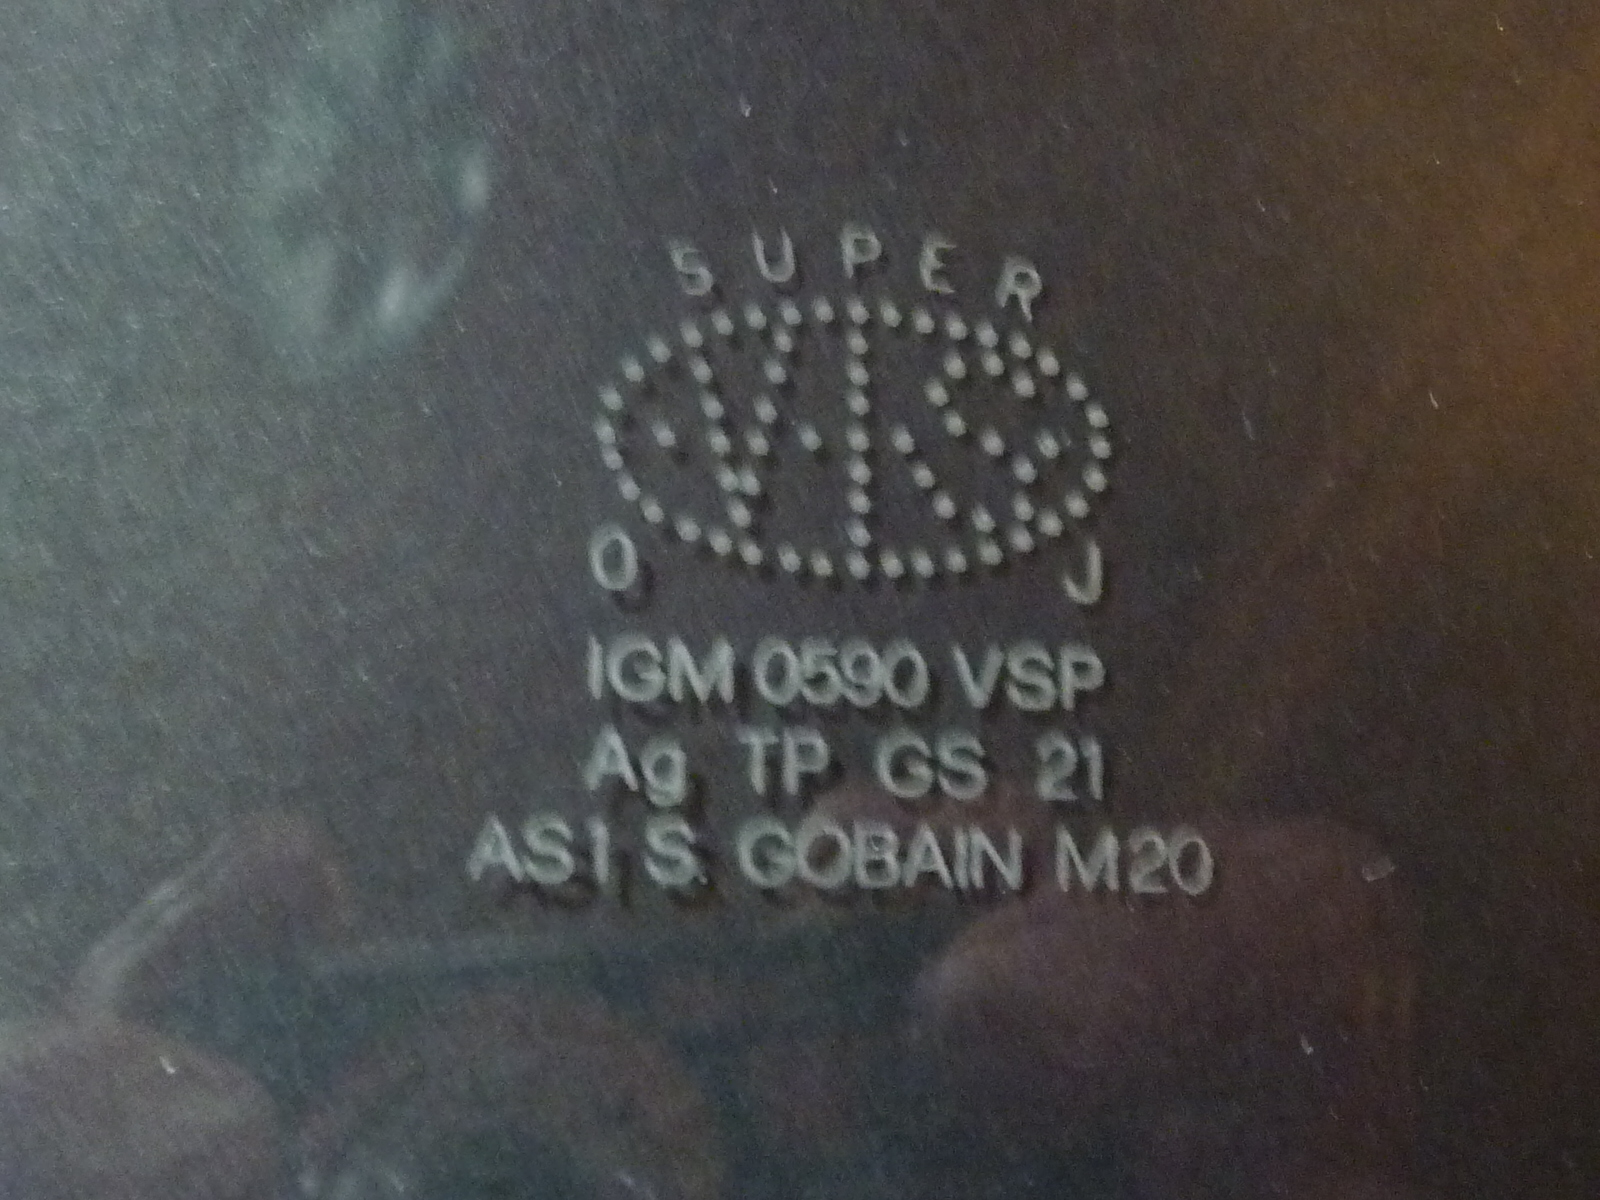
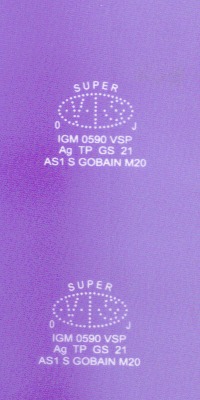
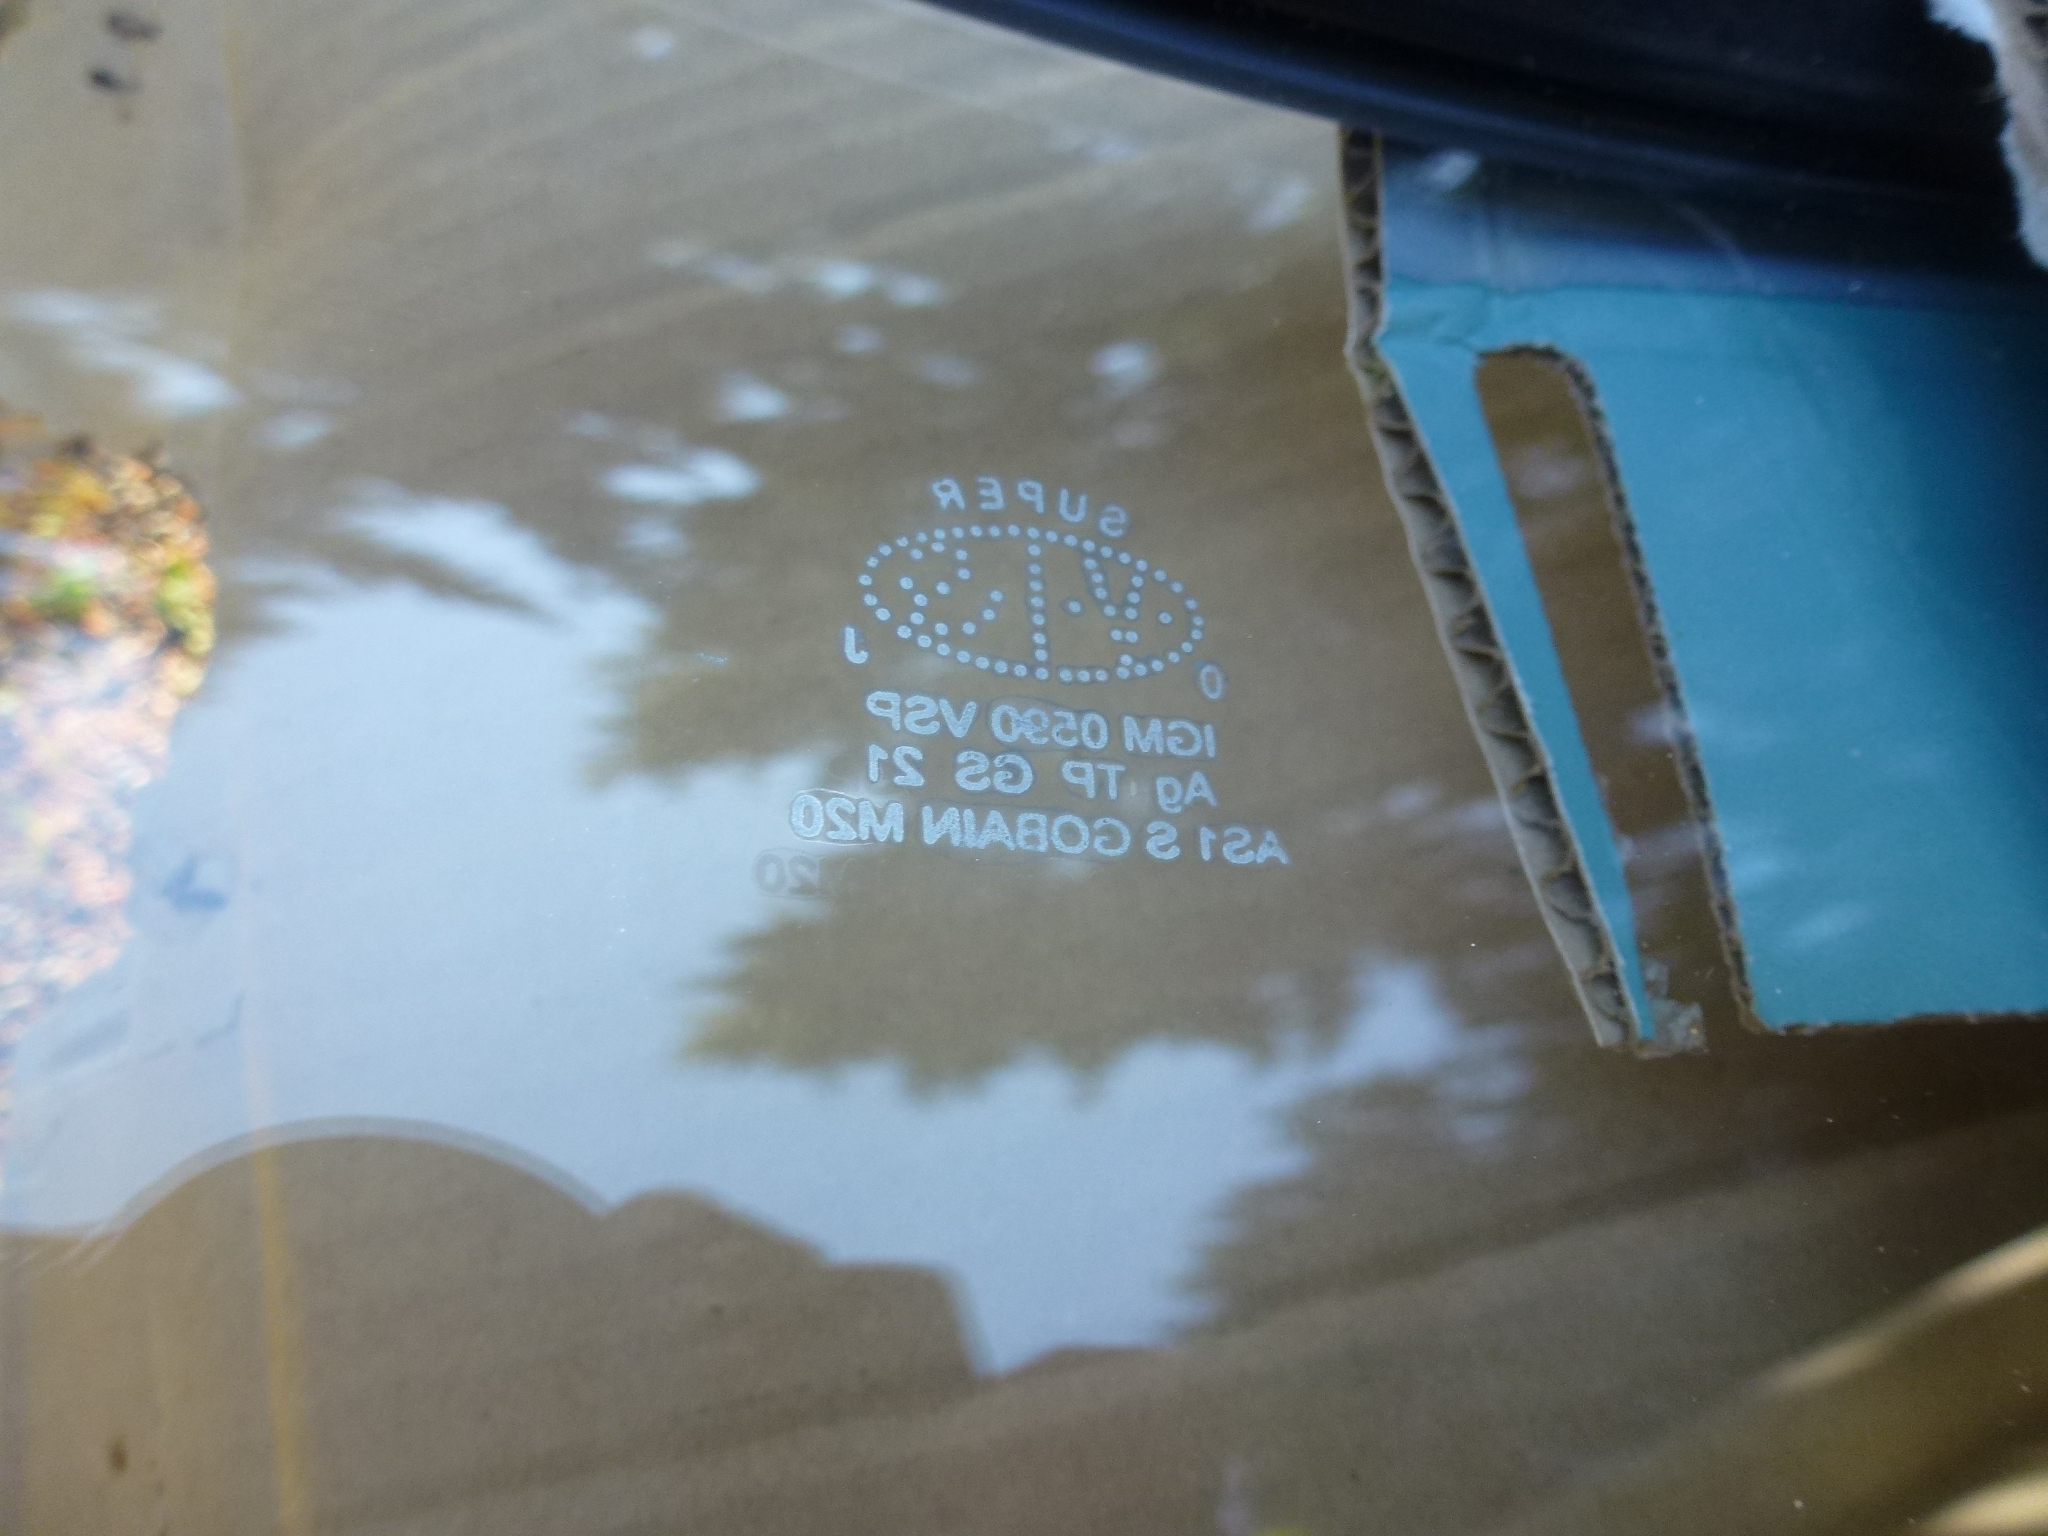
You just have to provide the desired pattern as a JPG file. Starting with the picture, I used a graphics design program to size it to match the original. Then I overlaid the picture with graphics and text to match. Once that was done, I deleted the actual picture and was left with the design on the right.
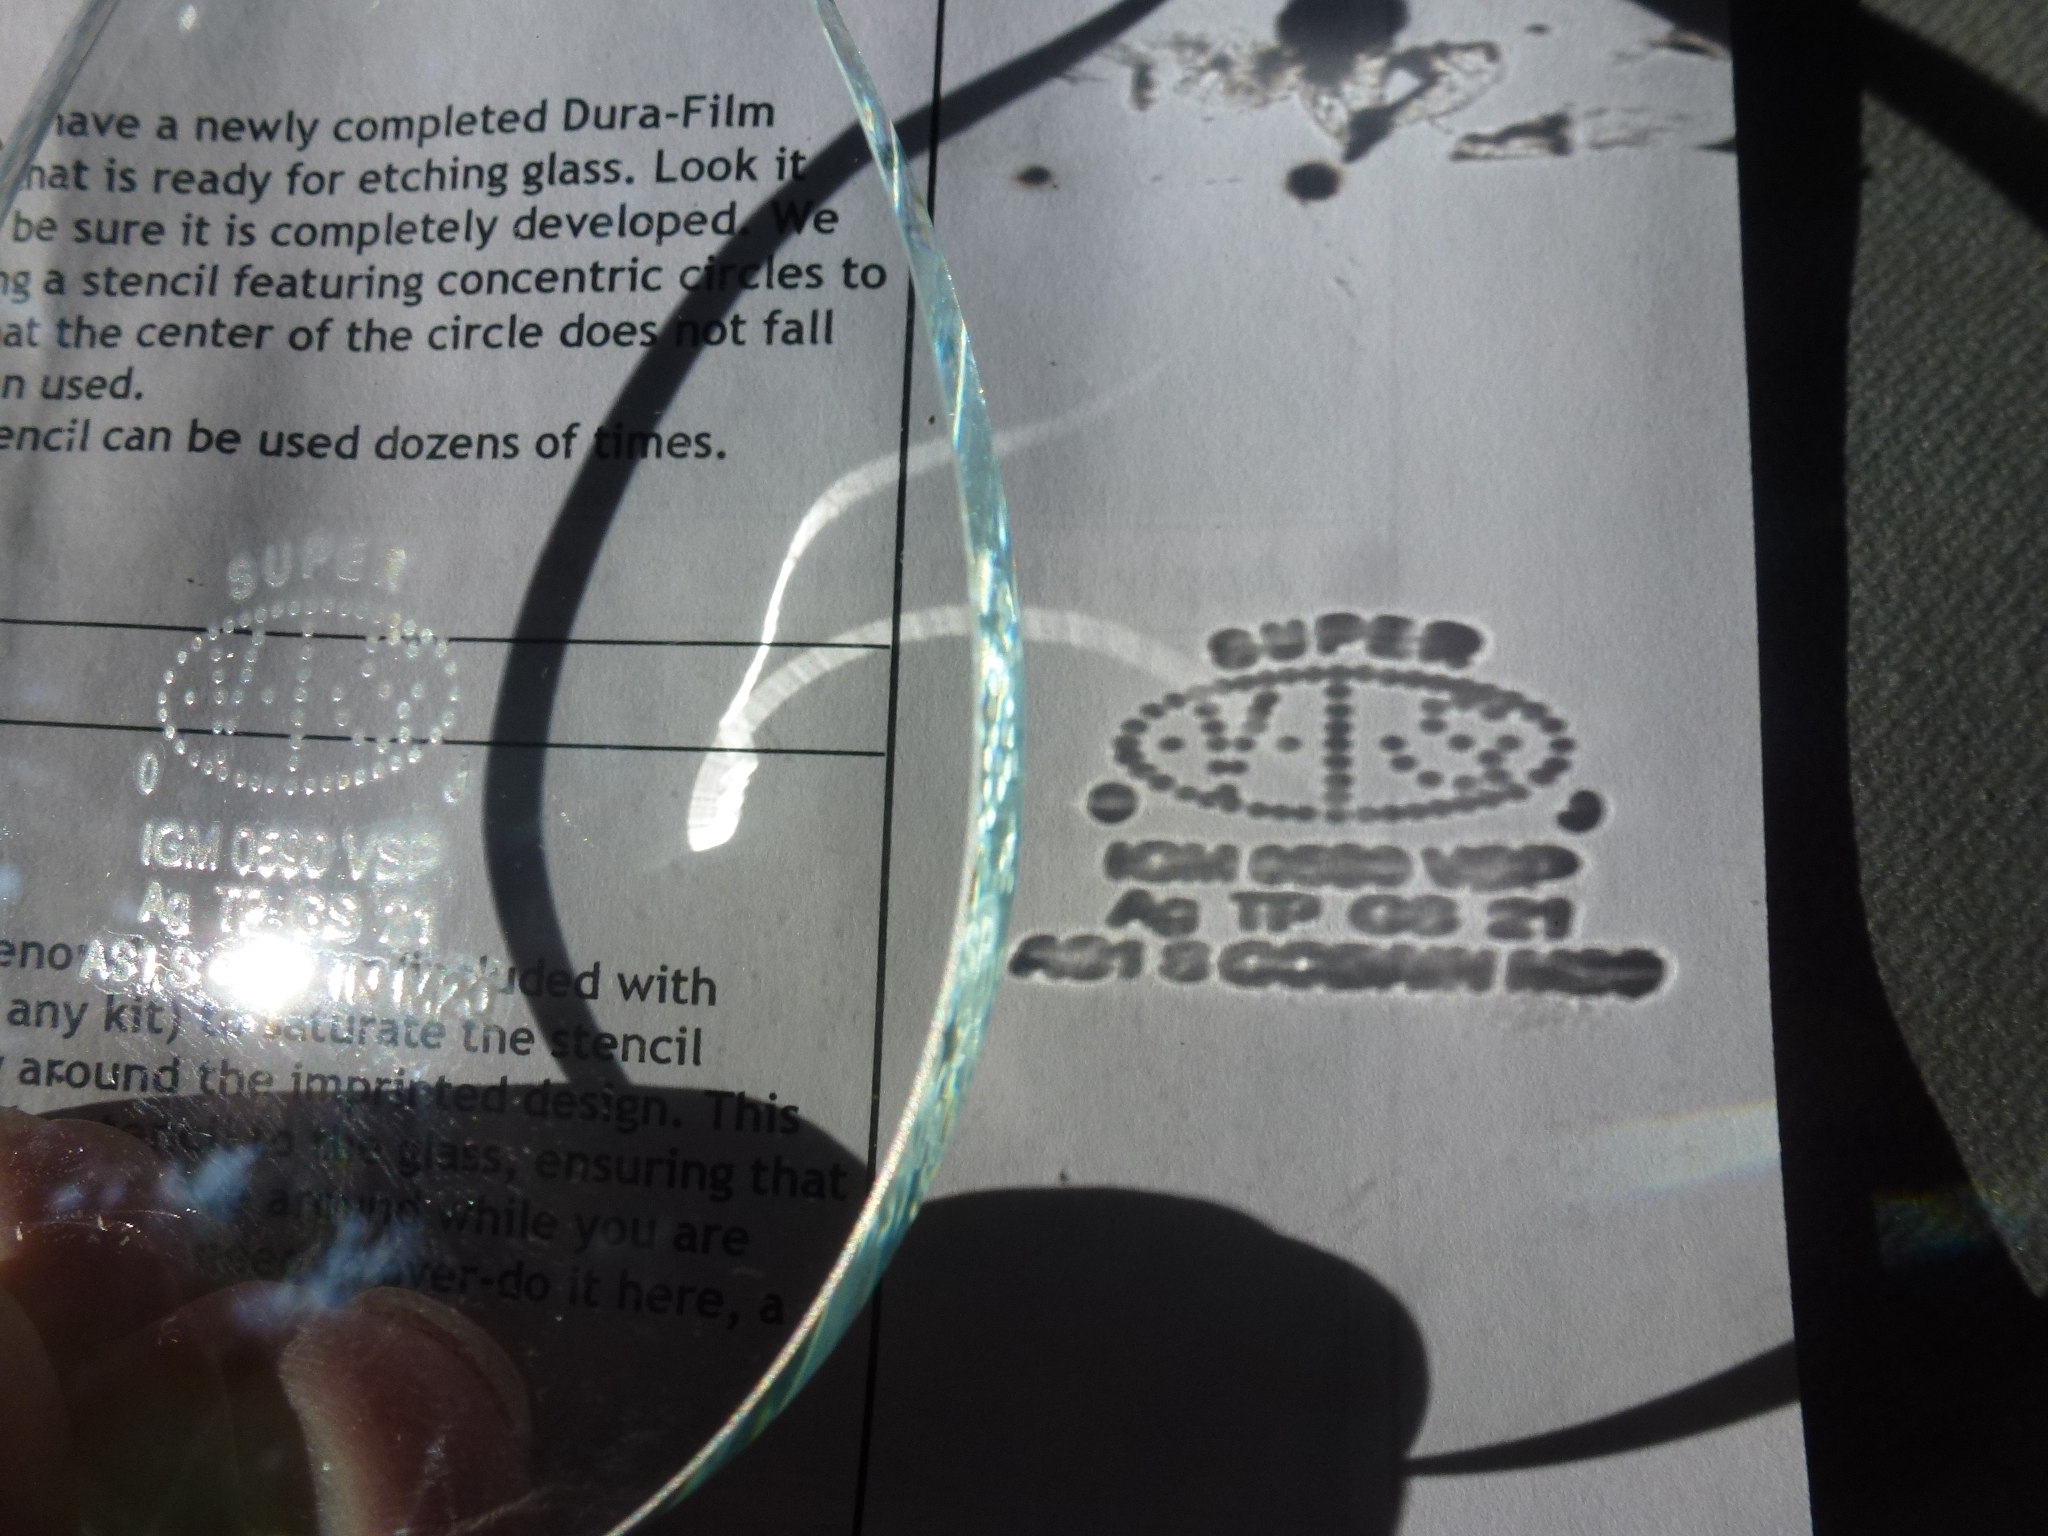
They also wanted an exact measurement, so I provided the distance between the two farthest dots in the oval. This company uses a different type of stencil than others. Most have a one-use stencil that gets glued on and you have to remove the sections to be etched, i.e. the dots, etc. This new type of stencil is created using a plastic film with a mesh in the center. The film is exposed and then developed. The developing process removes the film where it was exposed so the mesh ends up like a screen. The etching paste is then rubbed on the stencil and it only contacts the glass where the film was exposed. The stencil is reusable many times, so if I ever replace the windshield again, I'm all set. In addition, they put two copies of the artwork on the custom stencil.
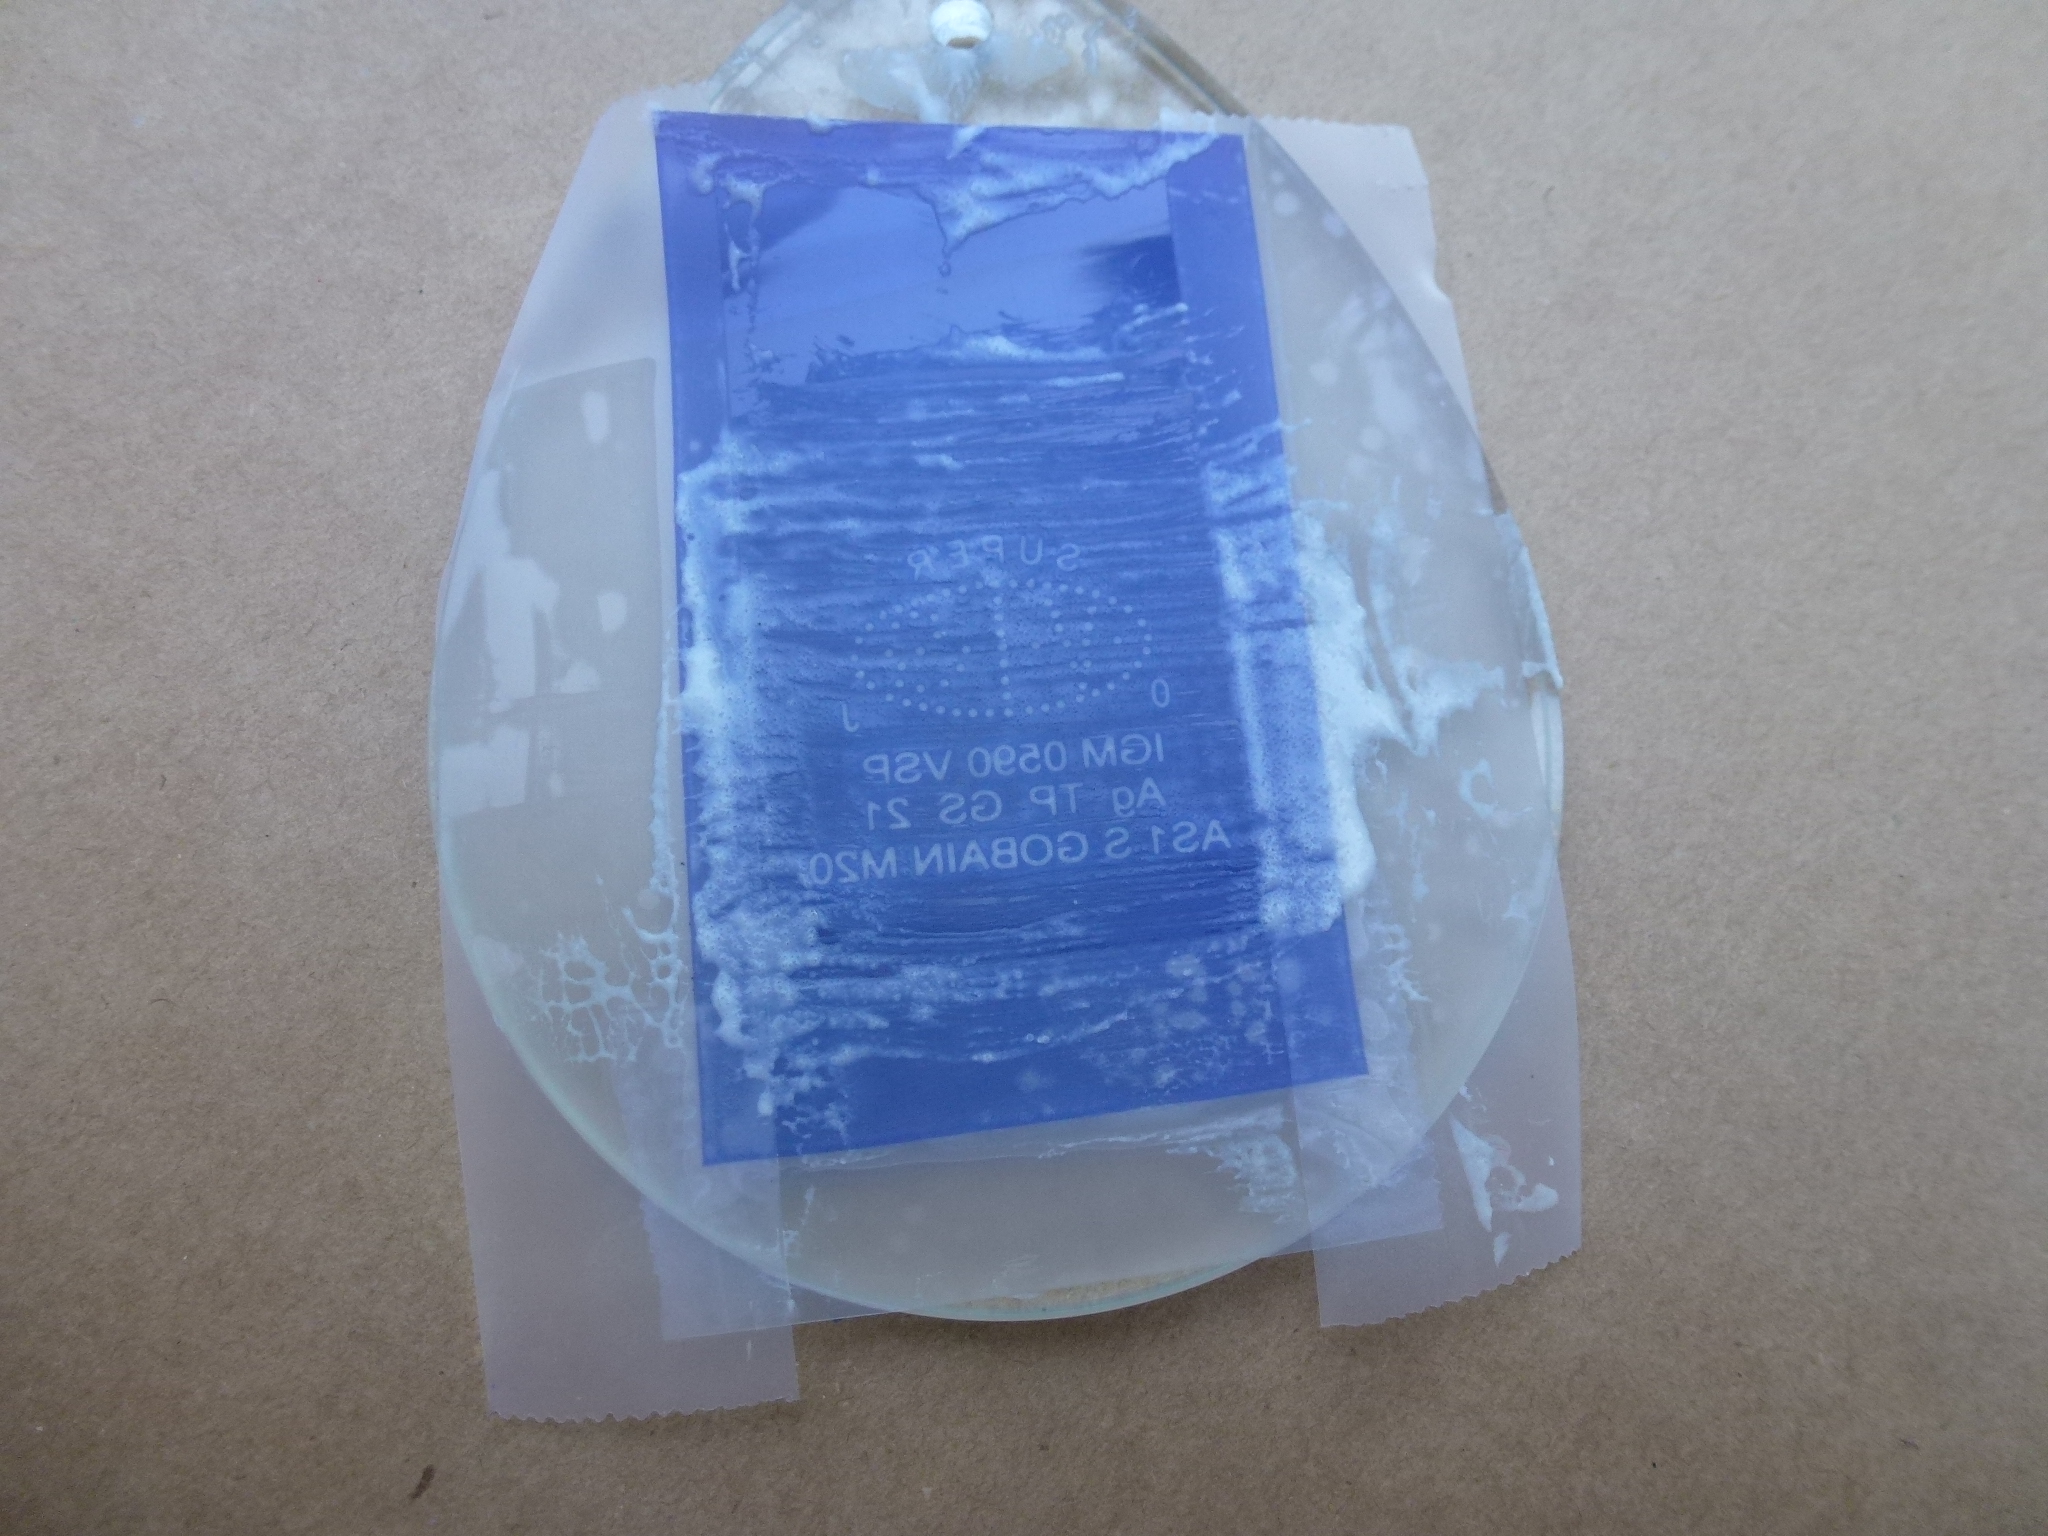
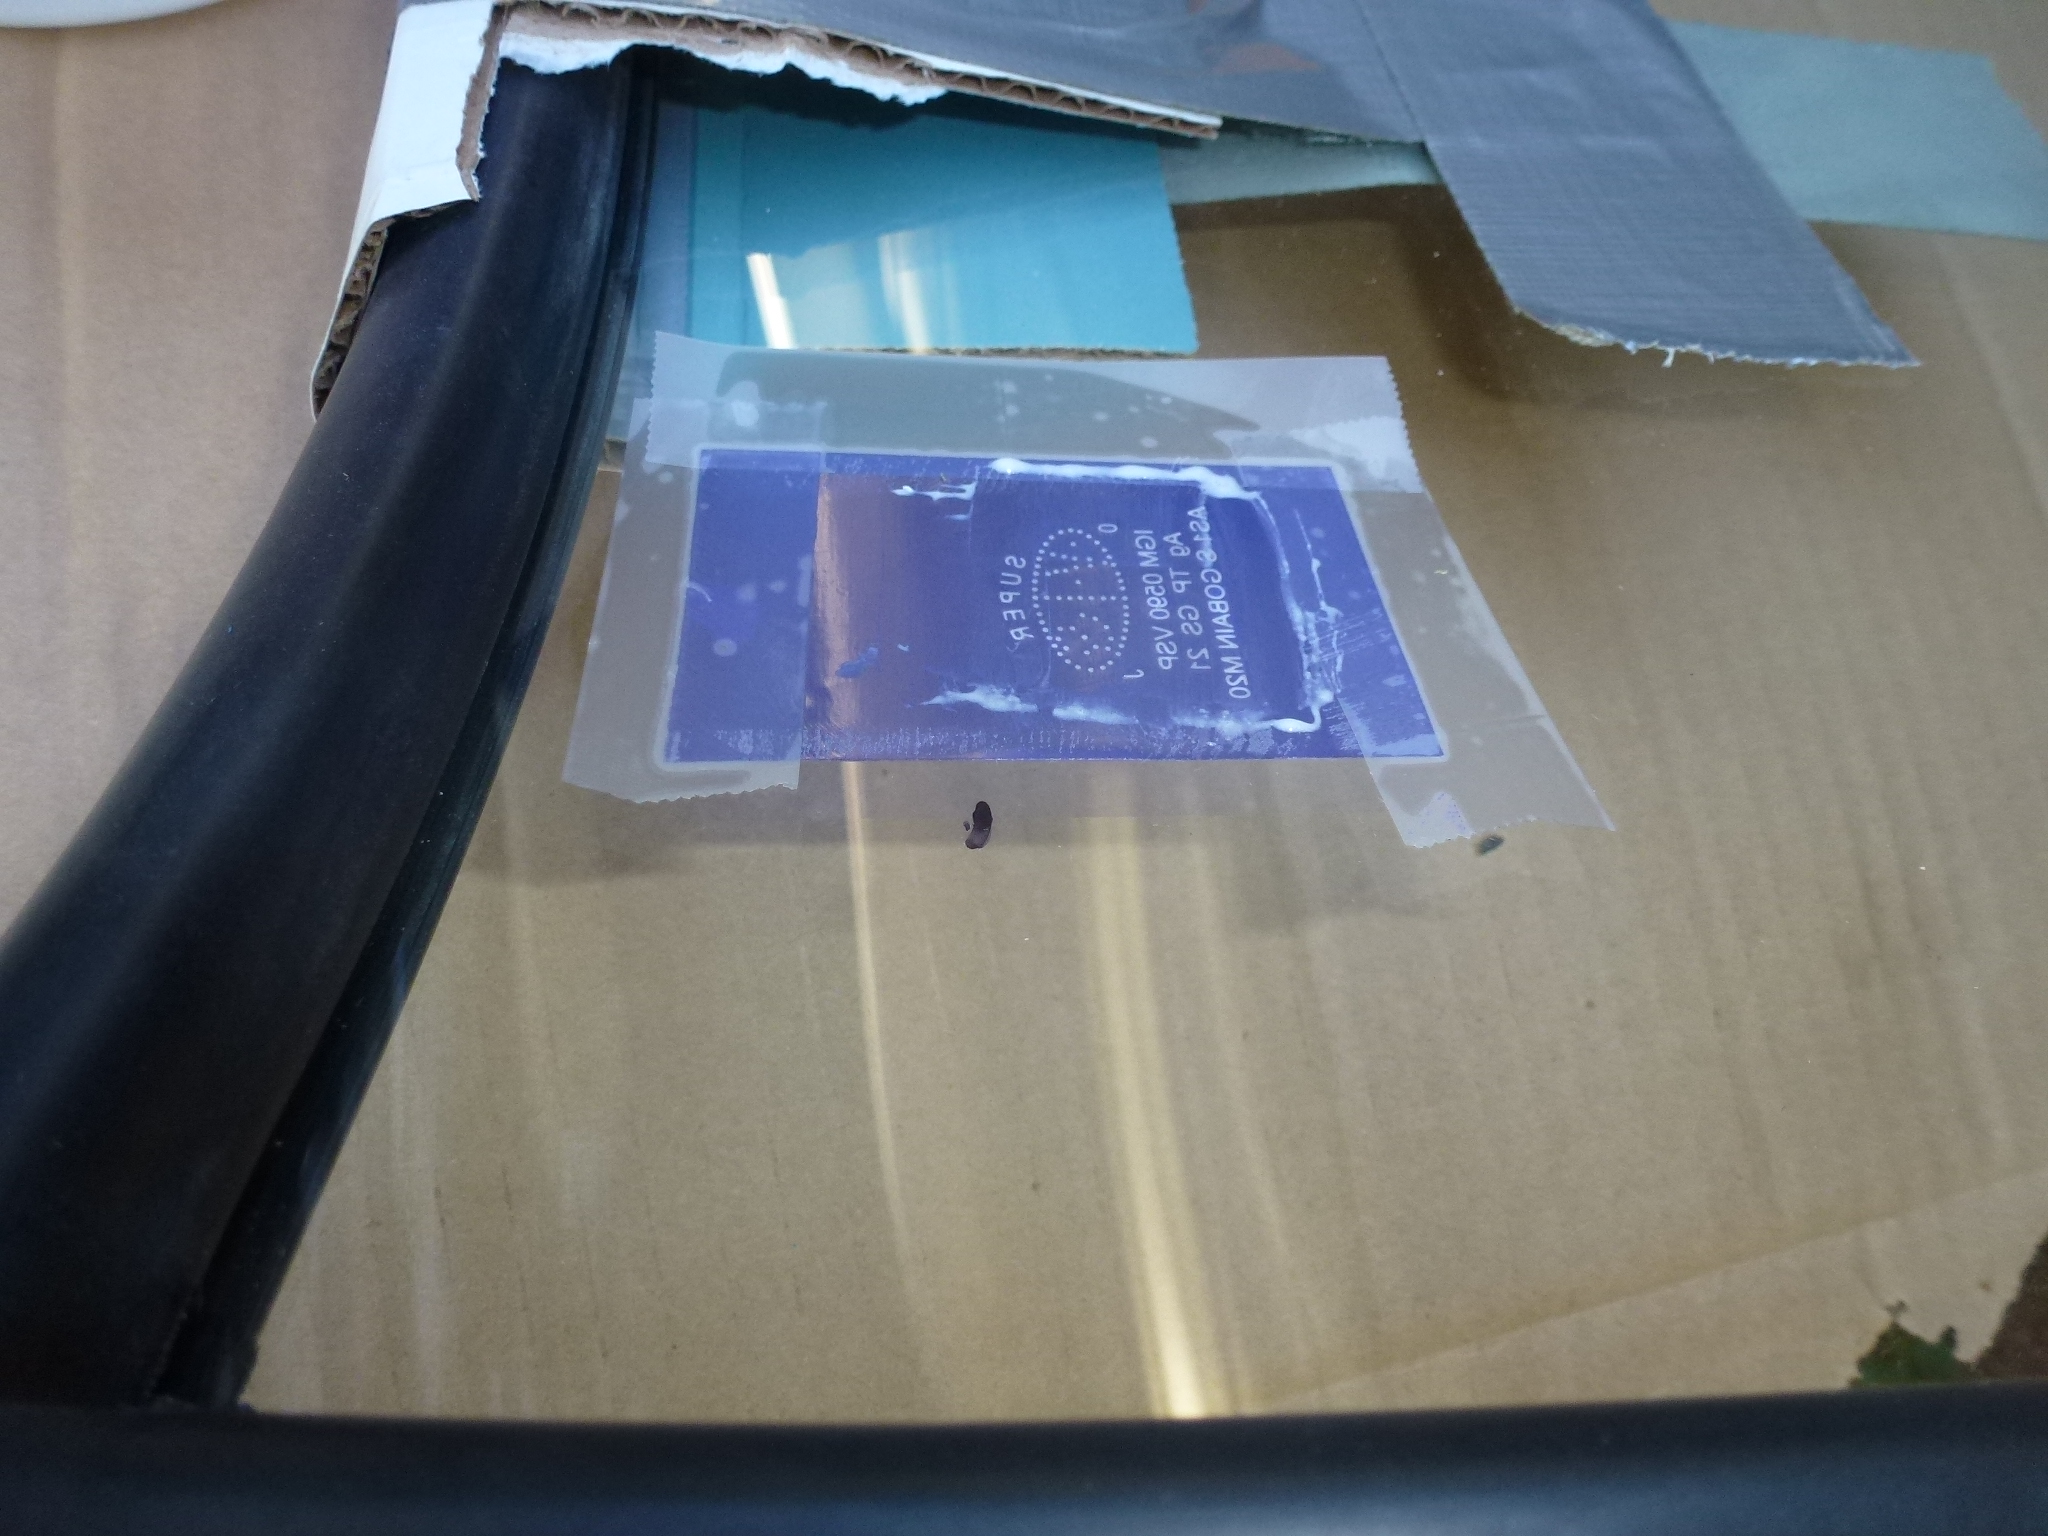
The instructions are pretty straightforward. Position the stencil with some tape so it doesn't move. Use some activator to glue it down and dry it in place with a hair dryer. Then rub the etching paste over the stencil area and squeegee it through the stencil. Wait 15 minutes for the acid to work, remove the stencil and wash with warm running water. The kit I bought with the stencil came with a sample stencil and a glass ornament, so I tested my stencil on it. Since the bug is on the inside of the windshield, I used the stencil with the readable front on the glass. The picture on the right shows the etched ornament and a shadow of the lettering.
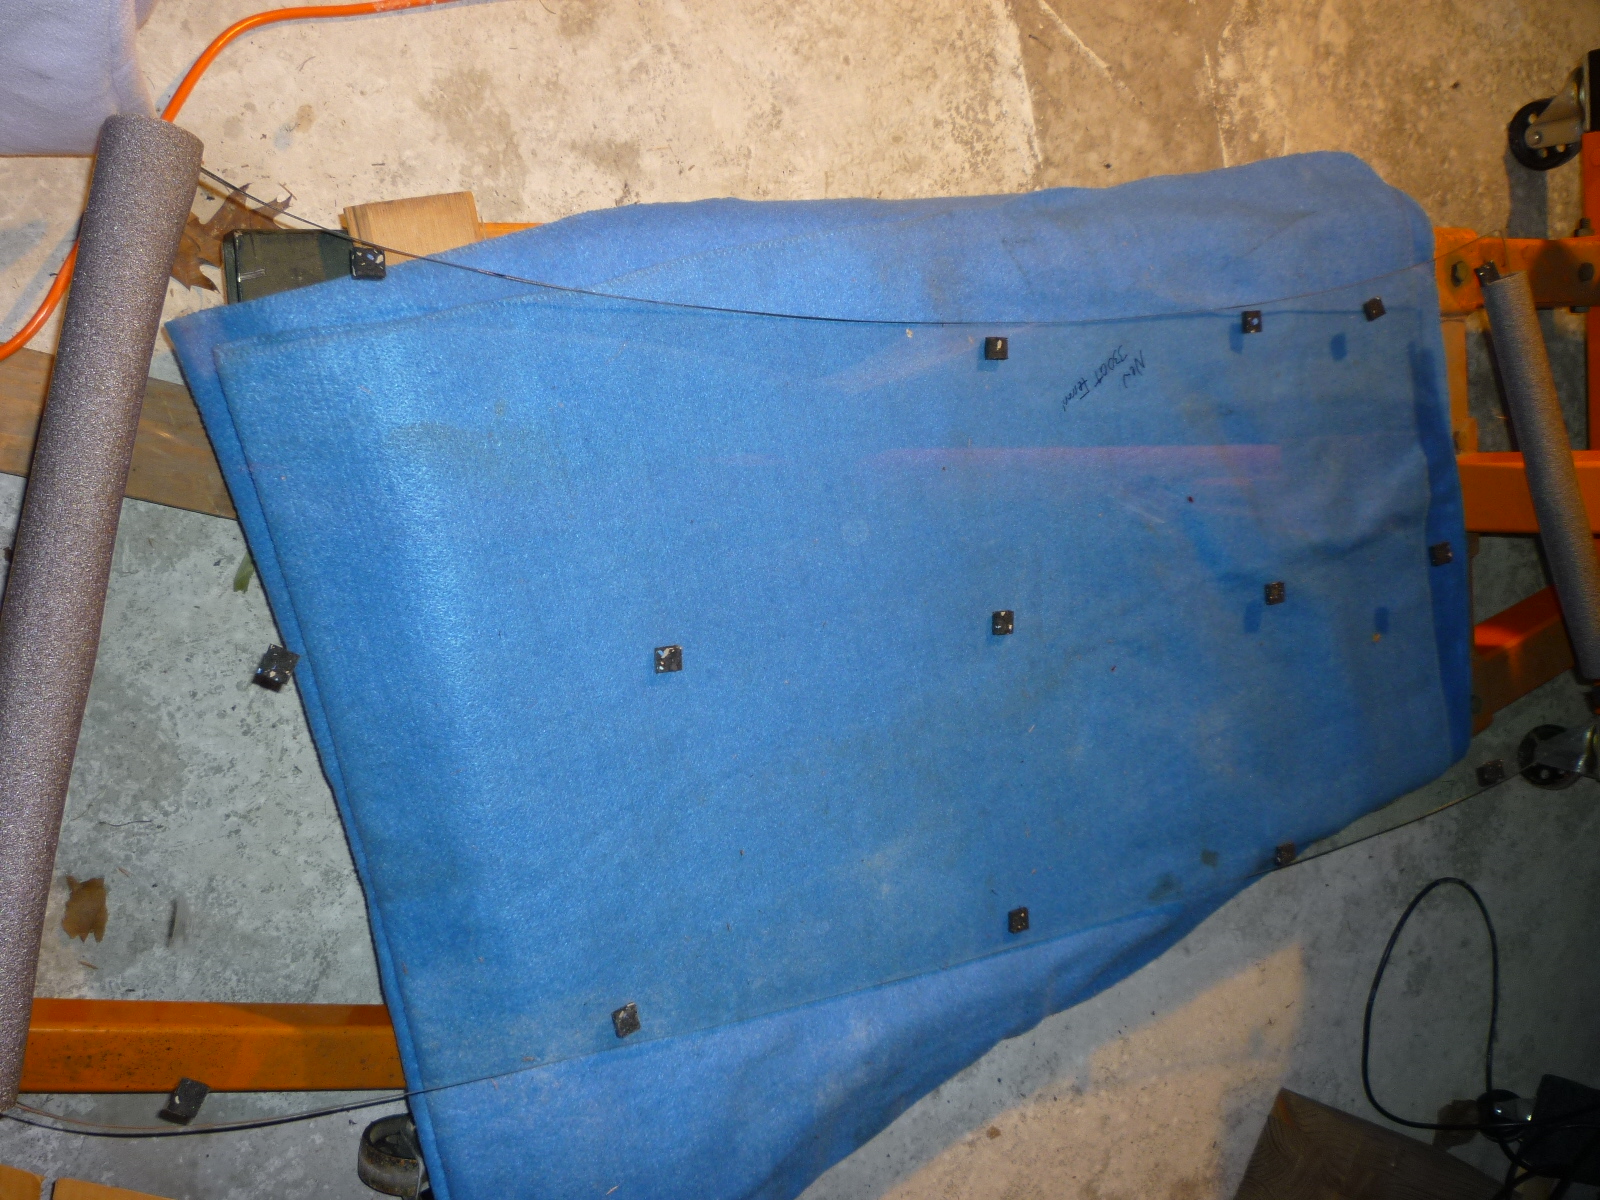
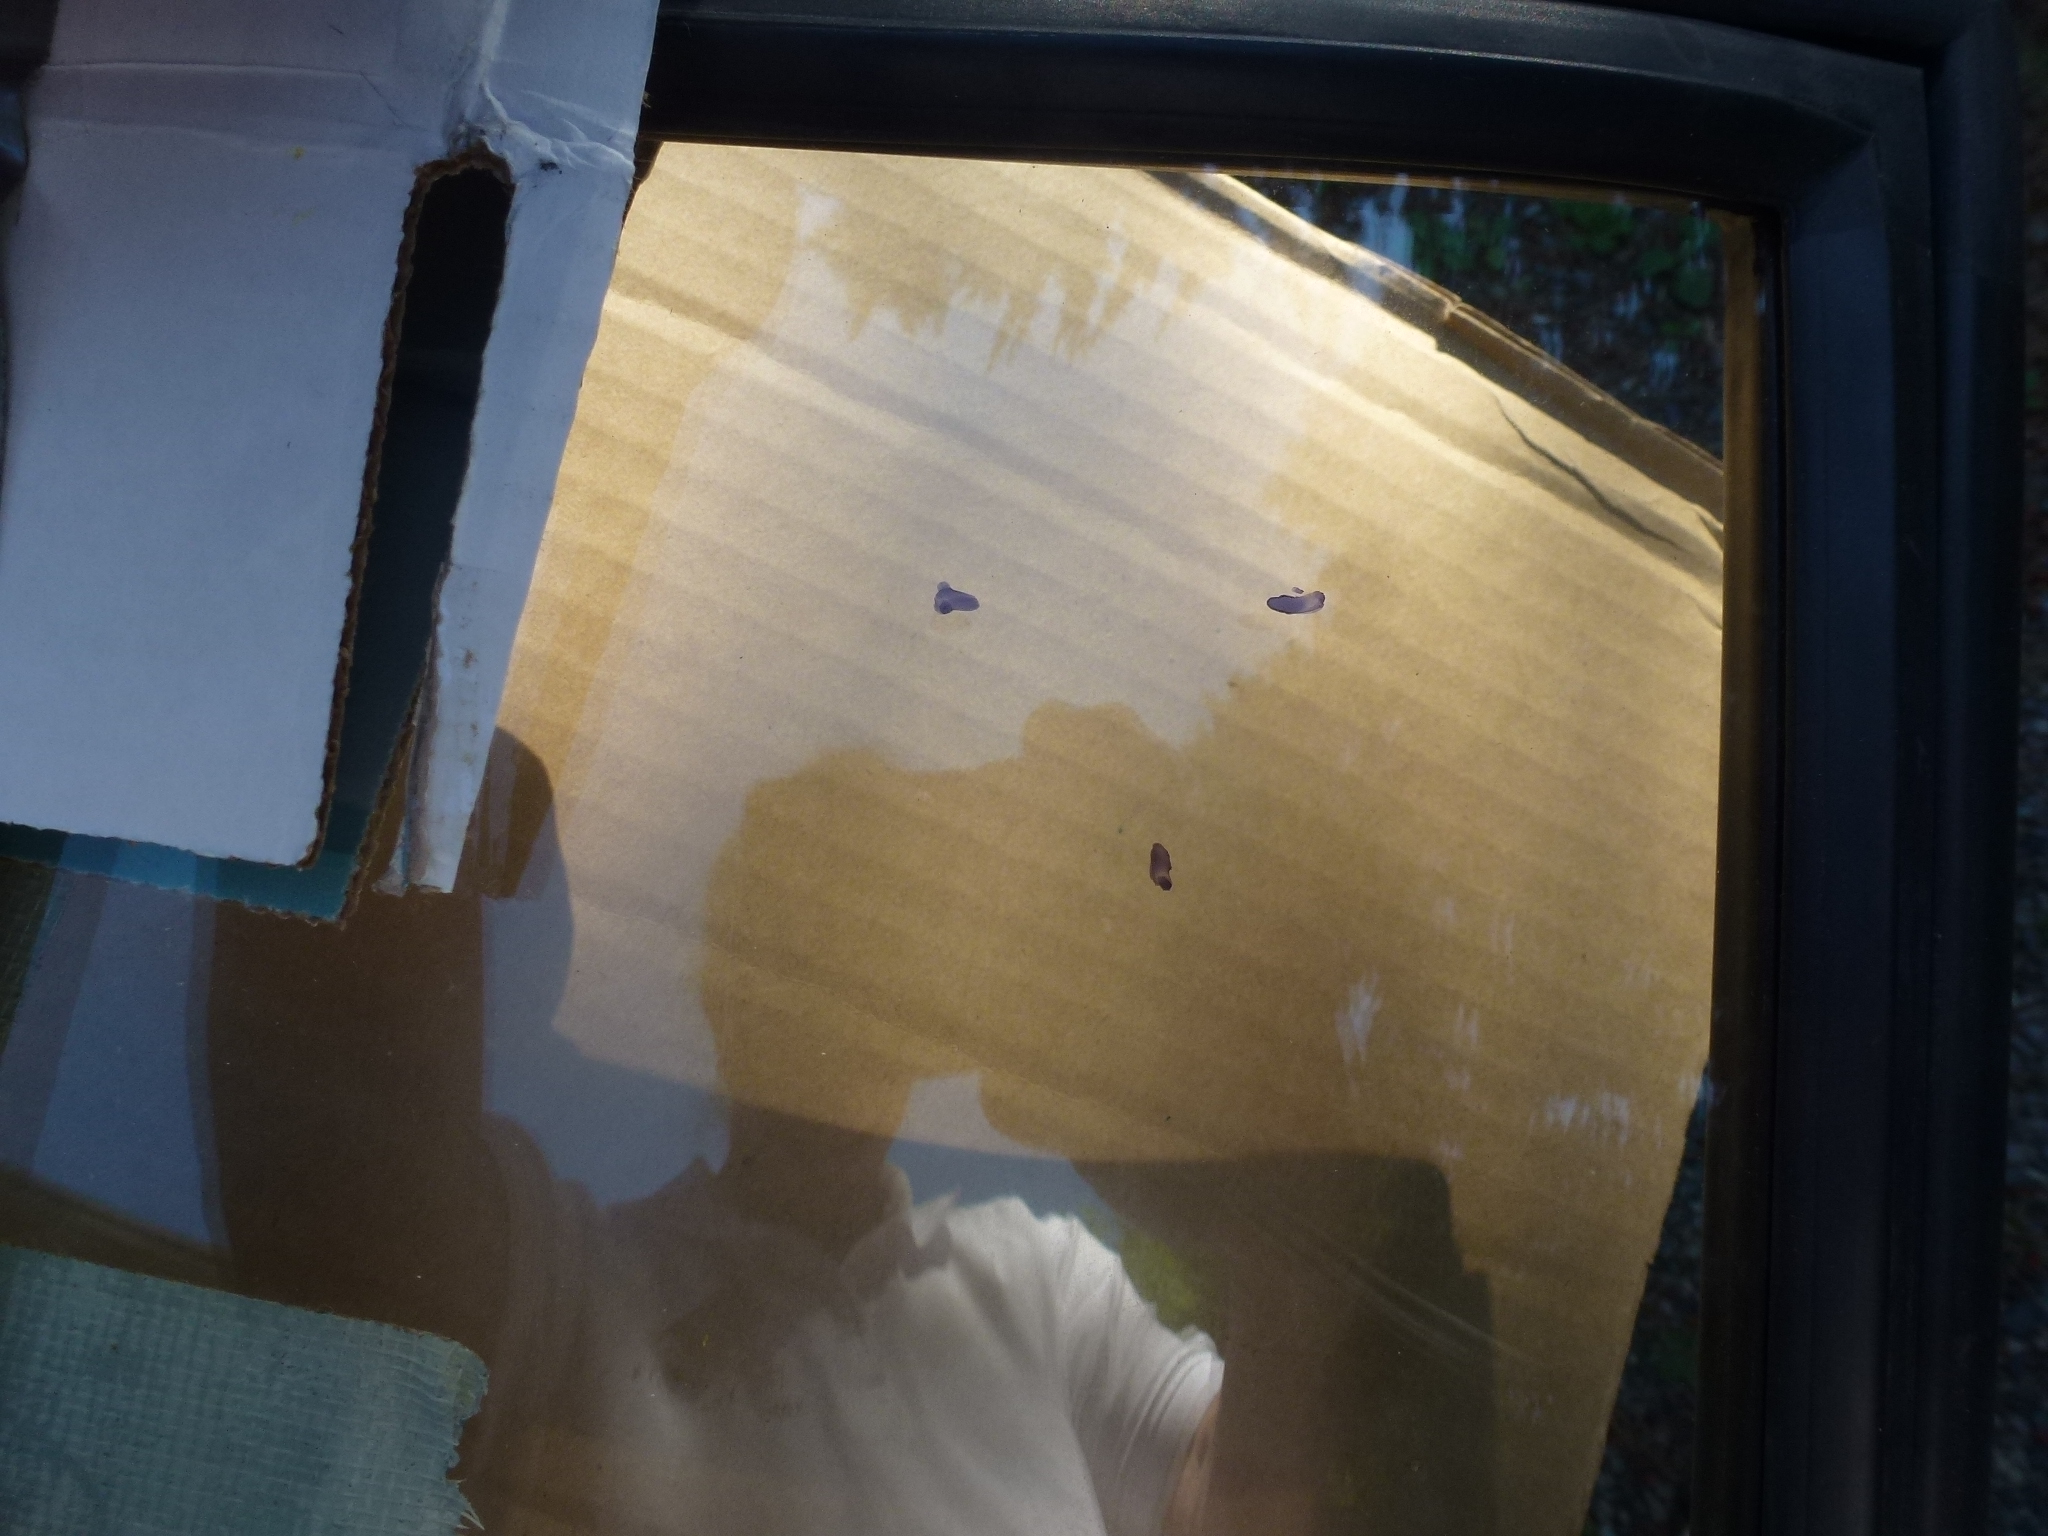
Next was to etch the windshield. I started by marking the location based on the original. I put the markings on the outside as I was etching the inside.
Next I taped the stencil down and went through the process described above.
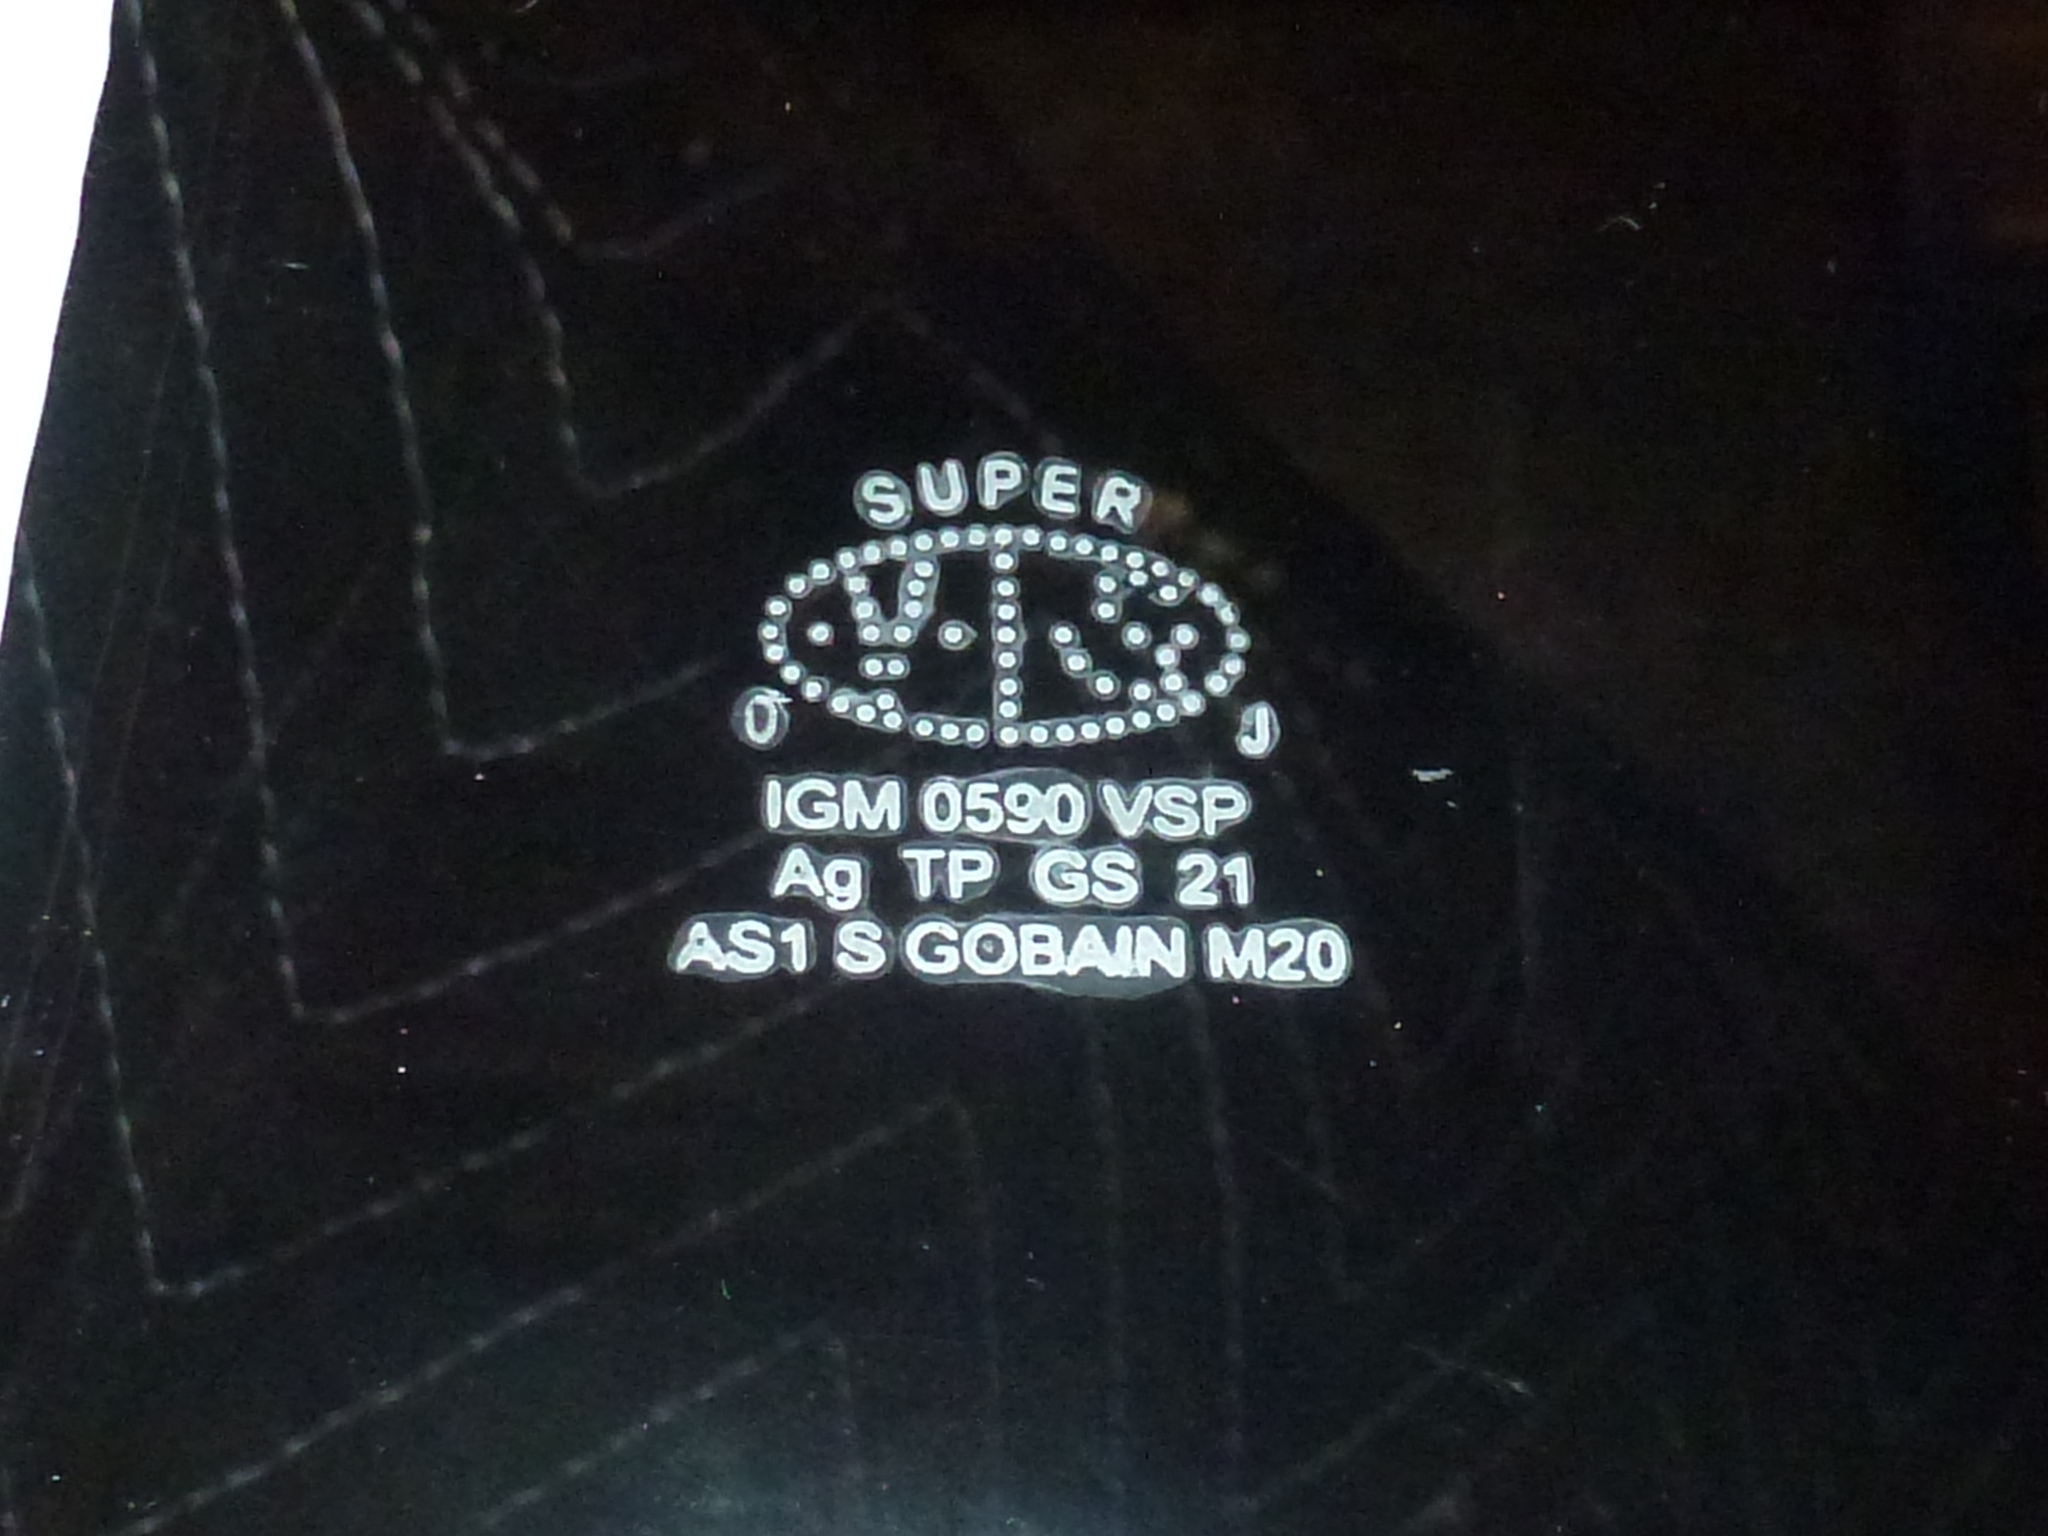
The results weren't perfect as there is a little bleed around each of the letters or dots, but you have to look closely to notice that. The original is on the left and my new etched logo is in the right pictures.
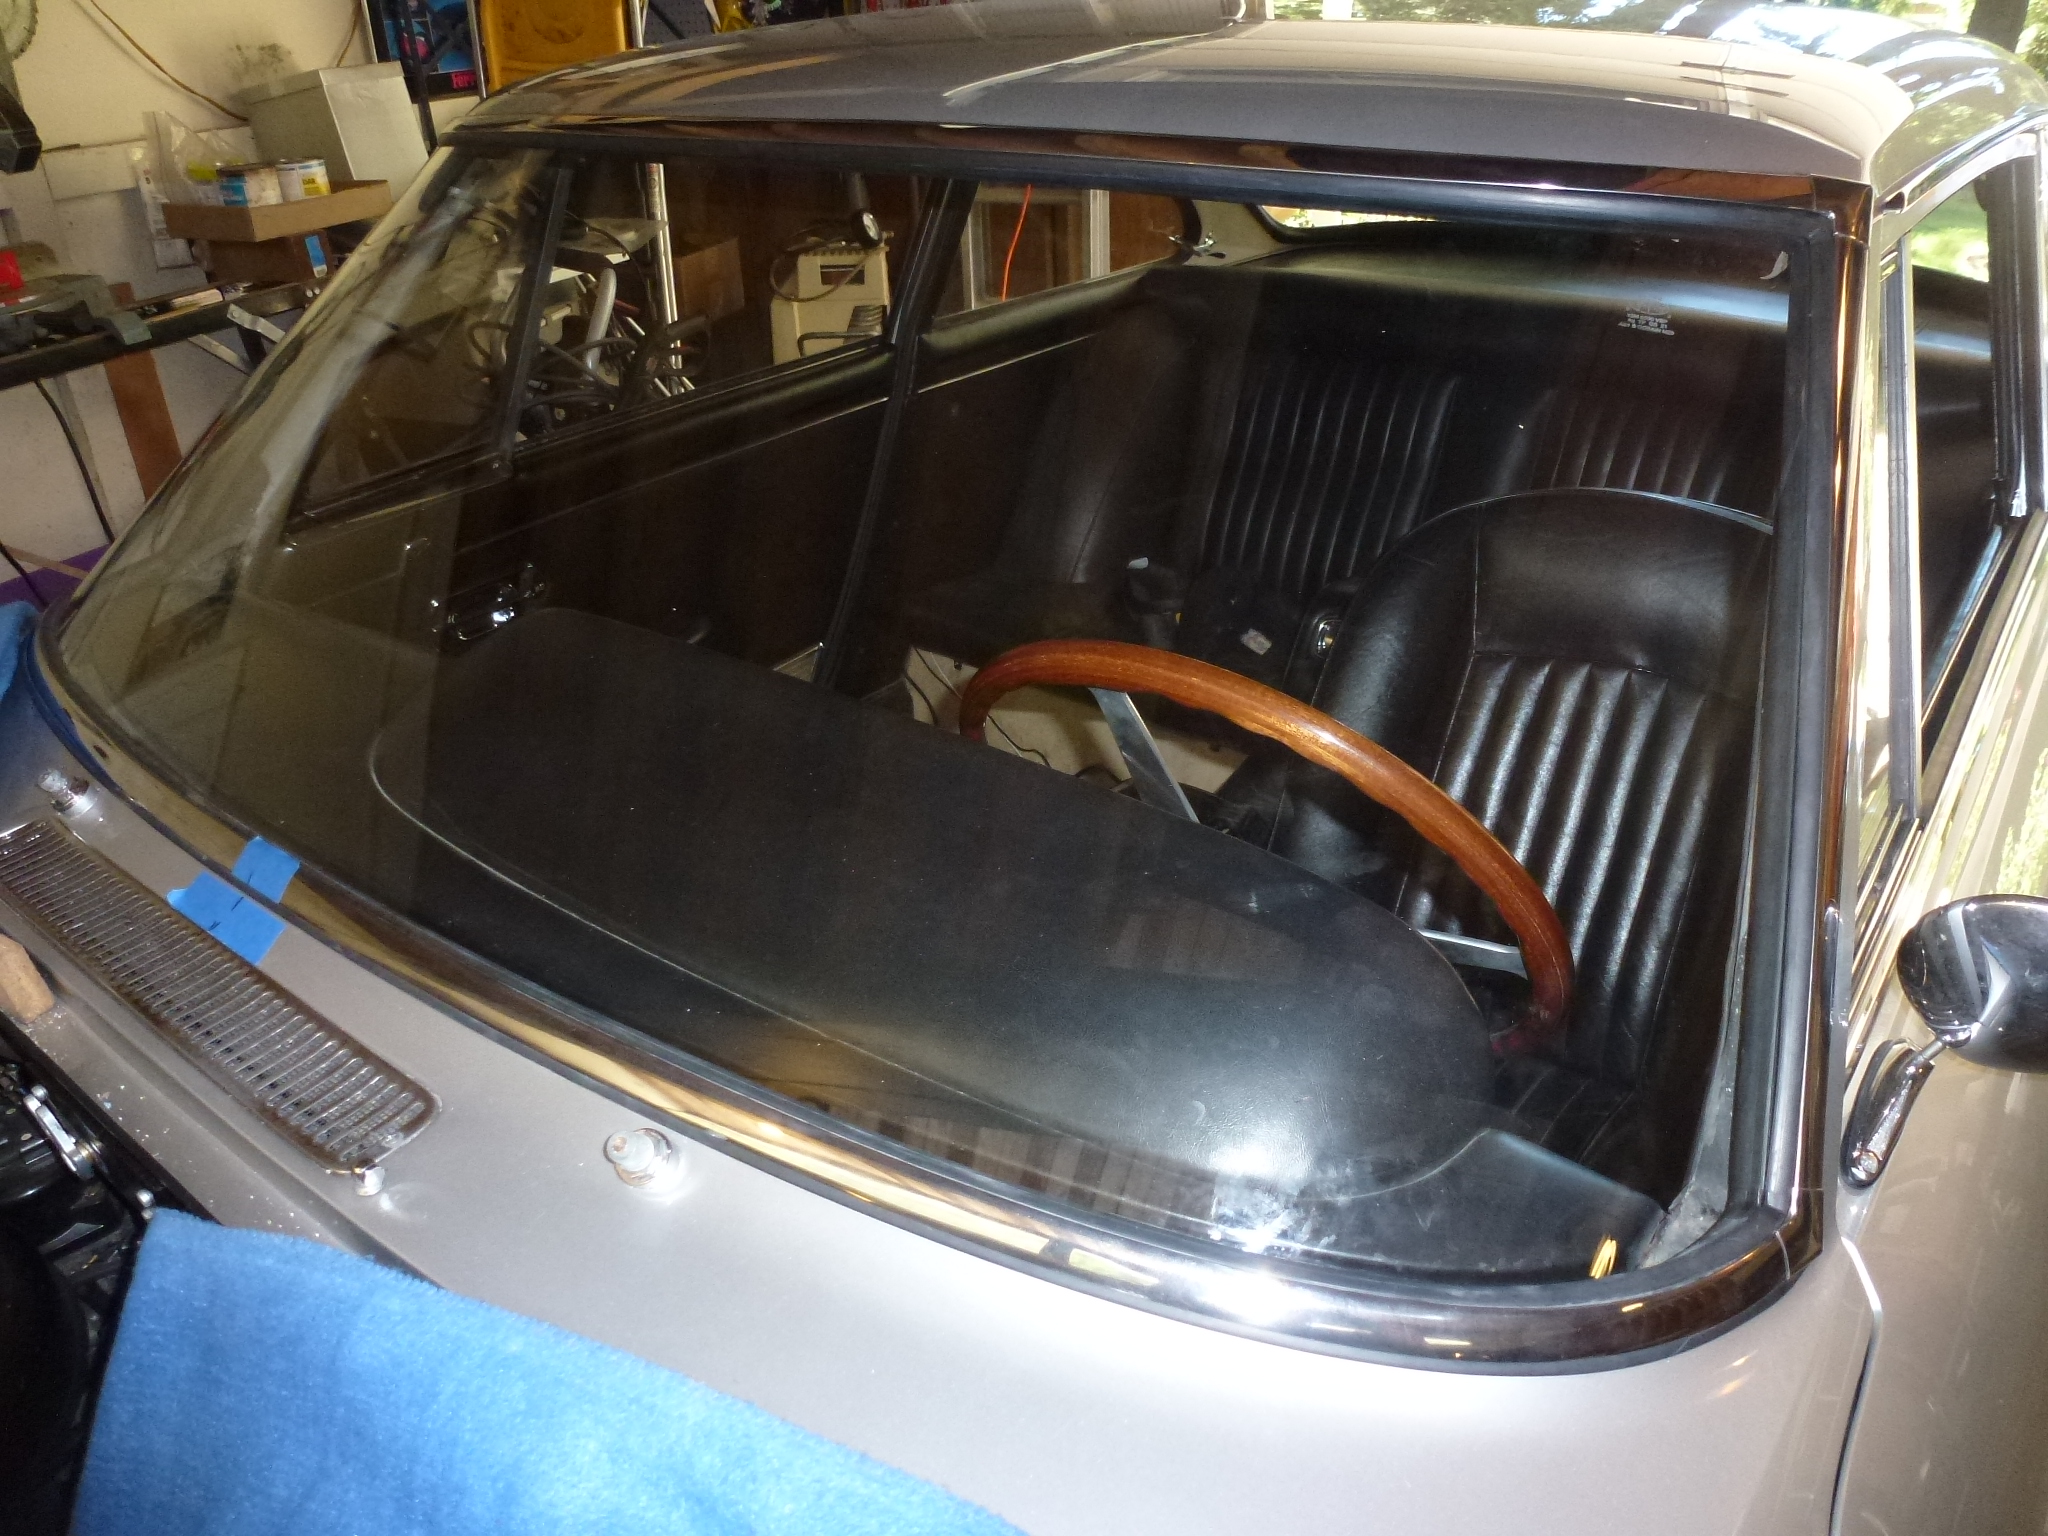
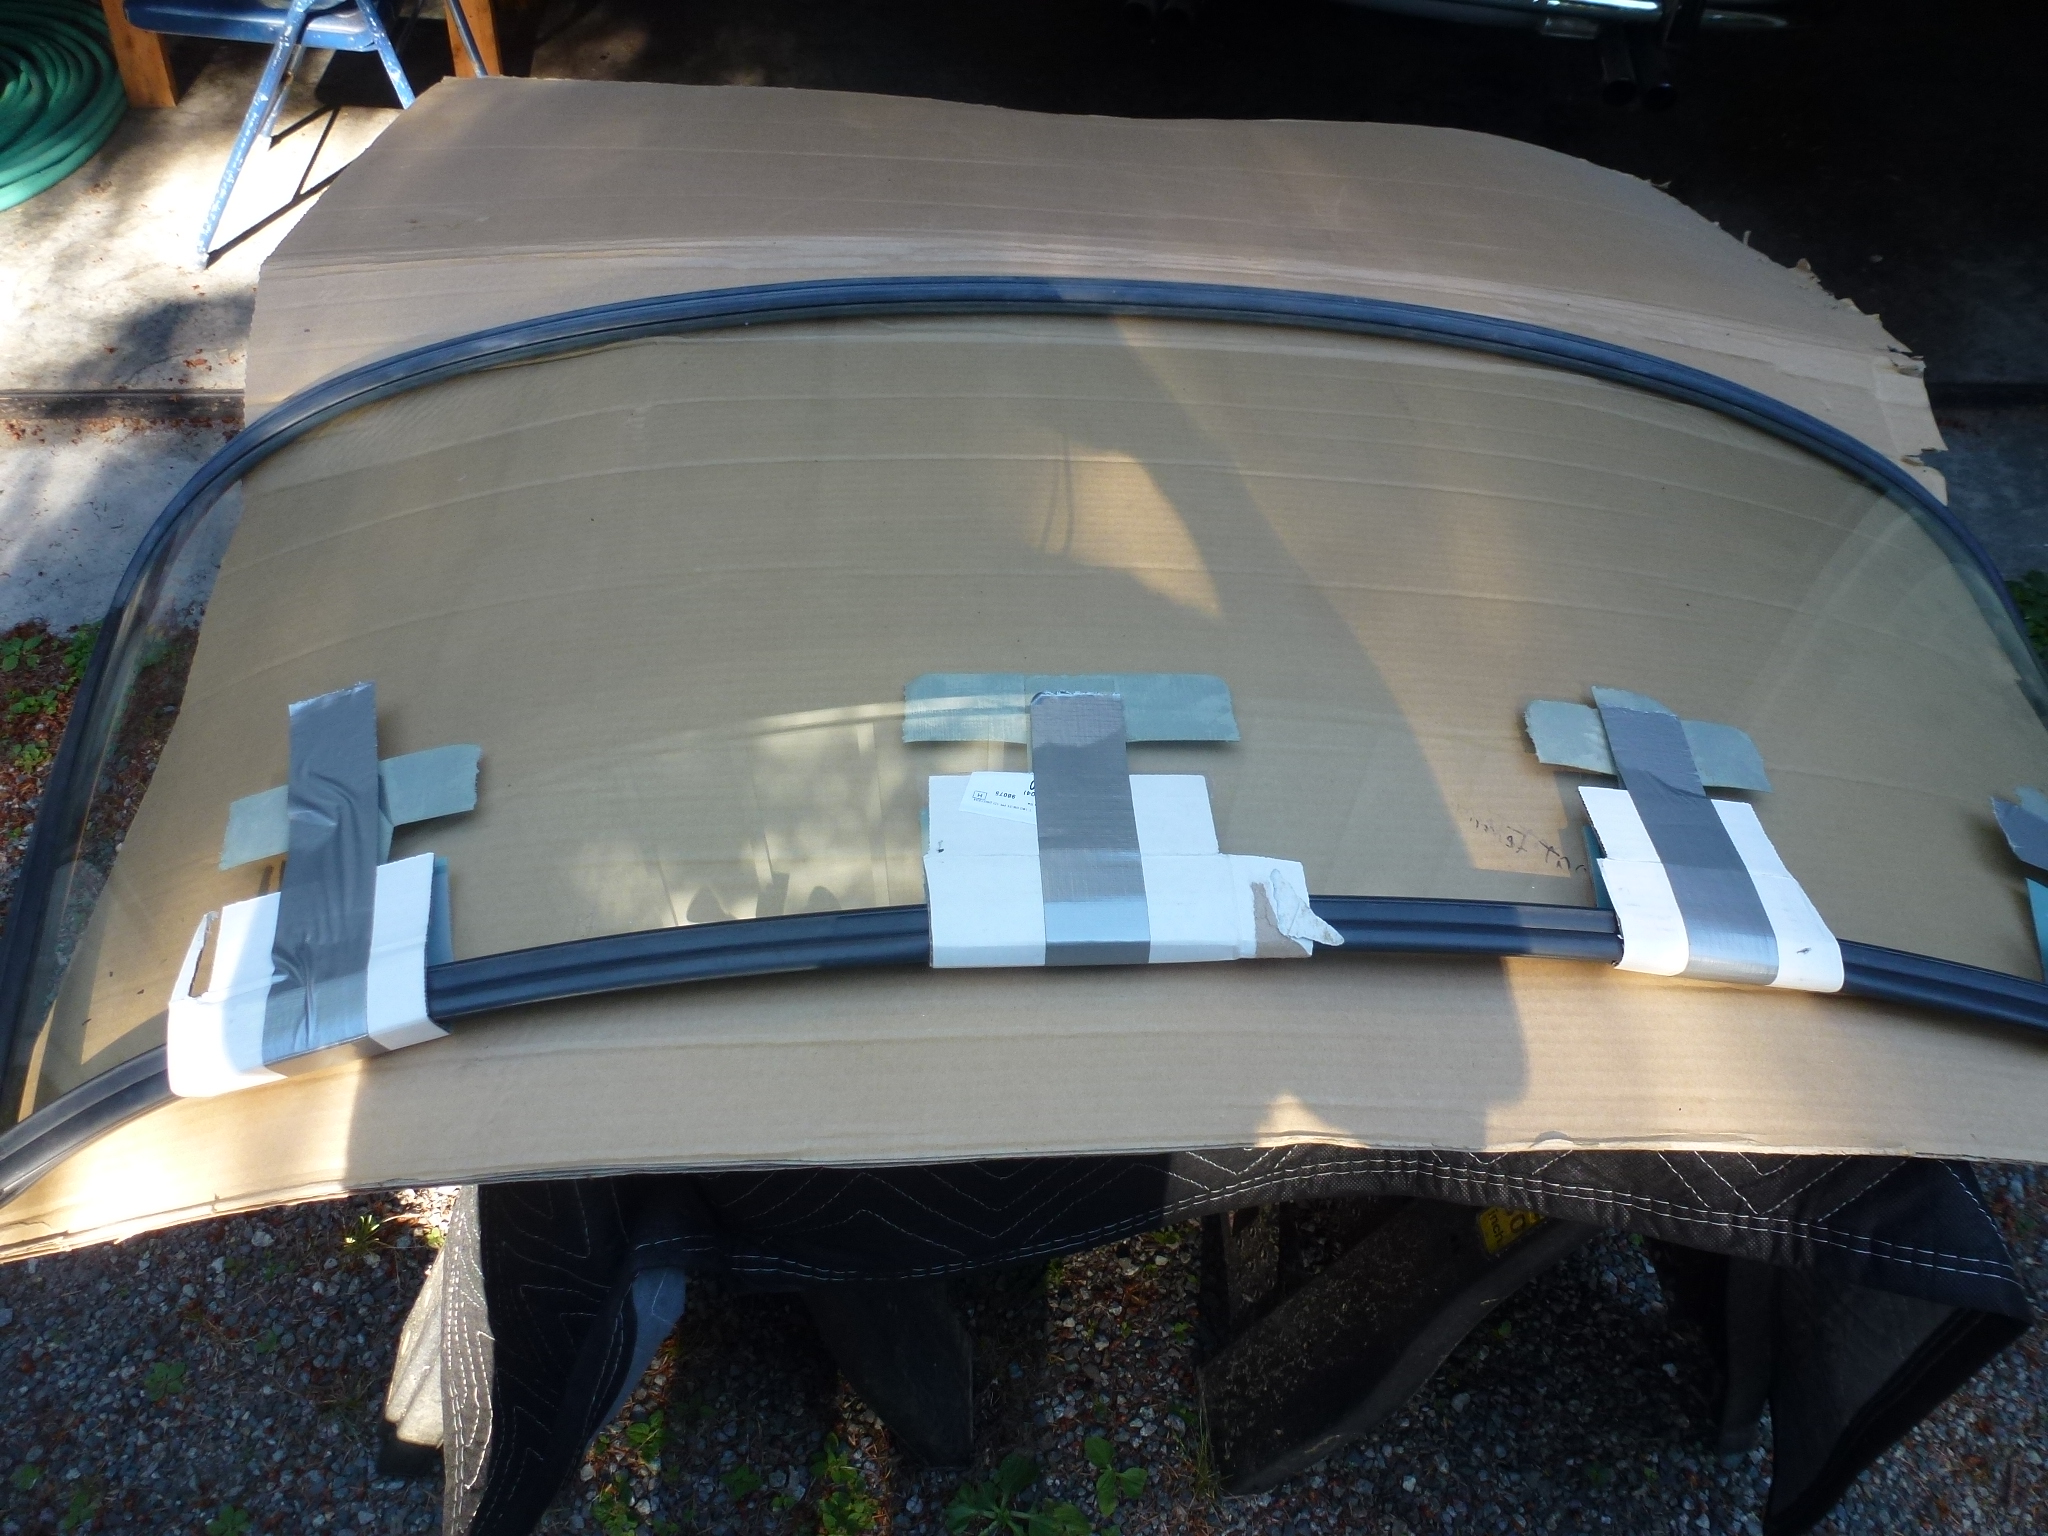
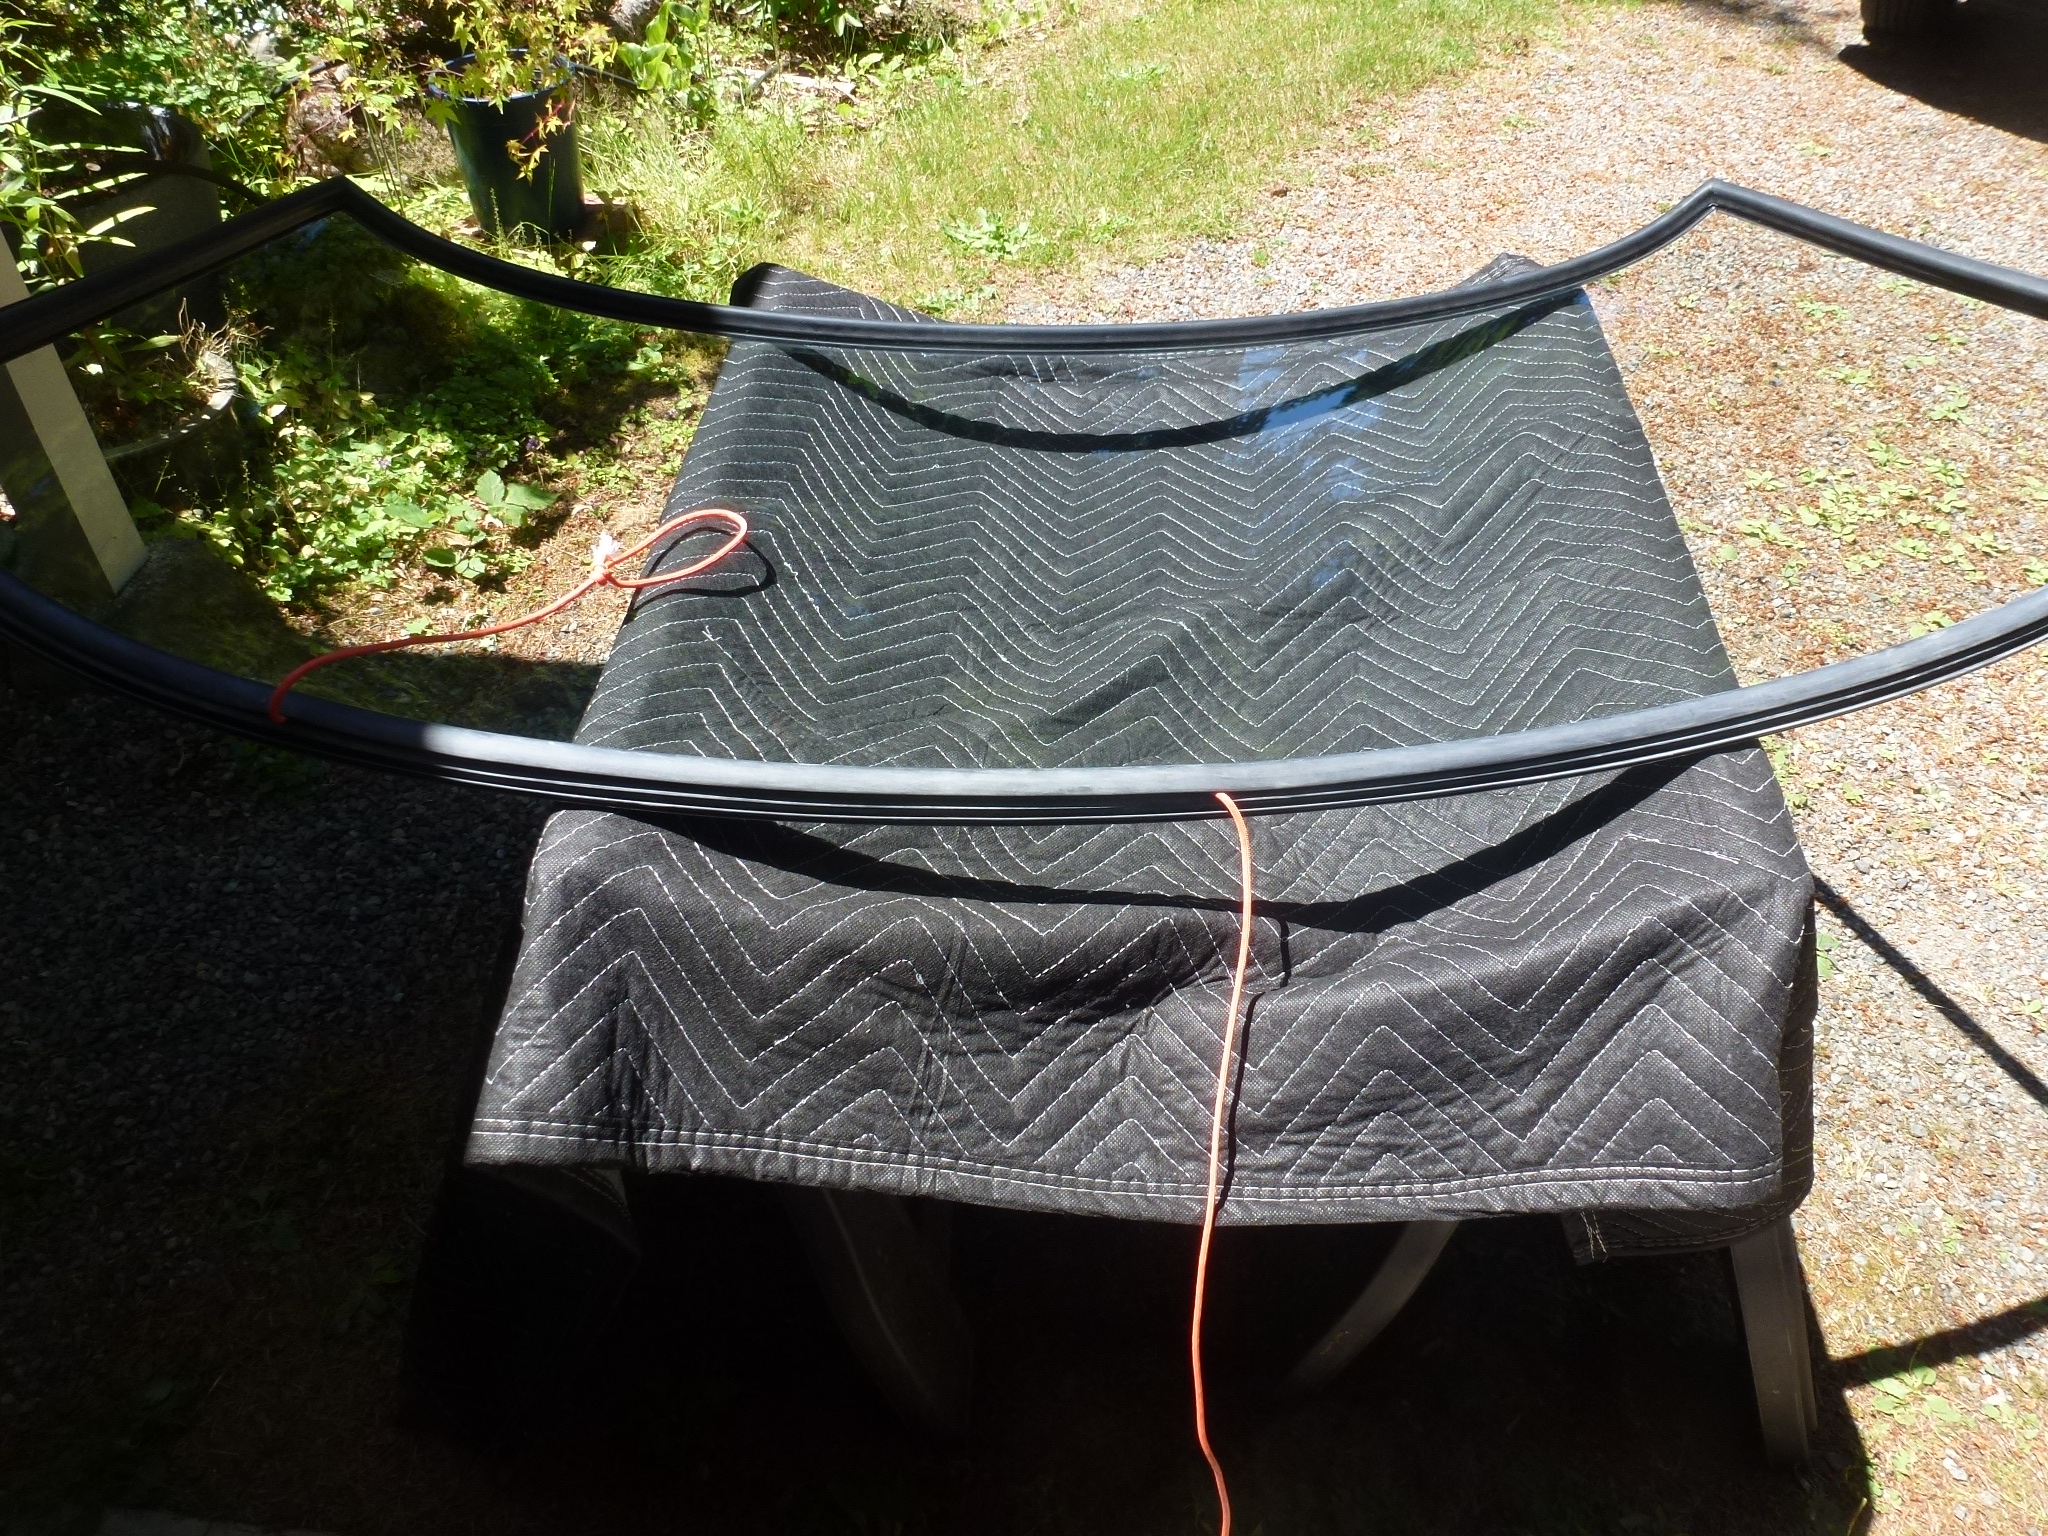
Now that the new windshield was etched, it was time to install it. I had ordered a new gasket from Cicognani S.r.L. in Italy. The first thing was to put it onto the windshield and make sure that it fit well. I used some cardboard and tape to hold it tight across the top as the rubber wanted to go straight across. This was on there for a couple of days to help stretch it to fit.
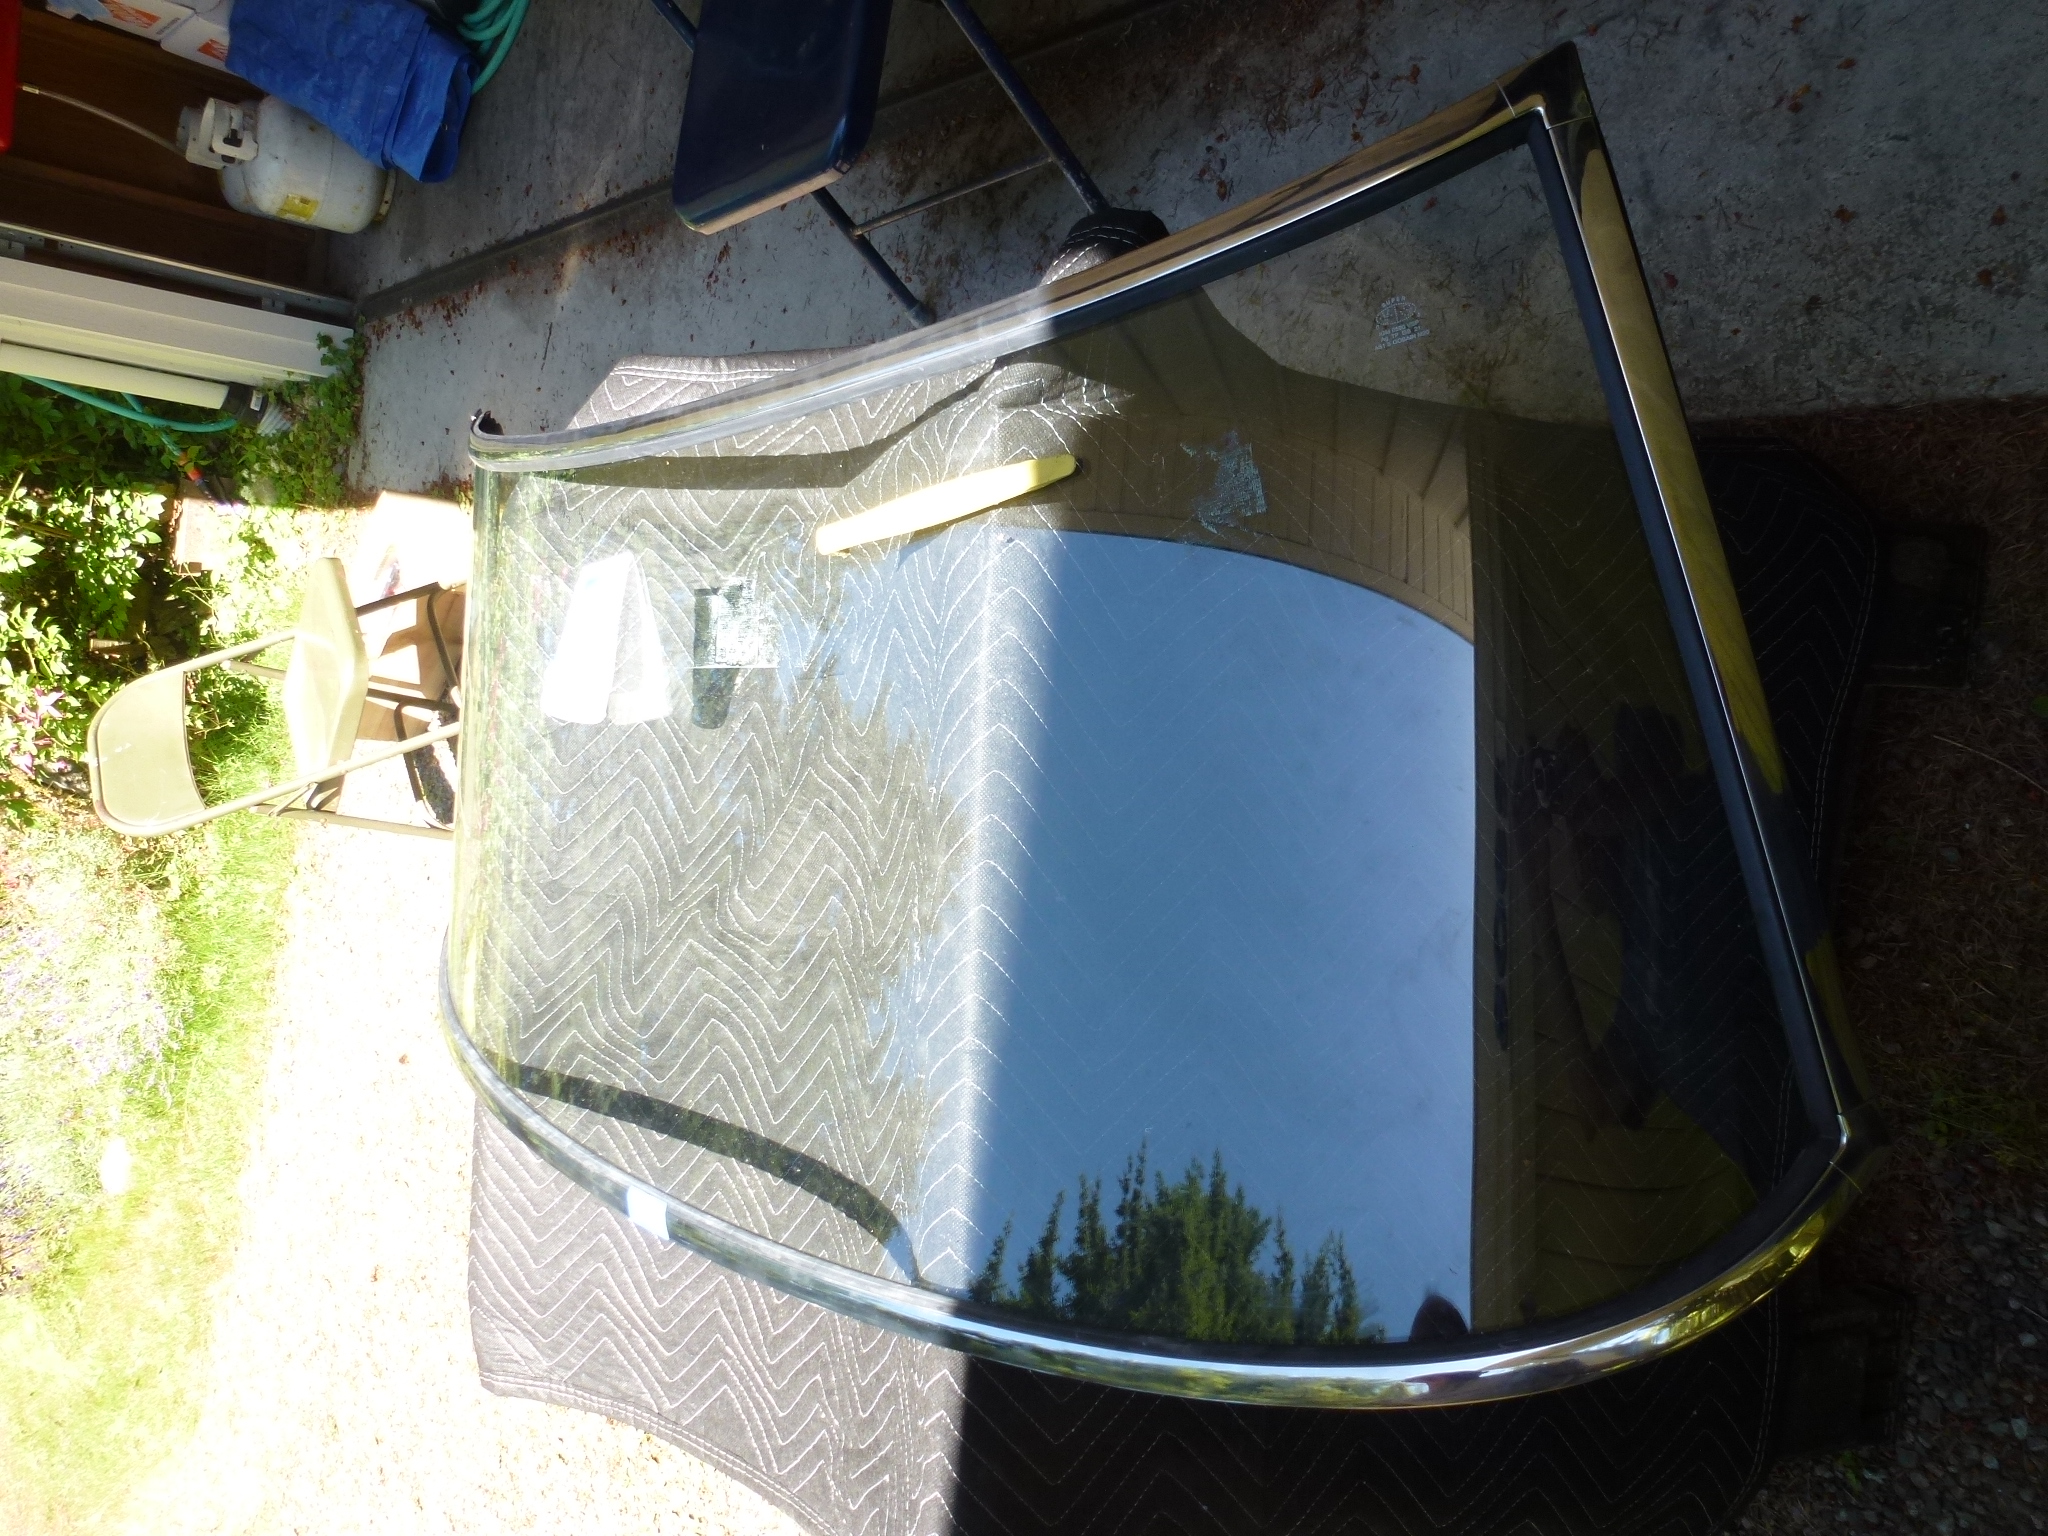
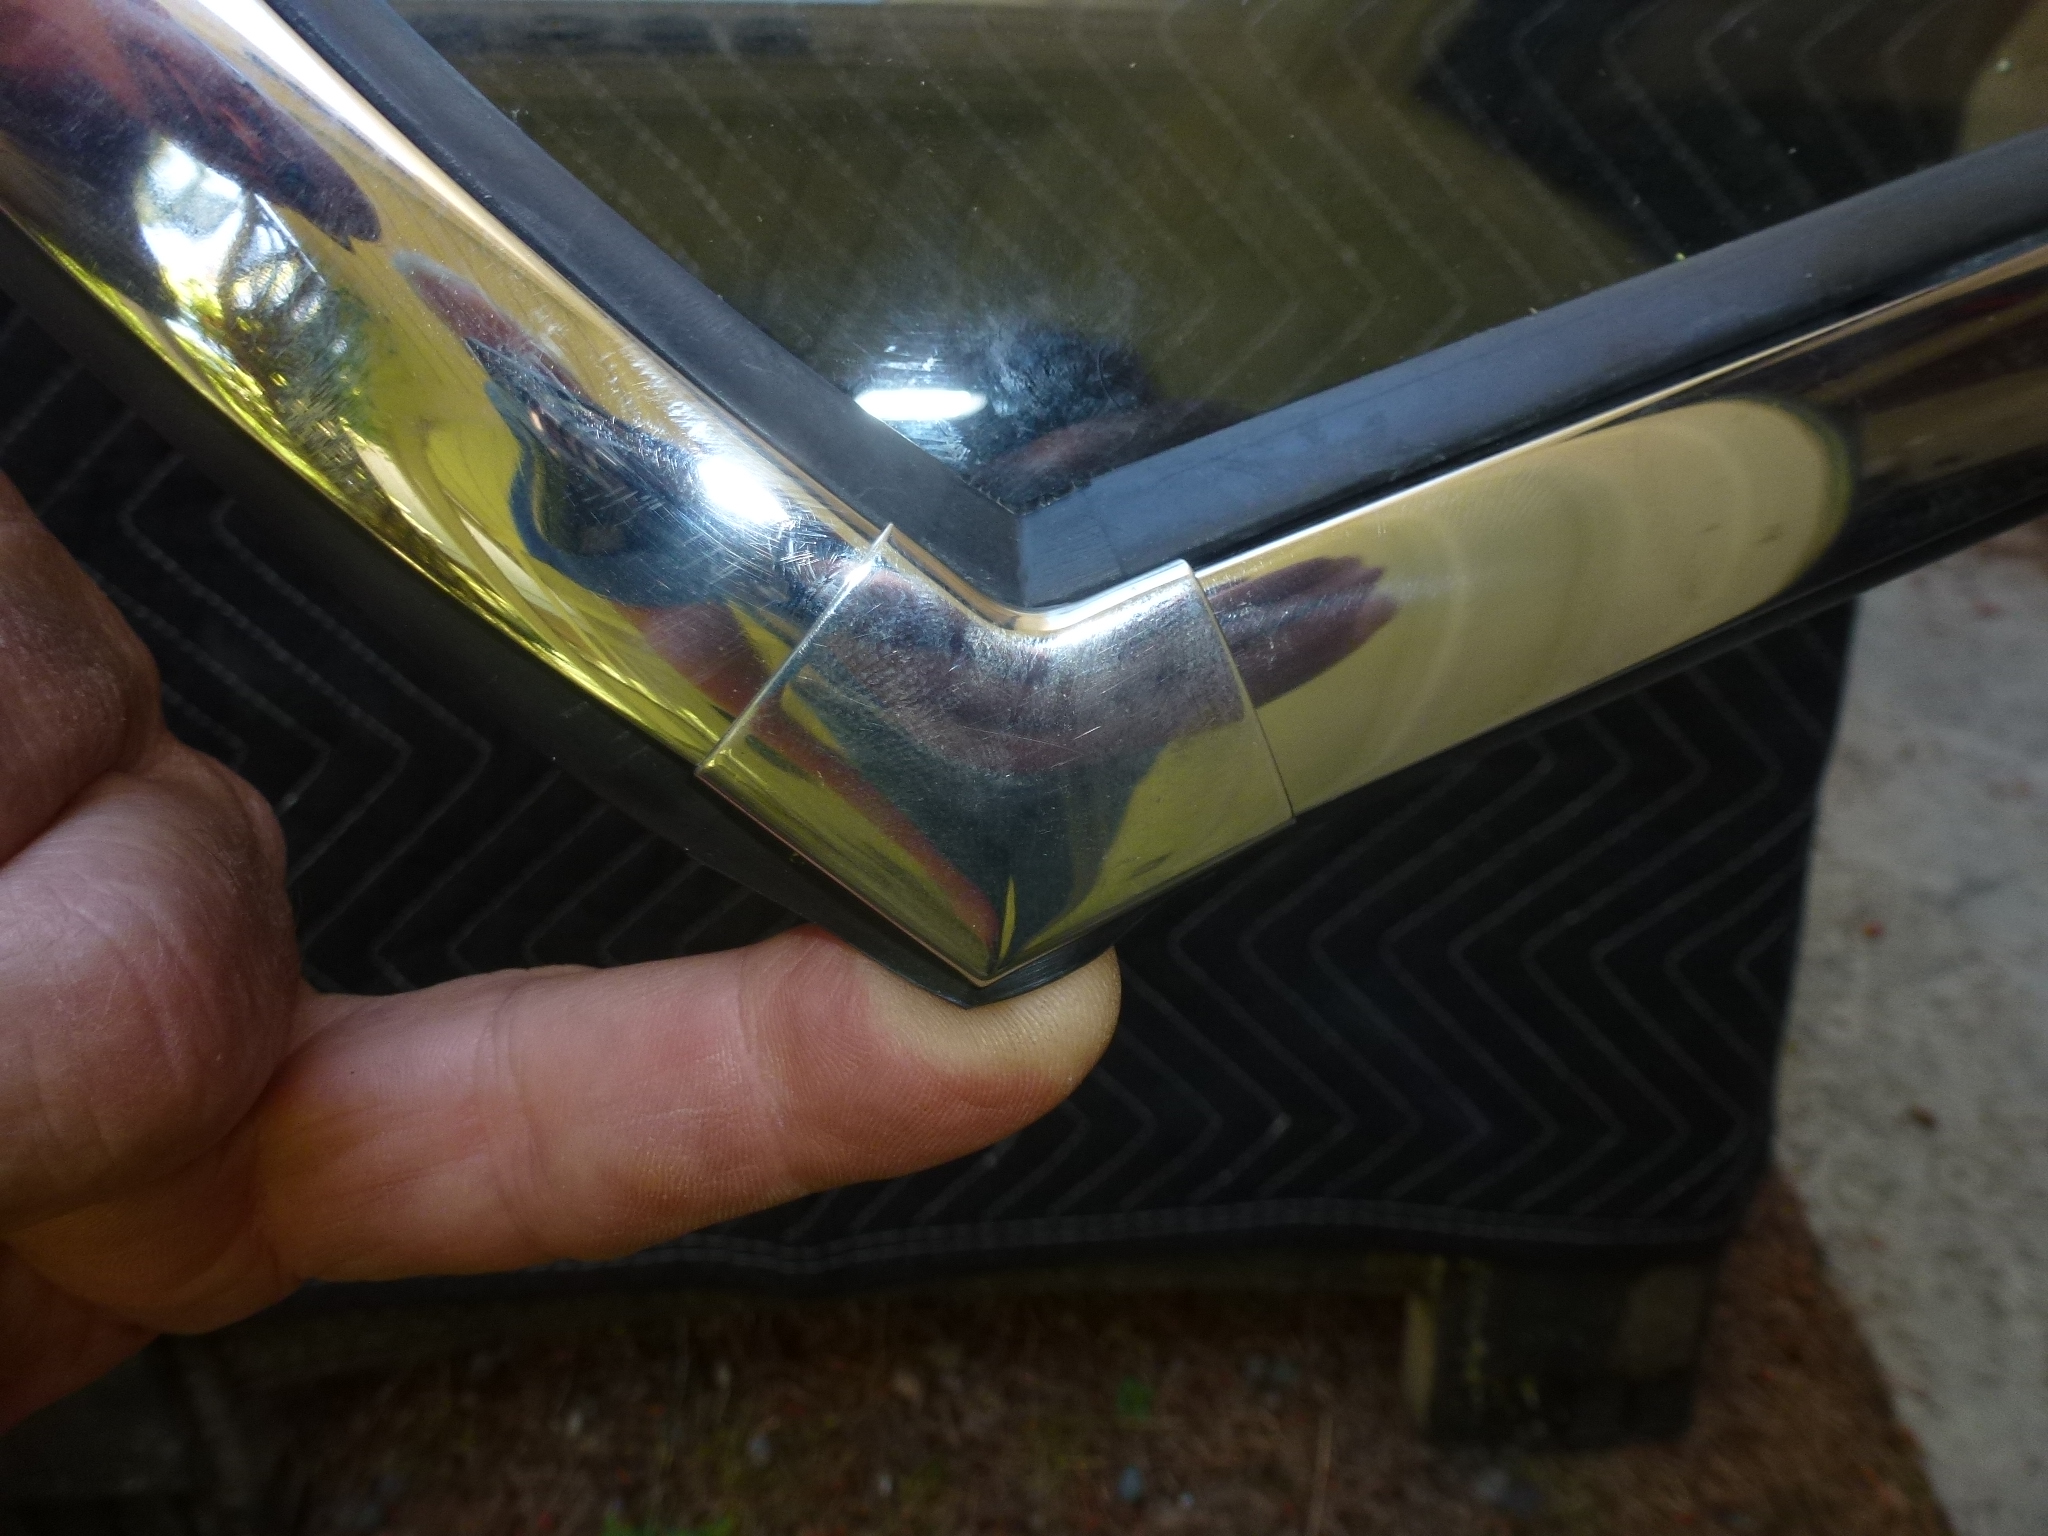
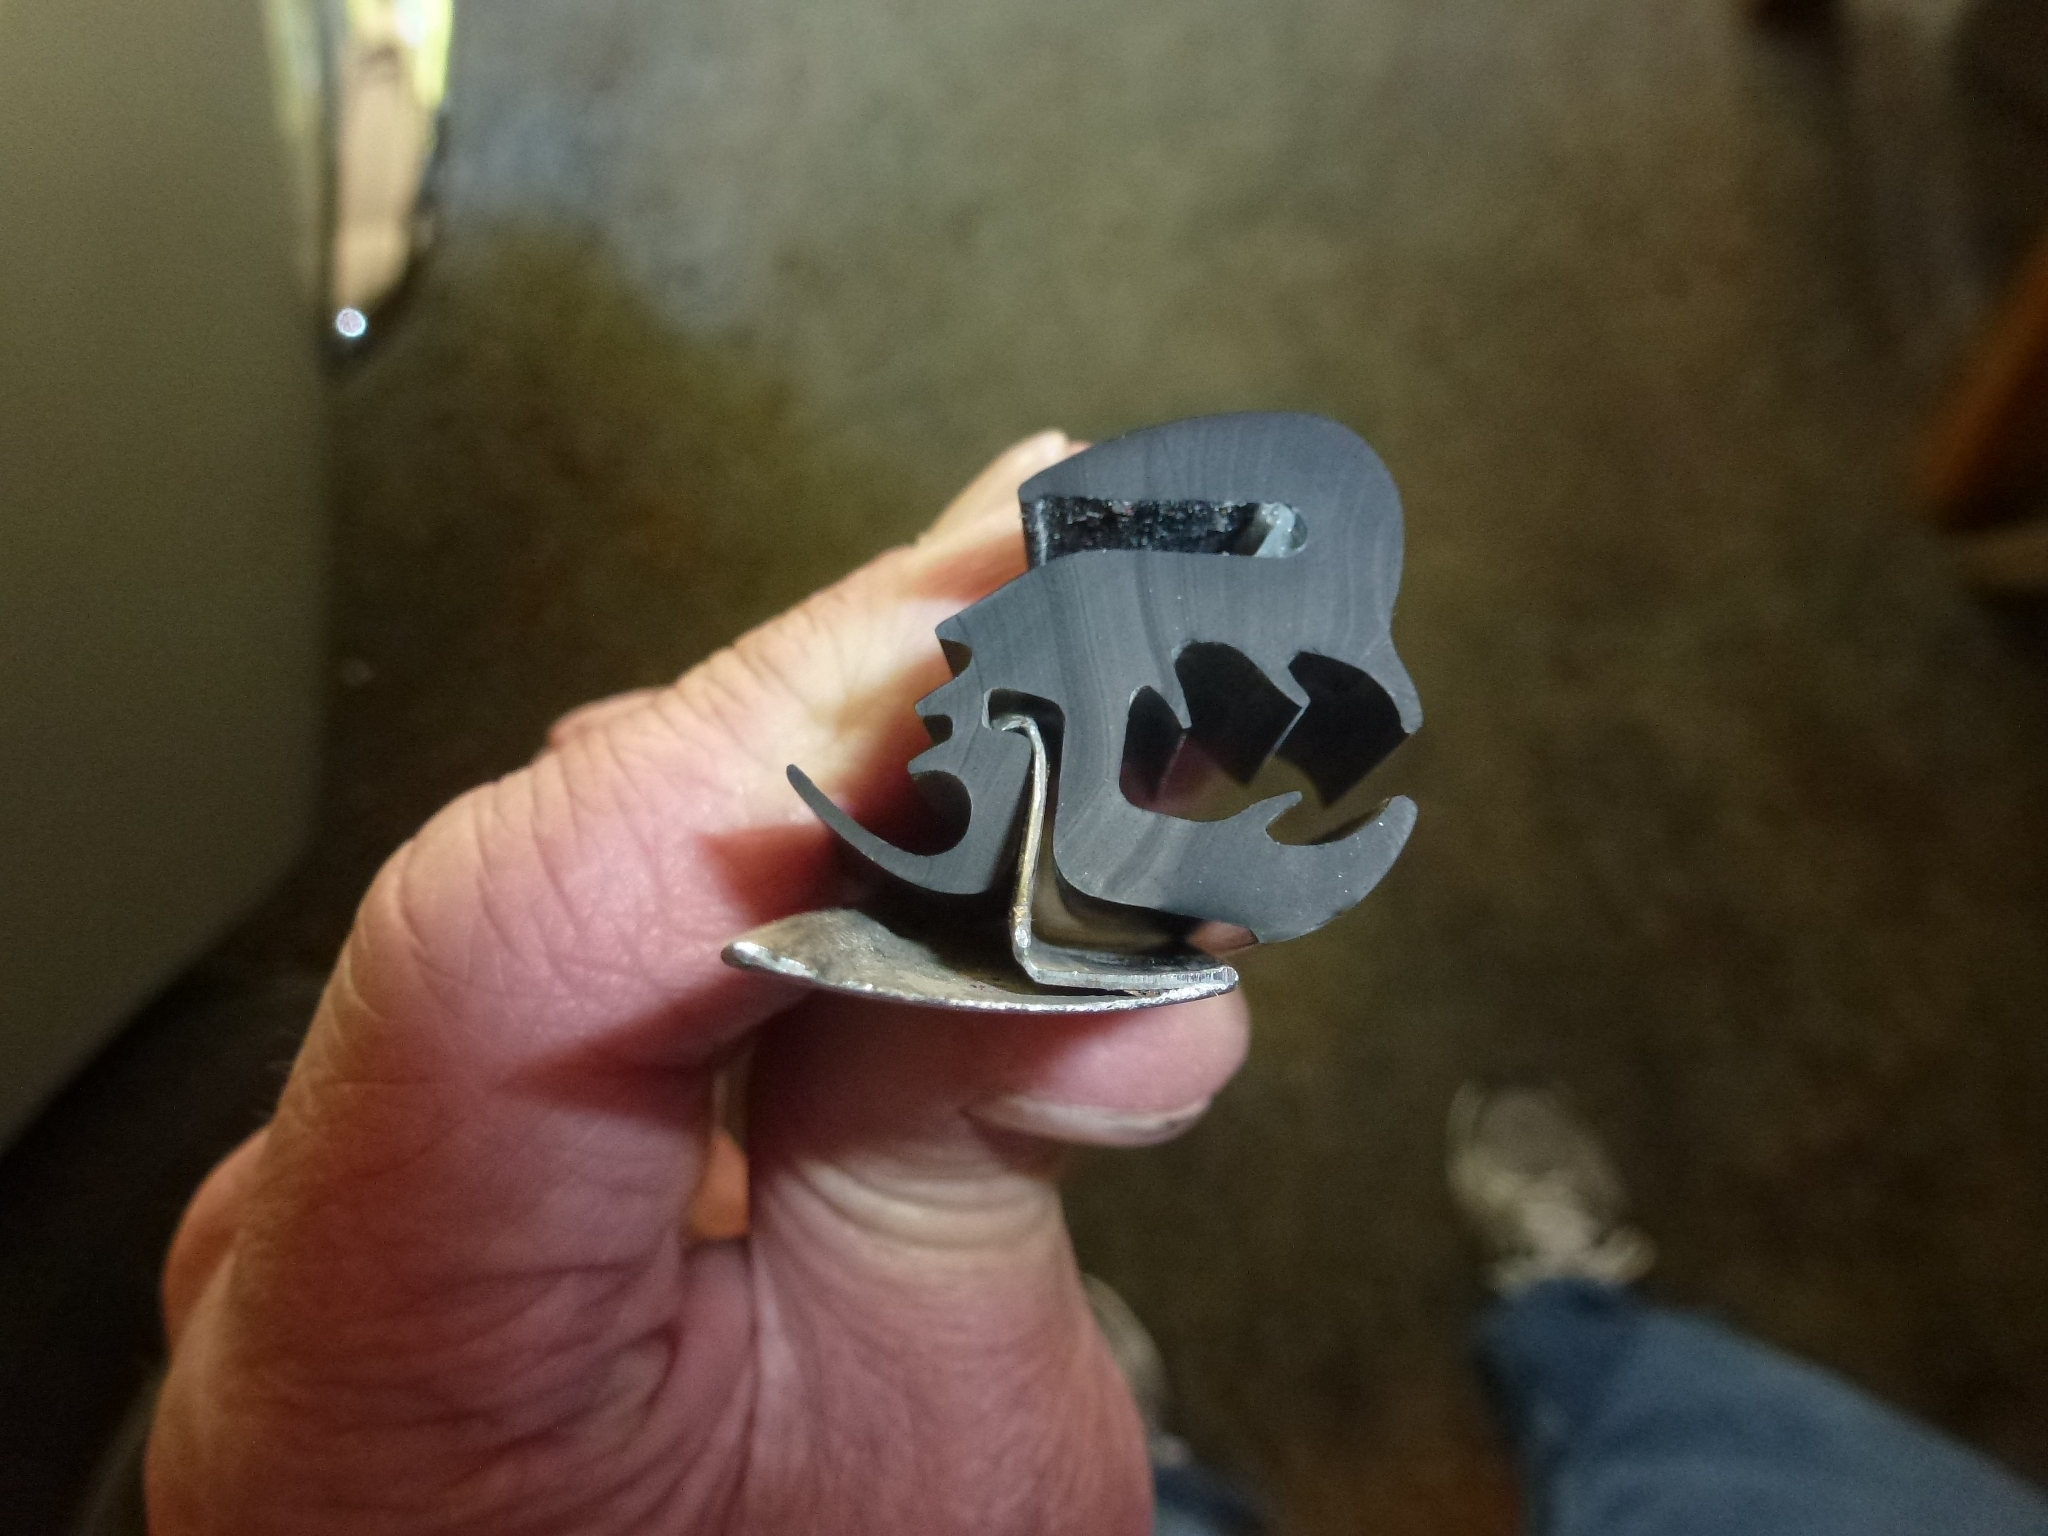
Removing the old windshield was pretty easy, assuming that you want to destroy the old gasket. I simply cut the strip covering the edge of the glass across the top and down the sides. Then the glass could be tilted out from the top and safely removed. Then the gasket was removed from the body and that area cleaned up. Next was to fit the stainless steel trim into the gasket. The last (and only) time I installed the front and rear glass, I put the trim in later, but my friend that was helping convinced me to put everything in at once. We checked that the trim corners met the corners of the gasket on both the inside and outside. In the right picture, you can see how the trim is held in place by the J shaped flange that has a matching groove in the gasket. The groove for the glass is open to the right and the one for the metal body flange is open on the right.
The other time I installed the glass, I first fit the gasket to the body and then stretched the rubber over the glass. This worked on the windshield, but the gasket split in one corner on the rear window. My friend showed me the 'proper' way. That was to put a cord around the gasket in the groove where it fits over the metal flange, overlapping the cord by several inches with enough tail to get a good grip.
Then you place the windshield on the car, centering it properly (notice the blue tape with alignment marks). Once it is in place, you start pulling on one end of the cord. This pulls the rubber flap from the outside of the flange to the inside. Moving from one cord to the other, the bottom portion was quickly in place. One has to be careful when turning the corner as there is more rubber to pull in place. The bottom corners weren't too hard as the top of the windshield was still loose. But the upper corners, particularly the last one took a lot of pulling and a hook tool to work the rubber into place. Here is the final result.