Rear Window Trim
The rear window trim is just like the front, stainless steel that needed sanding and polishing to remove scratches along with a little metal work for a dent or two.
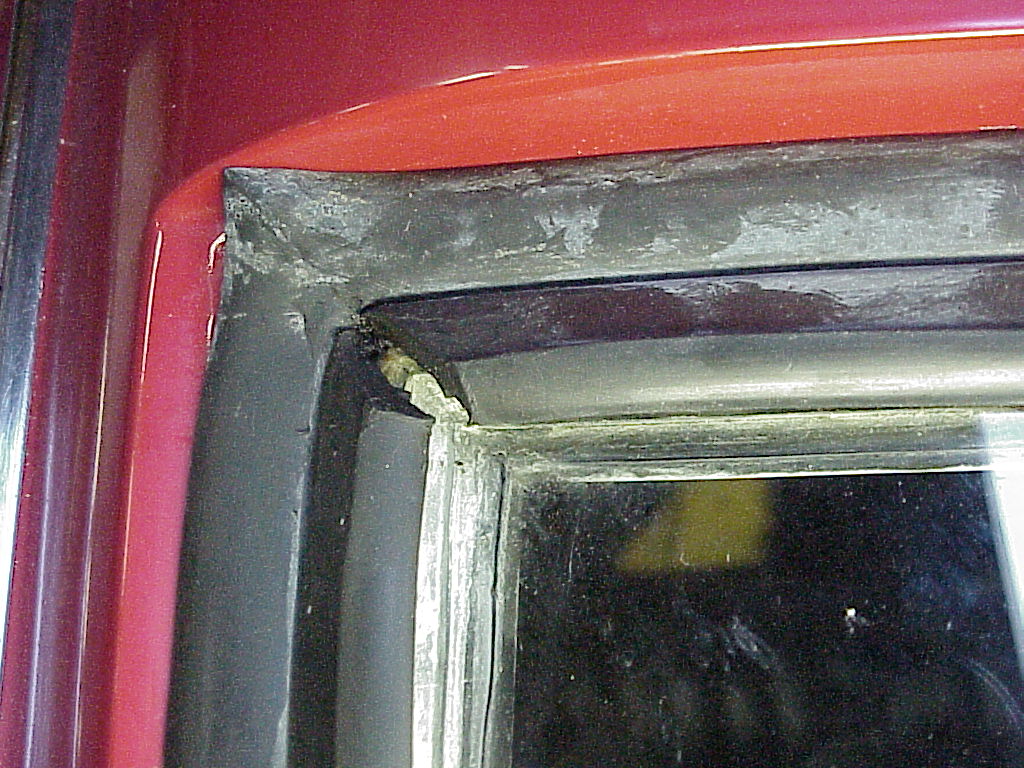
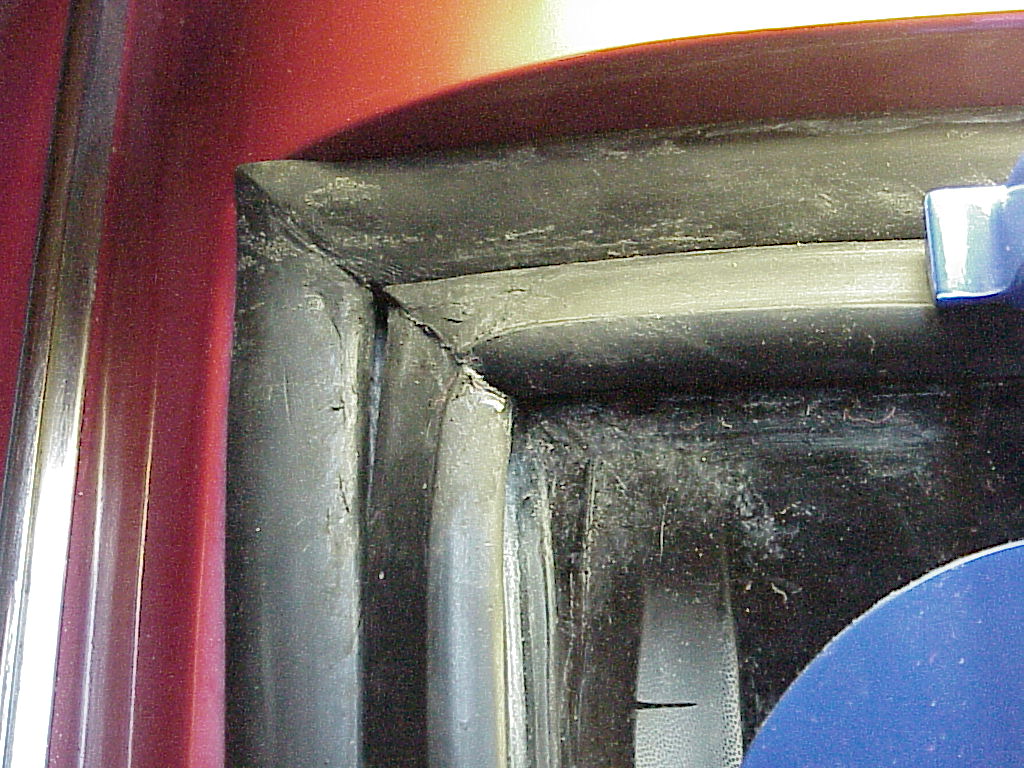
I had done the front a while ago, but the rear had an additional problem. When I had put the new rubber in, the corner split where the glass fit in. Further, the top of the rubber wasn't flush with the side.
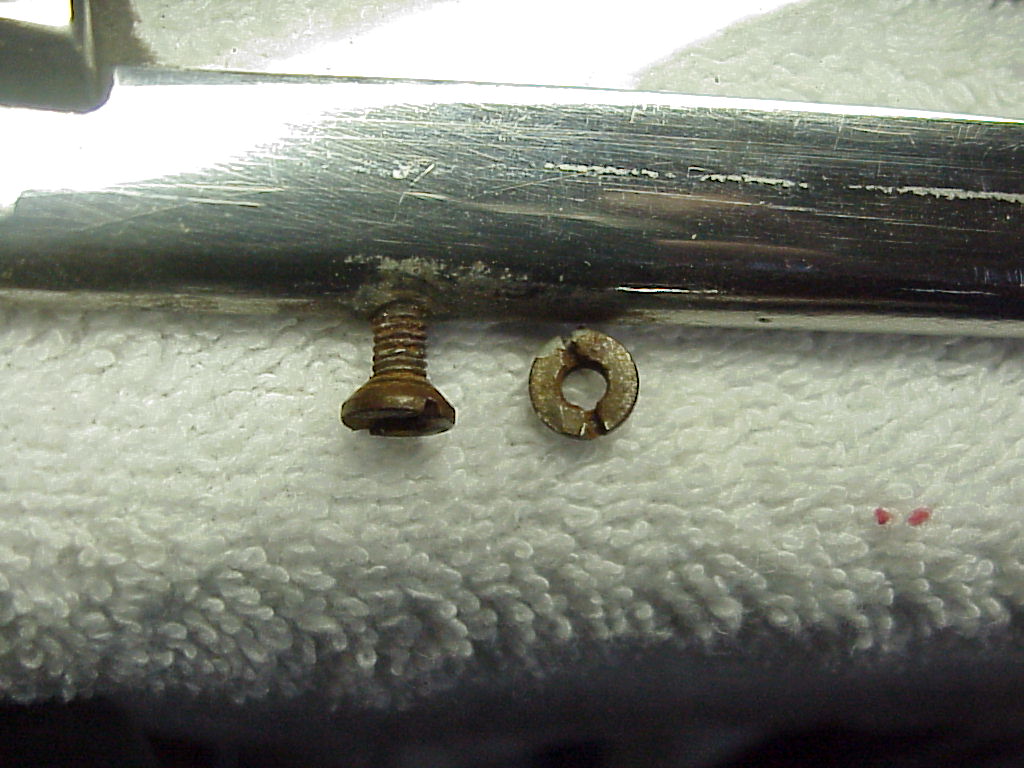
In order to address this, I had to remove the rear quarter window on that side, loosen the inside side and rear trim. One thing interesting is how the rear quarter window is hinged. There are two studs welded to the frame. These just stick through B pillar and have special nuts on them. The nuts look like the head of a flat head screw that has the screw part cut off and then drilled and tapped through the center. This screws on the stud that is in a tapered hole. The triangular section allows enough movement to act as a hinge when the rear of the window is swung out. Here you can see one stud and nut and the second nut lying flat.
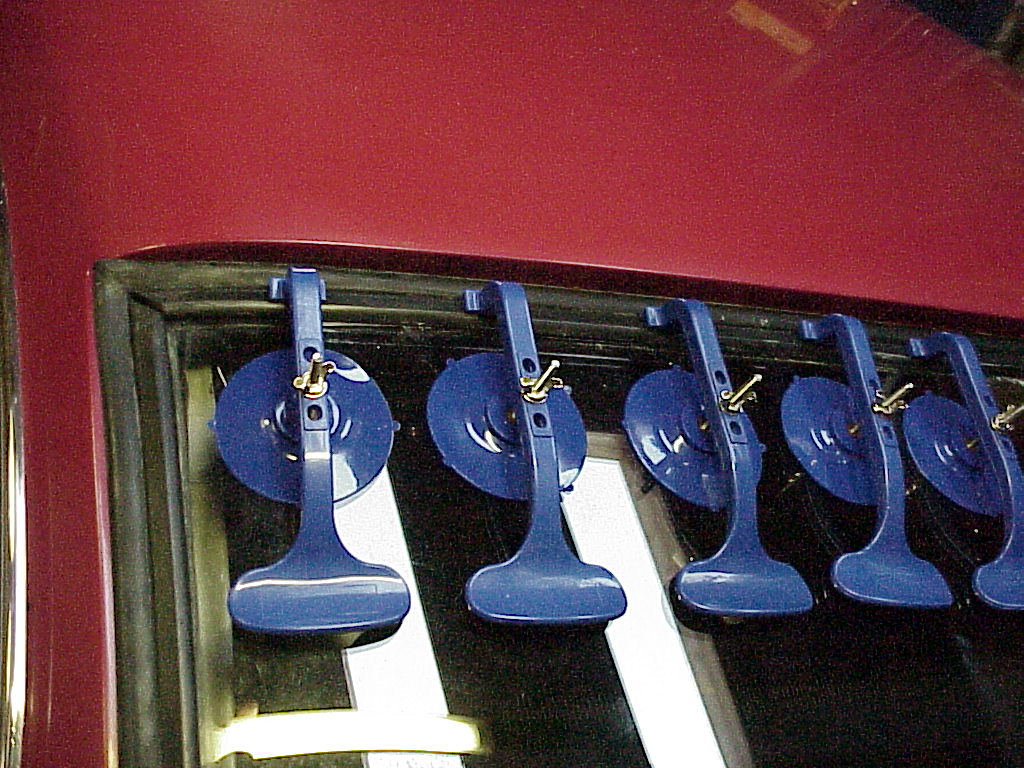
Once that was done, I was able to stretch the rubber starting at the center and pulling out to the side. To keep this in place, I bought a number of suction clamps.
I had to clean out the rubber cement that I had used to try and fix the corner many years ago. This time I used instant glue as that seems to be the recommended method of fastening rubber together now. This worked fine with no separation after two weeks.
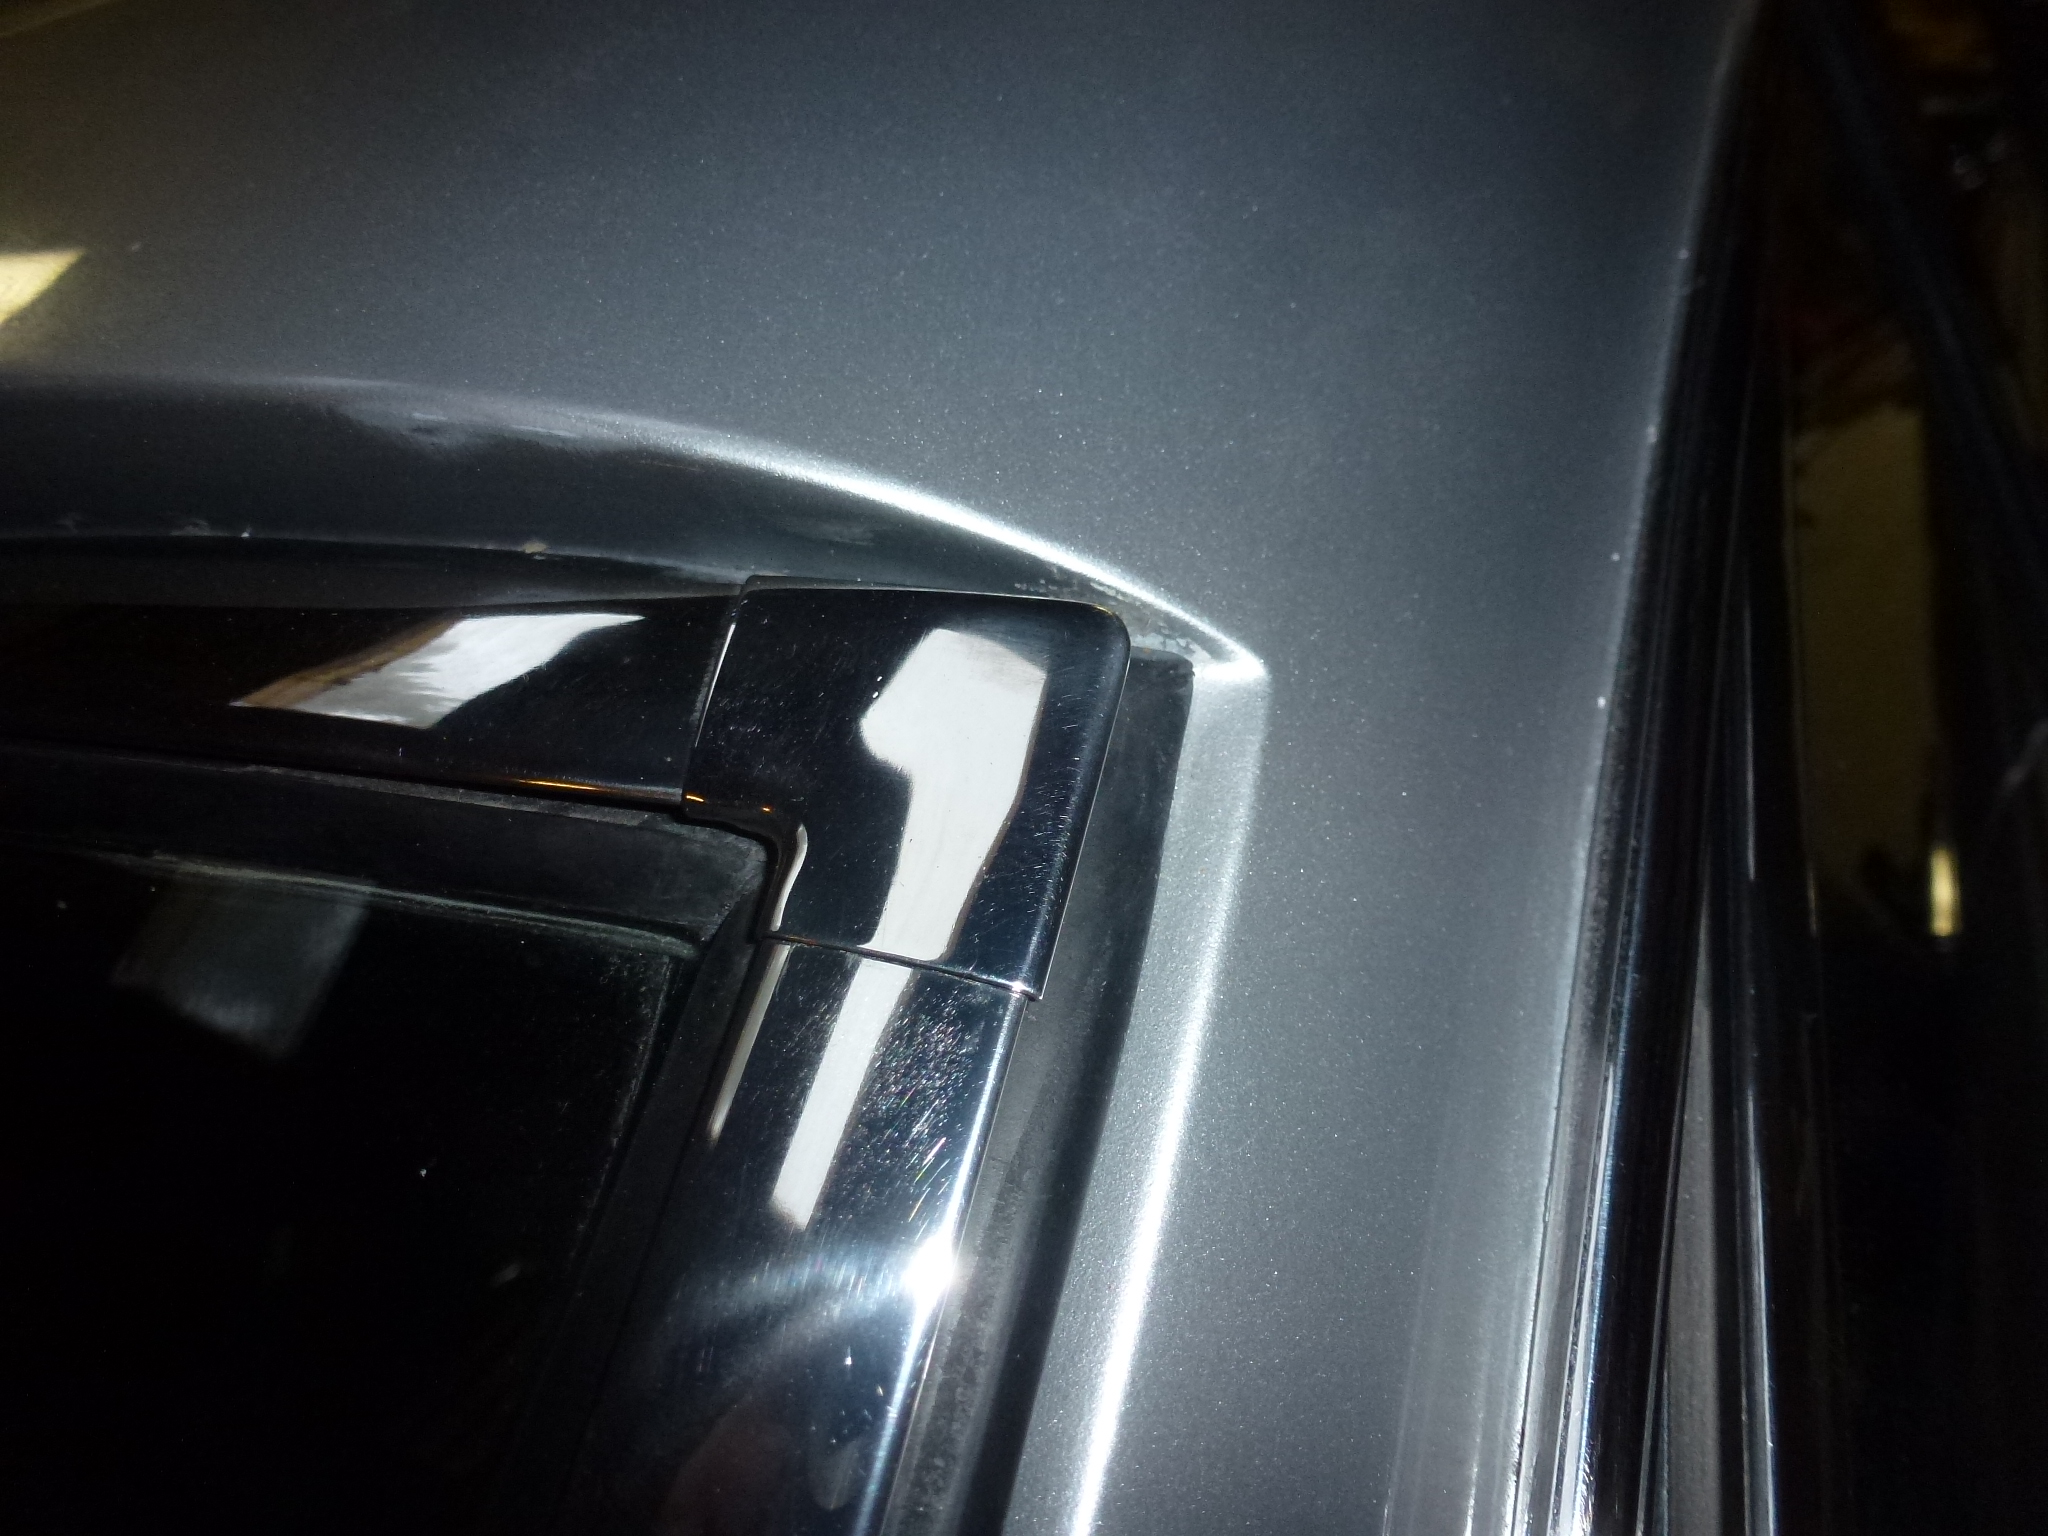
Once the window rubber was in the correct place, I finished the filing, sanding and buffing of the trim. Here is where I'm fitting in the first piece.
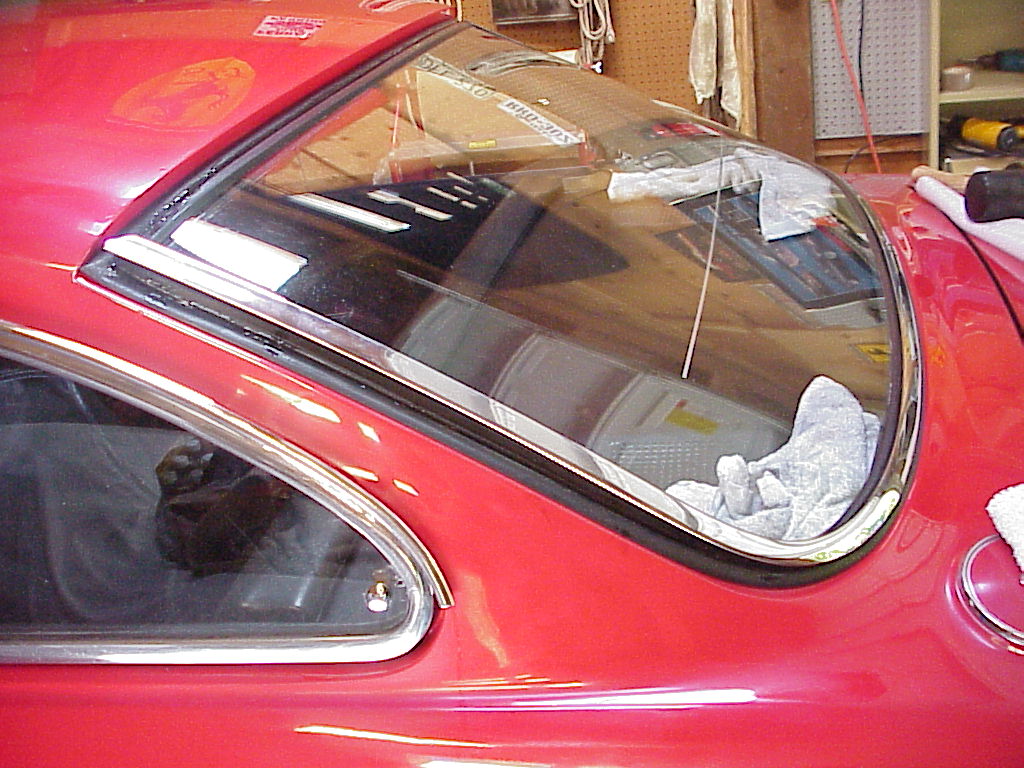
And finally it was done.
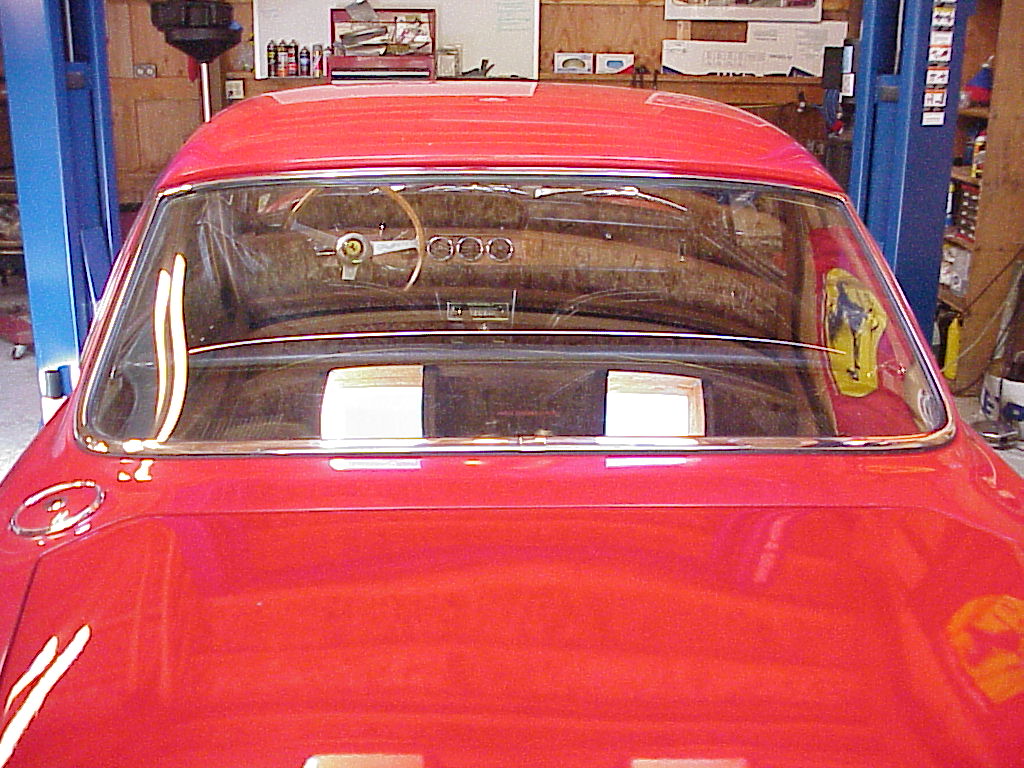
These trim pieces were the final pieces of the jigsaw puzzle of a car that I bought in 1982. Of course, I'm done, but never finished.
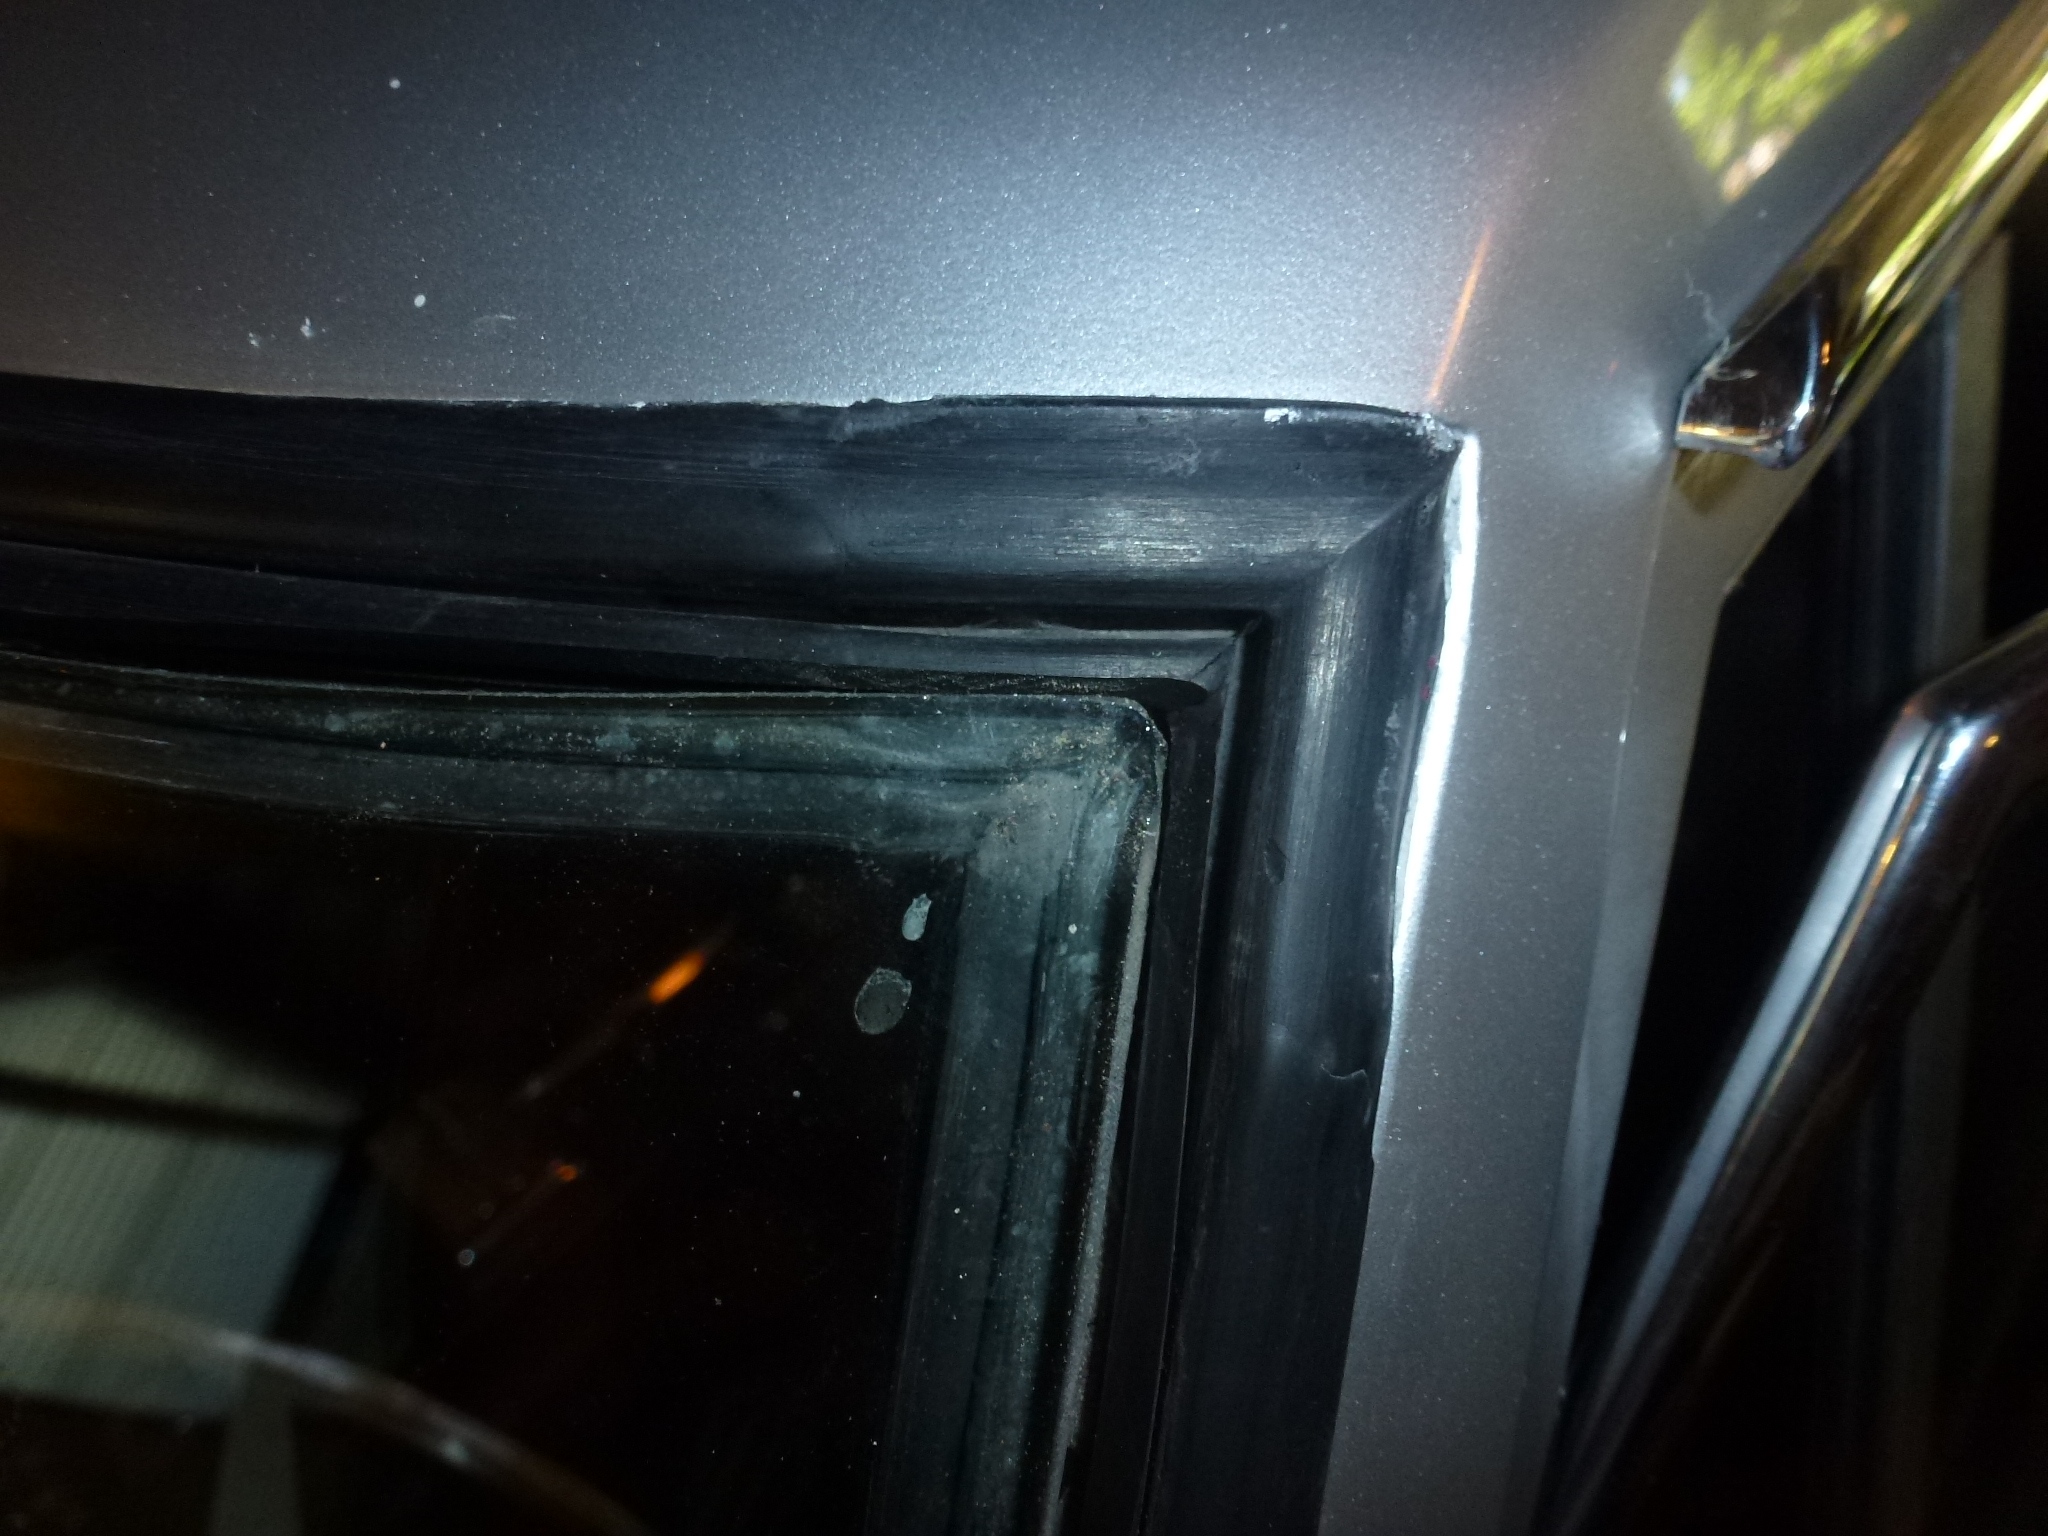
The stretching of the rubber across the top didn't solve the problem over time. Eventually, the rubber shrunk leaving each corner pulled in.
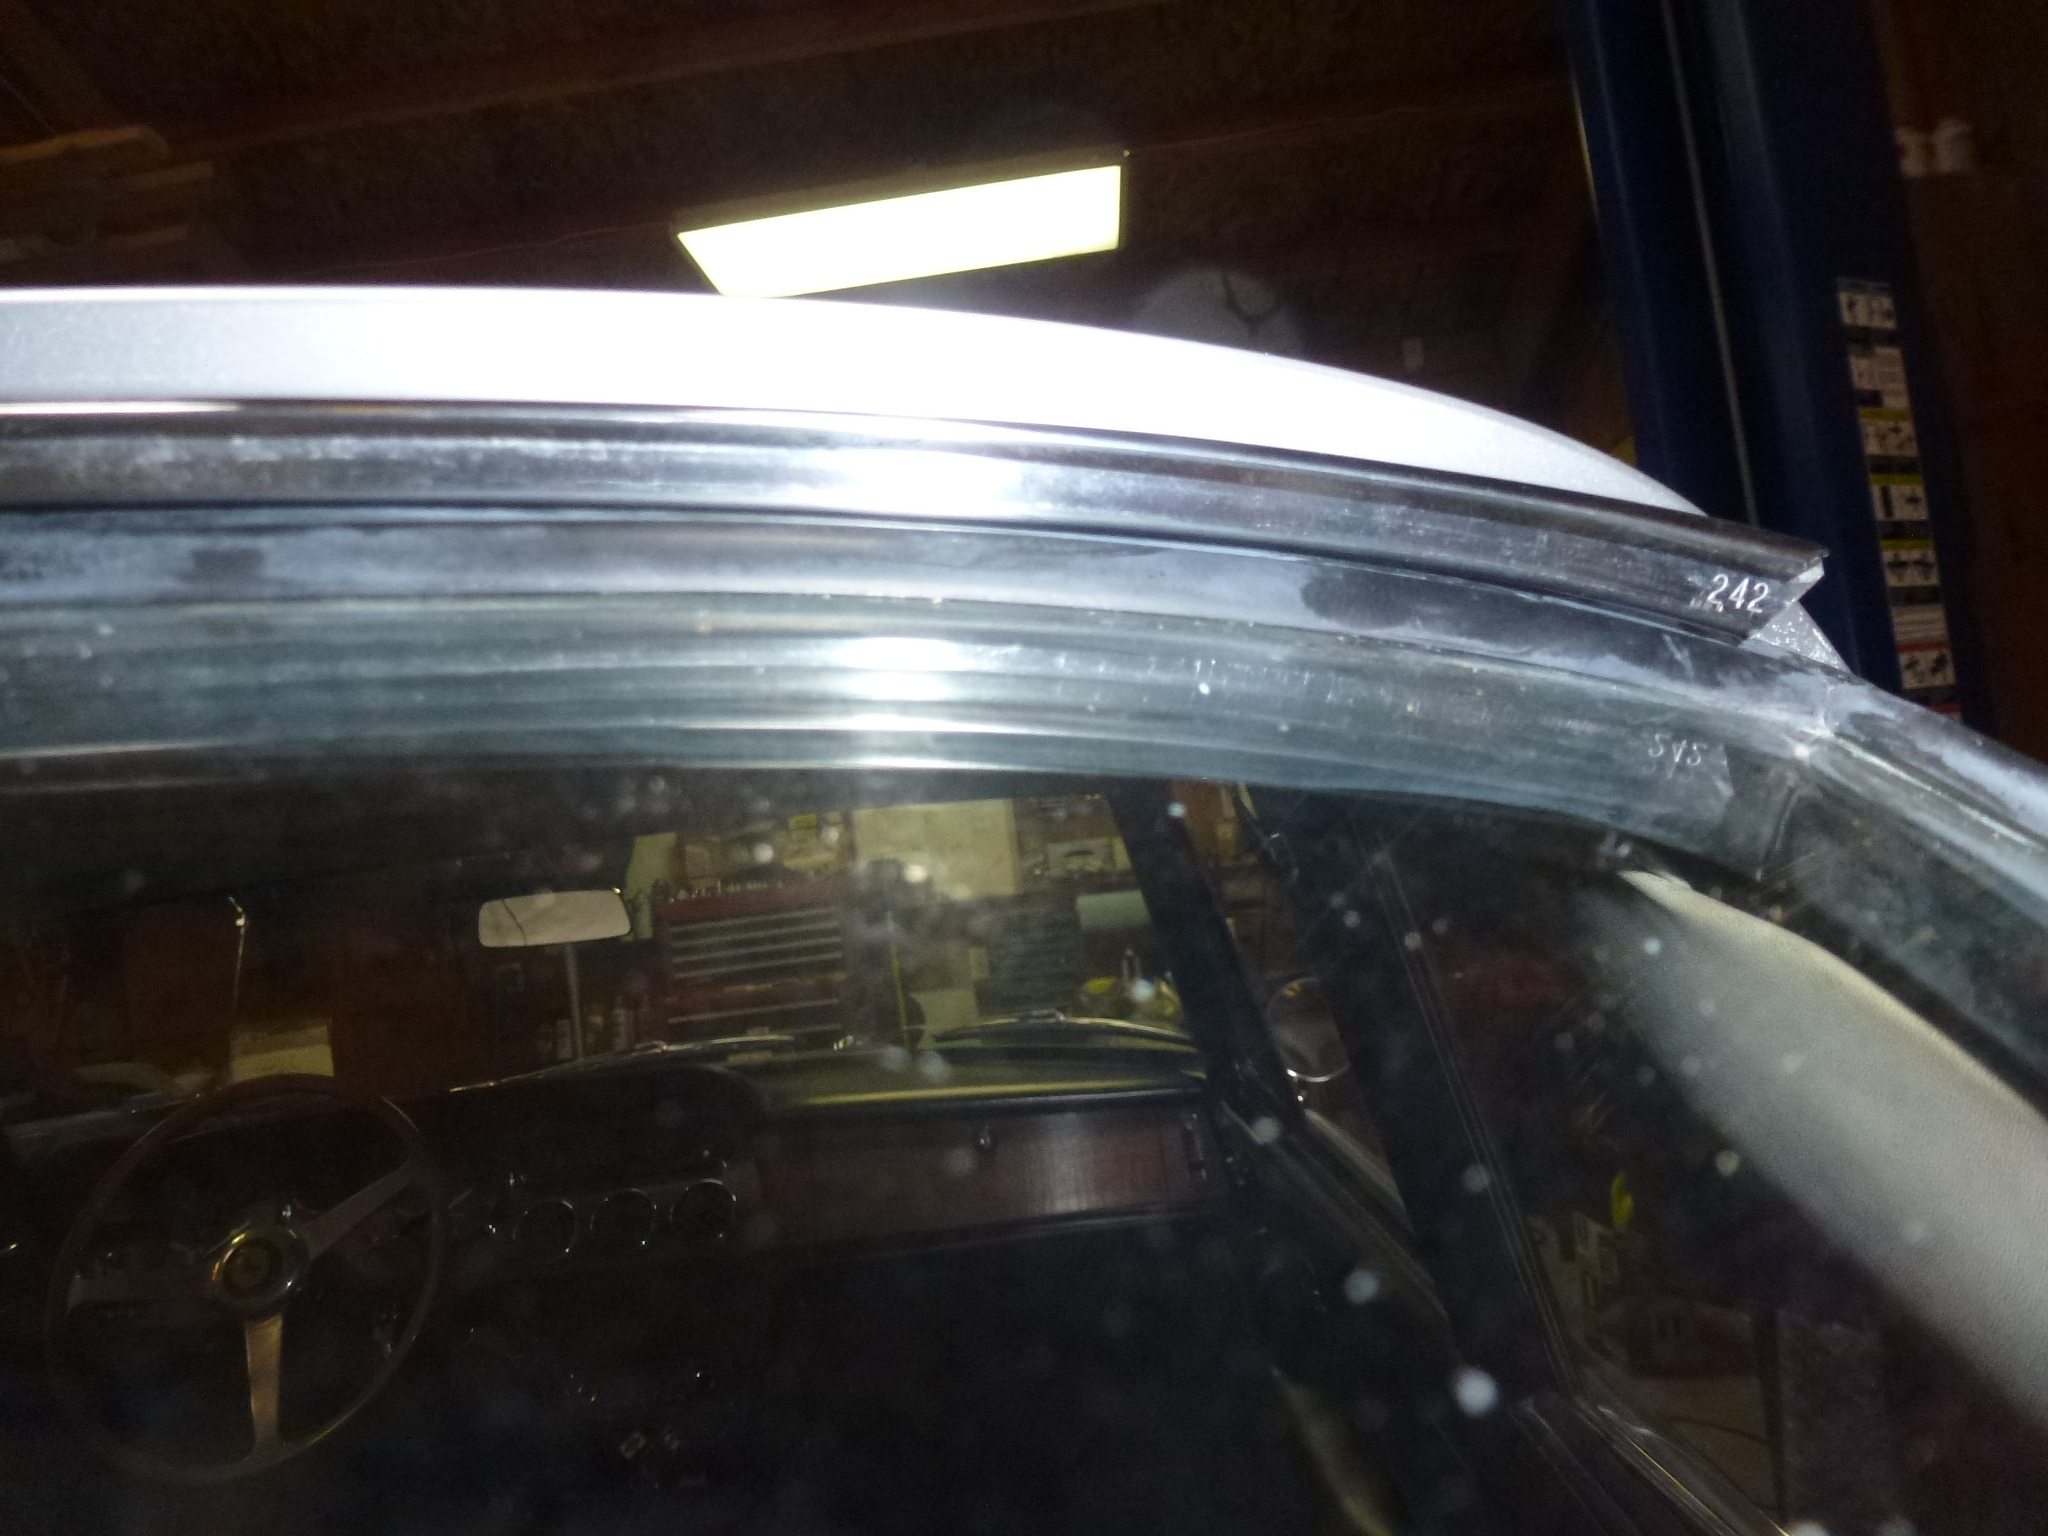
Since I was replacing the windshield after painting the car silver, I decided to fix this permanently. I didn't want to just replace the gasket as that meant removing and re-installing the glass. This rear glass is original with the Triplex defroster system embedded in the glass and I didn't want to risk breaking it. So I spilt the gasket in the top middle so the corners could be pulled into the proper alignment with the intent to use a section of the used windshield gasket. I thought that I would need about 1/2" of filler gasket for the gap. However, by the time the gasket was totally relaxed, the gap was a little bit larger than an inch. That shows how much it had been stretched.

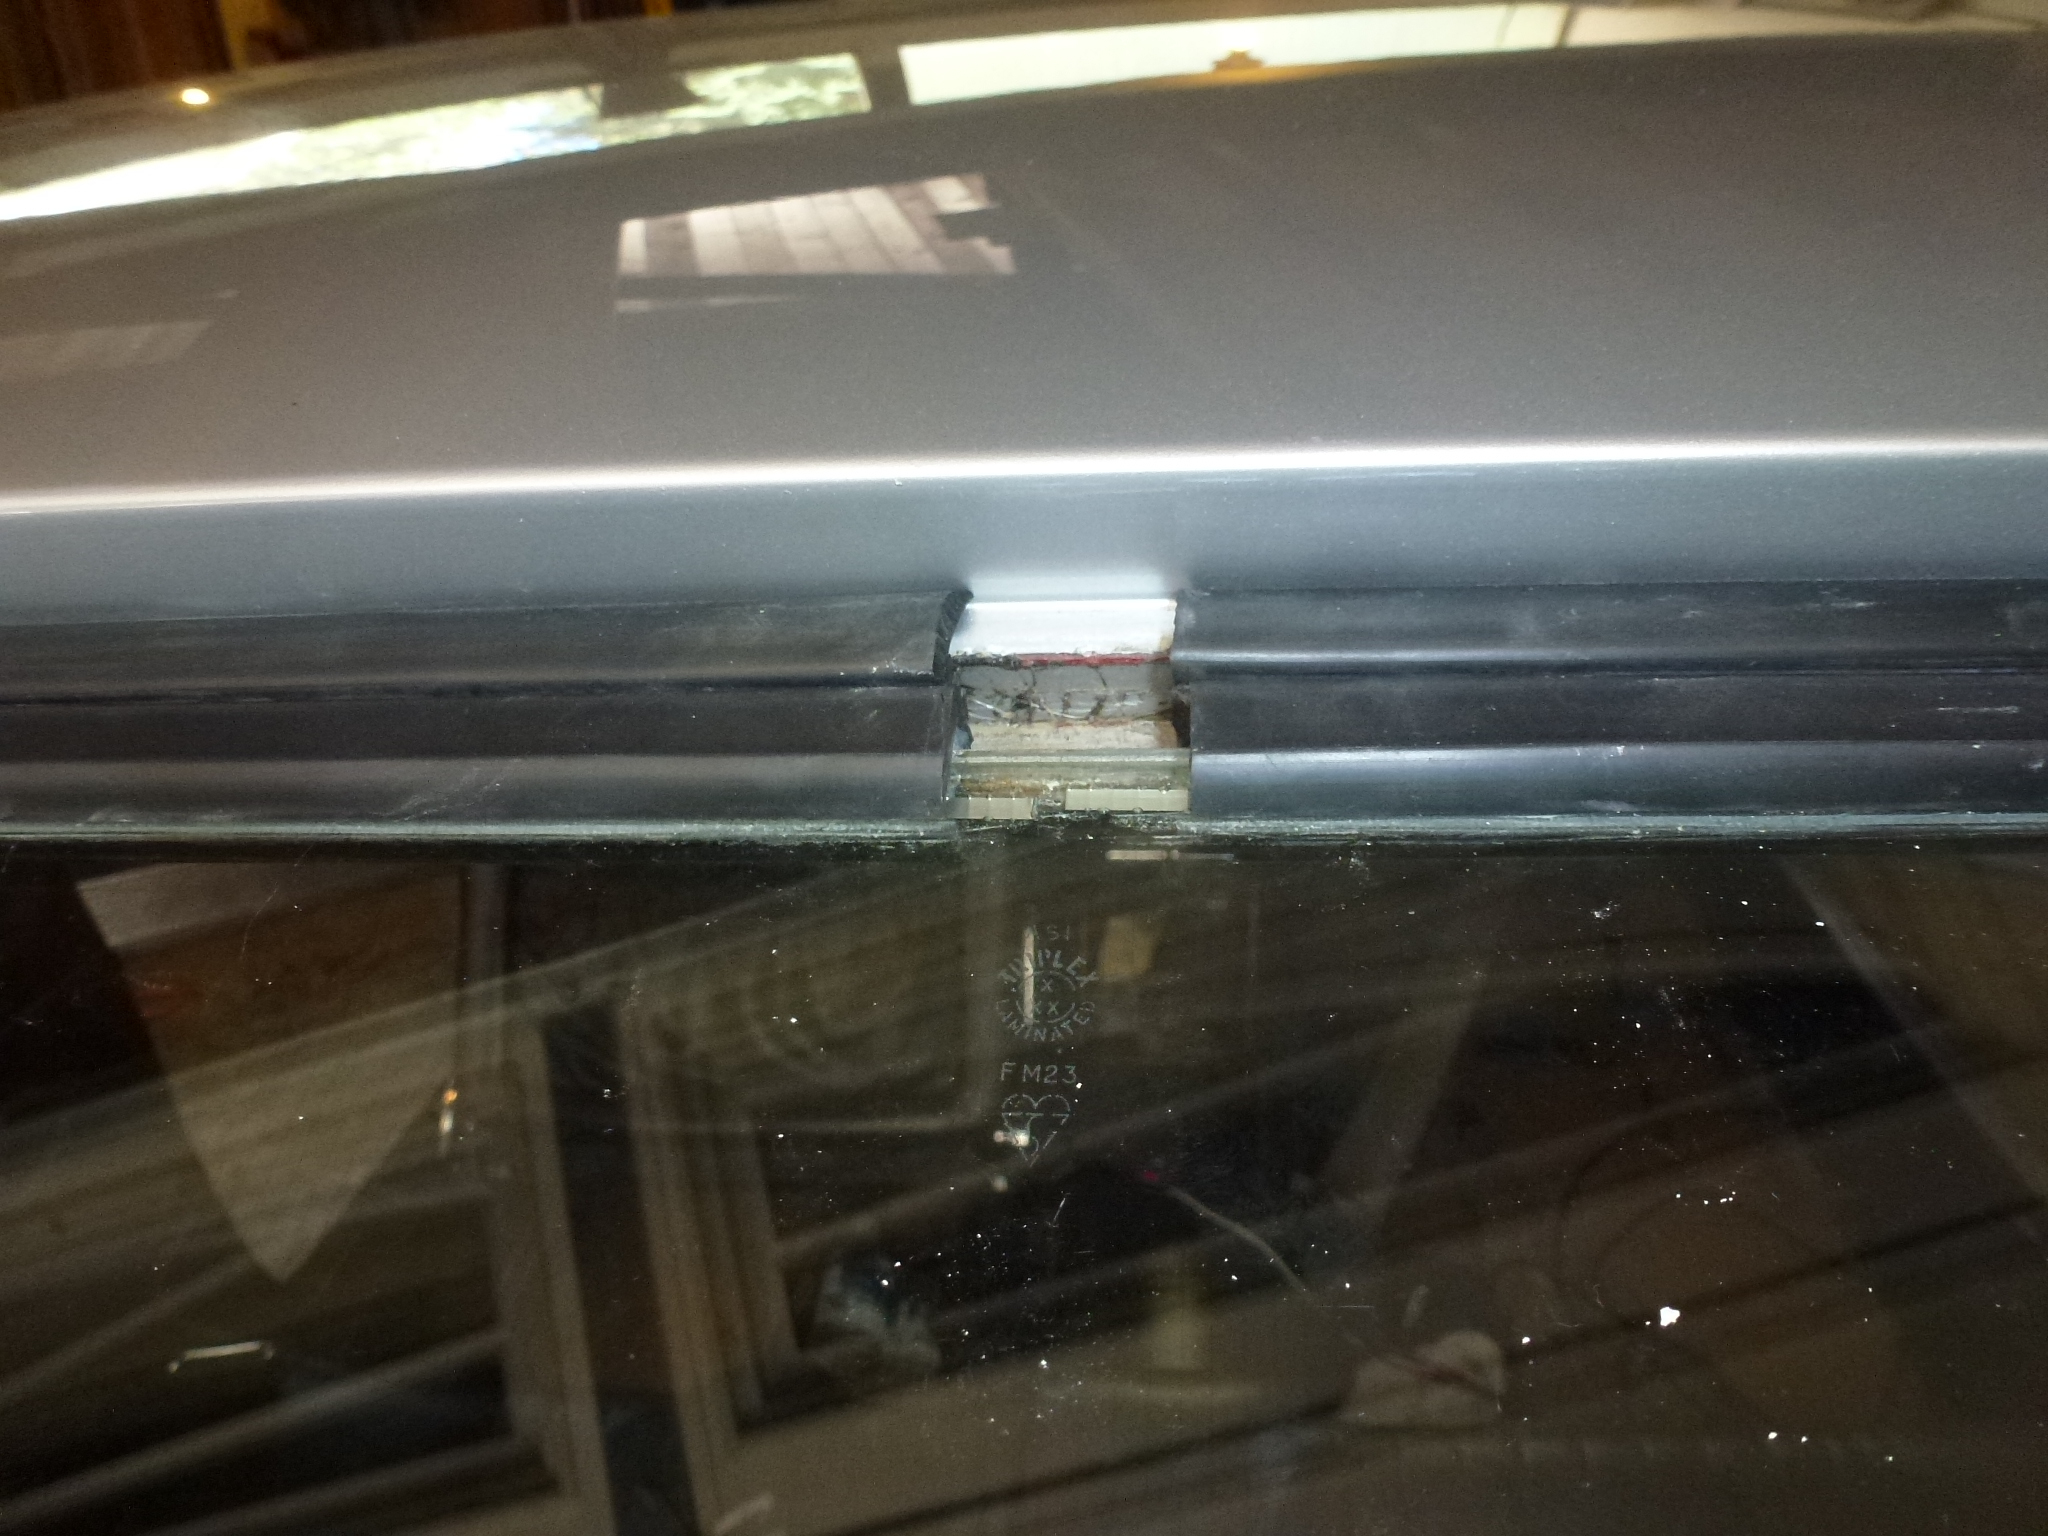
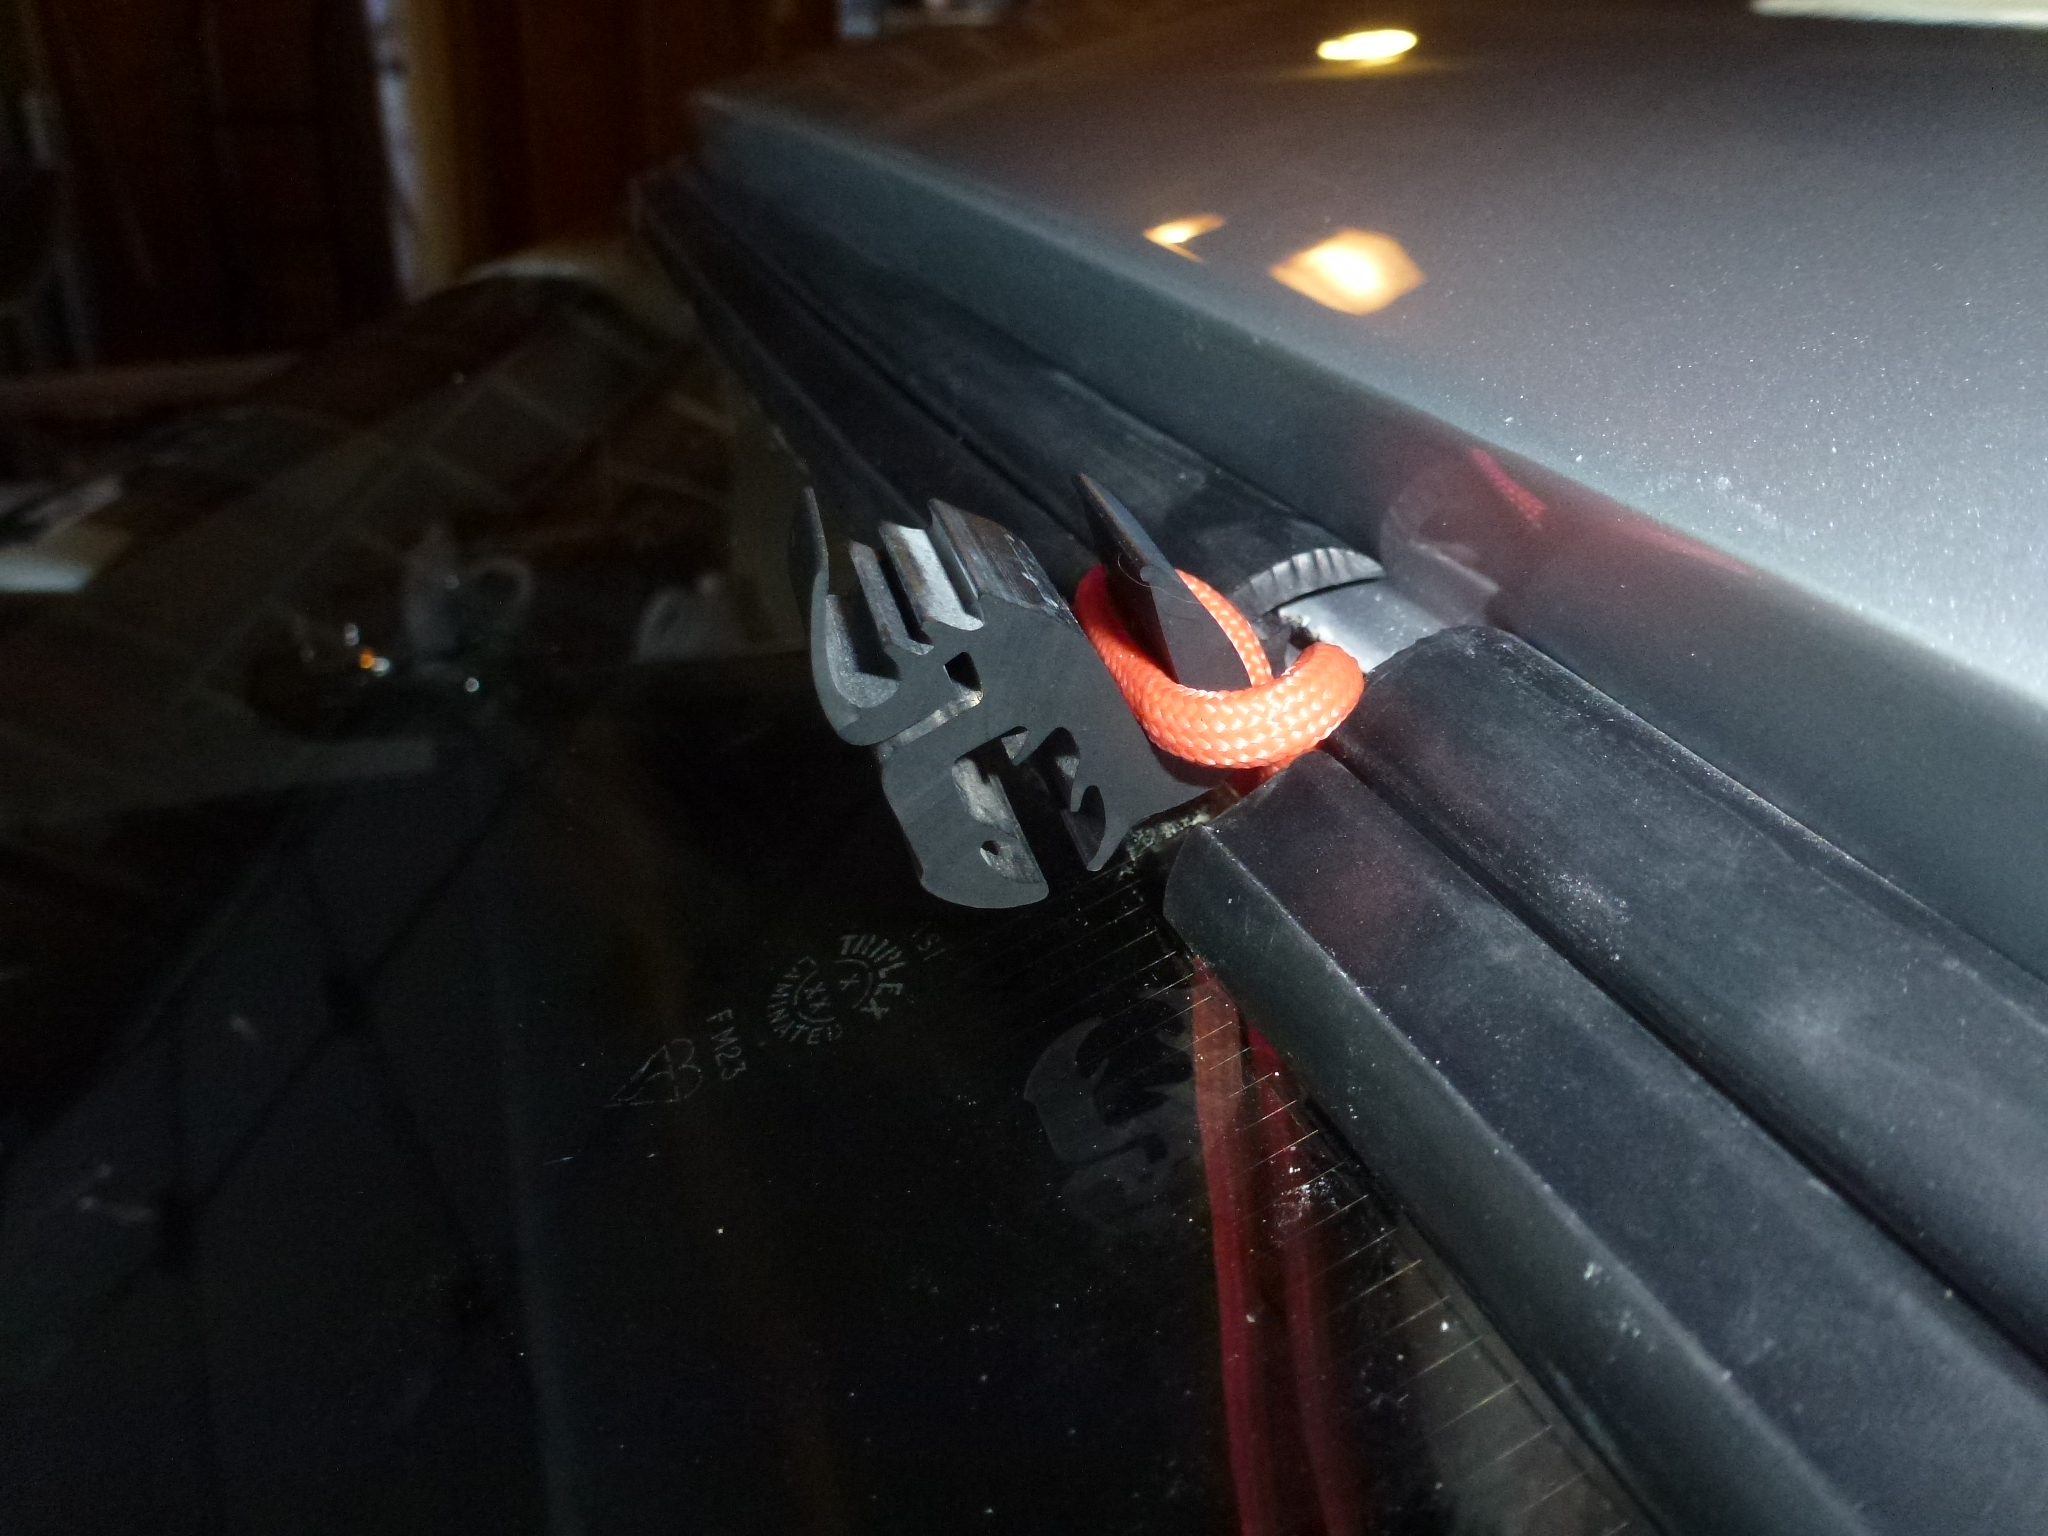
I cut a portion of the old gasket to fit the gap and then with a lot of pushing, pulling, a cord and a hook tool, managed to fit on both the glass and body flange.
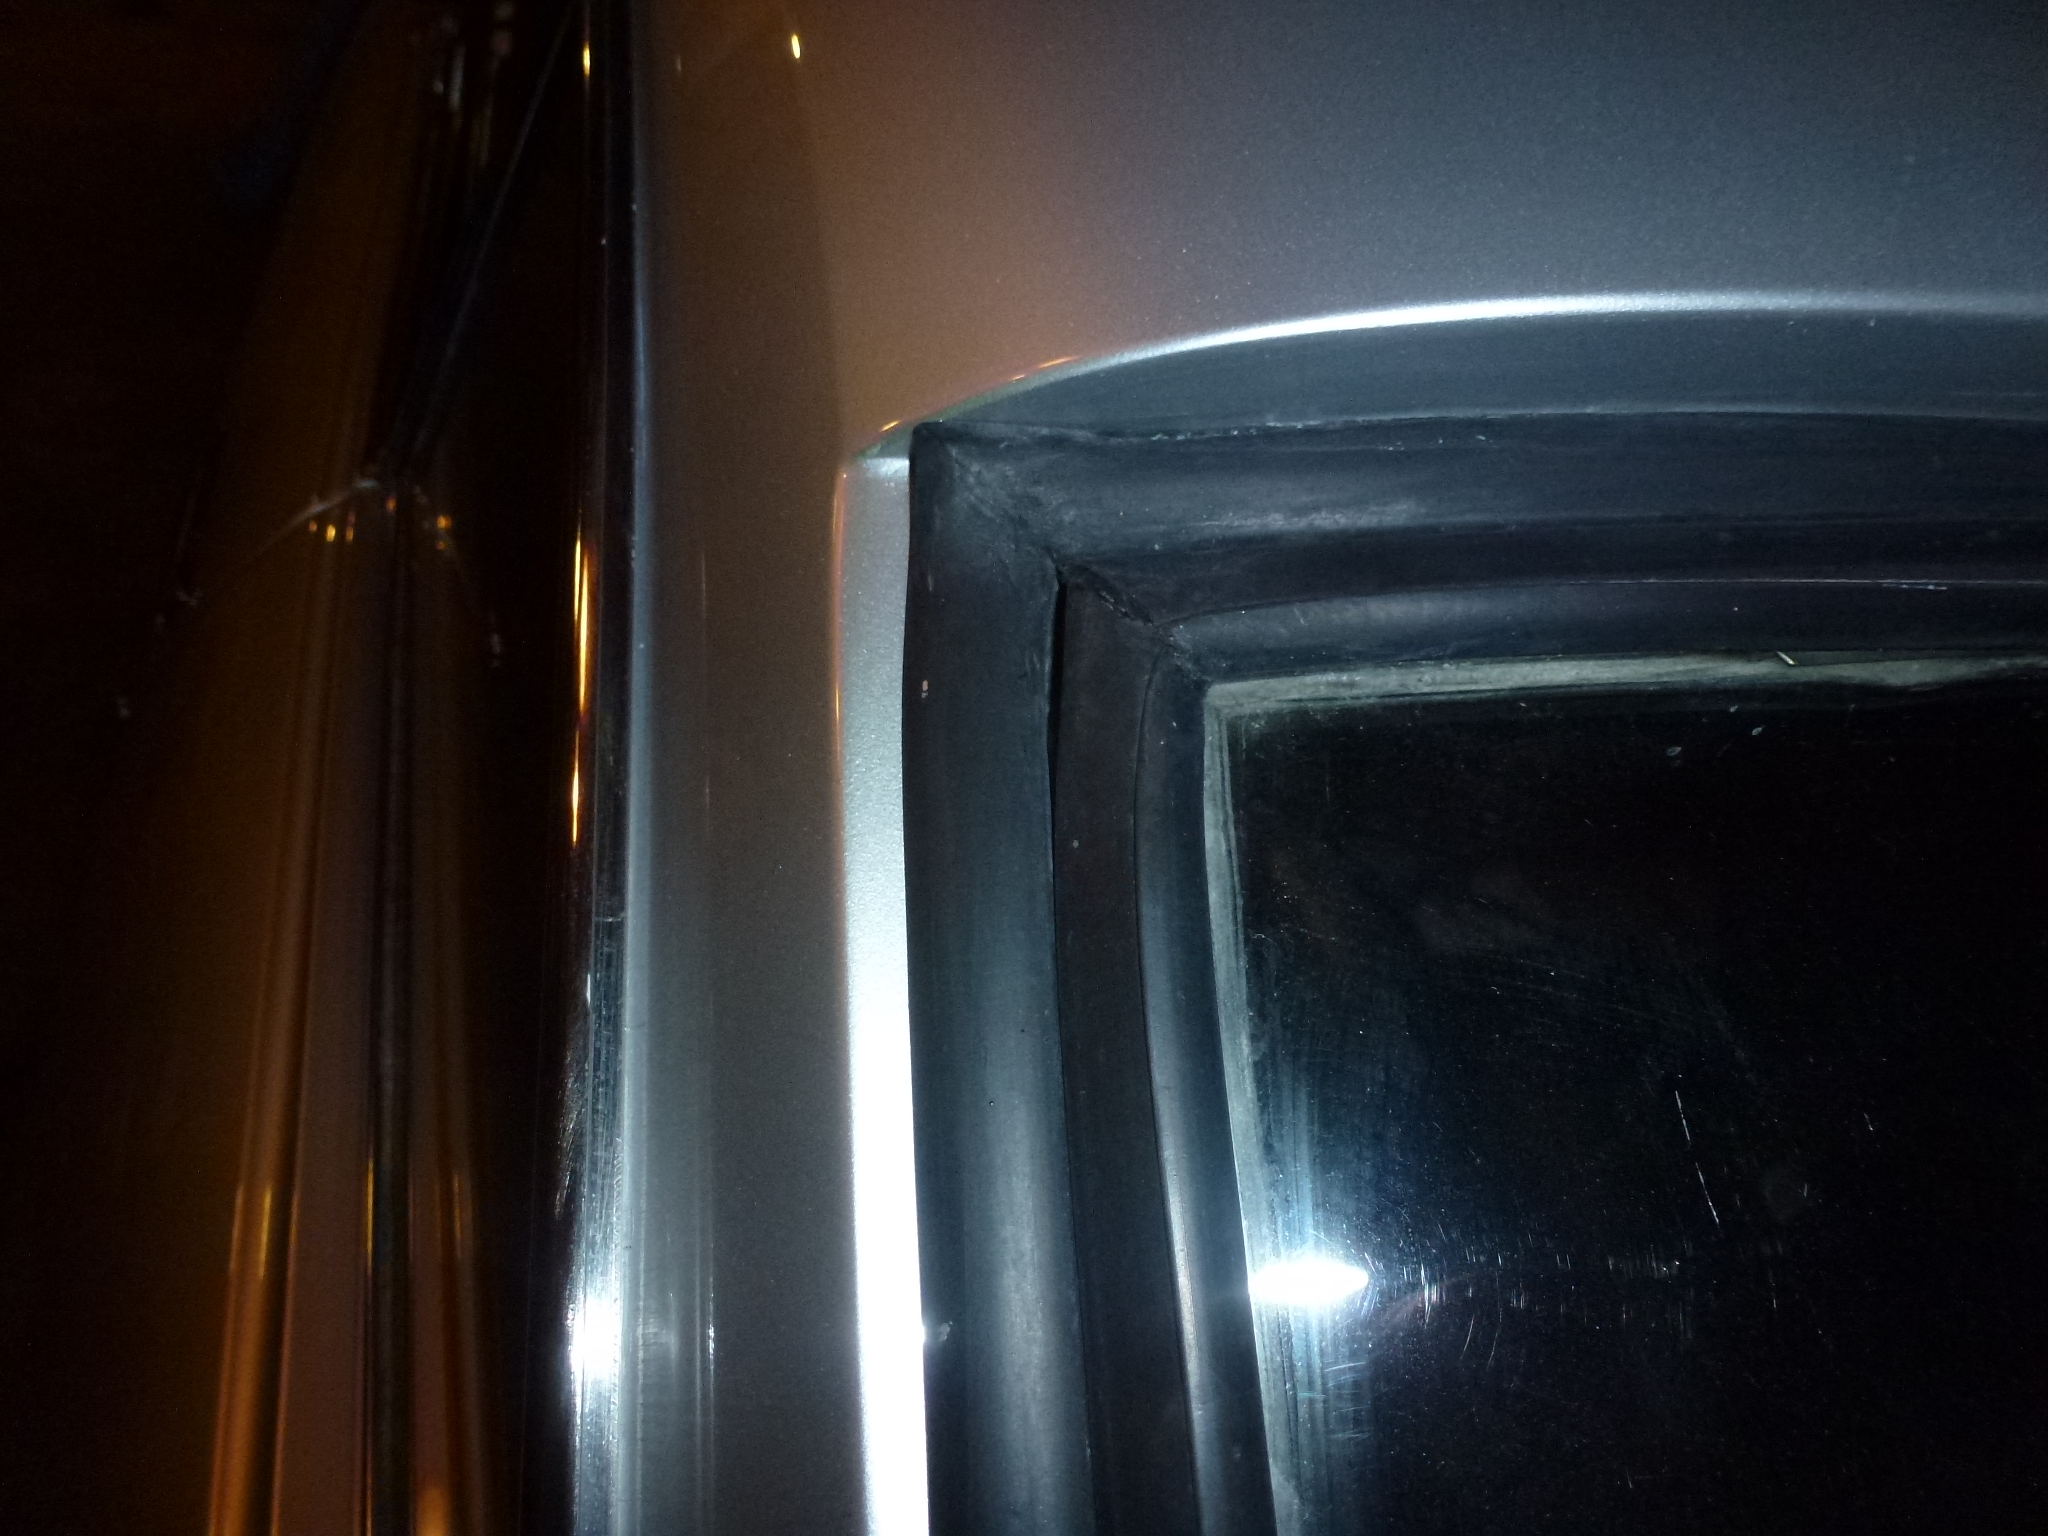
But then it was noticed that the profile of the front gasket wasn't the same as the rear one, even though both had been bought at the same time in the late 70s. So I had to do some trimming and fit in a filler piece along with some black silicone rubber to make it look right. Once the stainless steel trim was installed, you have to look closely to notice the repair.
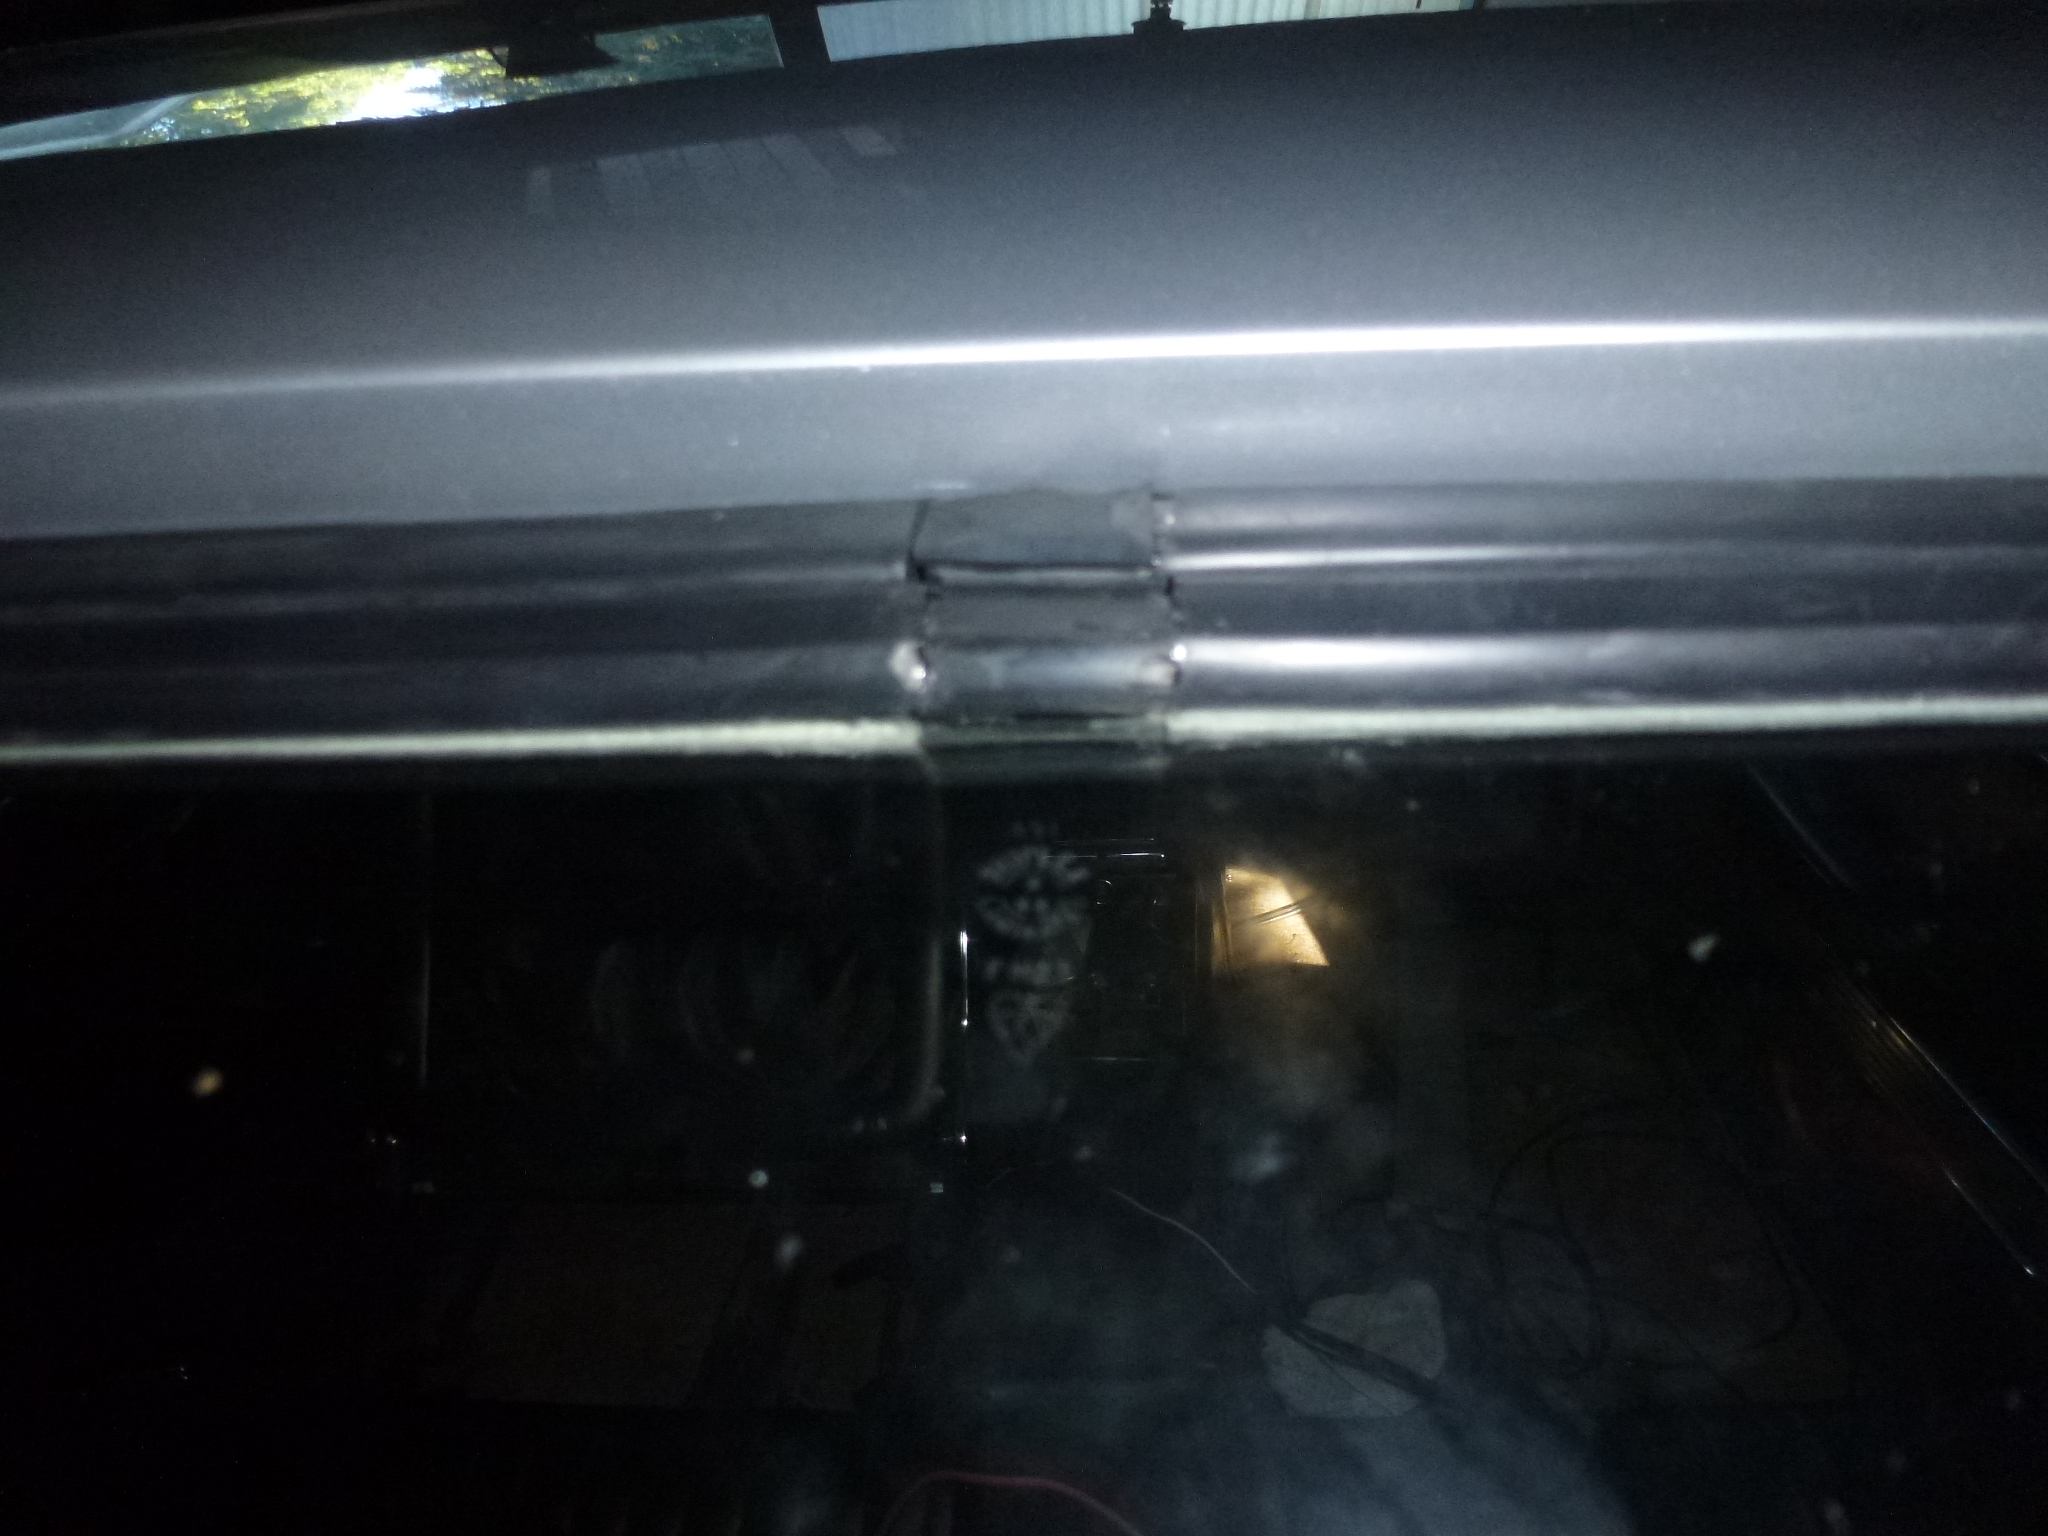
I put the trim back on. I tried to get the top trim to fit the curve of the gasket, but I'm not satisfied with how it came out. I might end up getting a new gasket and do it correctly.
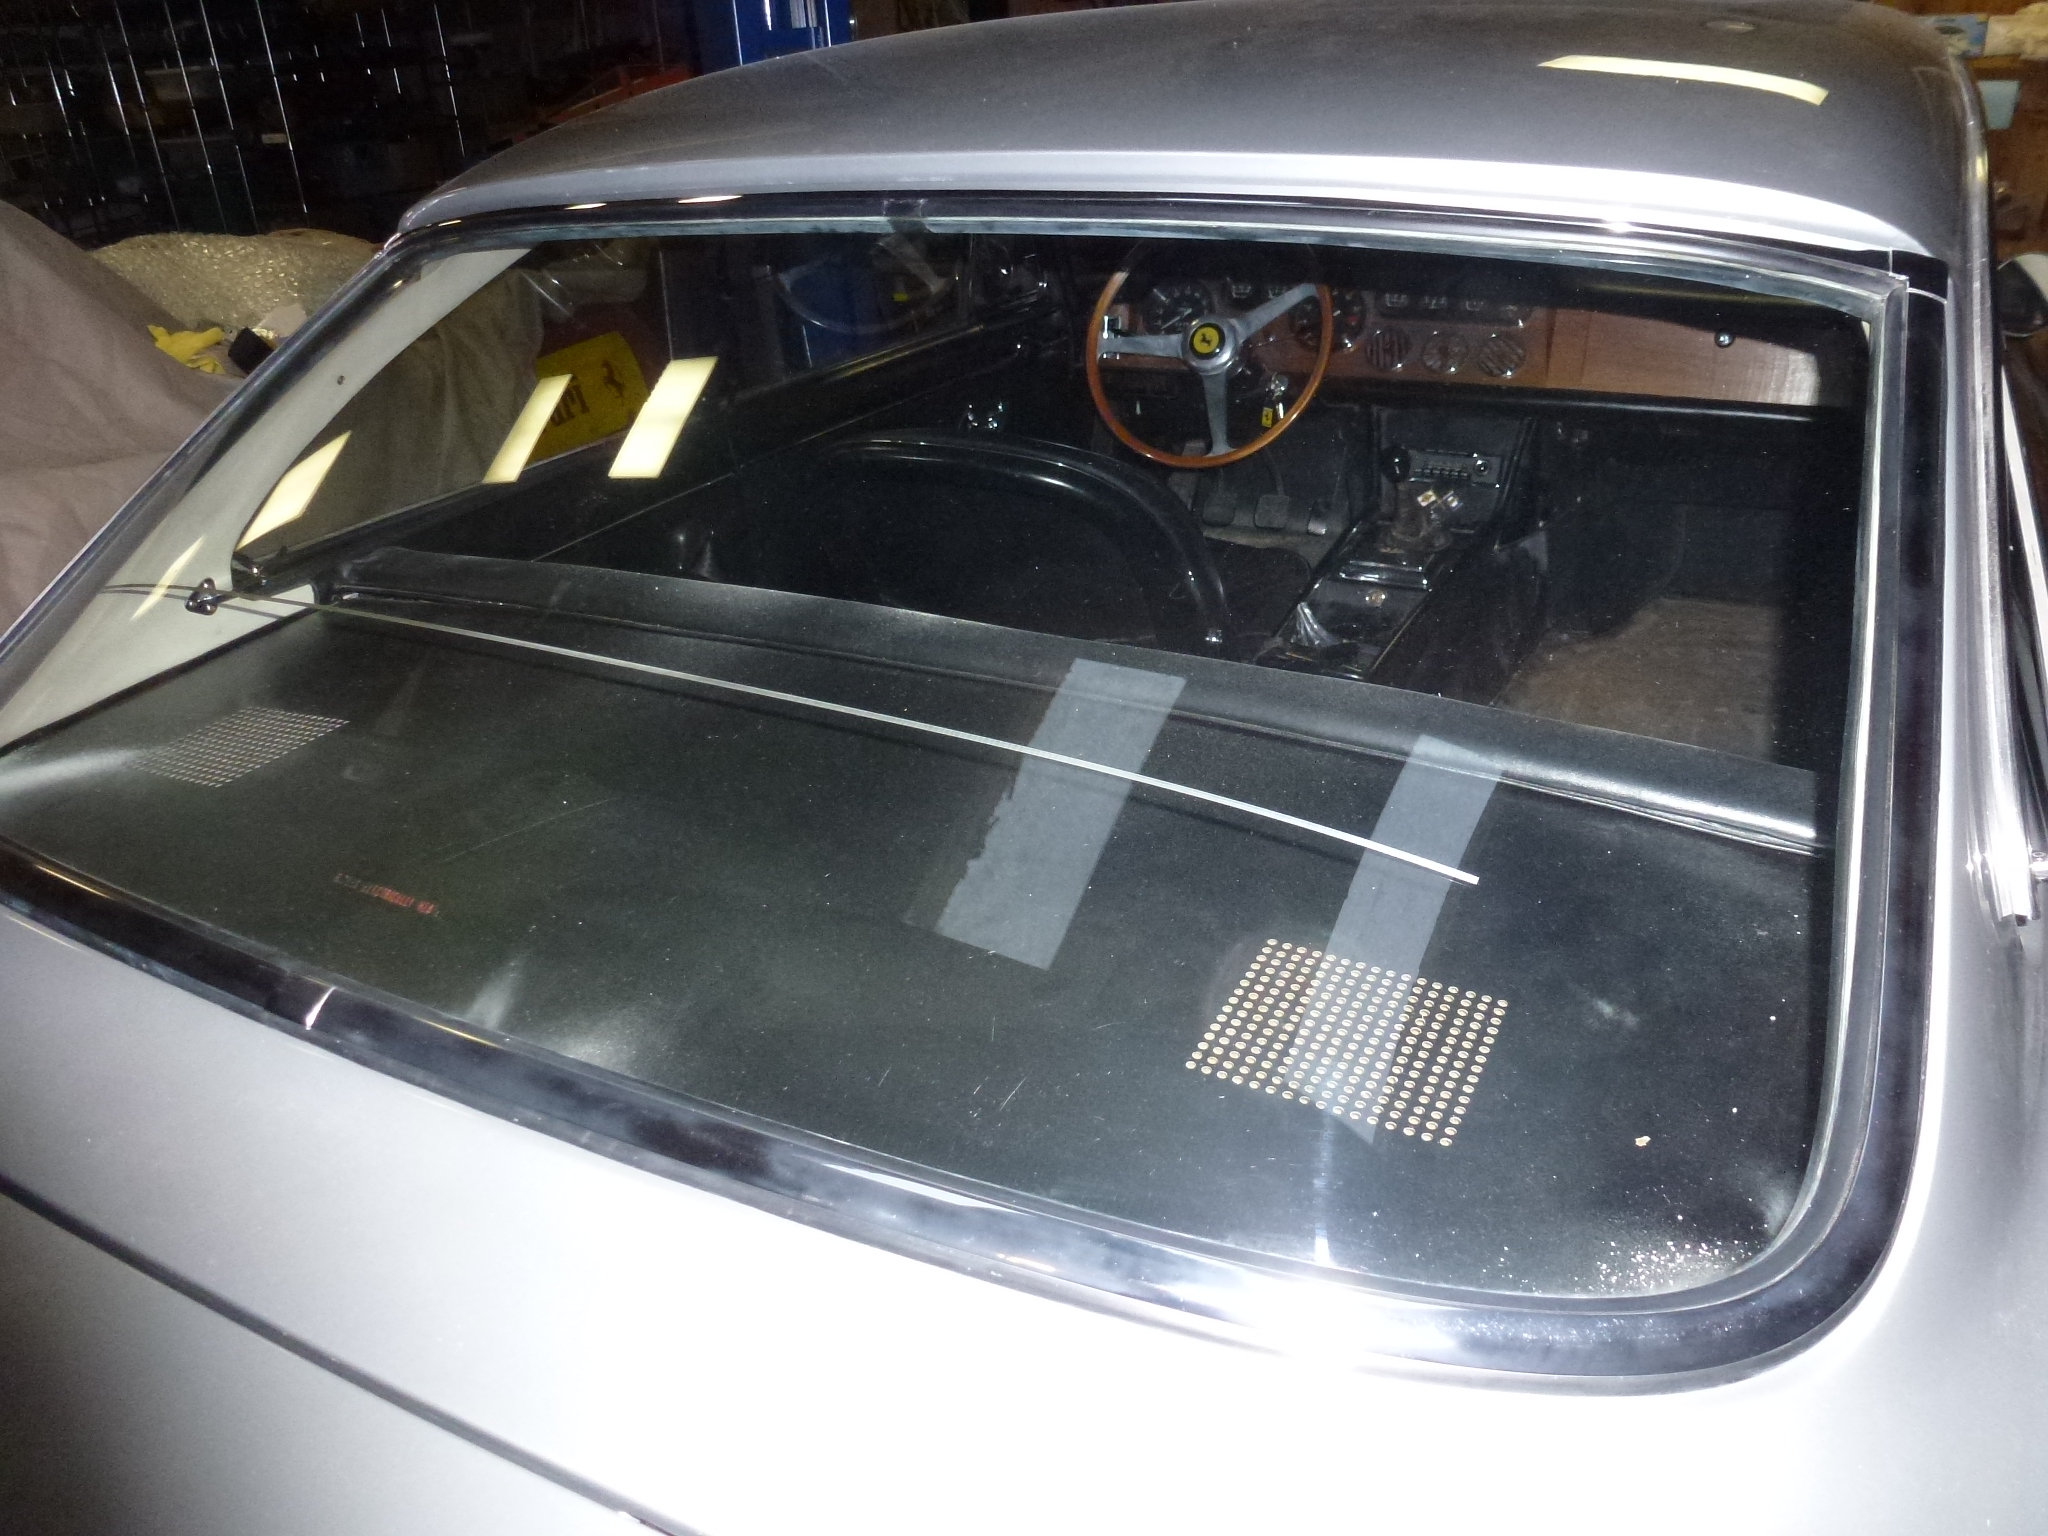
At least now the corners are square now.