Lift in the Shop
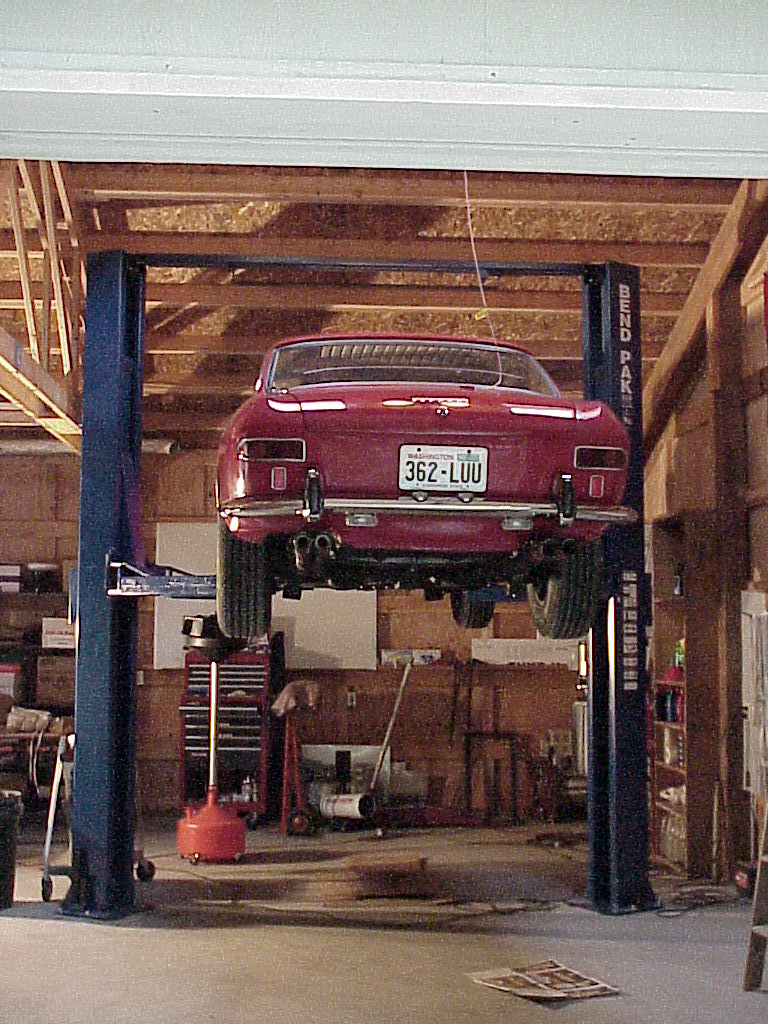
One of the major reasons to build the new shop was to be able to install a lift. I selected a 10,000 pound 2 post asymmetric lift made by Bend-Pak (MX-10AC).
The advantage of a 2 post lift (as opposed to a 4 four post) is that the wheels and suspension are free and clear when the car is raised. On a 4 post lift, you drive on ramps rather than having arms that lift the car. An asymmetric lift has unequal length arms so the car is positioned on the lift so the lift posts are near the front door posts. This allows the doors to be open when the car is on the lift, thus allowing working on the interior (carpet, etc.) with the car raised just to waist height. Further, the posts are angled relative to the car so there is no sharp corner to bang the door into.
I had the lift held at the freight depot as it is quite heavy (~1650 lbs) and cumbersome (12' long). It would have been quite difficult to unload it from a truck since I don't have a fork lift. A friend and I used his trailer to get the lift. I was surprised to find that the two columns and extra boxes were mounted to a metal shipping frame vertically. I has expected them to be strapped to a pallet all on one level. This made chaining it down on the trailer a little tricky since the center of gravity was pretty high and the bases at each end were only about two feet wide. You may ask why I don't have any pictures of this, but I forgot the camera and got so busy when we got back that I forgot to take any pictures then.
Each column weights about 550 lbs, so one doesn't just grab and move them around. We ended up with the heavy ends at the back of the trailer (by luck) and that worked out quite nice. We were able to unbolt the heavy end and support it on a 4x4 sitting across the trailer. My friend also brought his Kuboto tractor so we used it to lift each column end. This put that end about three feet off the floor. Then we unbolted the light end and were able to simply slide the column on the 4x4 down onto the floor and set it upright. Once vertical, you could 'walk' the column around on the cement floor easily. We lifted the second column up onto the 4x4 and set it upright in the same way.
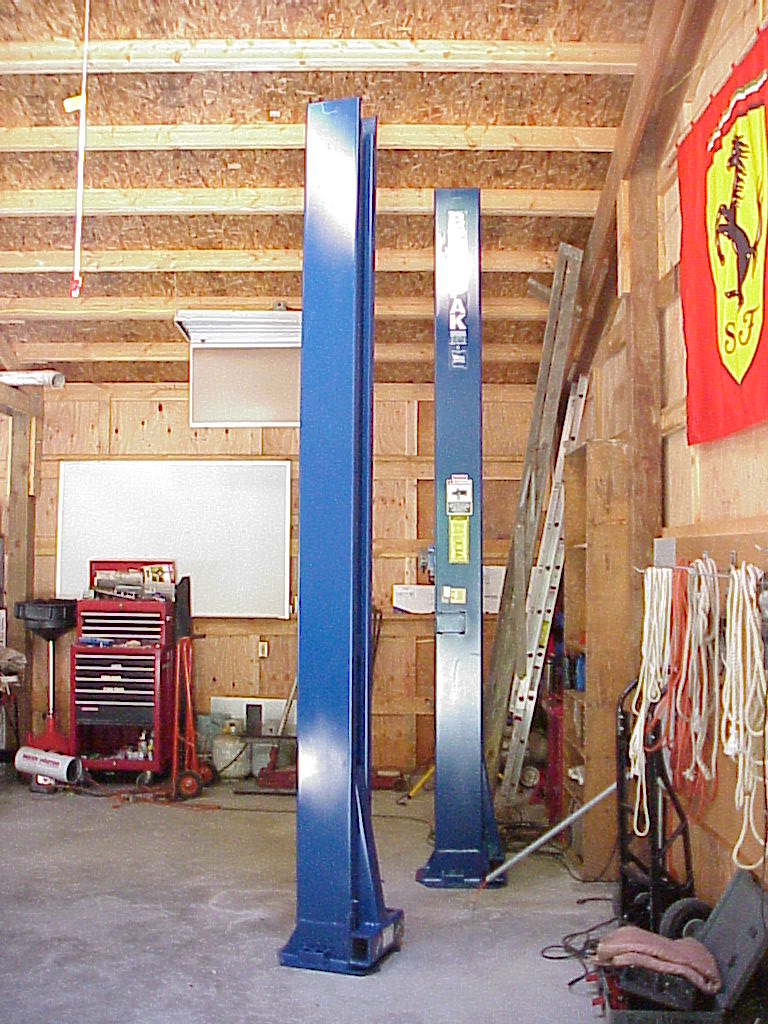
I had already run the wiring for the lift before the floor was poured, so the installation location was already set. Alignment of the two columns is pretty simple. There are two alignment slots cut in the base of each column. You simply chalk a line and measure 11 feet along it. The outside of the columns are set on the 11' markers and the slots aligned over the chalk mark. Then it's simply drilling a dozen ¾" holes into the concrete for the anchor bolts. I borrowed my neighbor's Bosch Roto-Hammer drill and that only takes about 20 seconds to drill the hole down to the 5" needed for each anchor bolt. Some shims (provided) were necessary to get each column plumb as the concrete floor wasn't perfectly level and flat.
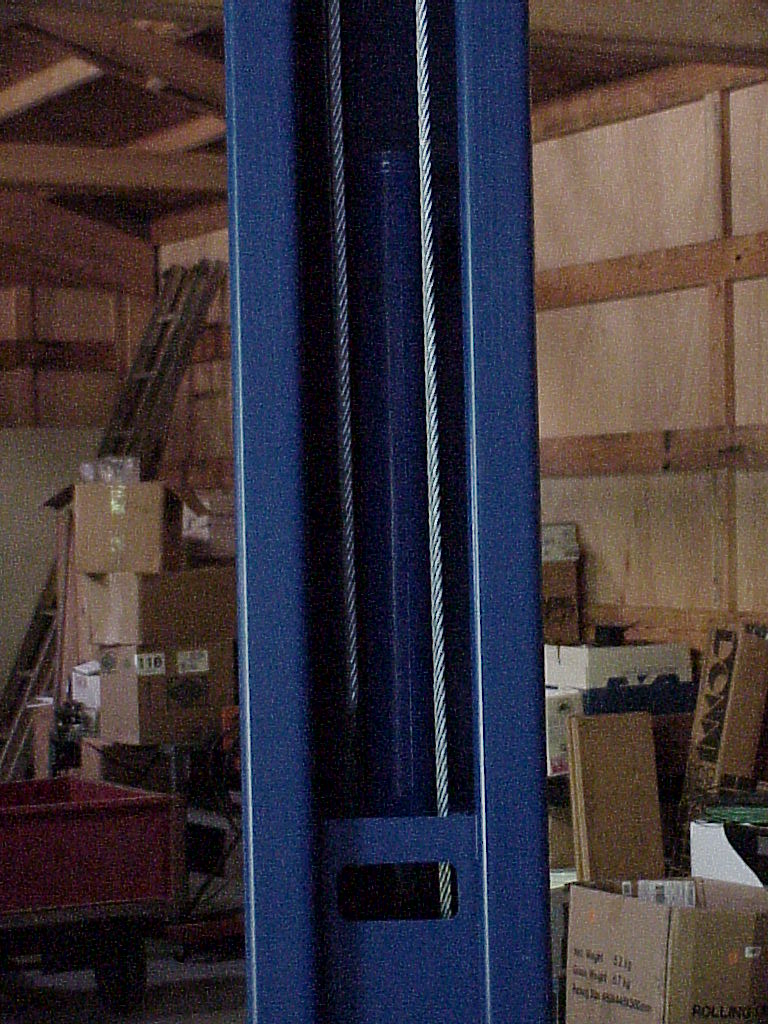
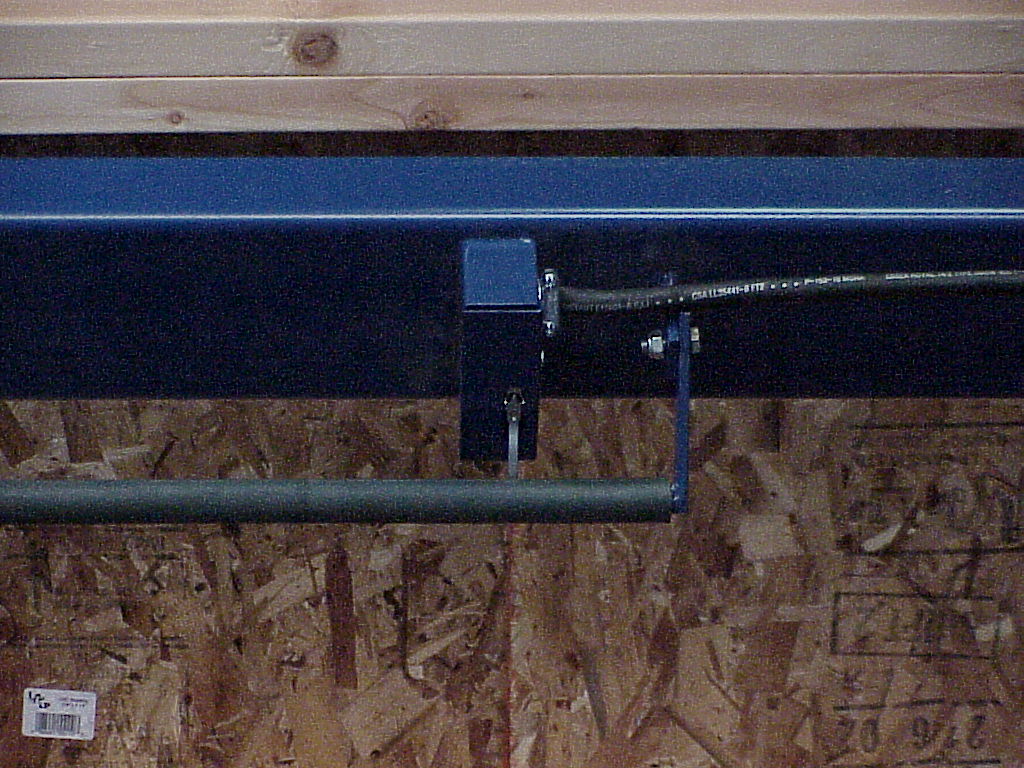
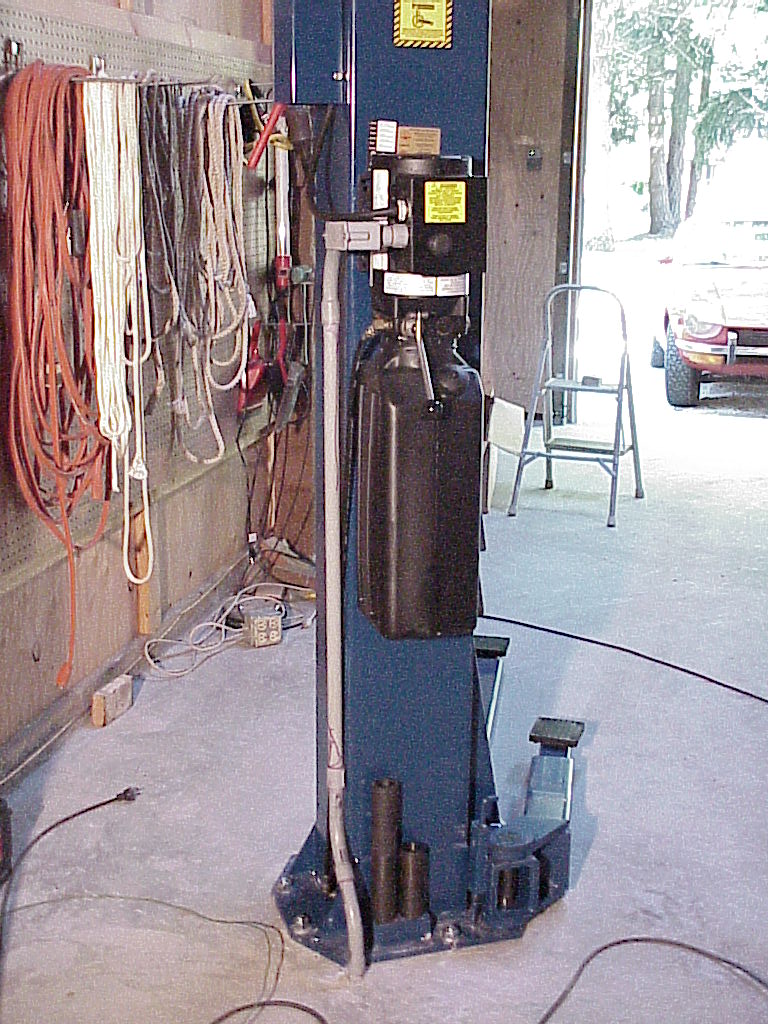
Once the columns were up, the next step is to put the support header at the top between the two columns. Next is the safety latches and cabling between them. Then you install the hydraulic pump, cylinders and hoses. After that, you put in the equalizer cables. These keep each side of the lift raising and lowering evenly even though the car might be heavier on one side.
The next step is to install the safety shutoff switch that prevents the car top from being raised into the support header. I wish that the instructions had said to put this together before installing the header. It would have been a lot easier to have done it with the header on the floor rather than from a ladder 12' in the air.
Then there was the wiring, filling the hydraulic reservoir and bleeding the system. To bleed the system, you run the lift to the top, lower it about half-way and release any air at the top of the pistons. The lowering was interesting. Without the arms, the lift won't lower on its own. First I was pulling down on each side, releasing the hydraulic pressure, and then doing it again and again. I was getting pretty tired. I looked at installing the arms, but they are quite heavy and with the lift several feet high it would have been very difficult to do. Eventually I figured out that I could climb a ladder, stand on the one side and push the release lever with a foot and the lift would lower slowly. I also had to disable the safety latch as I was out of feet to push that lever too.
The final steps were to attach the lifting arms and grease and oil all of the moving parts.
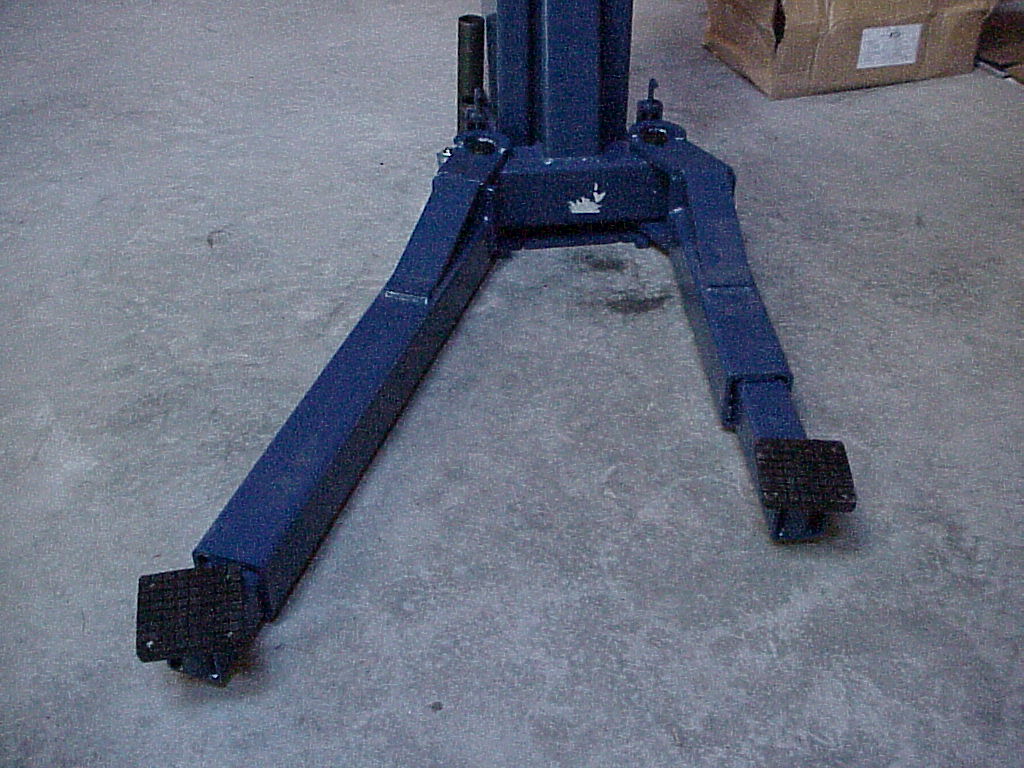
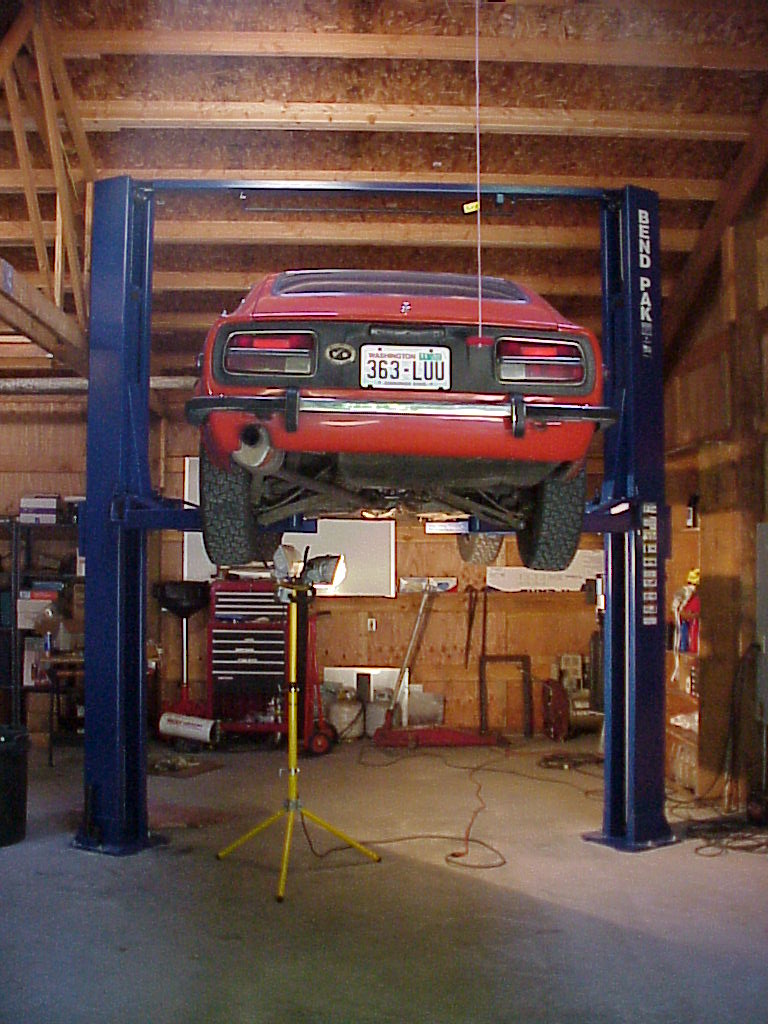
Of course the final test was to lift a car. I picked the lightest (and cheapest) one I have, my '72 240Z. In the matter of 30 minutes I fixed two problems. There has been a noise like a loose part from the left rear on right hand turns. That turned out to be the exhaust being too close to the fender. Loosening all of the brackets and re-adjusting the muffler solved that one. The other was a lot of dirt and oil up near the rack and pinion. The rubber boot on one end of the rack had partially come off of the rack and was letting grease escape. I spent more time cleaning up the mess than wiring the boot back on.
Now for the Ferrari.
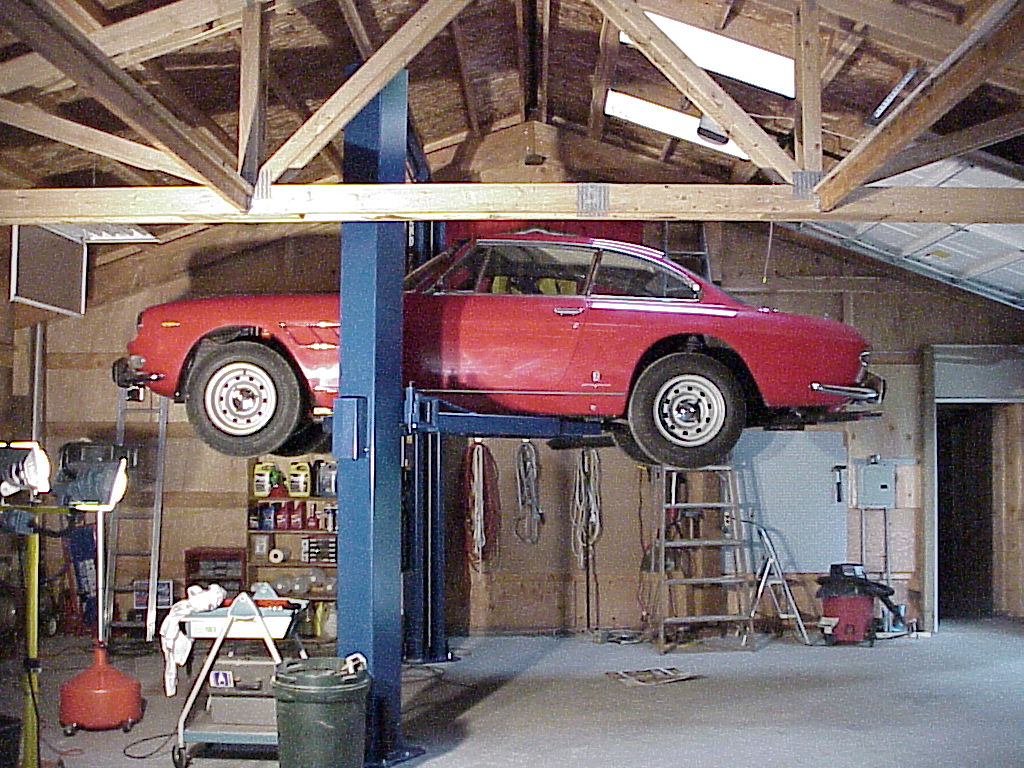
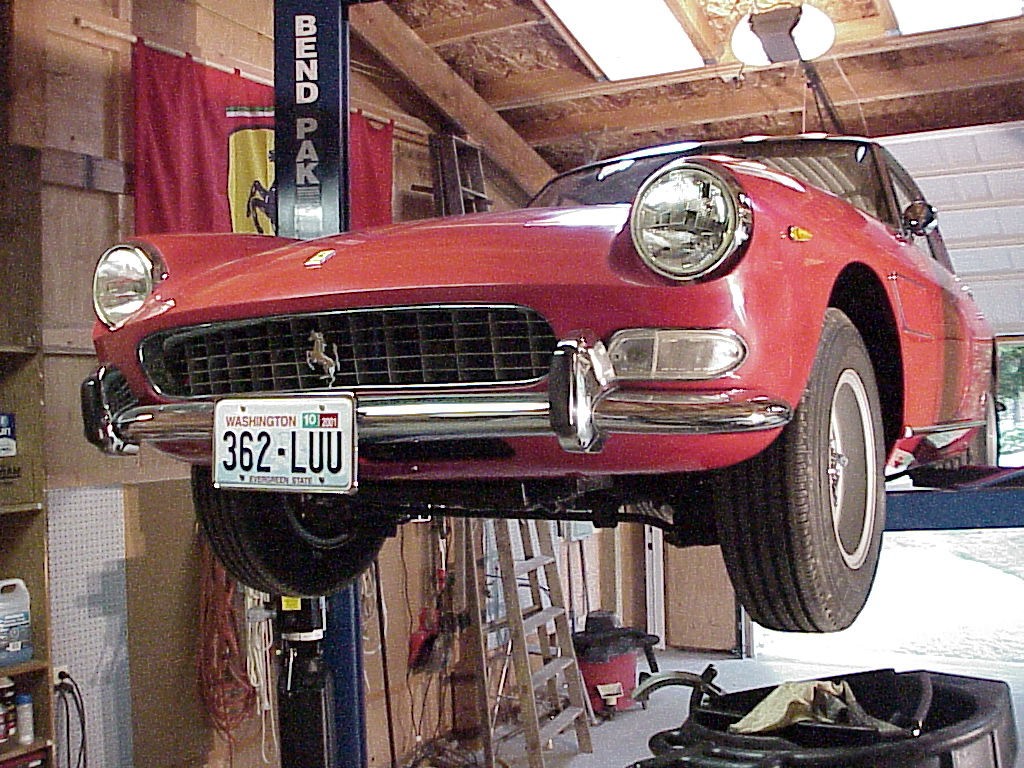
No major surprises although this is the first time that I've ever been able to get under the whole car without being on my back with almost zero clearance between my chest and some greasy part. I did find a worn tie rod end that I'll have to replace.
The final item for the shop was to resolve the heat situation. I added a wood burning stove.
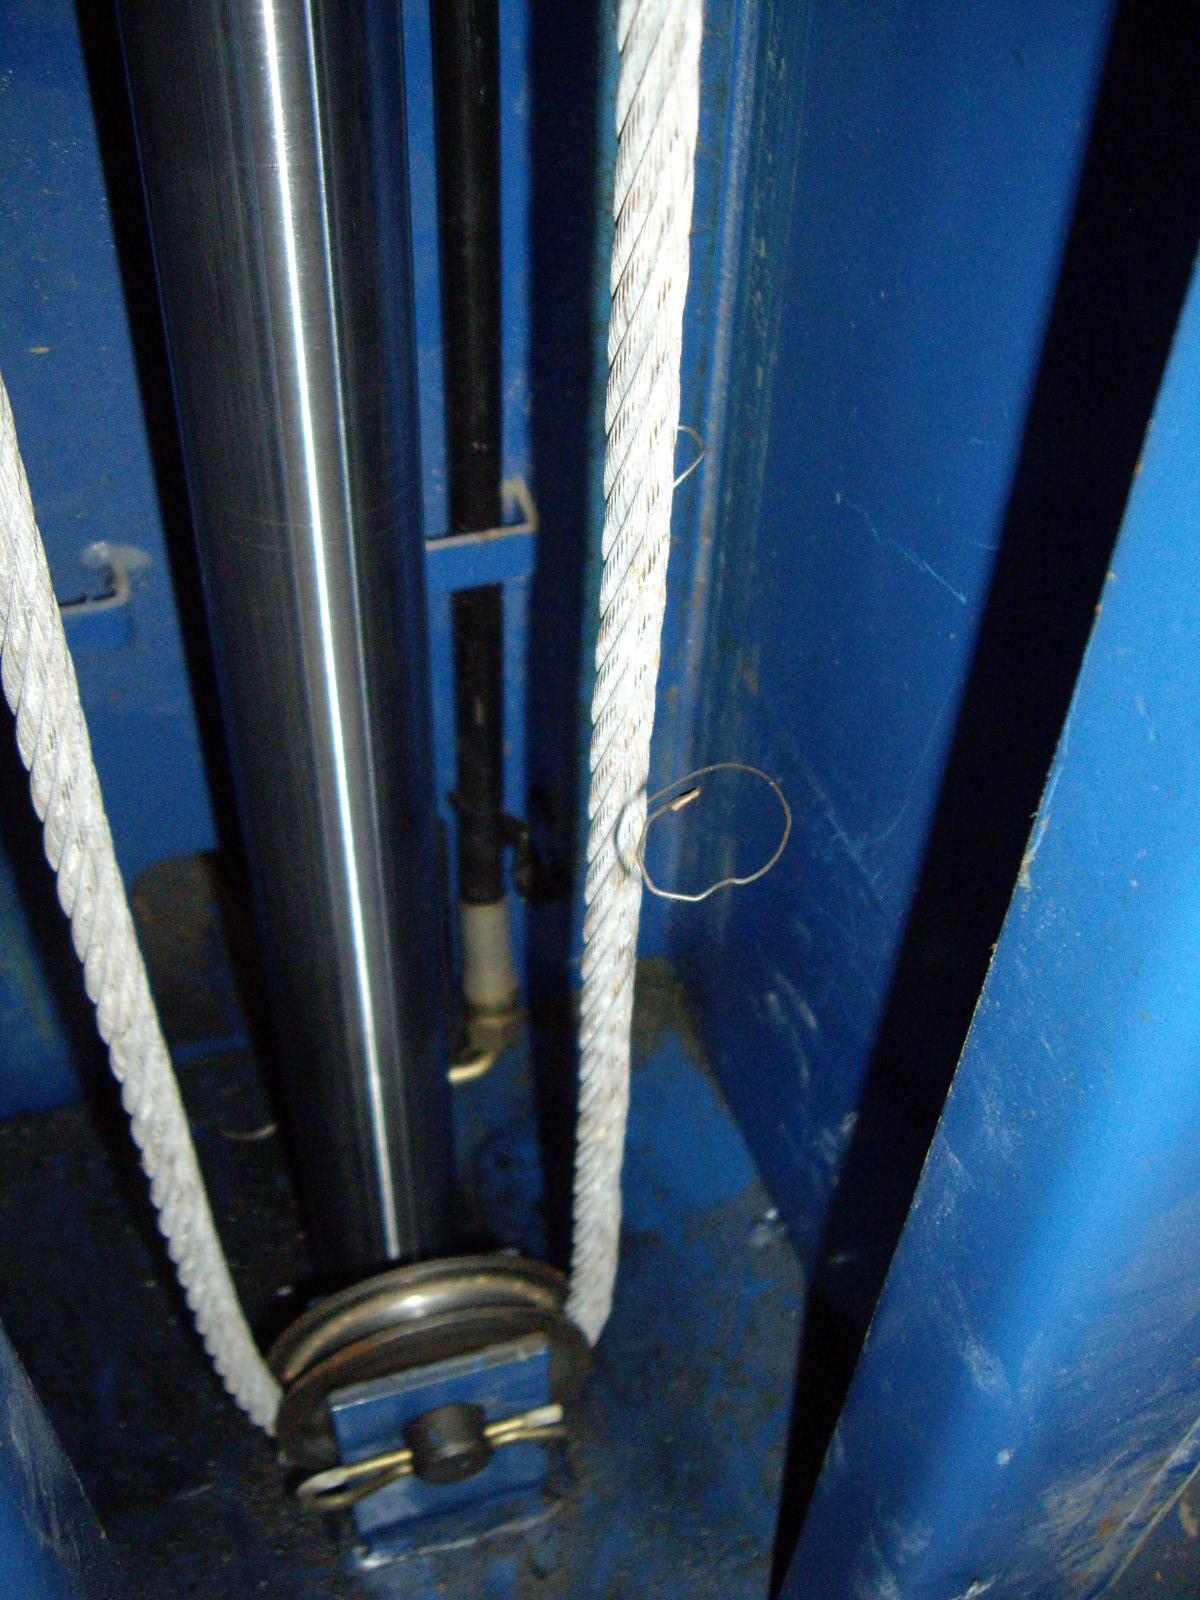
It's been about 6 years since I installed the lift and I've noticed that it isn't working as well. The concrete floor was slightly uneven and one long arm has always drug when trying to swing it under a car. Then I've noticed that the two mechanical stops weren't clicking at the same time. So I took some time to check everything over. The mechanical stop issue was an uneven tension in the two cables. In checking for this, I noticed that the more stressed cable had broken a couple of wires, so I've ordered a replacement.
The arm issue turned out to be a difference in the level of the two long arms when measured across the lift. In checking further, the one arm had more play around the pin, so it would sag lower that the other side.
To cure this, my neighbor Mike and I took the arms off and welded in beads on the inside edge on the top and the outside edge on the bottom of the holes. Then we took a die grinder and carefully enlarged the holes where we welded until the pin just fit through. This made the pin fit much tighter and cocked the arm so it was more level instead sagging as much.
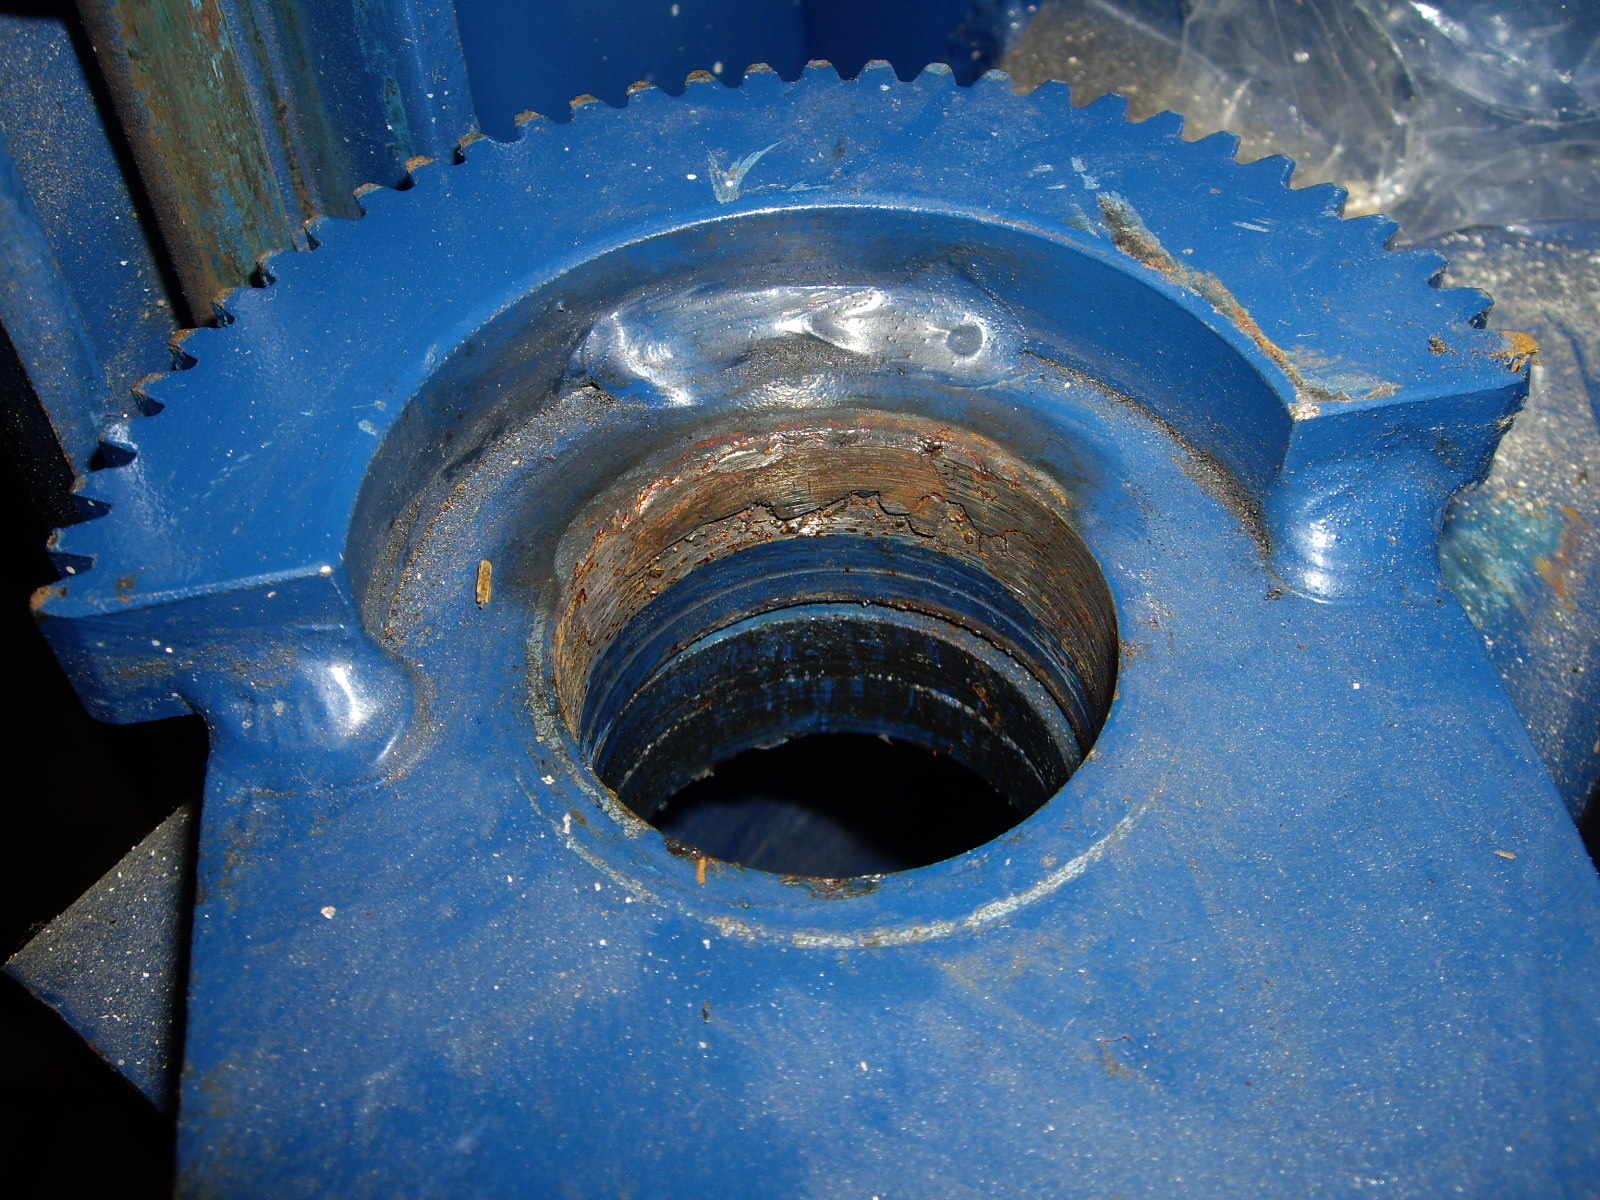
The end result brought both of the arms level with each other and the one arm no longer drags on the cement when trying to swing it under a car.
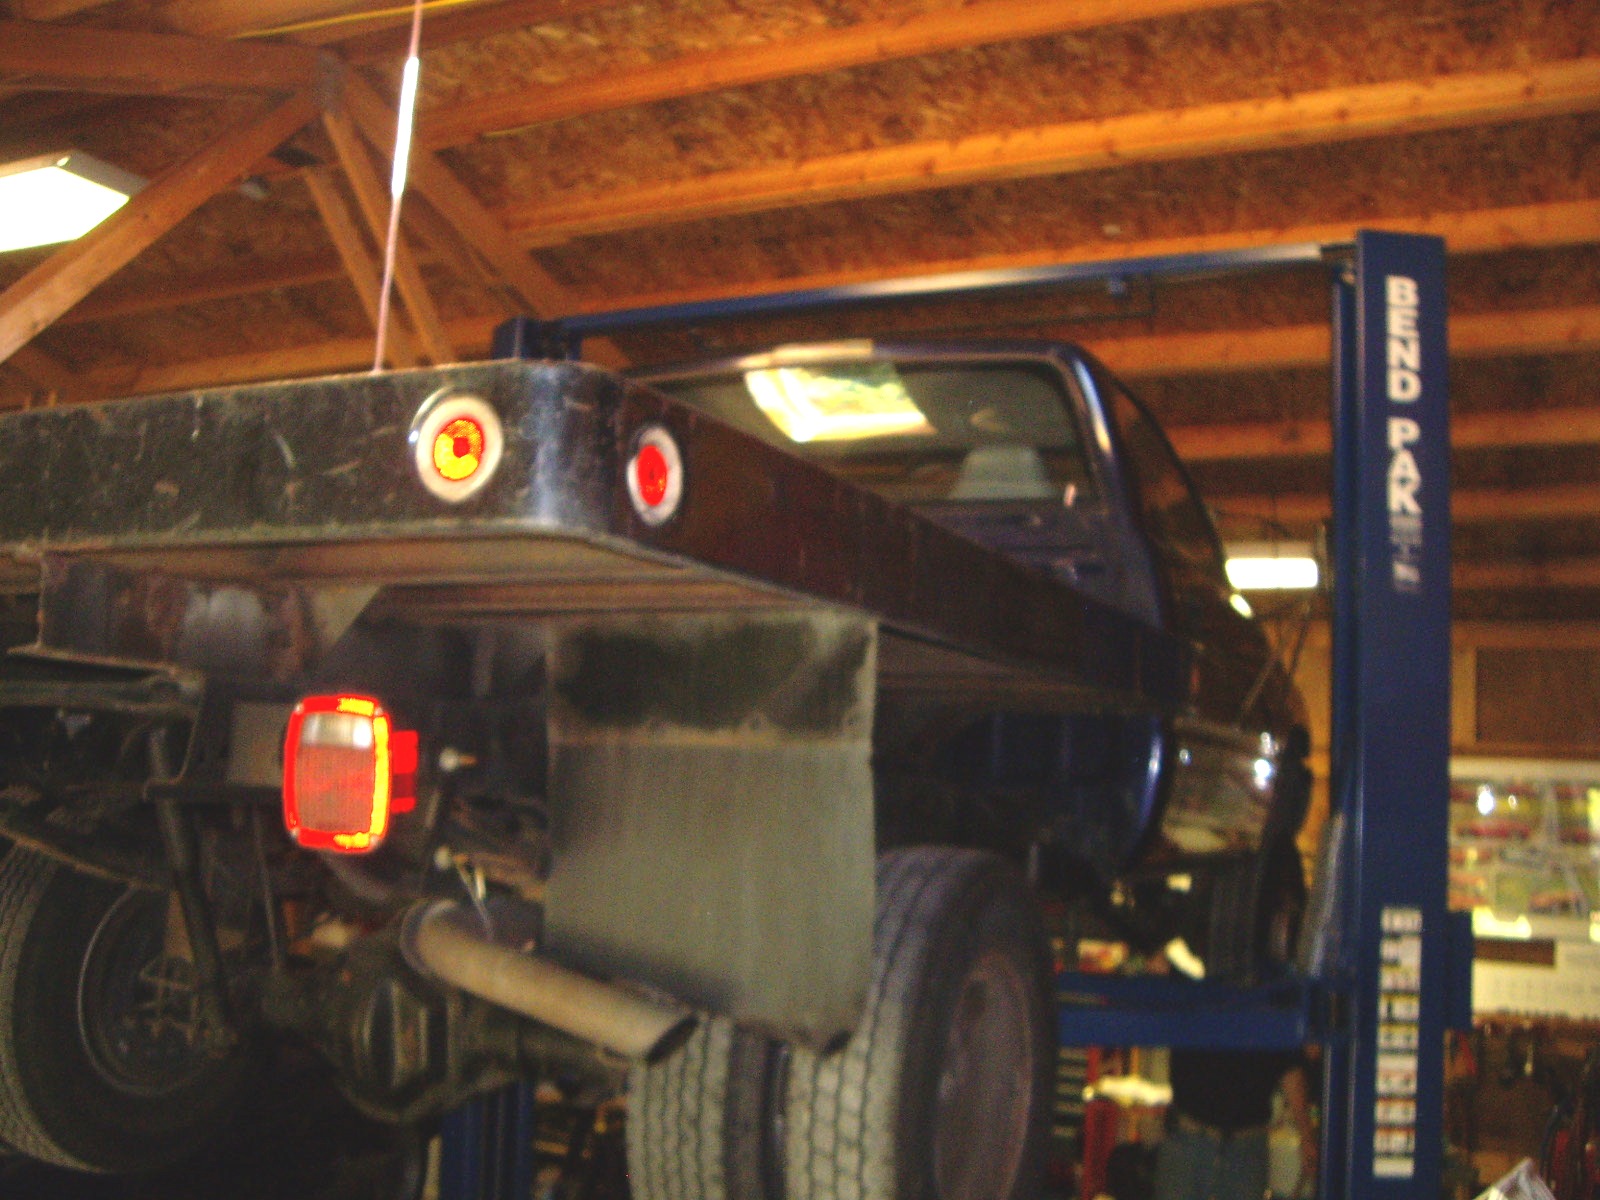
I received a new wire rope from Bend-Pak to replace the bad one. It cost about 10% of the original cost of the lift! In the process of installing it, I had to remove the lower pulley as the wire end fitting was larger than the old one. That really wasn't a problem except that the pin removal requires getting the hydraulic piston up and out of the way as it was fit in from the rear. I thought that was a stupid design and couldn't see any reason why I couldn't install it from the front (of course, I didn't look at the installation manual). It fit in and as long as I was working on the lift, I decided to swap around the pin on the other column too. Got everything back together and adjusted the wire ropes for tension. Then I lowered the lift to the bottom to make sure that the arms still cleared properly. The arms stopped about 2" from the floor. Well, there was room for the pin and clip to clear the piston, but the cylinder needs to go clear to the bottom too and it hit the pin. So I had to loosen the wire rope, get the piston out of the way, and swap the pins back around like they were originally. Once that was done and the tension adjusted again, the lift is now working better than it ever did. The final test was taking a look at the underside of my neighbor's new dually flatbed.
After 8 years of jockeying cars around, I added a 4 post lift for storage.
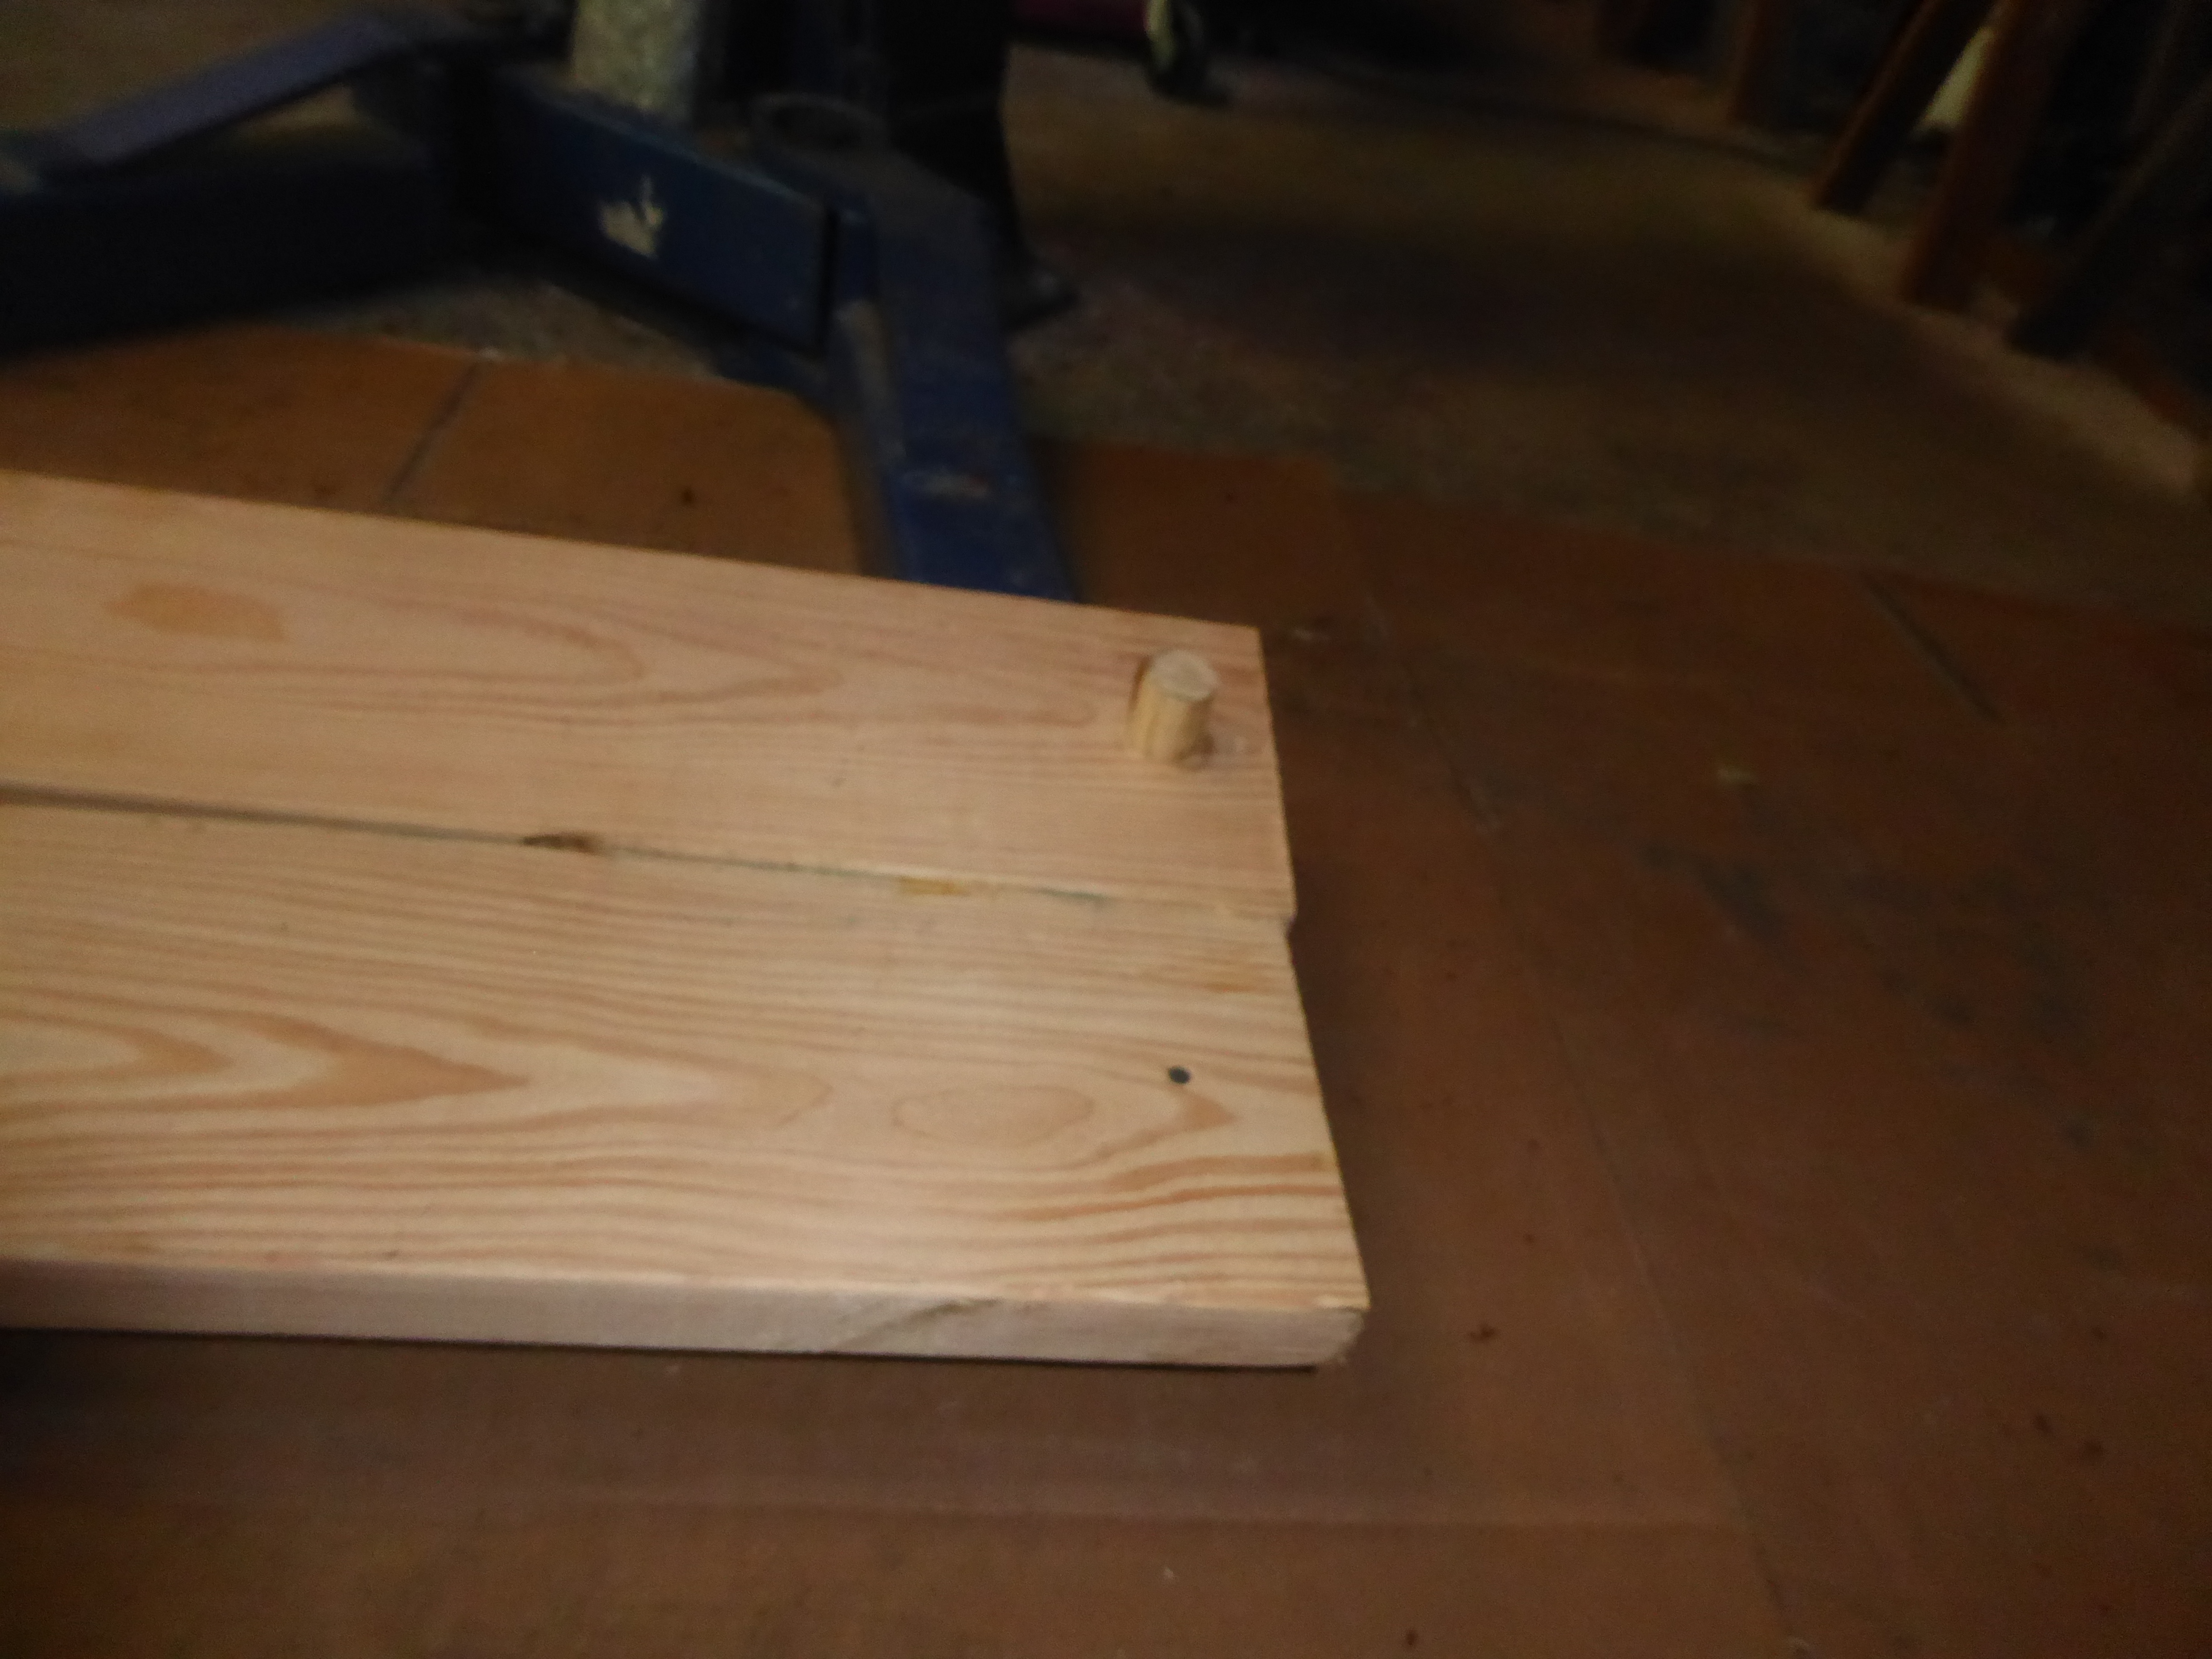
After spending 30 minutes laying on the ground removing a chunk of wire that had gotten wrapped around the ride-on mower blades, I got to thinking about a better way to work on the mower. After determining that the arms would swing and extend far enough to support the mower, I decided to make a drive-on ramp for the 2 post lift. I got a 10' piece of 2x8 and some 1¼" dowel. This made two 5' pieces and the dowels were fit into drilled holes at each end and then screwed in place. Once the ramps are fit into the arm holes and parallel with the proper distance apart, the only other issue was that the ramps were about 5" above the floor, too far for the mower to drive up. However, I have some 3x12 ramps I made that are needed so the 308 is high enough for the arms to swing under.
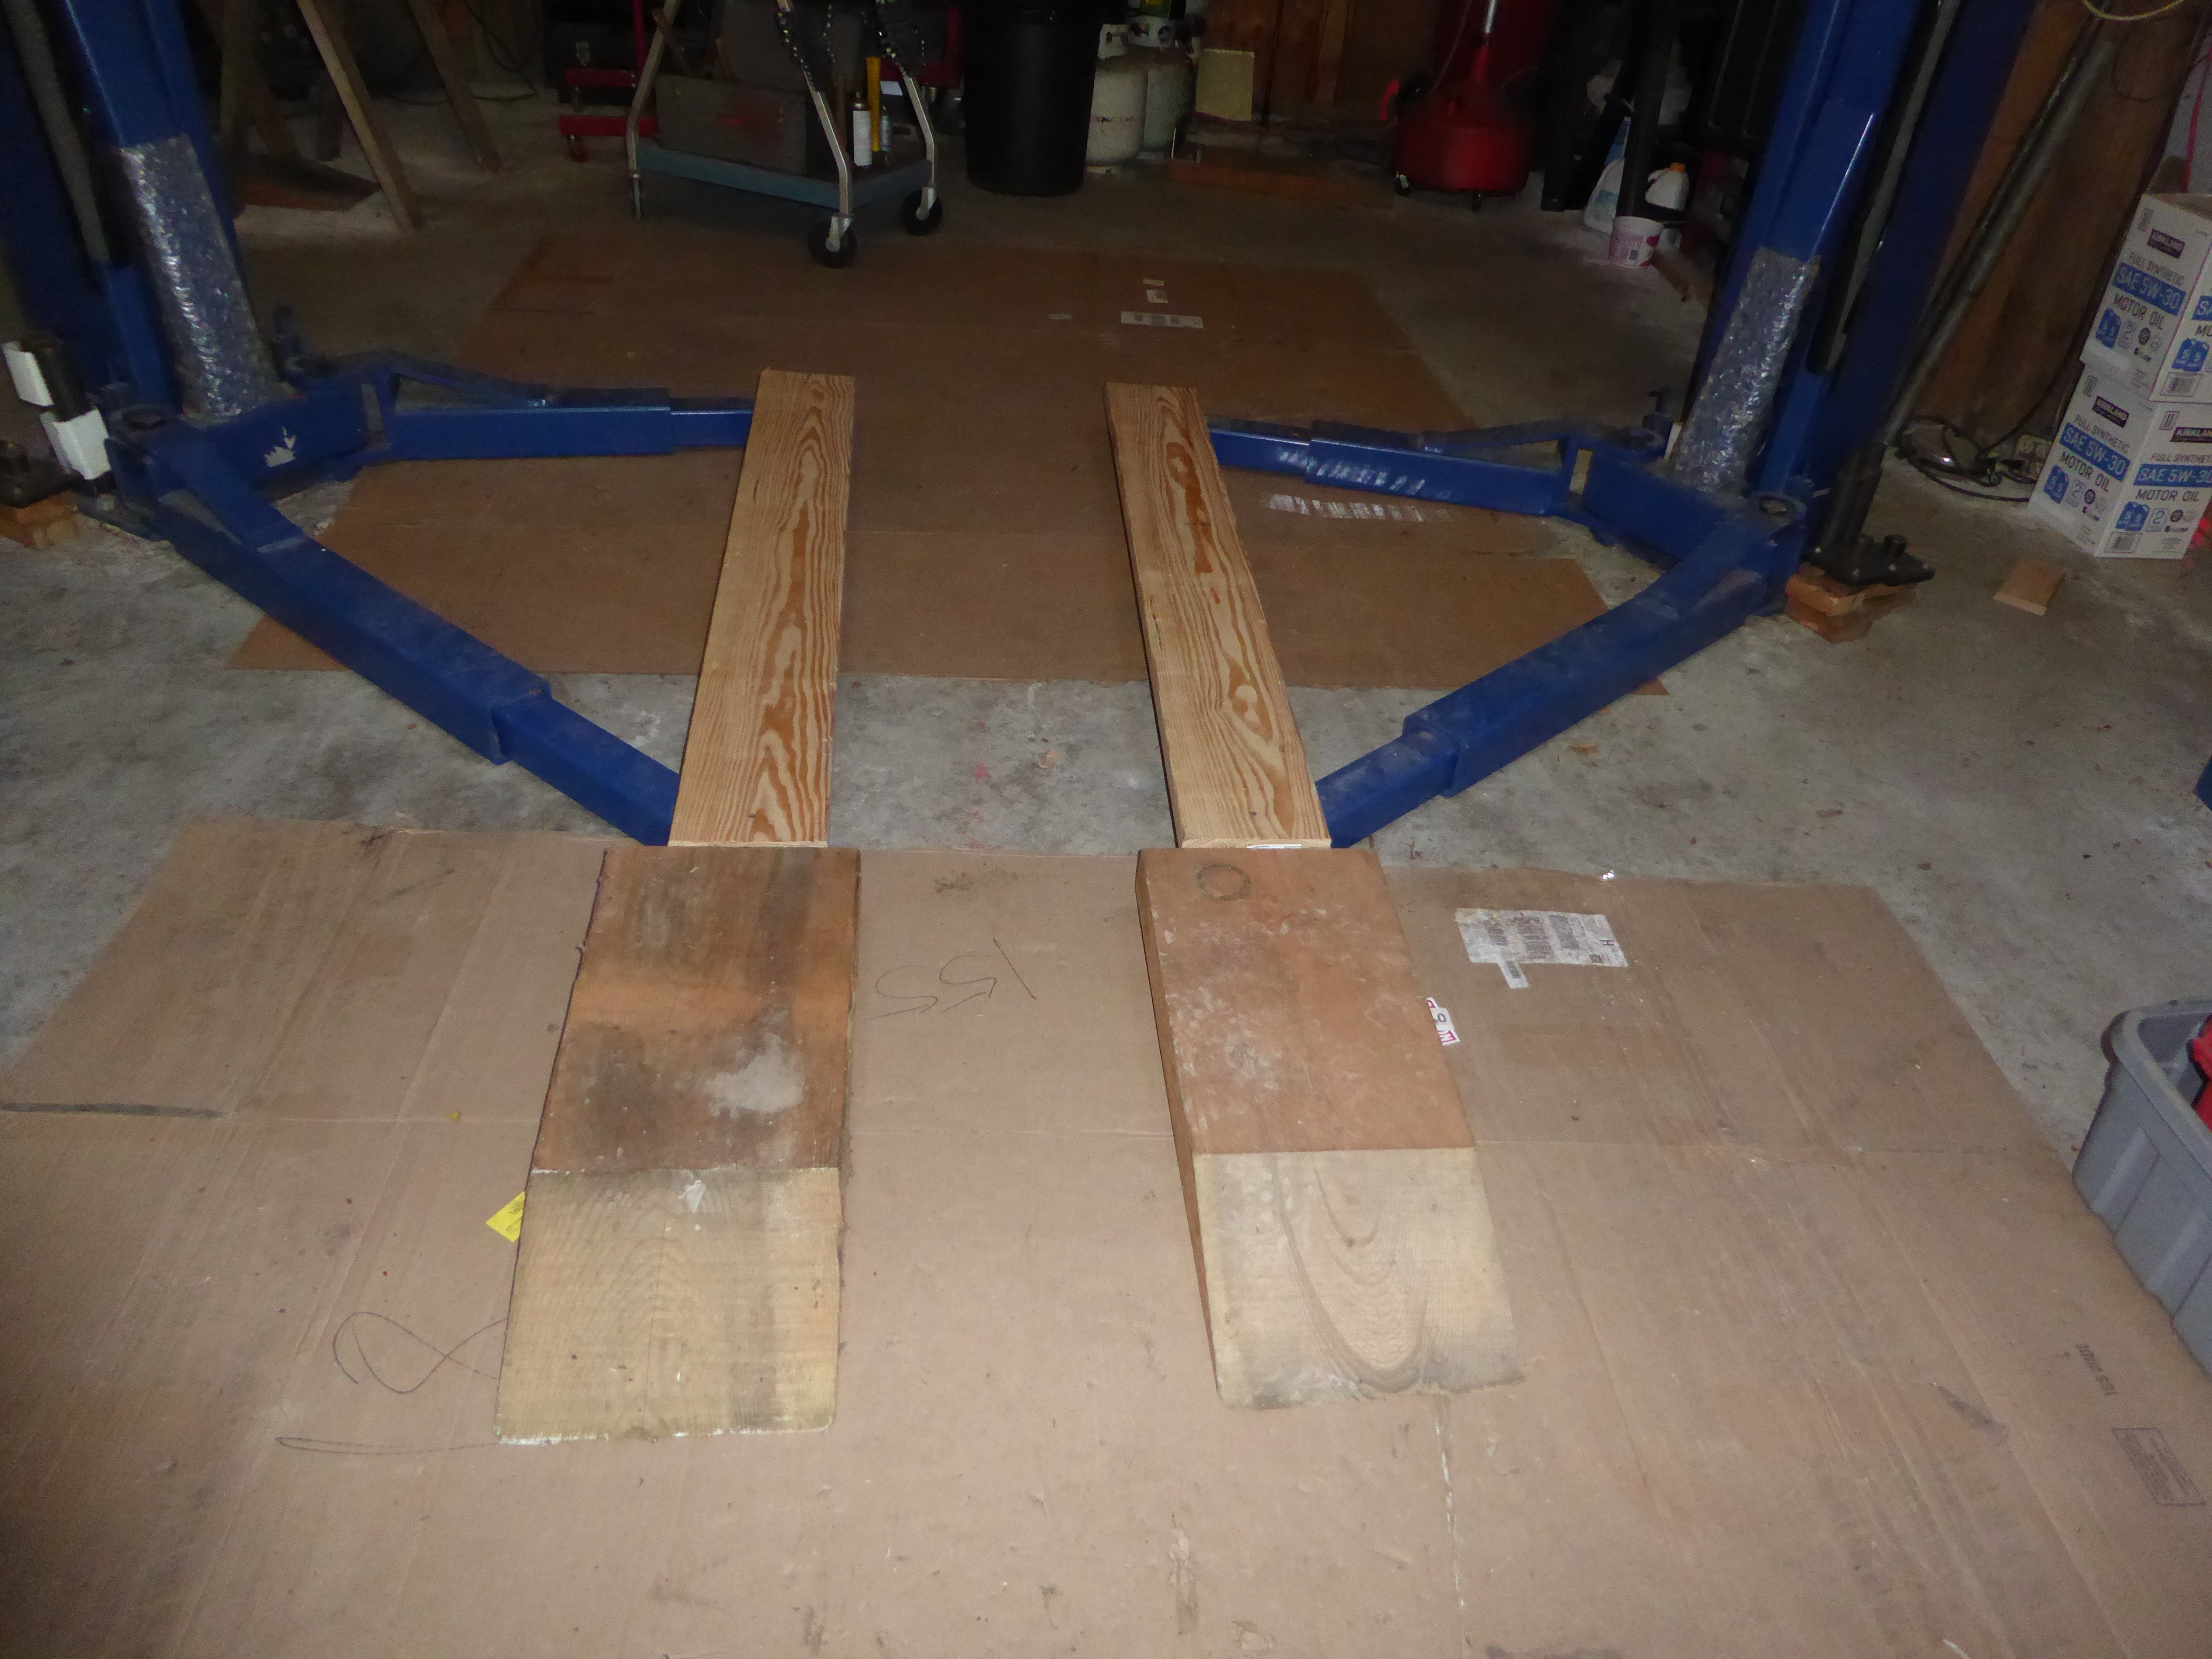
These with short pieces of 2x4 make it easy to drive the mower up onto the 2x8s.
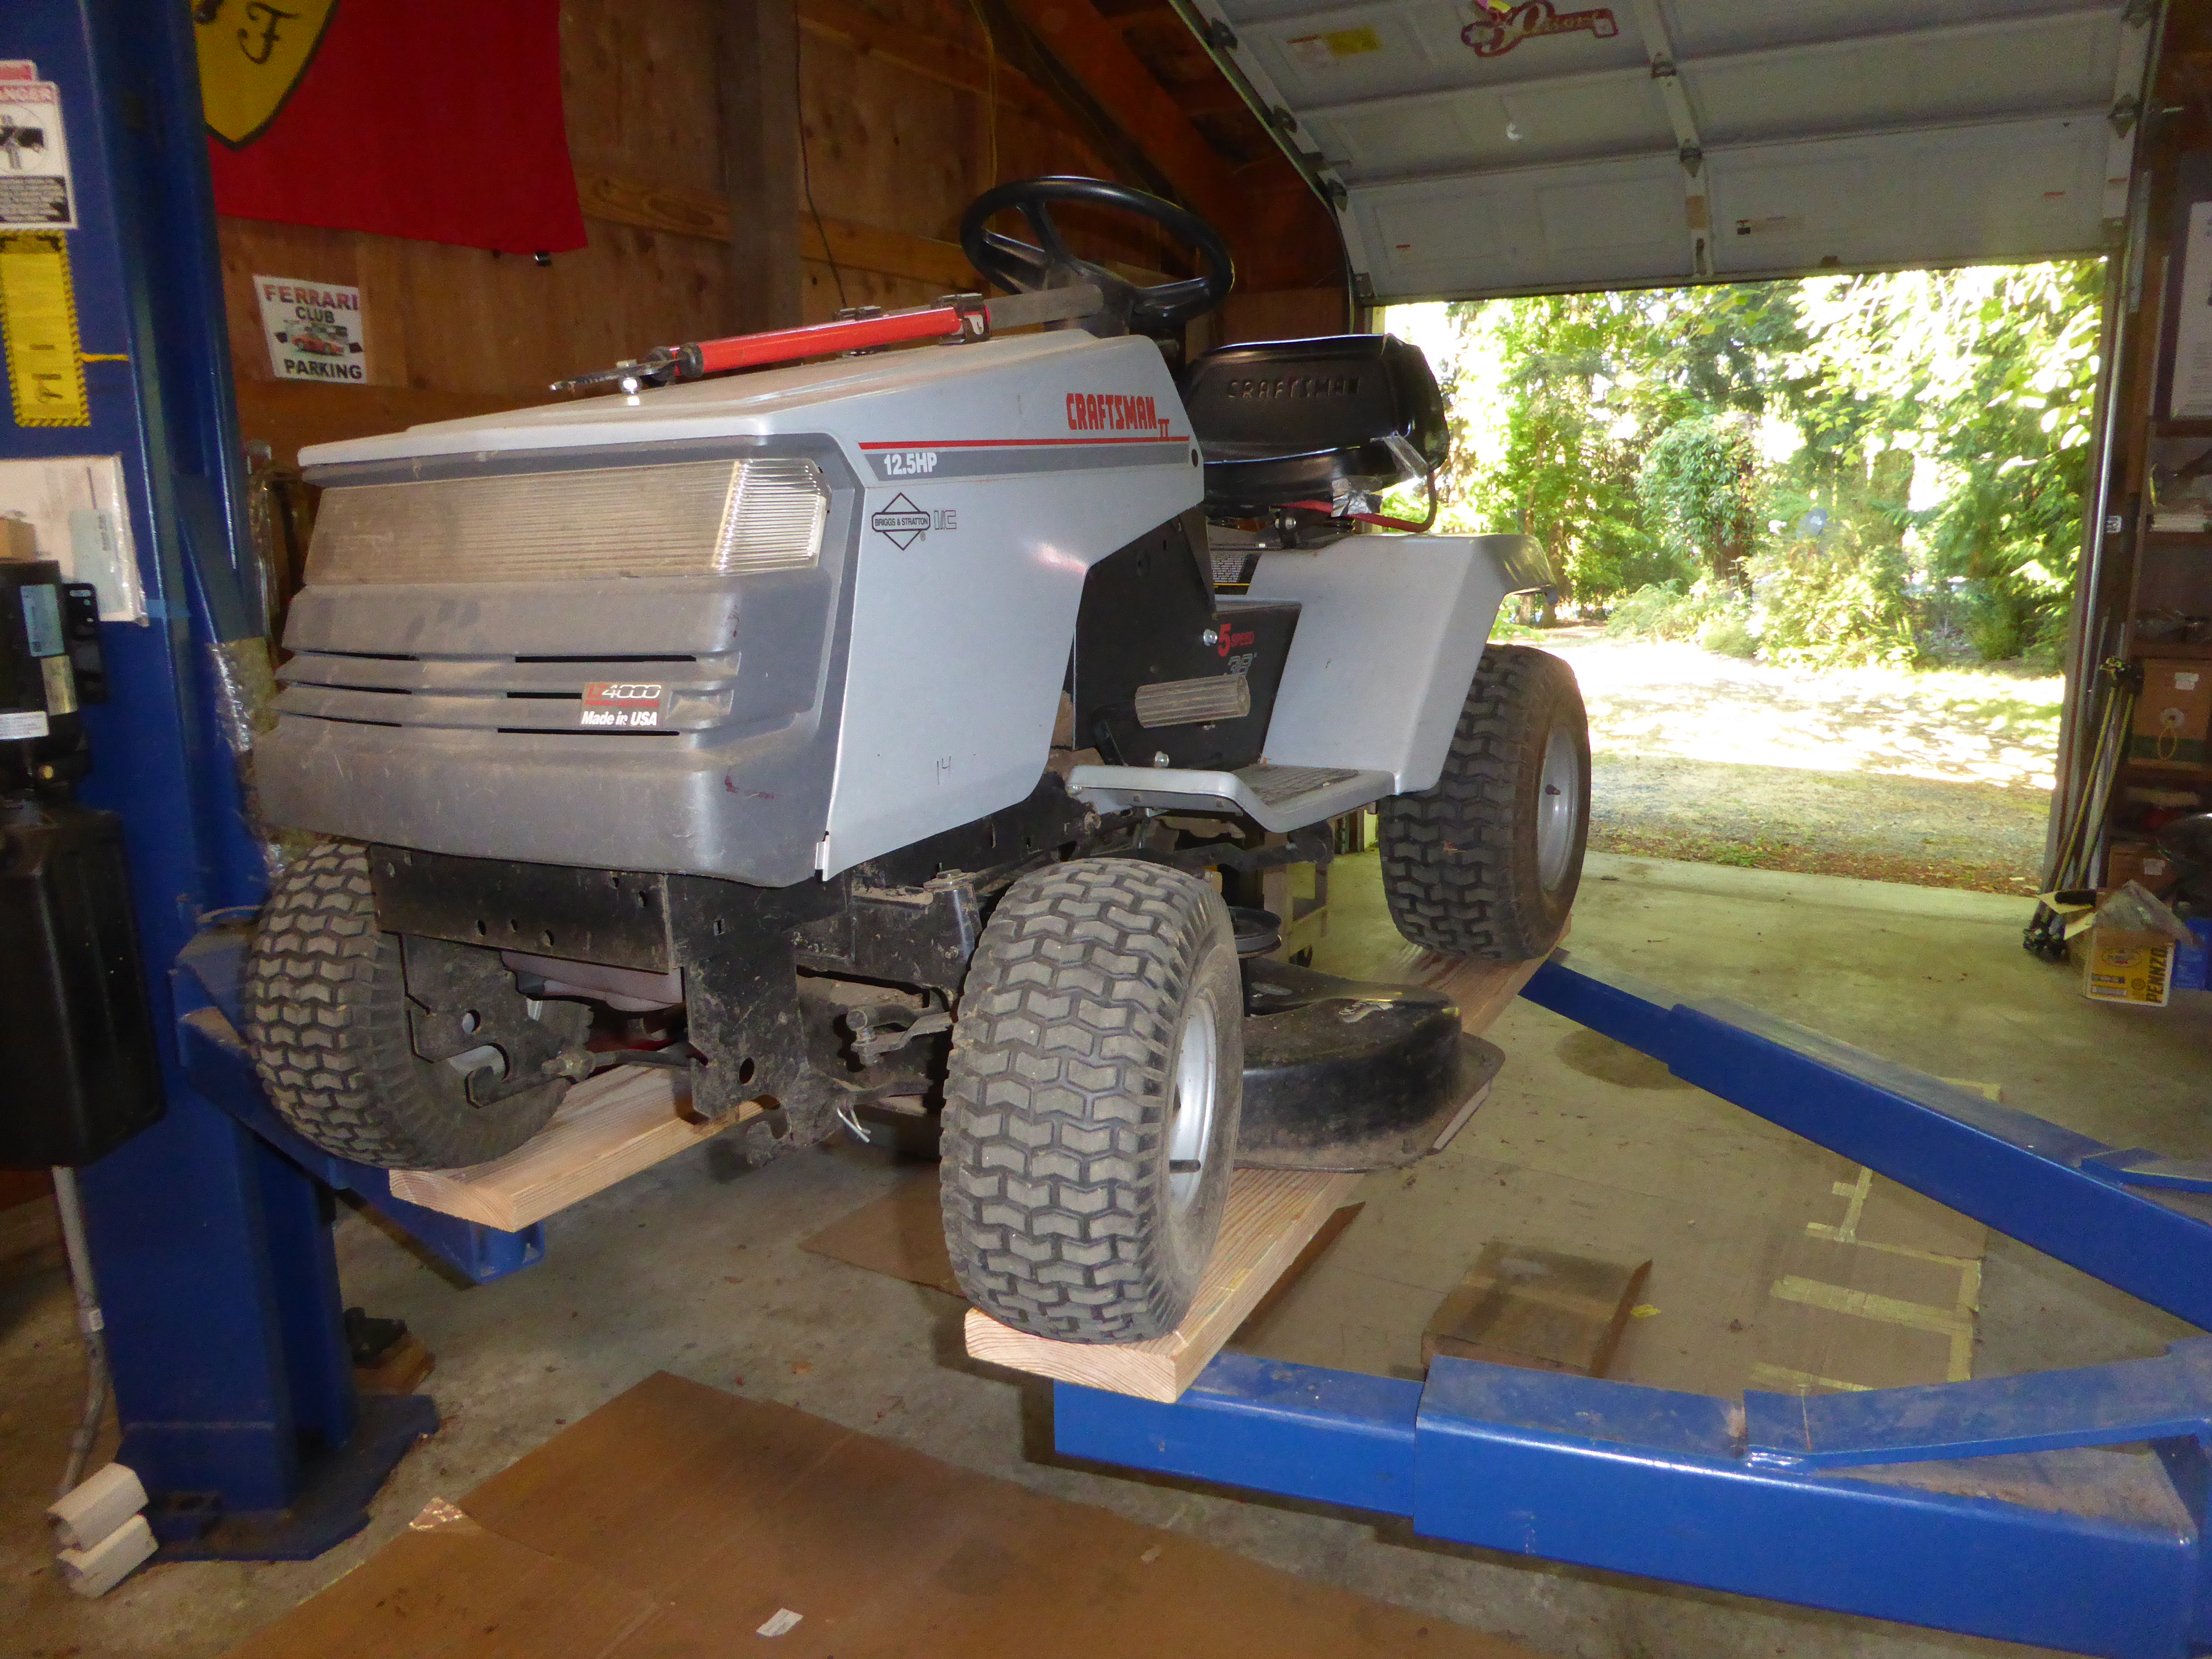
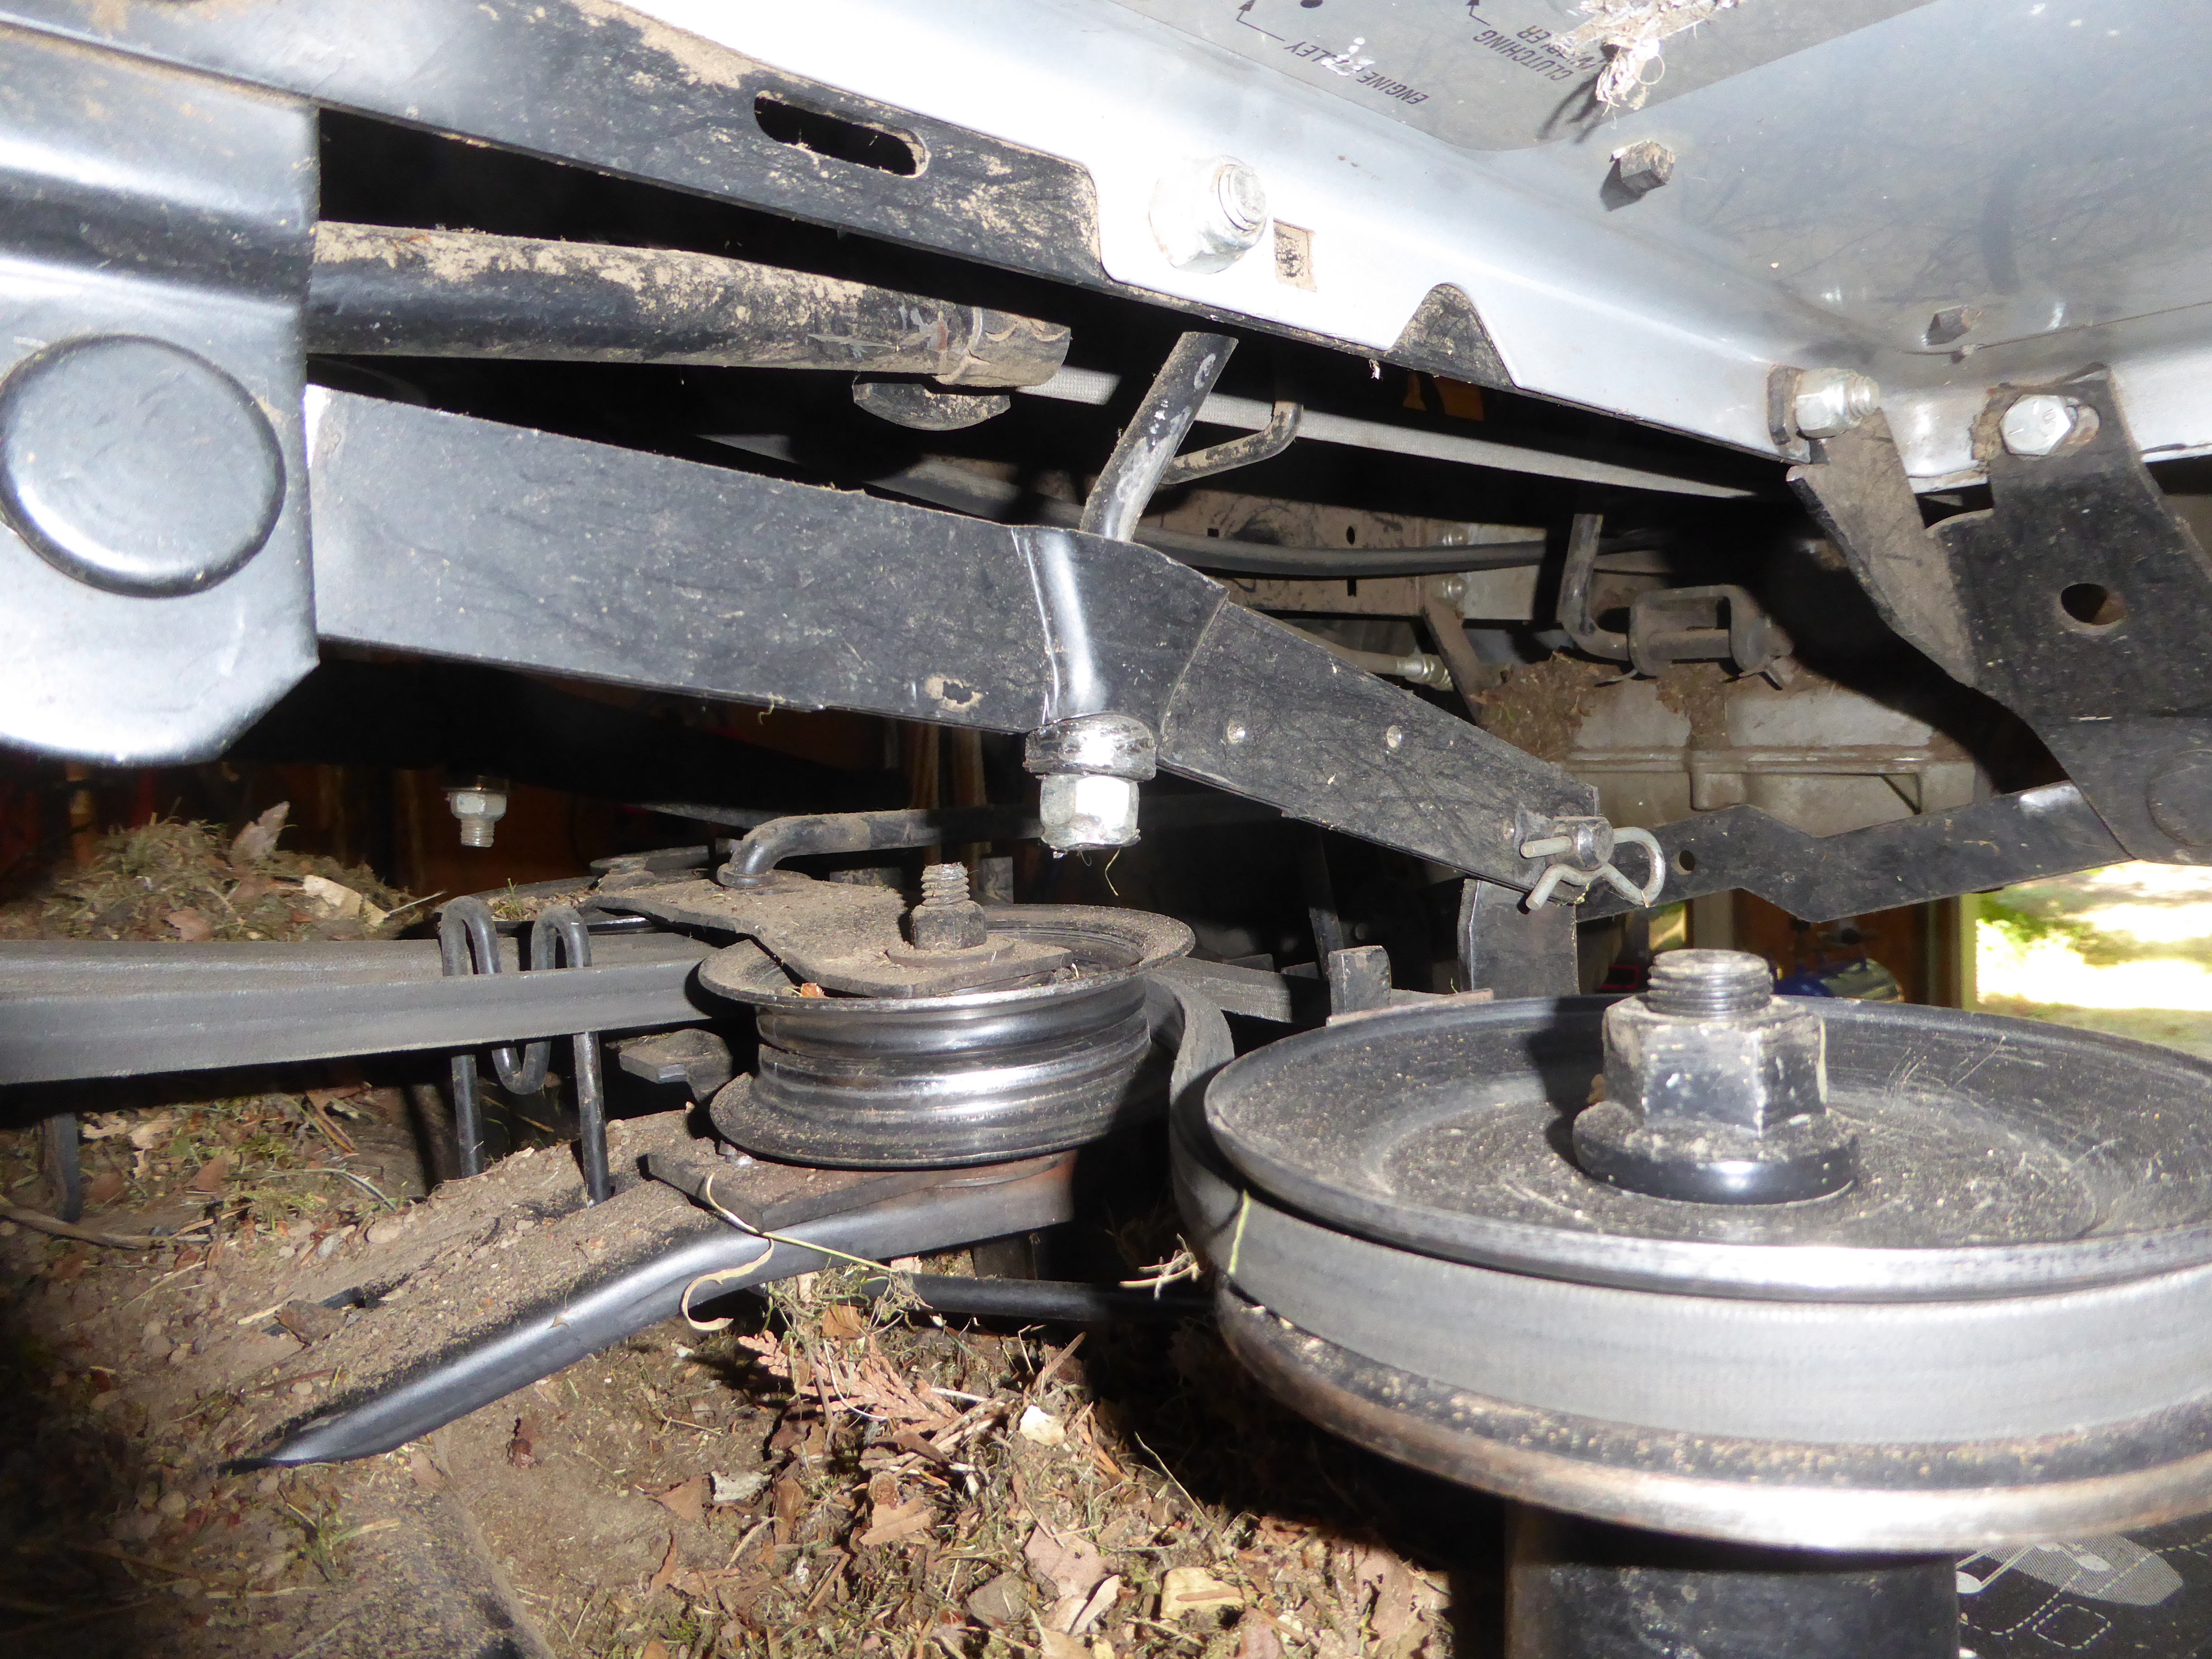
Now I can work on the mower to change the oil, change the blades or clean the mower deck without having to be laying down or on my knees. I can also lay a piece of plywood down to put the chipper or rototiller on.
I had noticed that the mower deck wasn't level from side to side, so the cut would be uneven. Now in my yard, it is so uneven that I can scarcely notice, but every once in a while, I mow the neighbors yard which is in much better shape. It was easy to measure and adjust the deck to the clearance was the same on both sides.
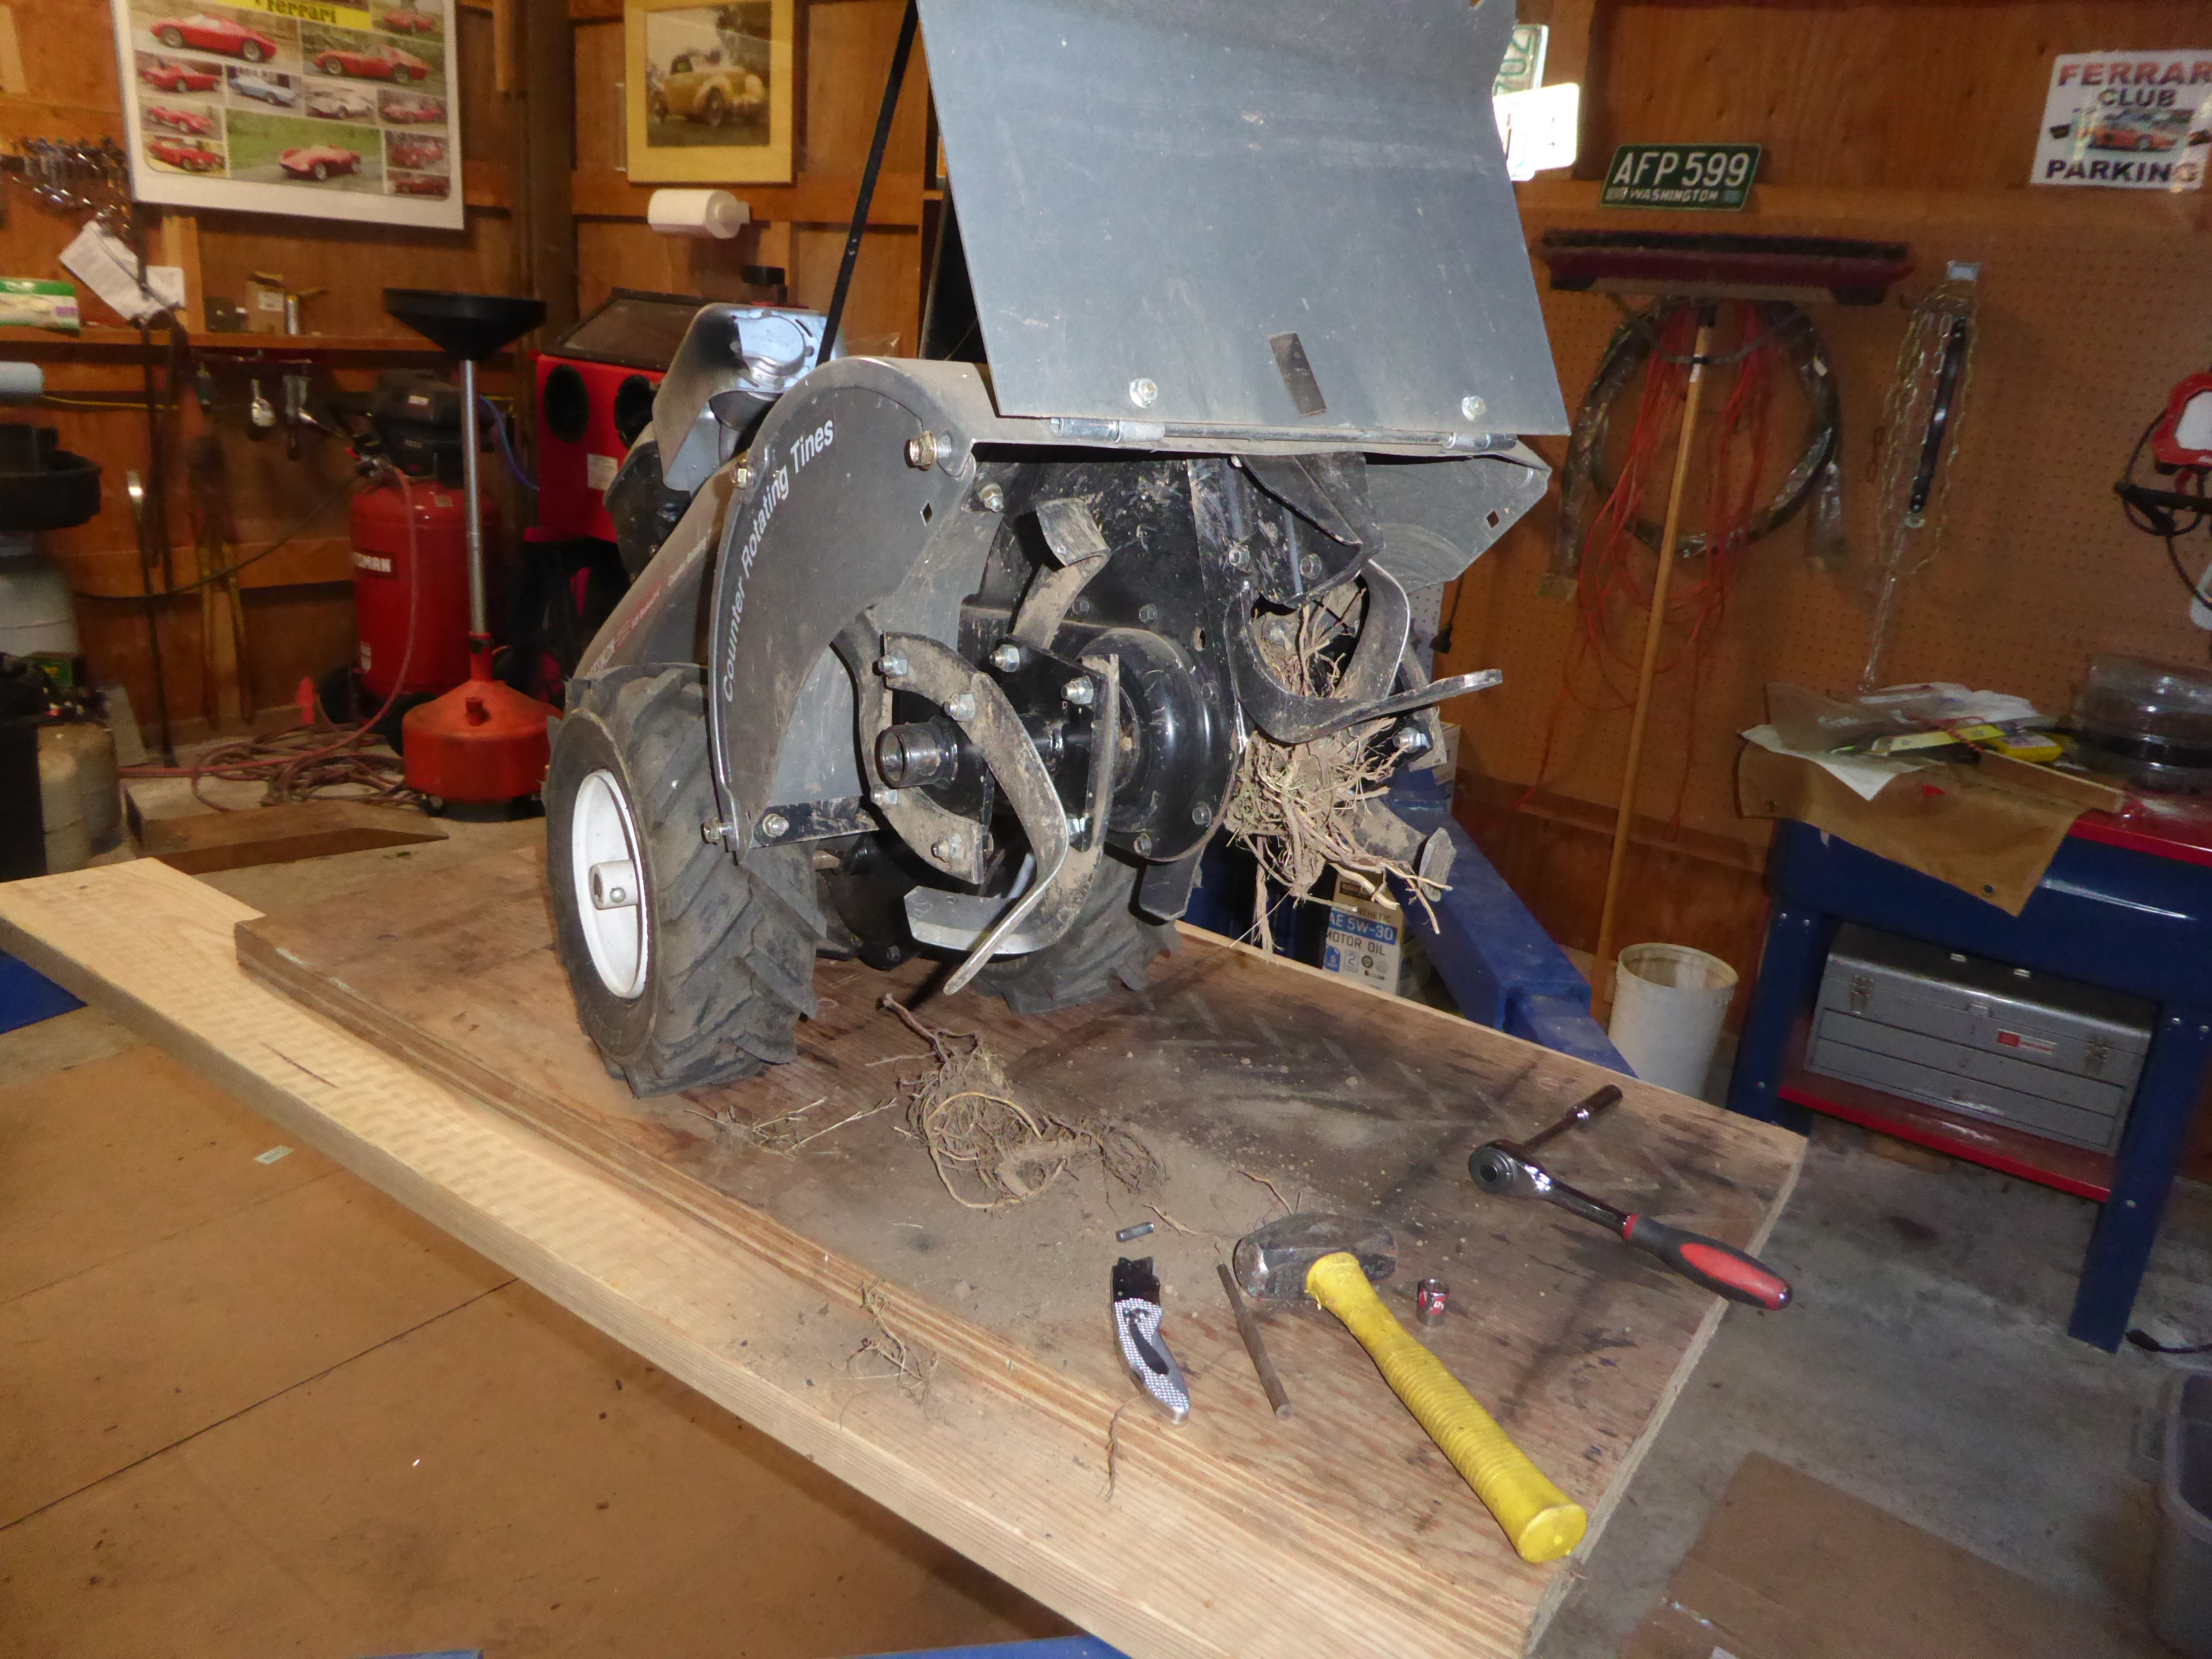
I've been clearing out a large (50'x75') vegetable garden that my wife used to plant. I'll plant grass seed once it is even and smooth. Part of the process is to rototill the surface and then use a drag made from some chain link fencing to smooth out the highs and lows. In the process, the rototiller broke a shear pin on one of the time sets. This was also easy to fix with it up on some plywood on the lift.
Another unusual usage of the lift is to work on a neighbor's Kubota tractor. Here we are changing the rims on the rear tires since they had serious rust issues.
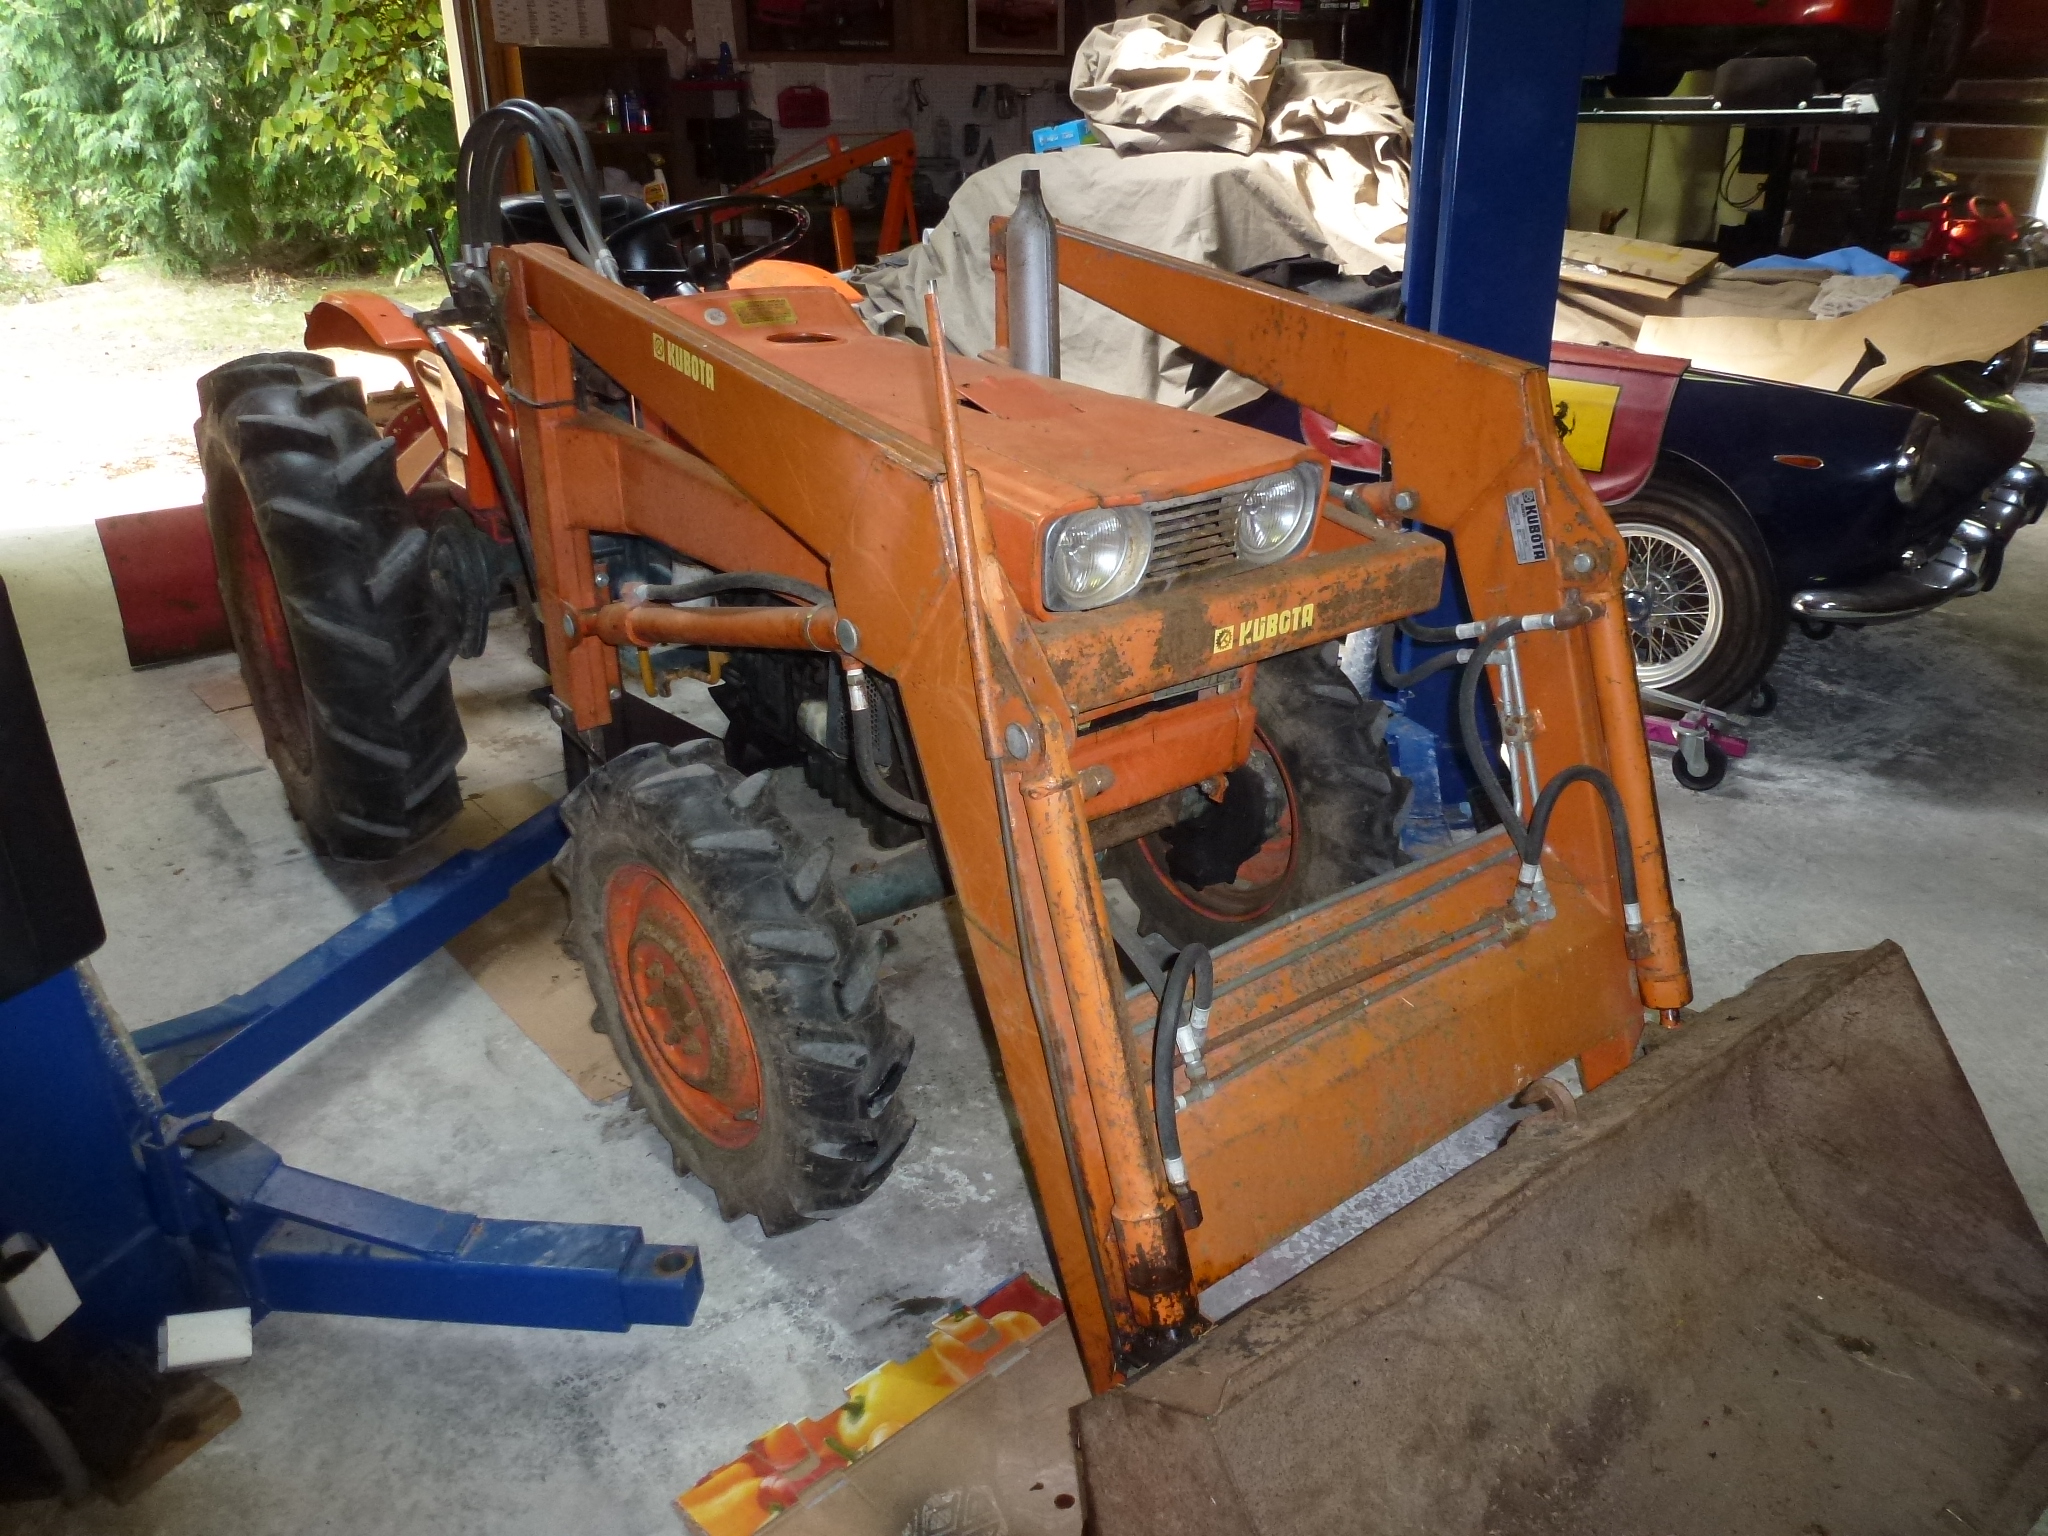
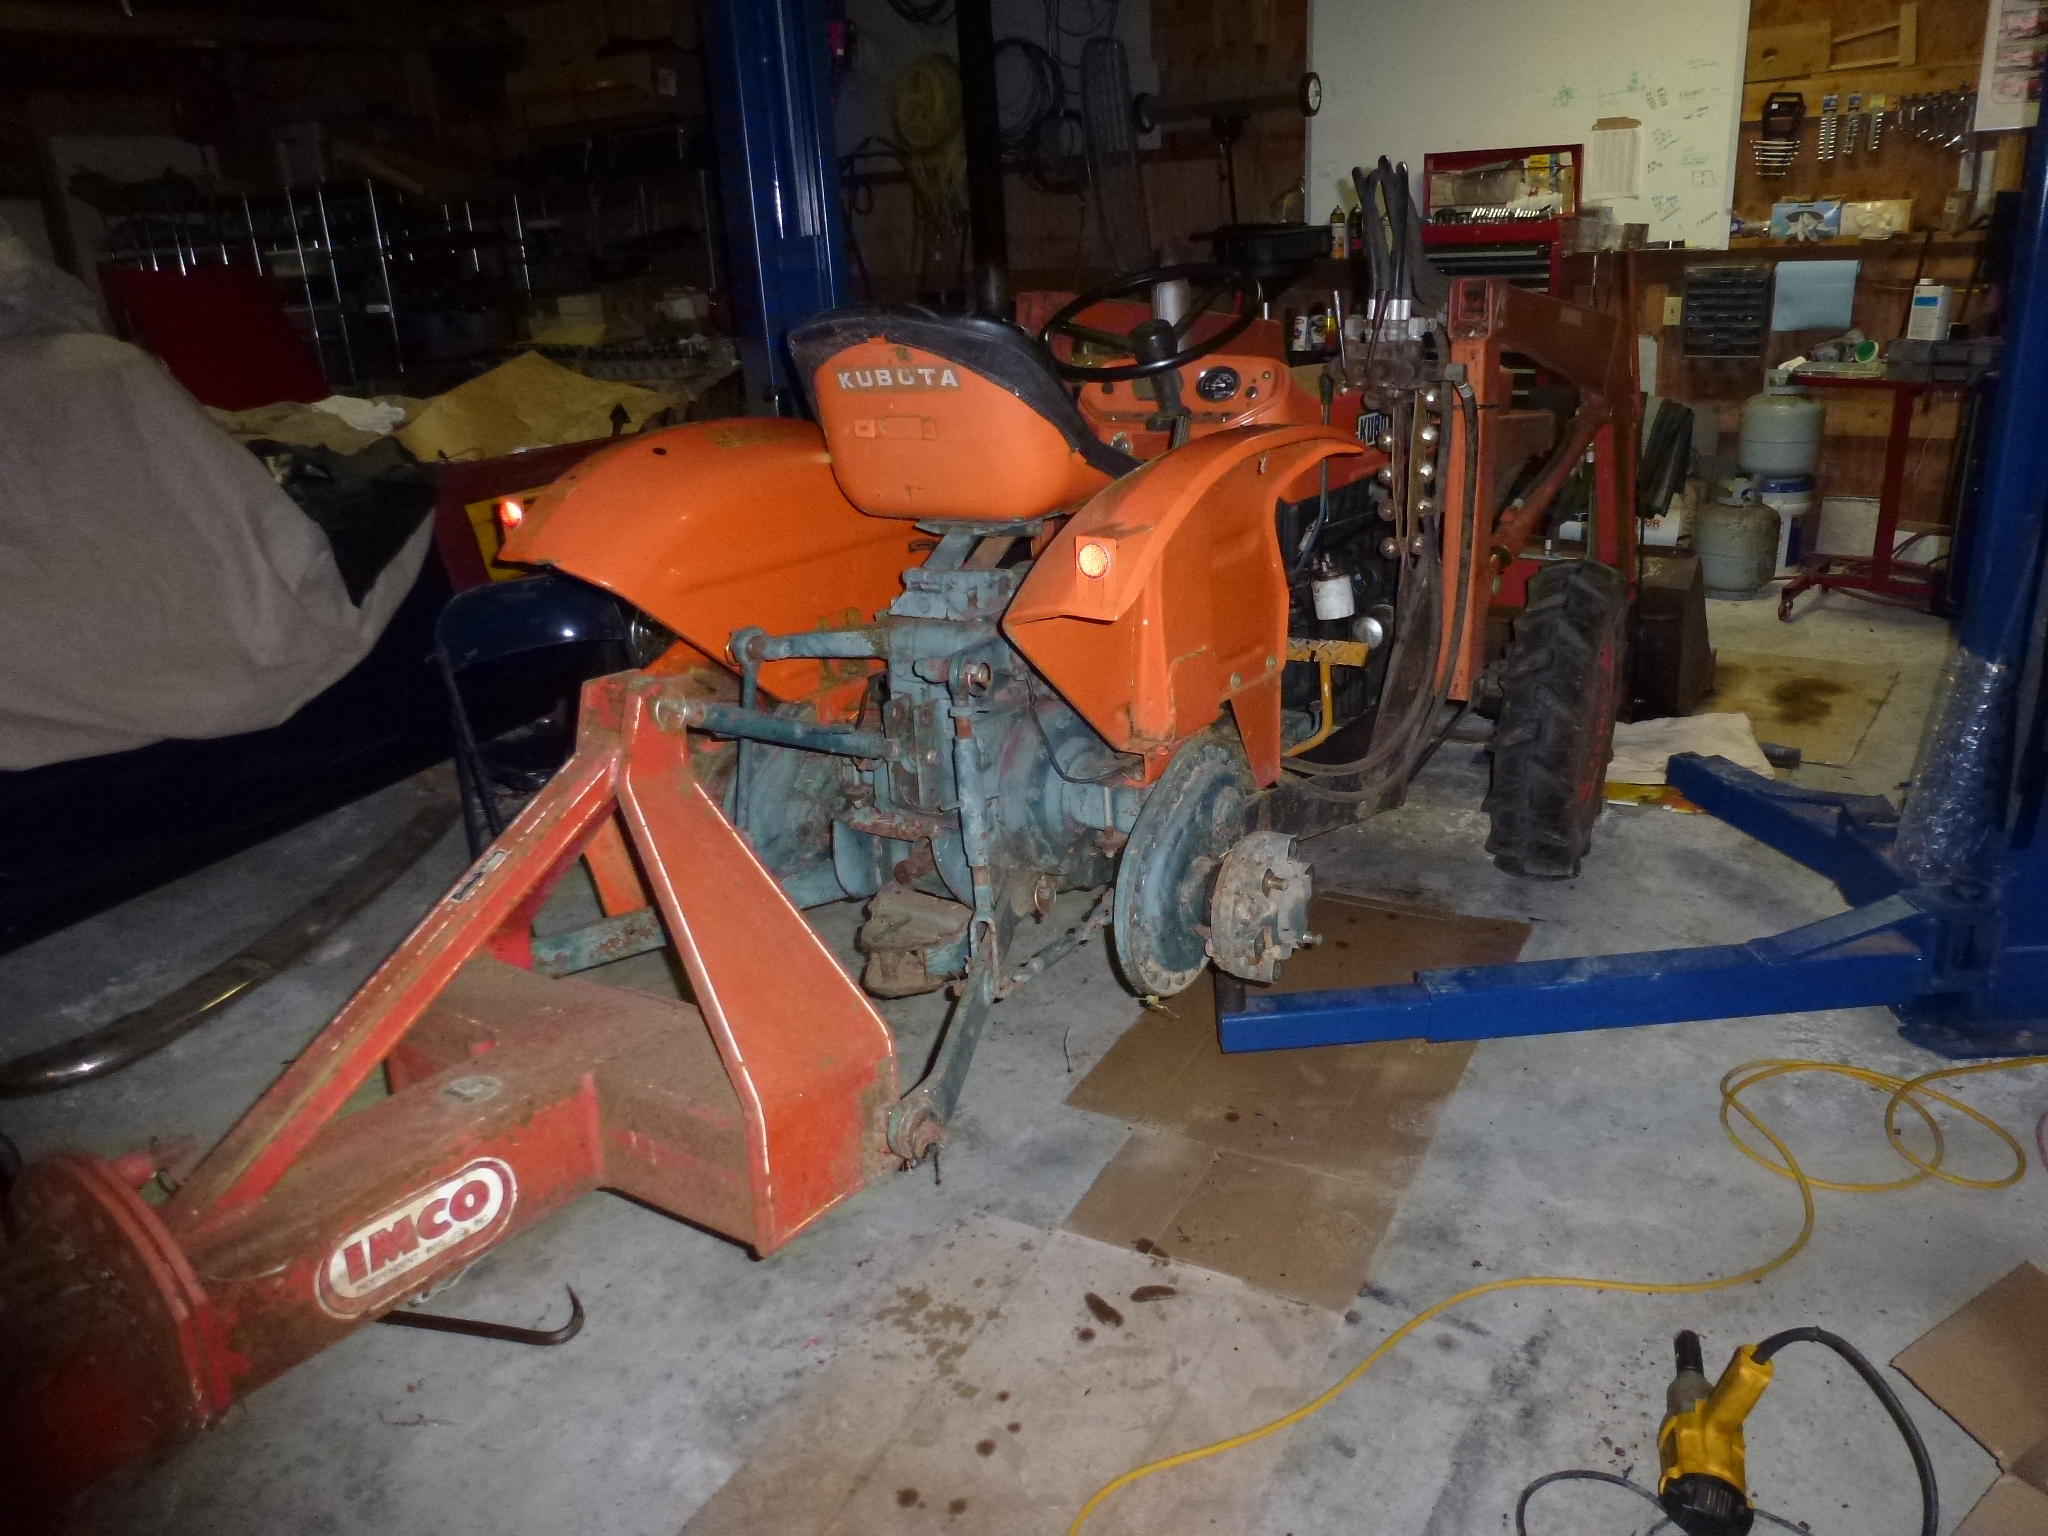
The advantage of helping fix the Kubota is being able to borrow it whenever I need to use it. It's been instrumental in moving dirt in the garden in addition to pulling the drag.