Commitment
After retirement, I now had the time to devote to the Ferrari. We have a condo in Whistler, BC and the Western Canada region of the FCA usually has a tour that includes Whistler. So I now had a target to take the car on their tour sometime in the summer of 2000. So I got back to work on it early in 2000.
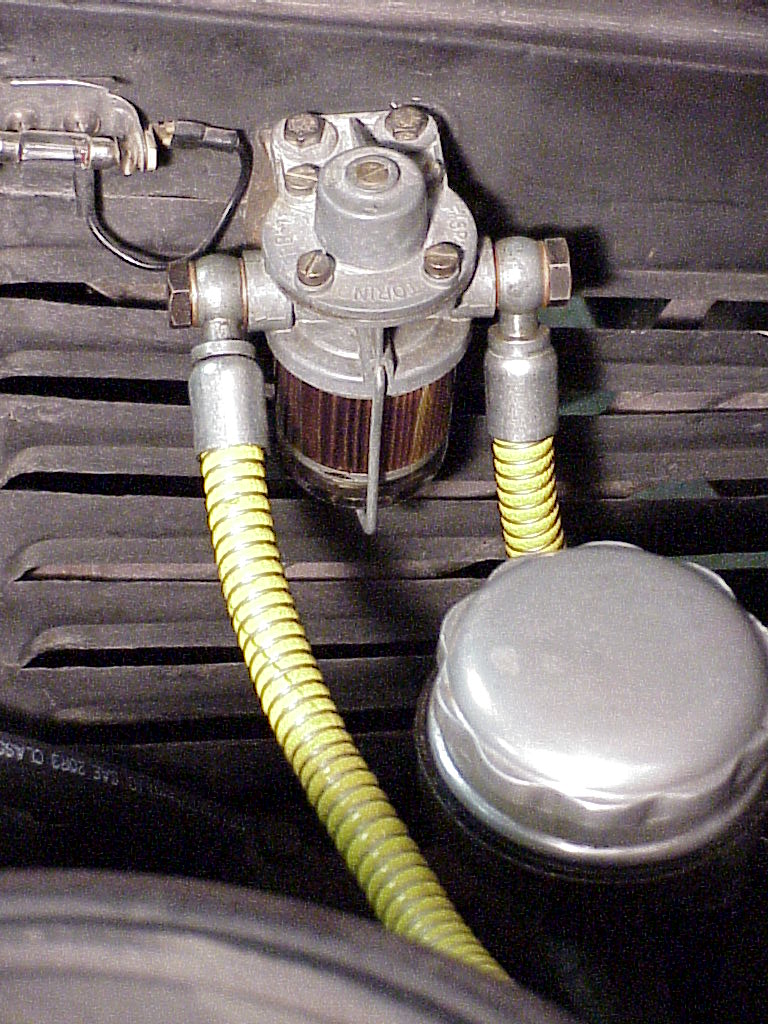
So off came the carburetors for rebuilding. It's really not too difficult, paying attention to doing only one at a time so if there are any questions they can be answered by looking at one that's still together. I did notice that the main jets weren't particularly dirty or clogged (Warning, Warning). At the same time I replaced all of the yellow wire wound fuel lines under the hood.
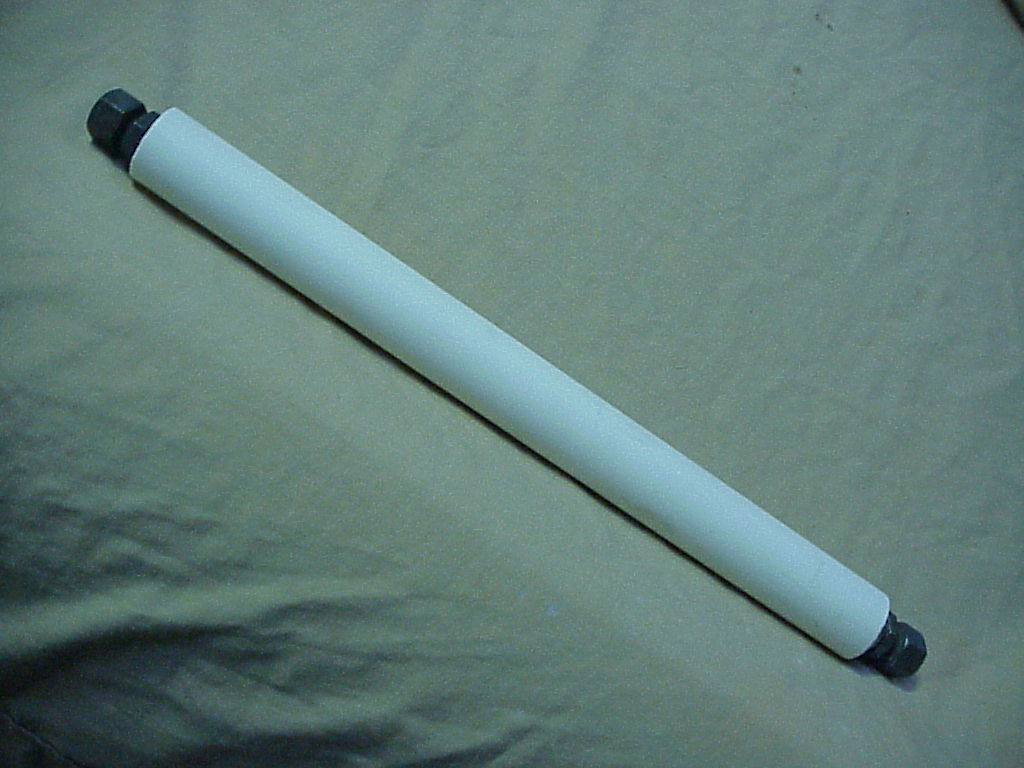
As as additional note, I later figured out a way to better tighten the fittings onto the ends of the yellow fuel hose. If you cut a piece of 3/4" PVC pipe a little shorter than the length of the yellow part (just inside of the ferrules), then you can slide the hose with the fitting through the pipe. Then clamp one end in a vise and use a wrench on the other. The pipe will keep the hose straight as you tighten the fittings. Without the pipe, the hose just wants to coil up so you can't get much tightening pressure on the fittings. And since it is white plastic, it doesn't mark up your new fuel line.
 |
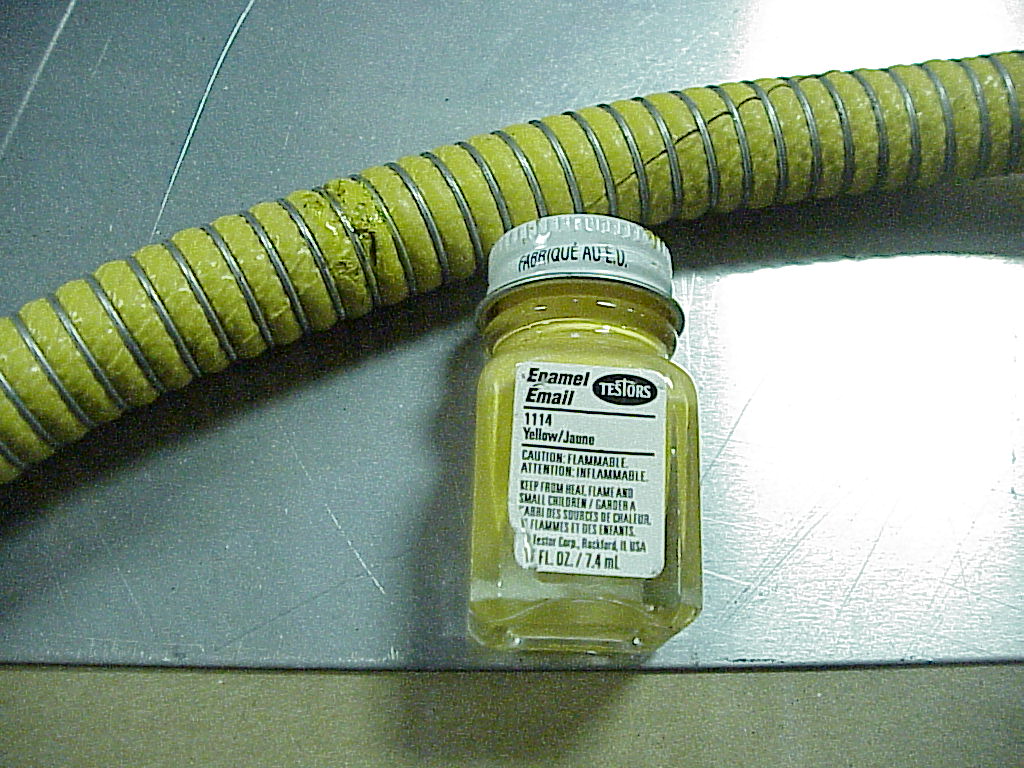 |
Before I figured out the pipe trick, I had tried tightening the hose from the back of the fuel log to the return line as it was leaking slightly. I didn't fix the leak, but the resulting coil rubbed the leather against something, ripped it slightly and got it dirty. After I tightened up the fittings using the pipe, I cleaned up the marks as best I could, but it was still obvious. I had bought the Testors 1114 Yellow to use in marking the suspension nuts to signify that they were properly torqued. It turns out that the same paint is a perfect match for the yellow fuel hose. If you look carefully you can see where I fixed the mess, a few coils to the left of the cap.
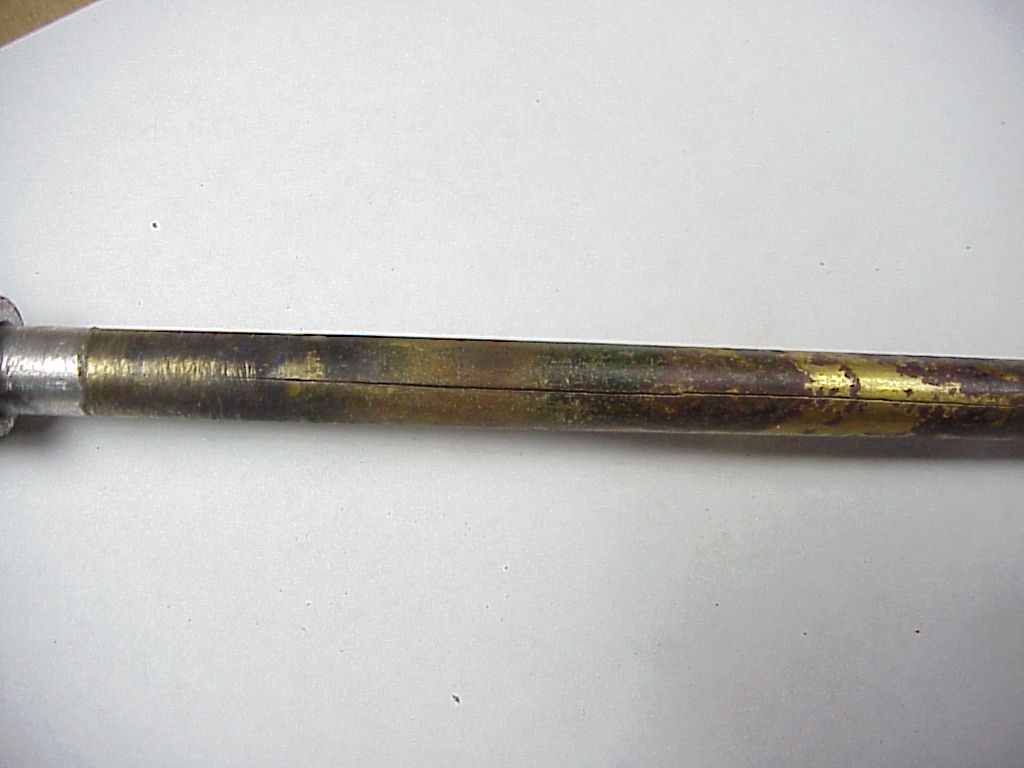
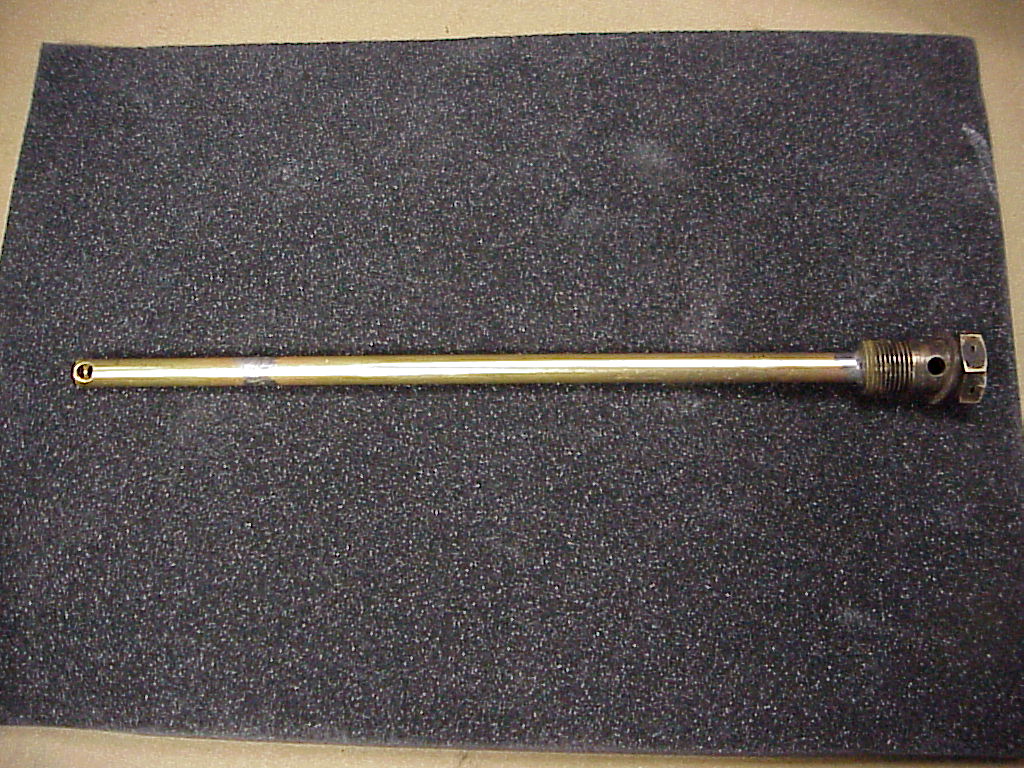
I also replaced the fuel filters and drained the tank again. In addition, I cracked all of the fittings and used compressed air to blow out all vestige of the old gas. As an afterthought I decided to remove the fuel pickup tube and check the nylon screen at the bottom. When I was looking at the pickup tube, I noticed what looked to be a crack. After wire brushing and using some steel wool, it was a large crack about 4" long. As this was at the upper end of the pickup tube, a gallon or two of gas in the tank left it entirely exposed. So the pump was pulling some gas, but mainly air. There was enough gas to allow the car to idle, but not enough to allow it to rev up.
For those of you in the know, Tom Yang had the same problem in his 330 America. For those not familiar with Tom, you should check out http://www.tomyang.net/cars/ferrari.htm. It's a great web site on the trials and tribulations of restoring an America.
Well, a new brass tube from Small Parts, Inc and some sweat soldering gave me a new pickup tube to install. I used a 5/8" OD x 12" long tube and had to cut off an inch or so.
A couple of gallons of gas later and a new battery, I discovered that the electric fuel pump wasn't clicking like it used to do.
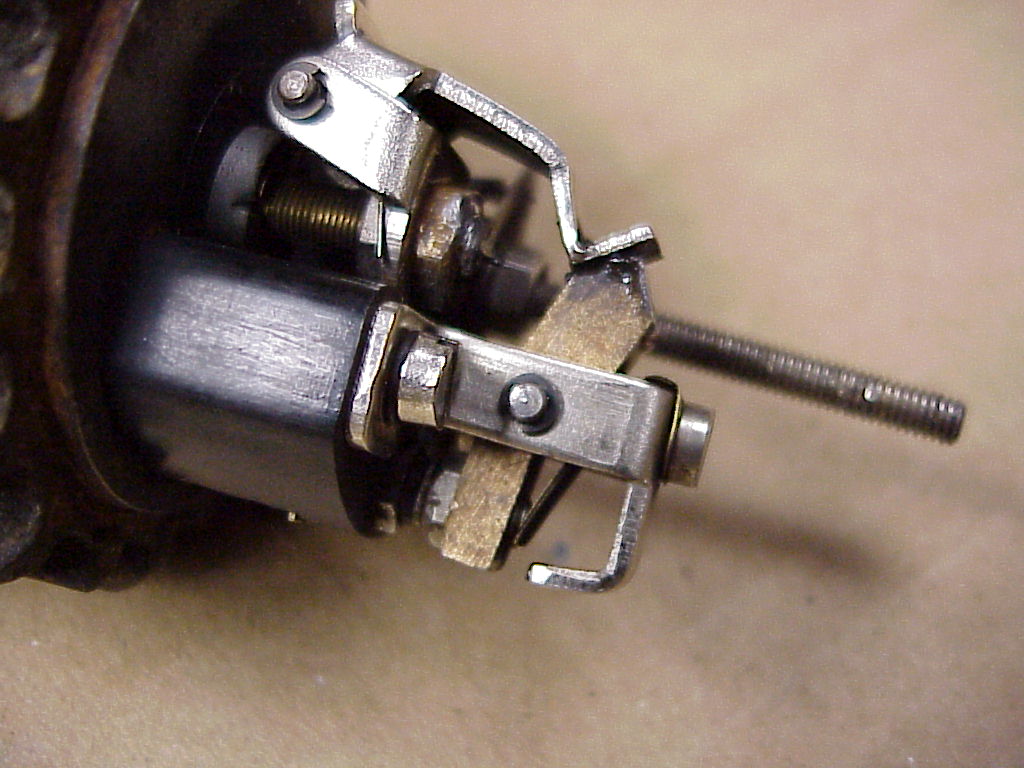
So I ended up taking it apart and a good cleaning along with filing the contacts had it back working.
Then the car started and ran like it was supposed to. Of course, I had to tune the carburetors as rebuilding destroyed all of the mixtures and synchronization. Then there were a couple of gas leaks necessitating removal of some of the new fuel lines and re-tightening the hose and fittings.
So now I was back to the same place as 10 years before except that the starter worked most of the time. Some of the time the solenoid wouldn't throw the pinion gear out properly. So off came the header and starter again and back to the auto electric shop. A couple of days later, a new Bosch solenoid fixed the starter problem for good (hopefully).