Rear Window Rubber
I've always had some issues with the rubber seal on the rear window, starting back when I installed it in 1999.
After several attempts to resolve them without removing and reinstalling the glass, I finally bit the bullet and ordered a new rubber seal from Cicognani in Italy.
Removing the window, first required removing the the trim pieces around the headliner. The two side pieces have to have the visors, grab handle and interior lights removed too. So it took almost an hour before the windows was ready to be taken out.
I cut the rubber flap that holds the seal to the body flange. That frees the seal from the body so the window can just be pushed out and removed without any stress on it.
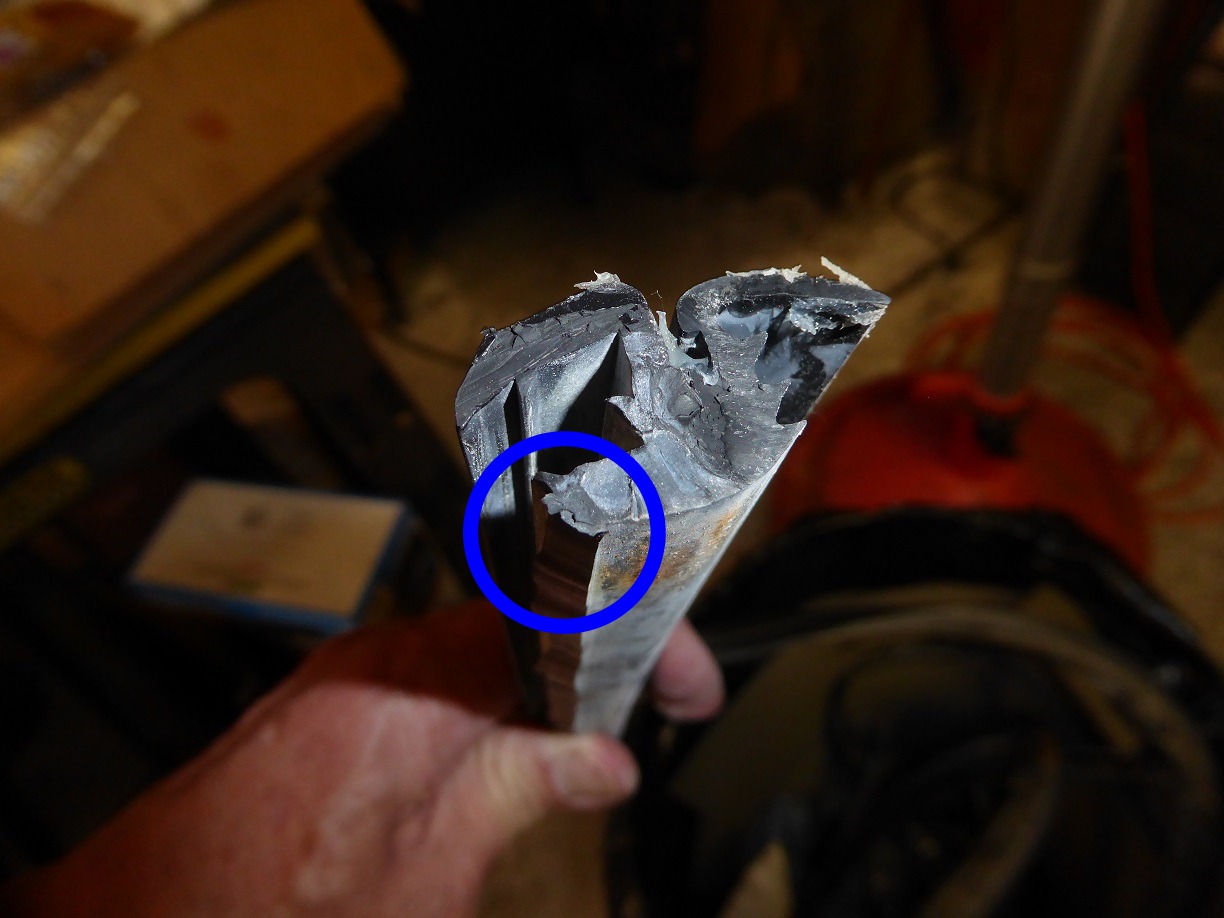
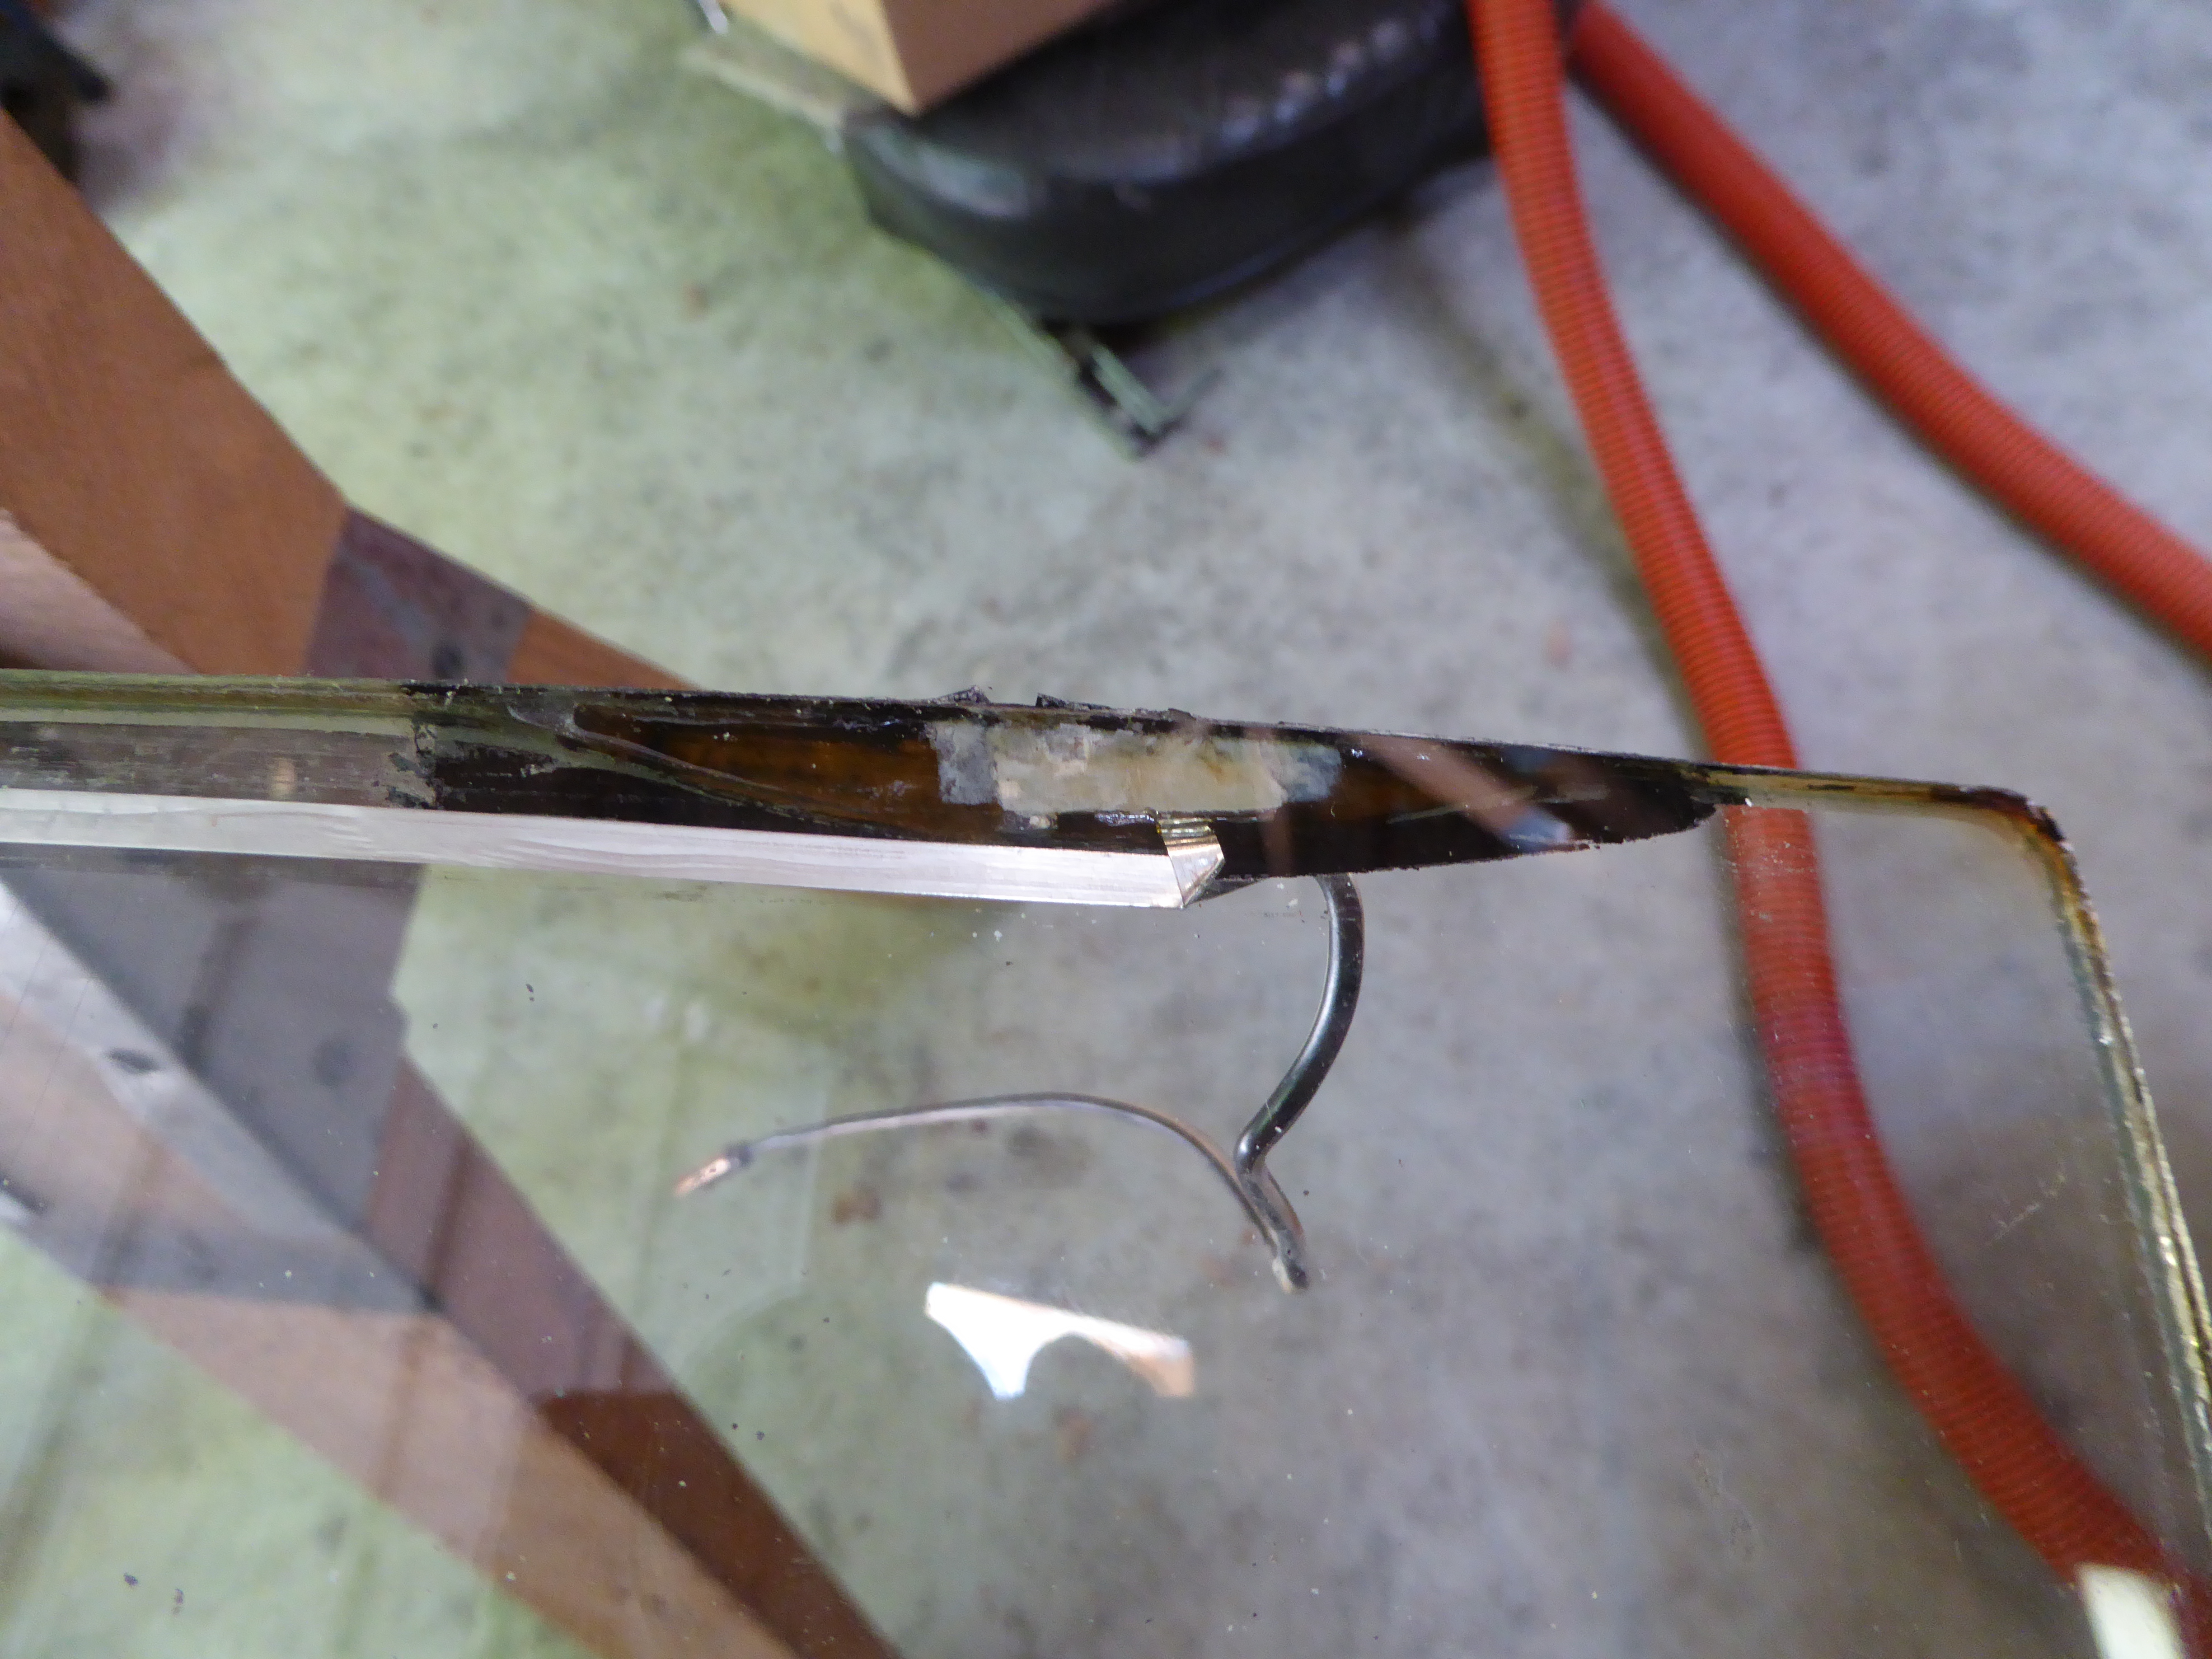
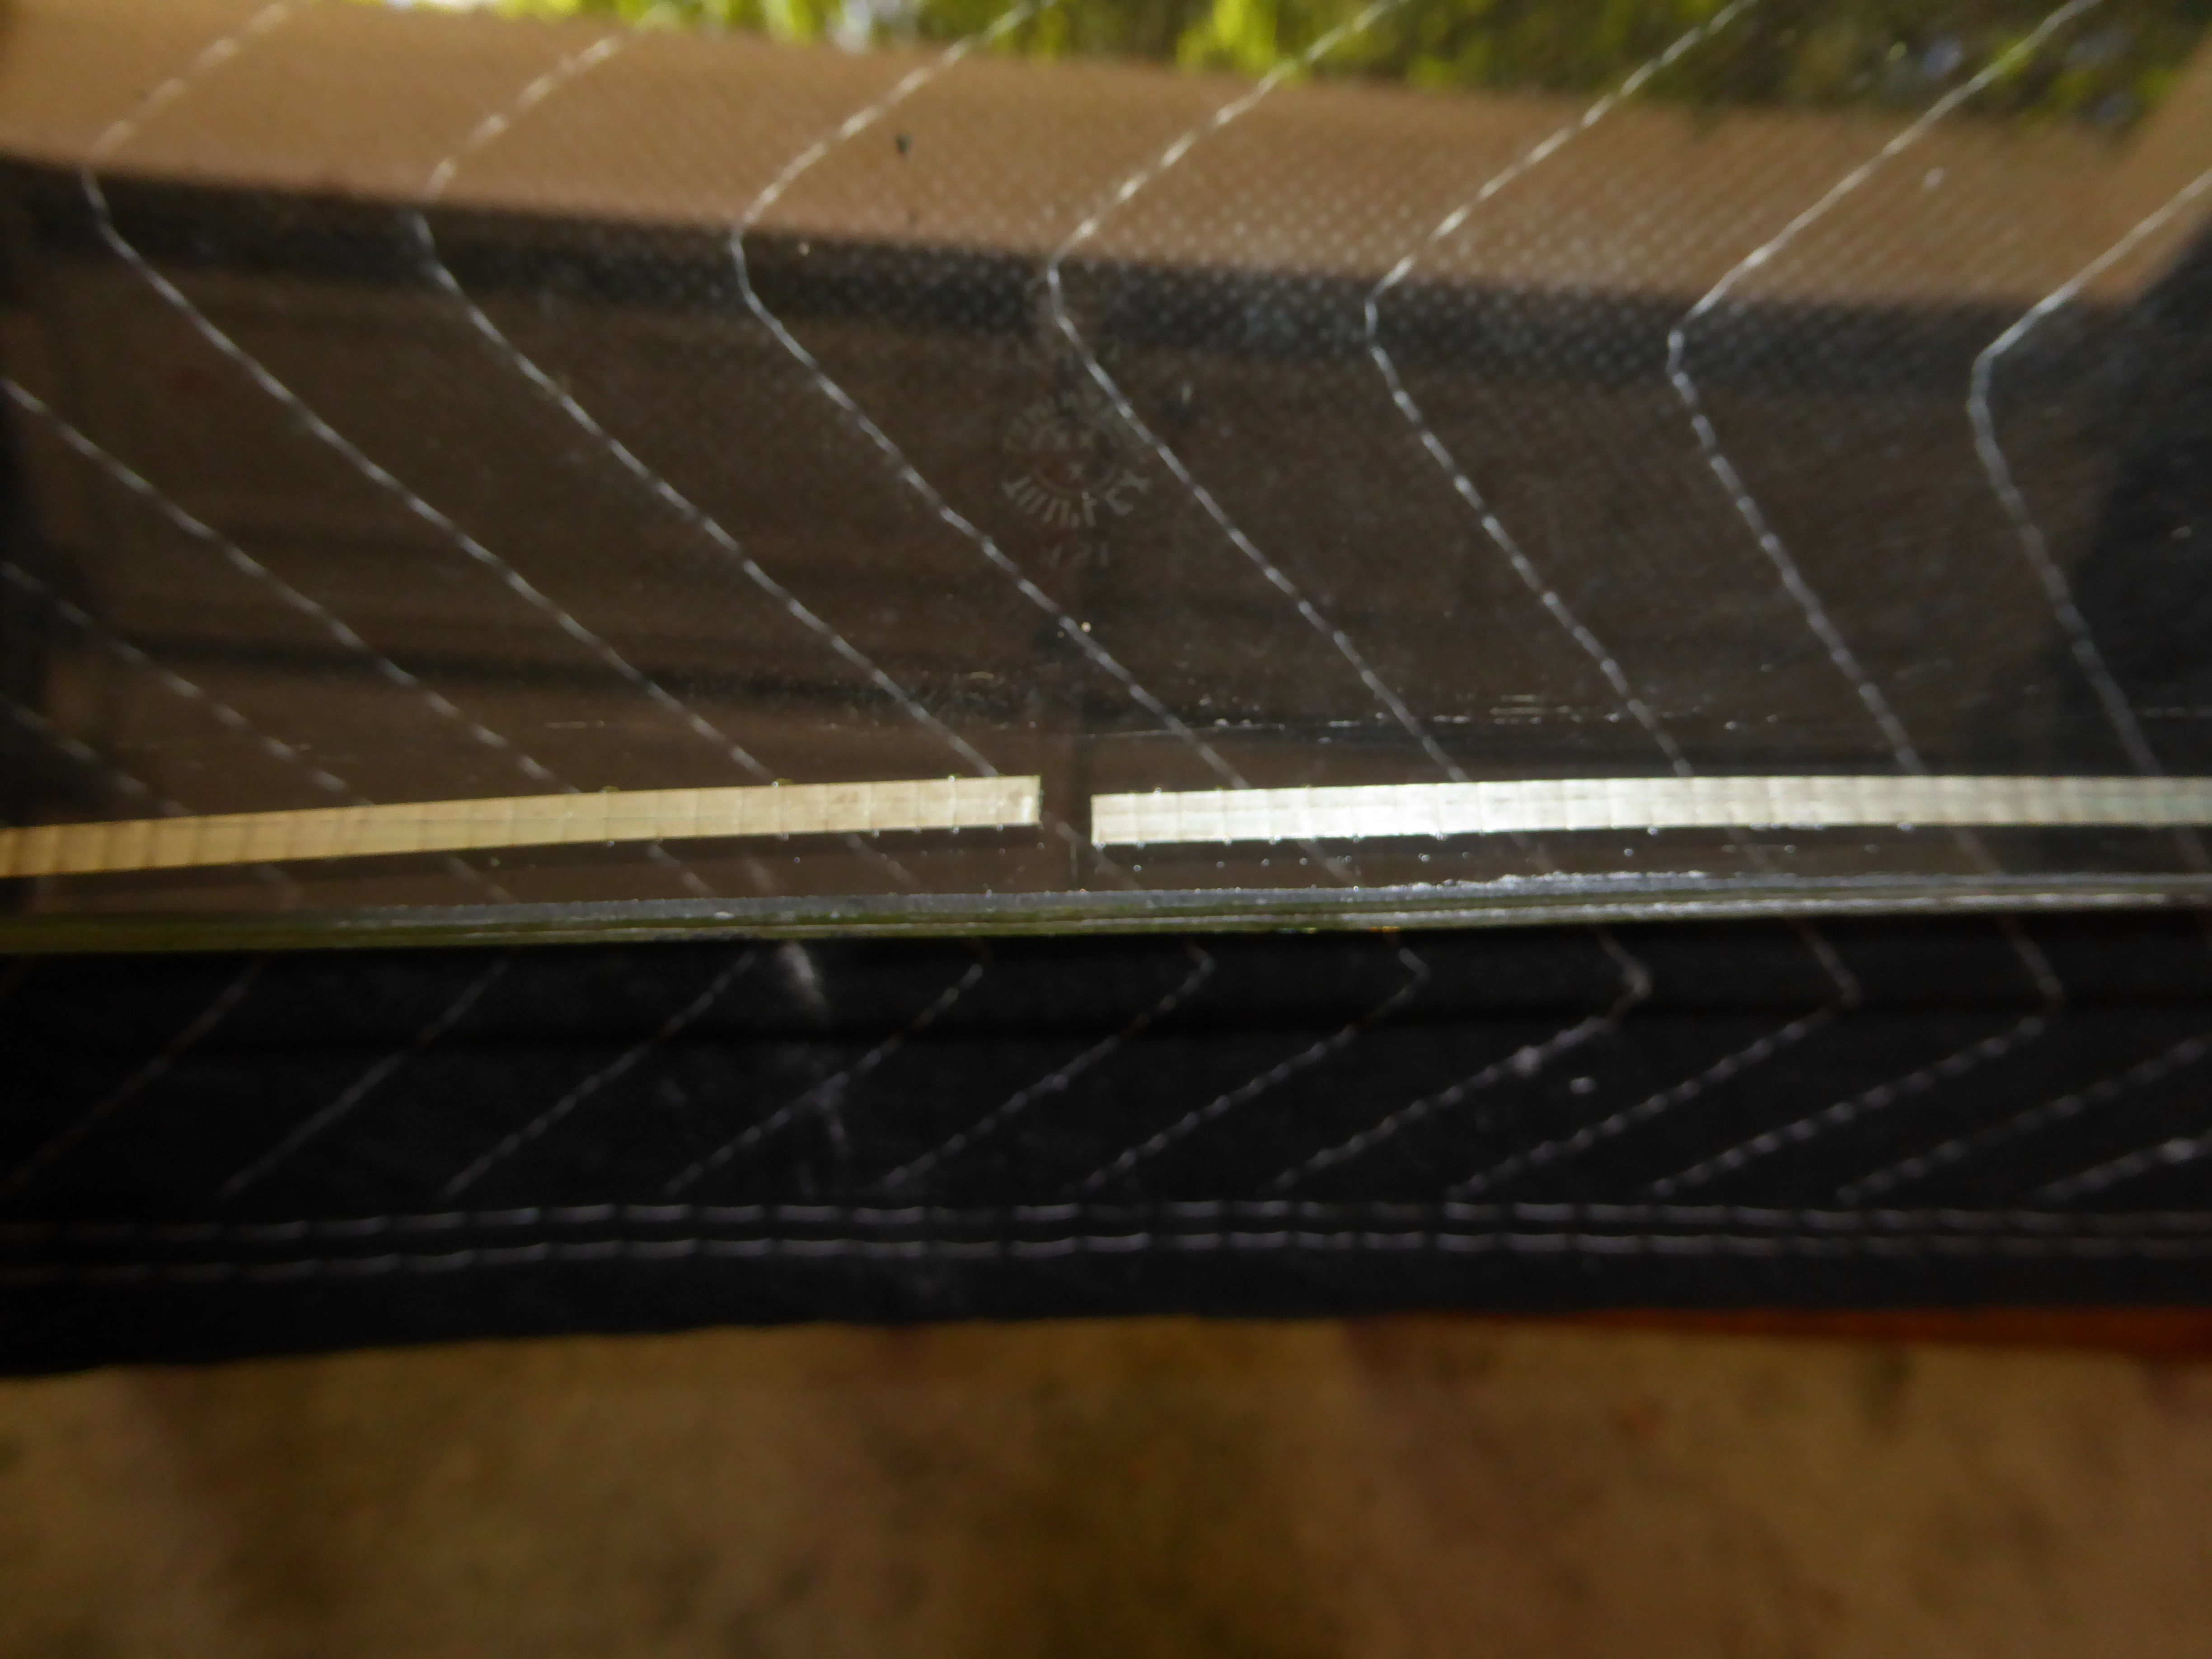
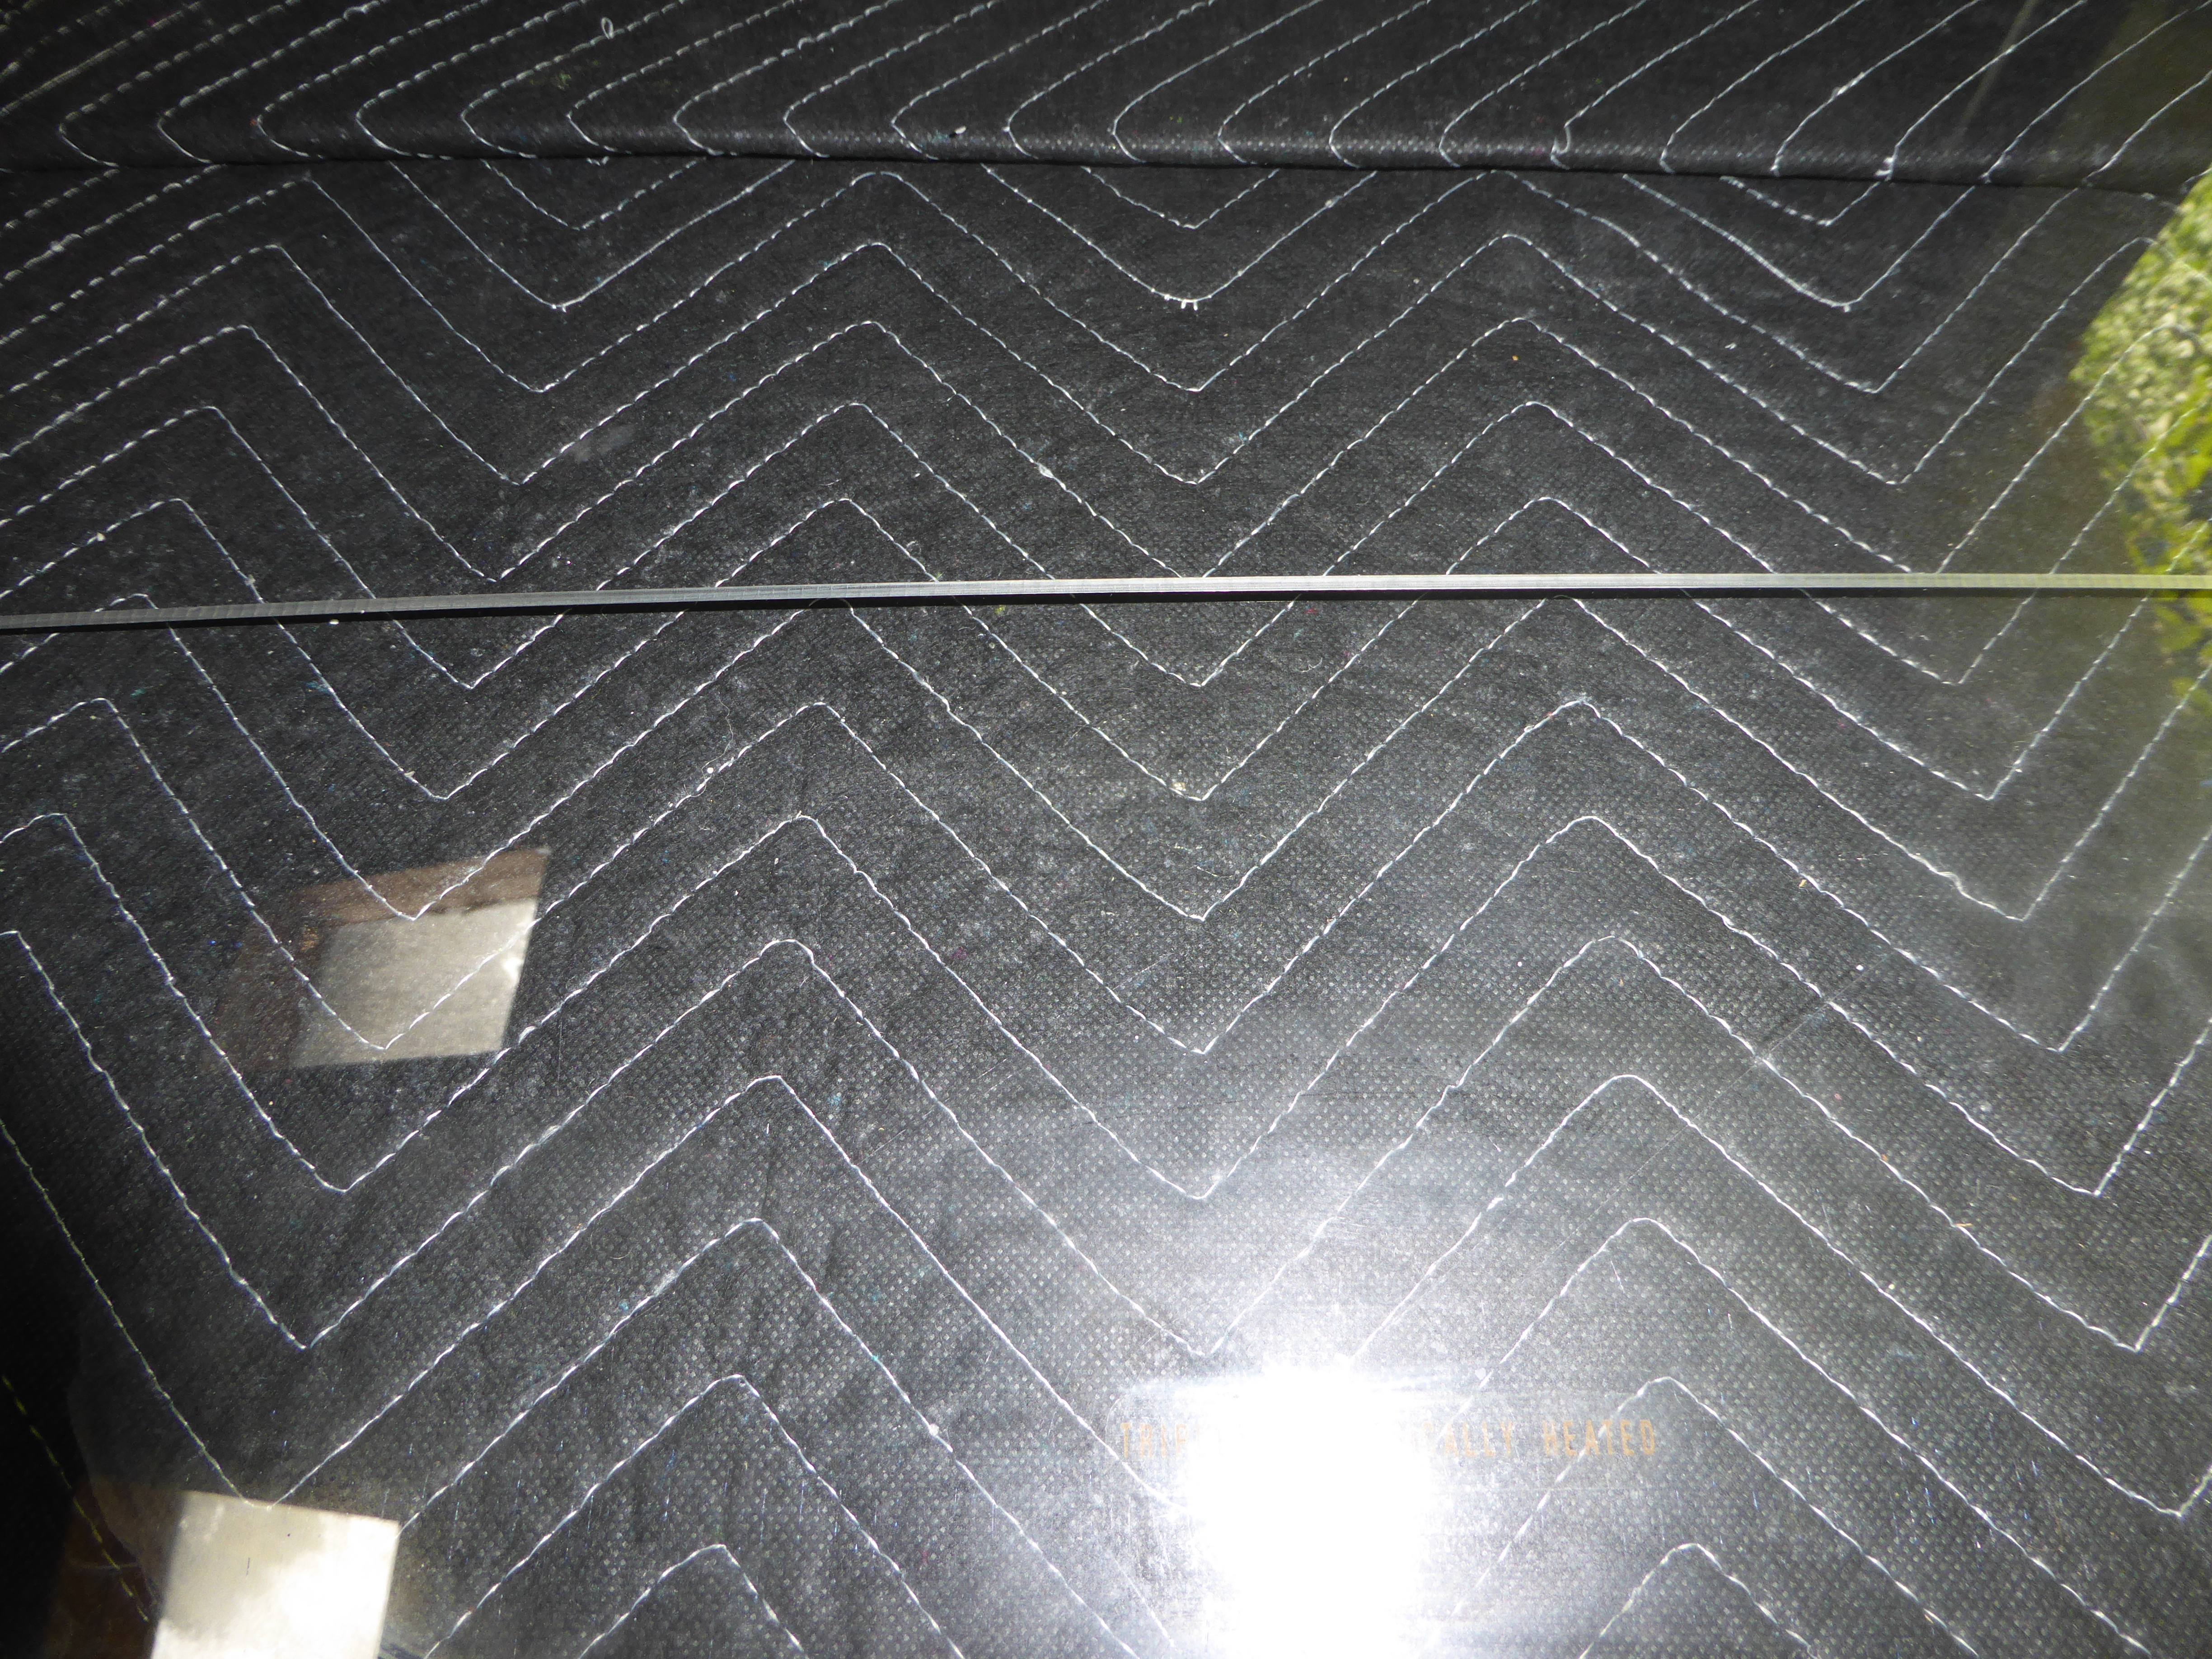
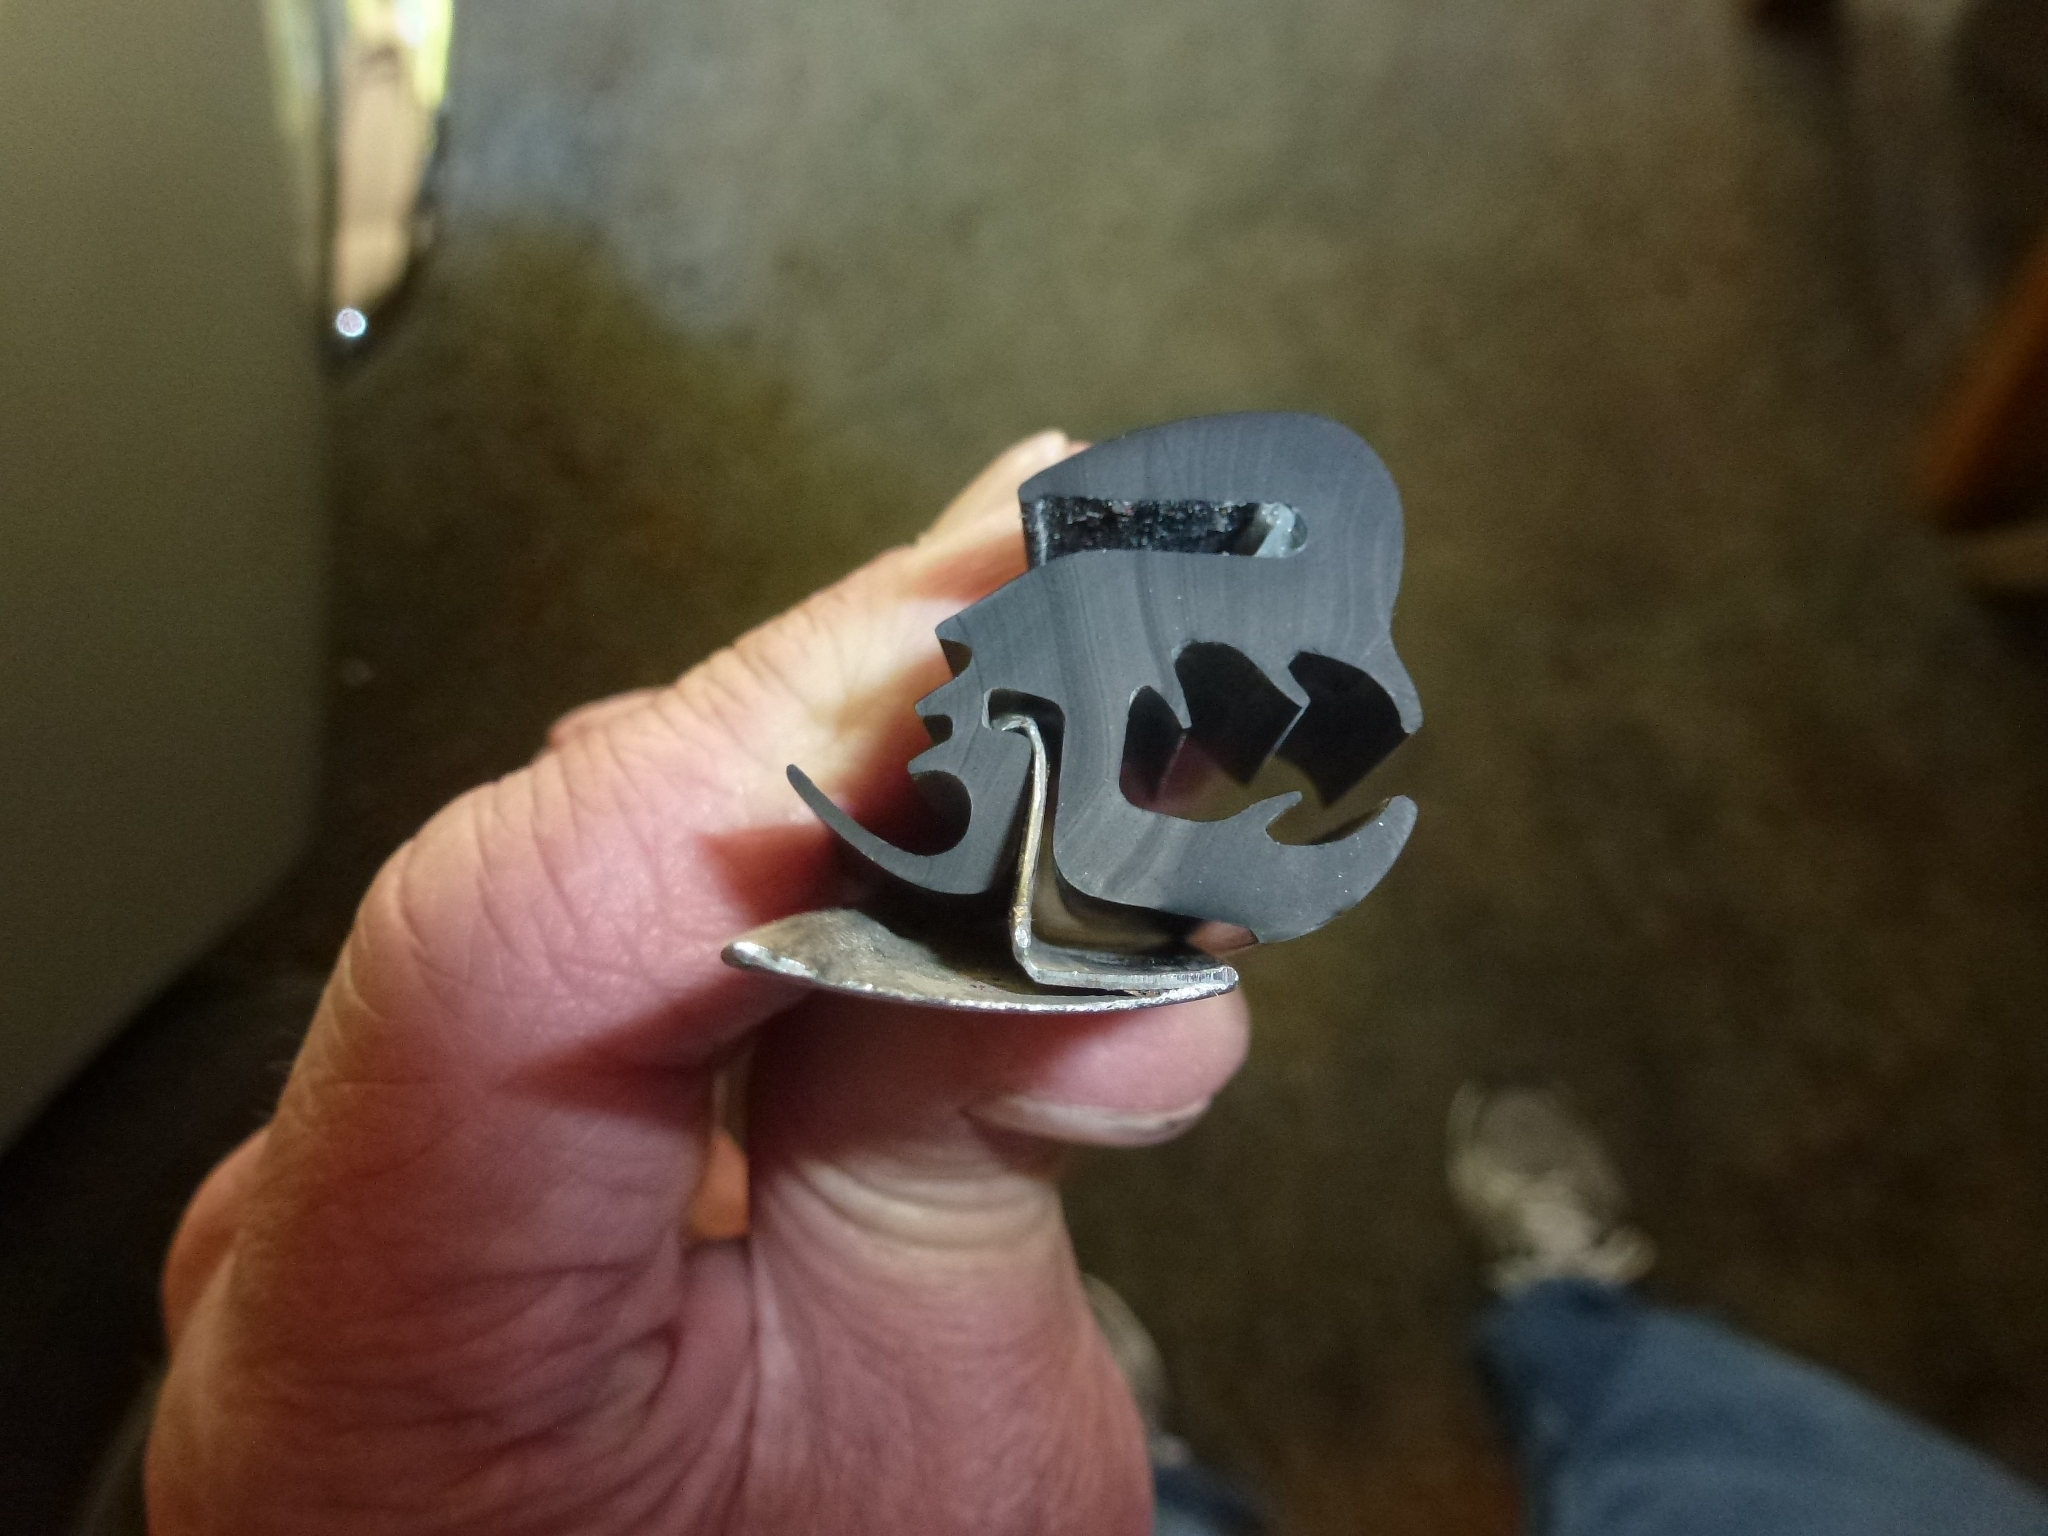
The rear window on the series II 330 GTs have heat lines sandwiched into the glass, so one has to be careful of the wires that supply the power. In addition, this glass with the heat lines is made of unobtainium and I do not know of any being available in the world. The middle picture is the gap in the electrical foil between the positive and ground sides. So the current flows across the positive foil at the top, through many tiny wires down to a contiguous foil, across and then up to the negative foil on the other side.
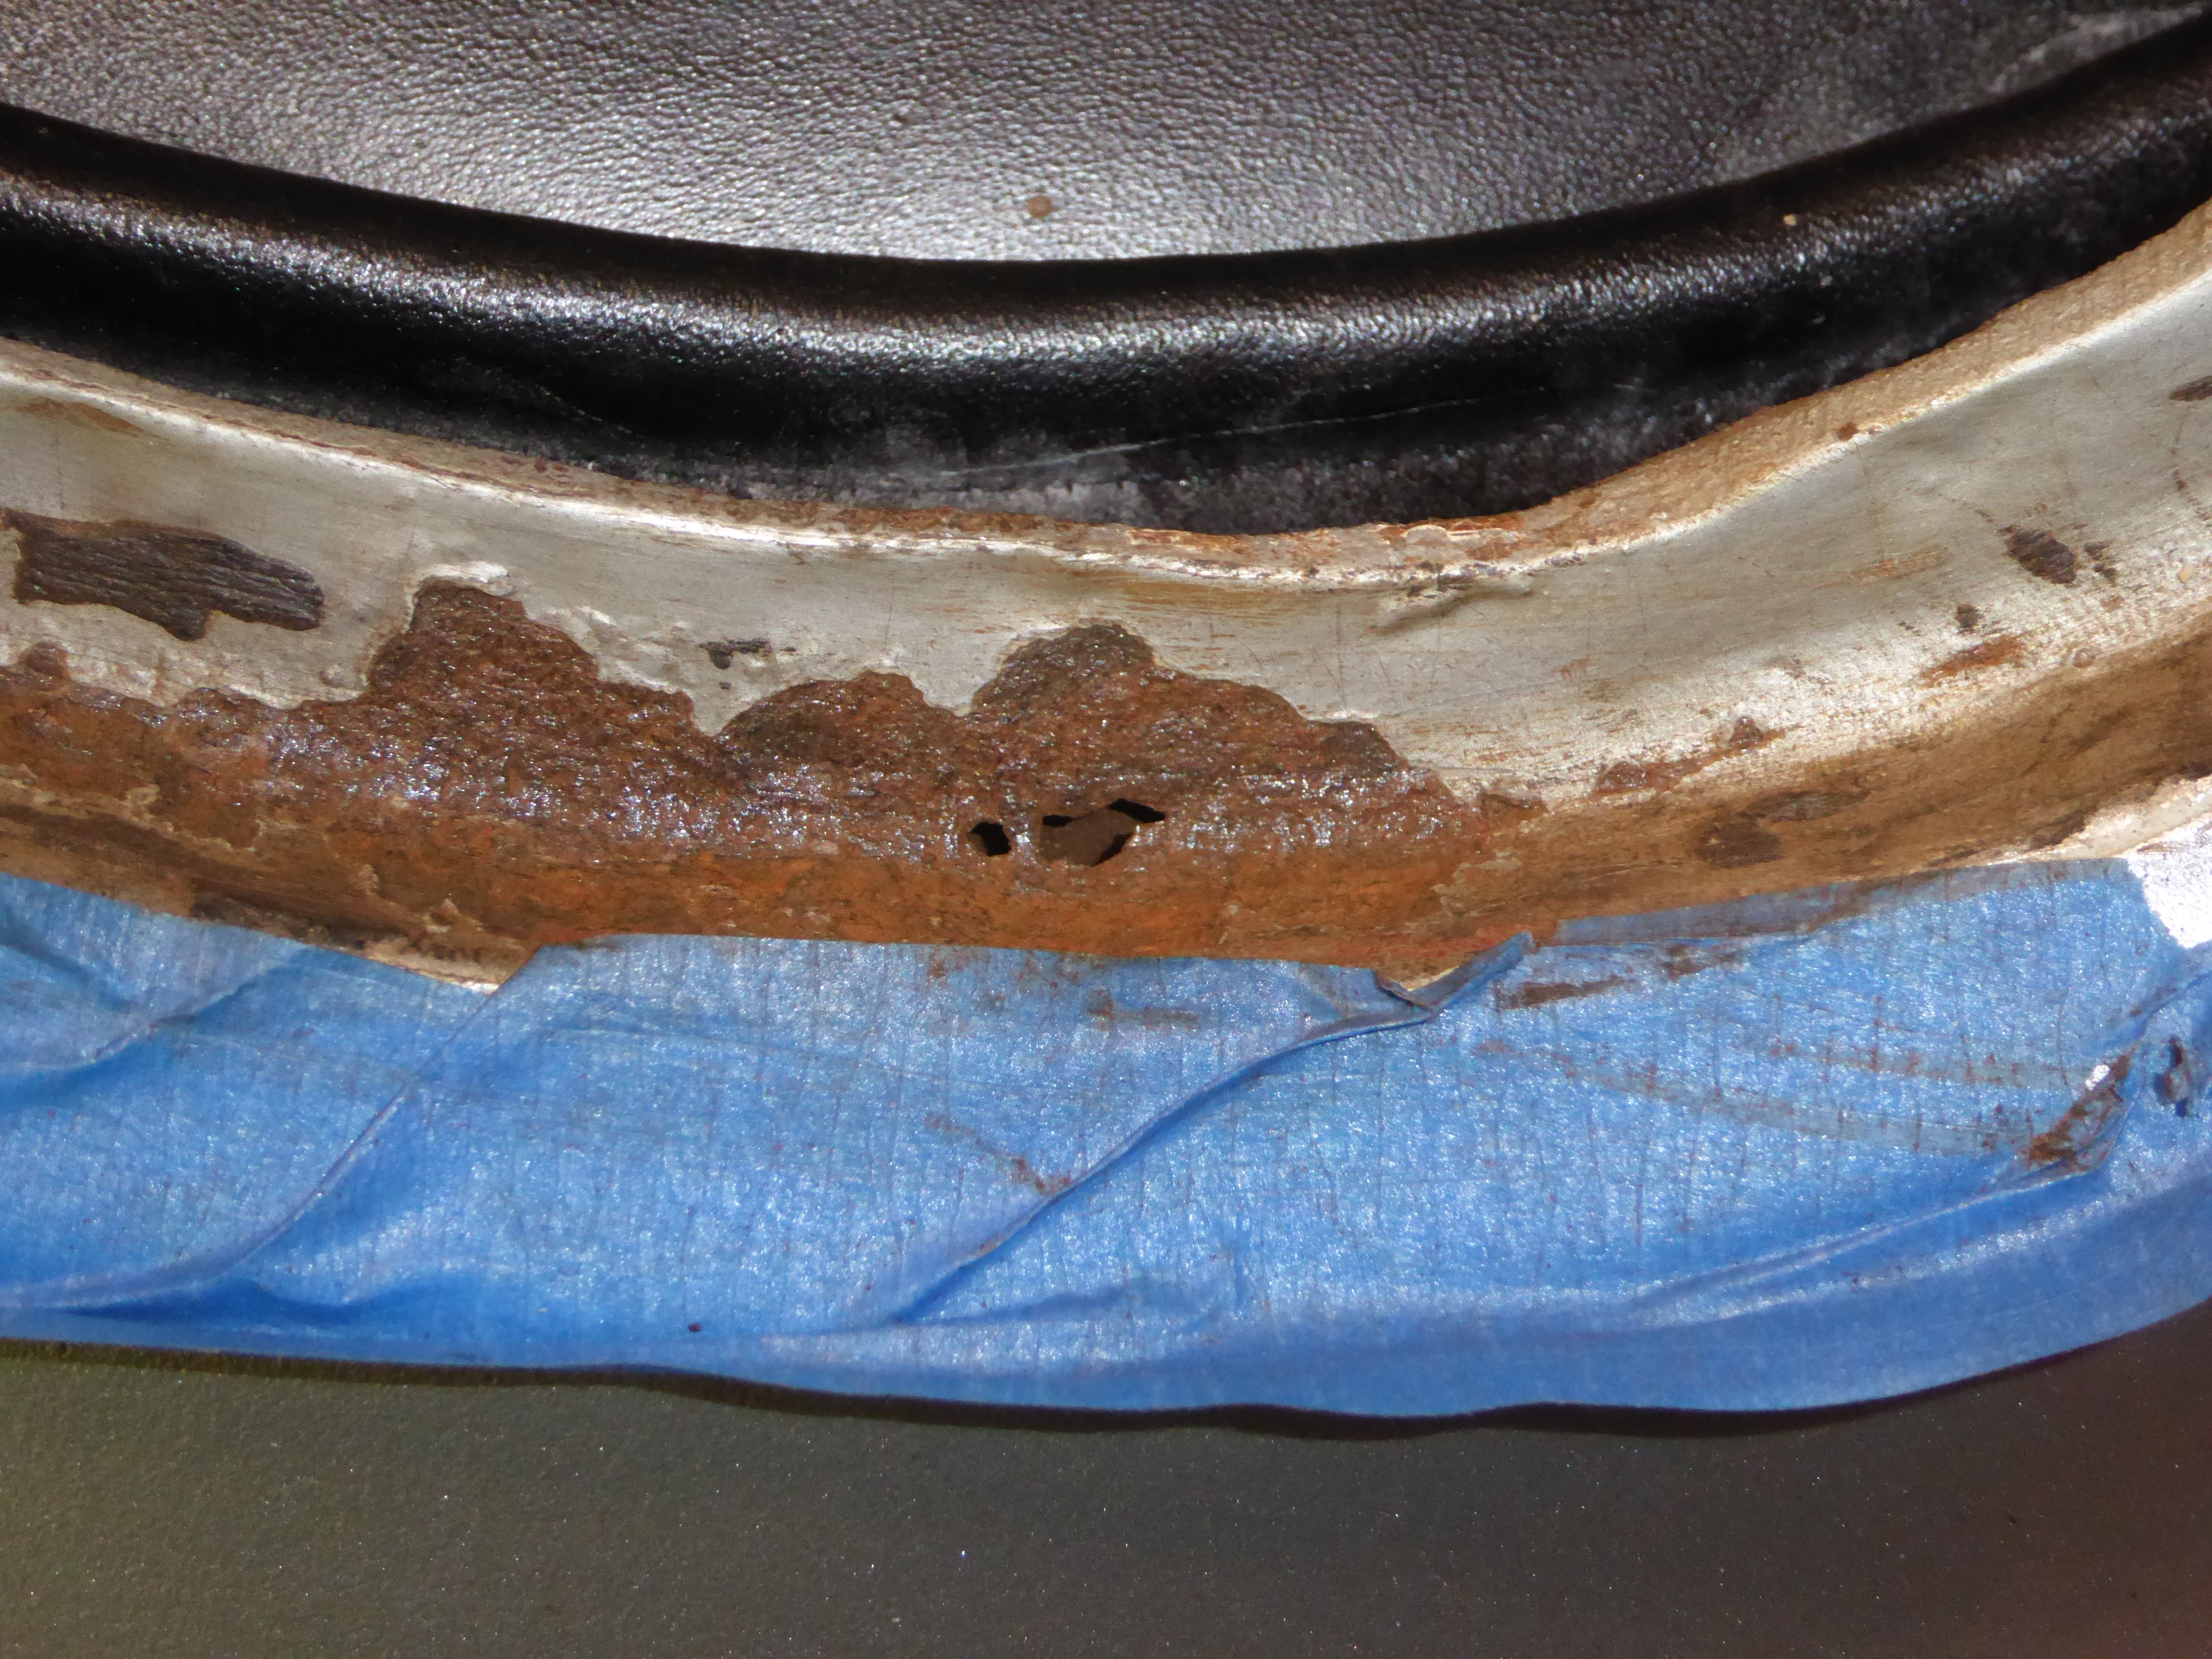
Once the glass was out and safely on a bench, I checked out the window channel. Except for a rust hole in one corner and some surface rust, it was in pretty good shape. I cleaned out everything, used some Rust Mort to stop the rusting and filled the hole with JB Weld.
.JPG)
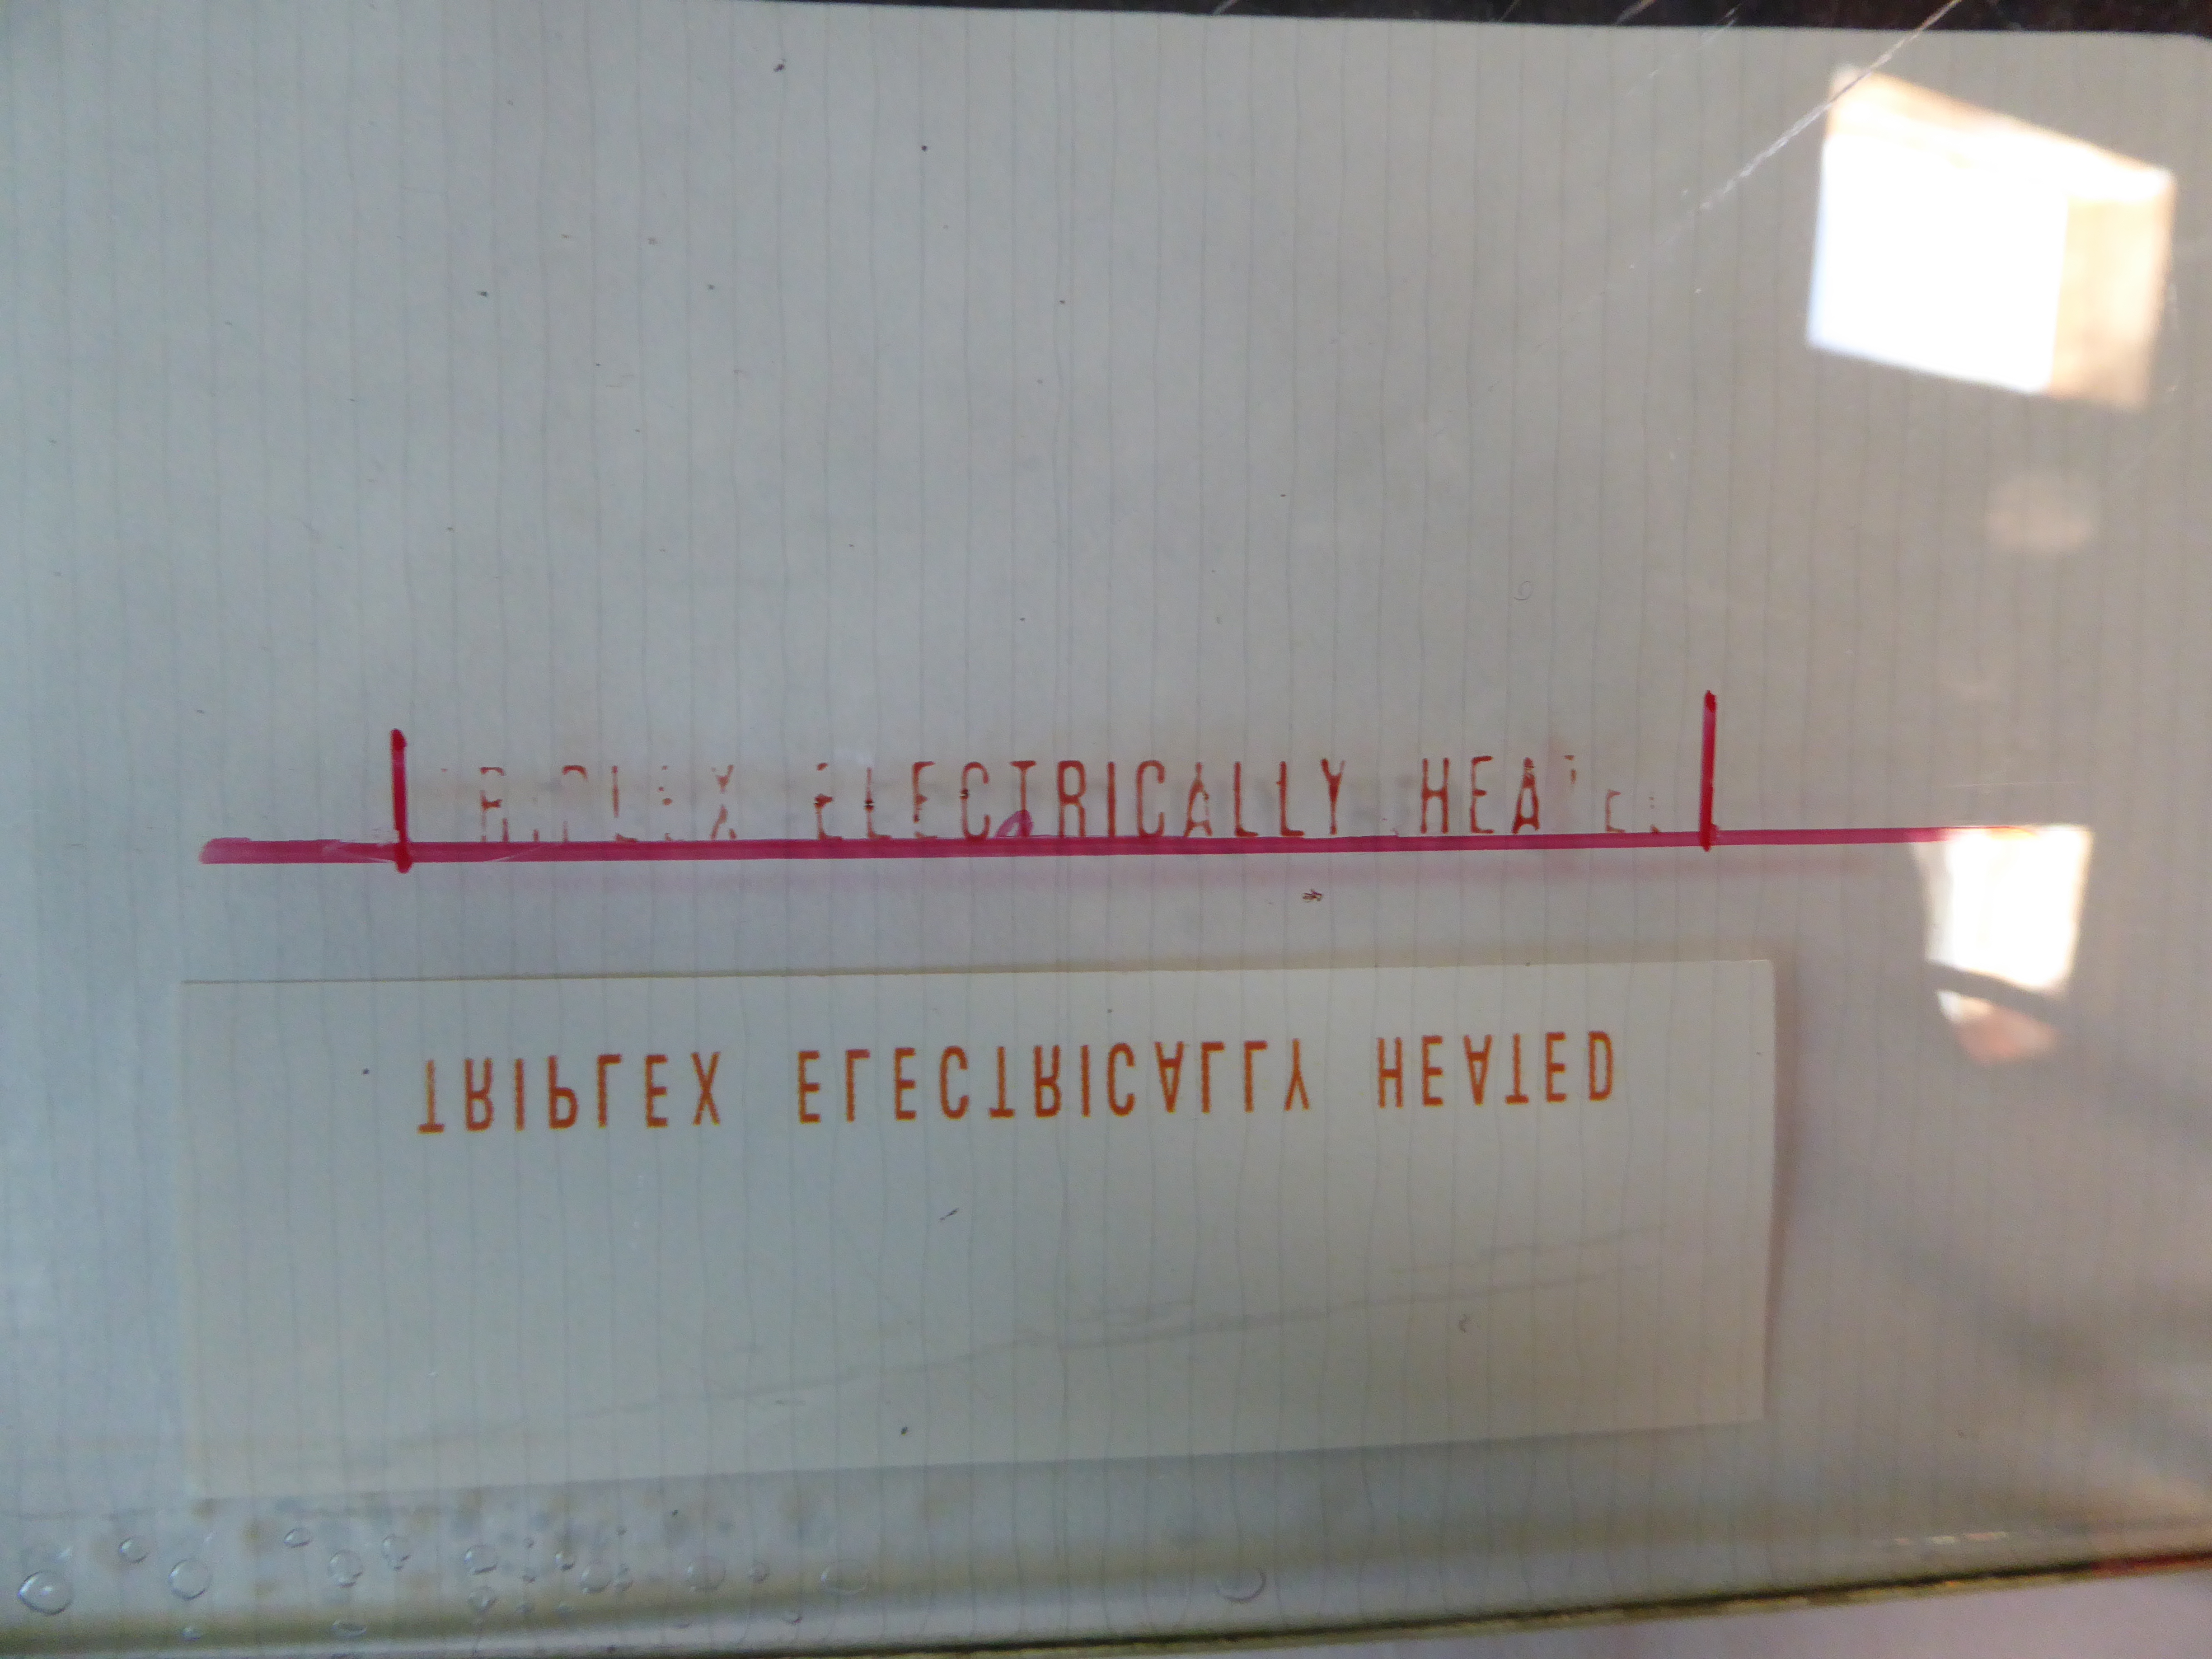
Next I turned to cleaning the glass. Of course, there was some crud along where the edge of the old molding was. Use of a razor blade scraper and 0000 steel wool cleaned that up. Many years ago, when I was cleaning the rear window on the inside using Windex (ammonia based), I noticed that the rag had some orange on it. Click to see how I replaced that.
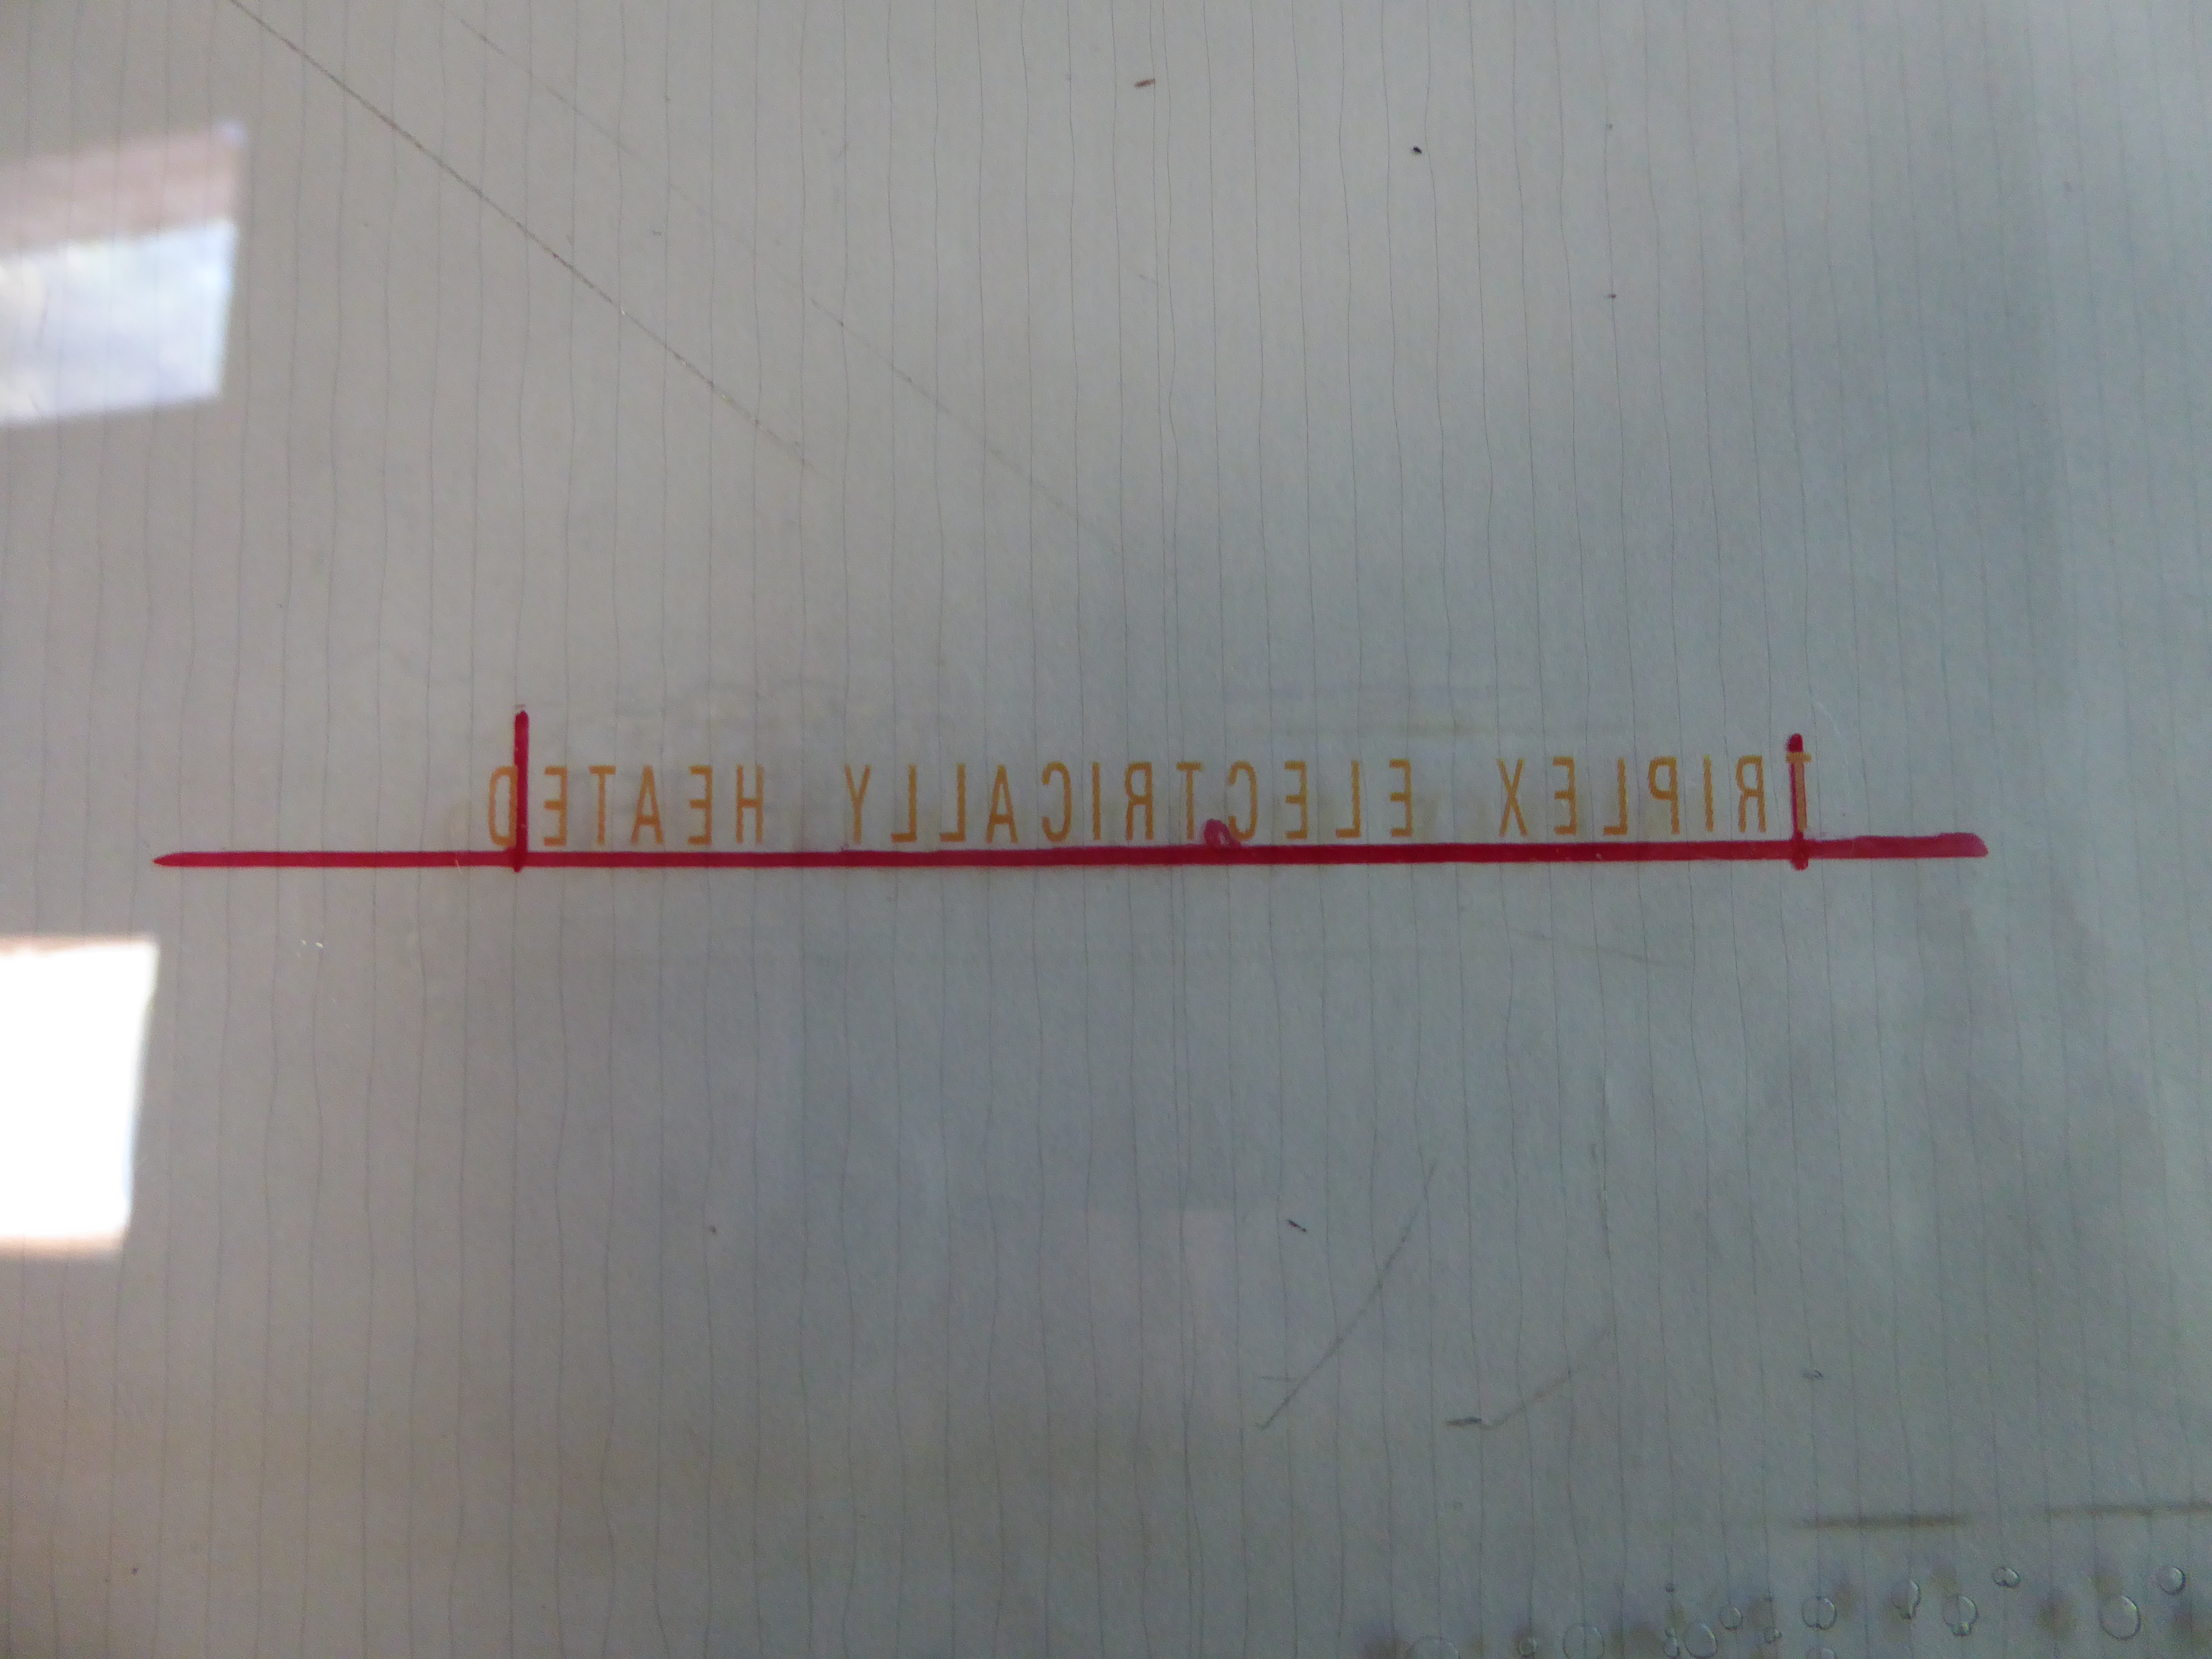
With the rear glass out, it was time to fix that. A while ago, I made up a water transfer decal to replace the lettering. First I marked where the existing wording was located on the outside of the glass. After verifying that the decal was correct, I sprayed on some more Windex and a single swipe removed the remaining lettering. Then I positioned the decal in the correct place and let it dry. Note, the decal is printed in mirror image as it is installed on the inside of the glass. Then it reads correctly from the outside. It's too bad that they didn't embed the wording in the glass like the wiring.
 TBS
TBS
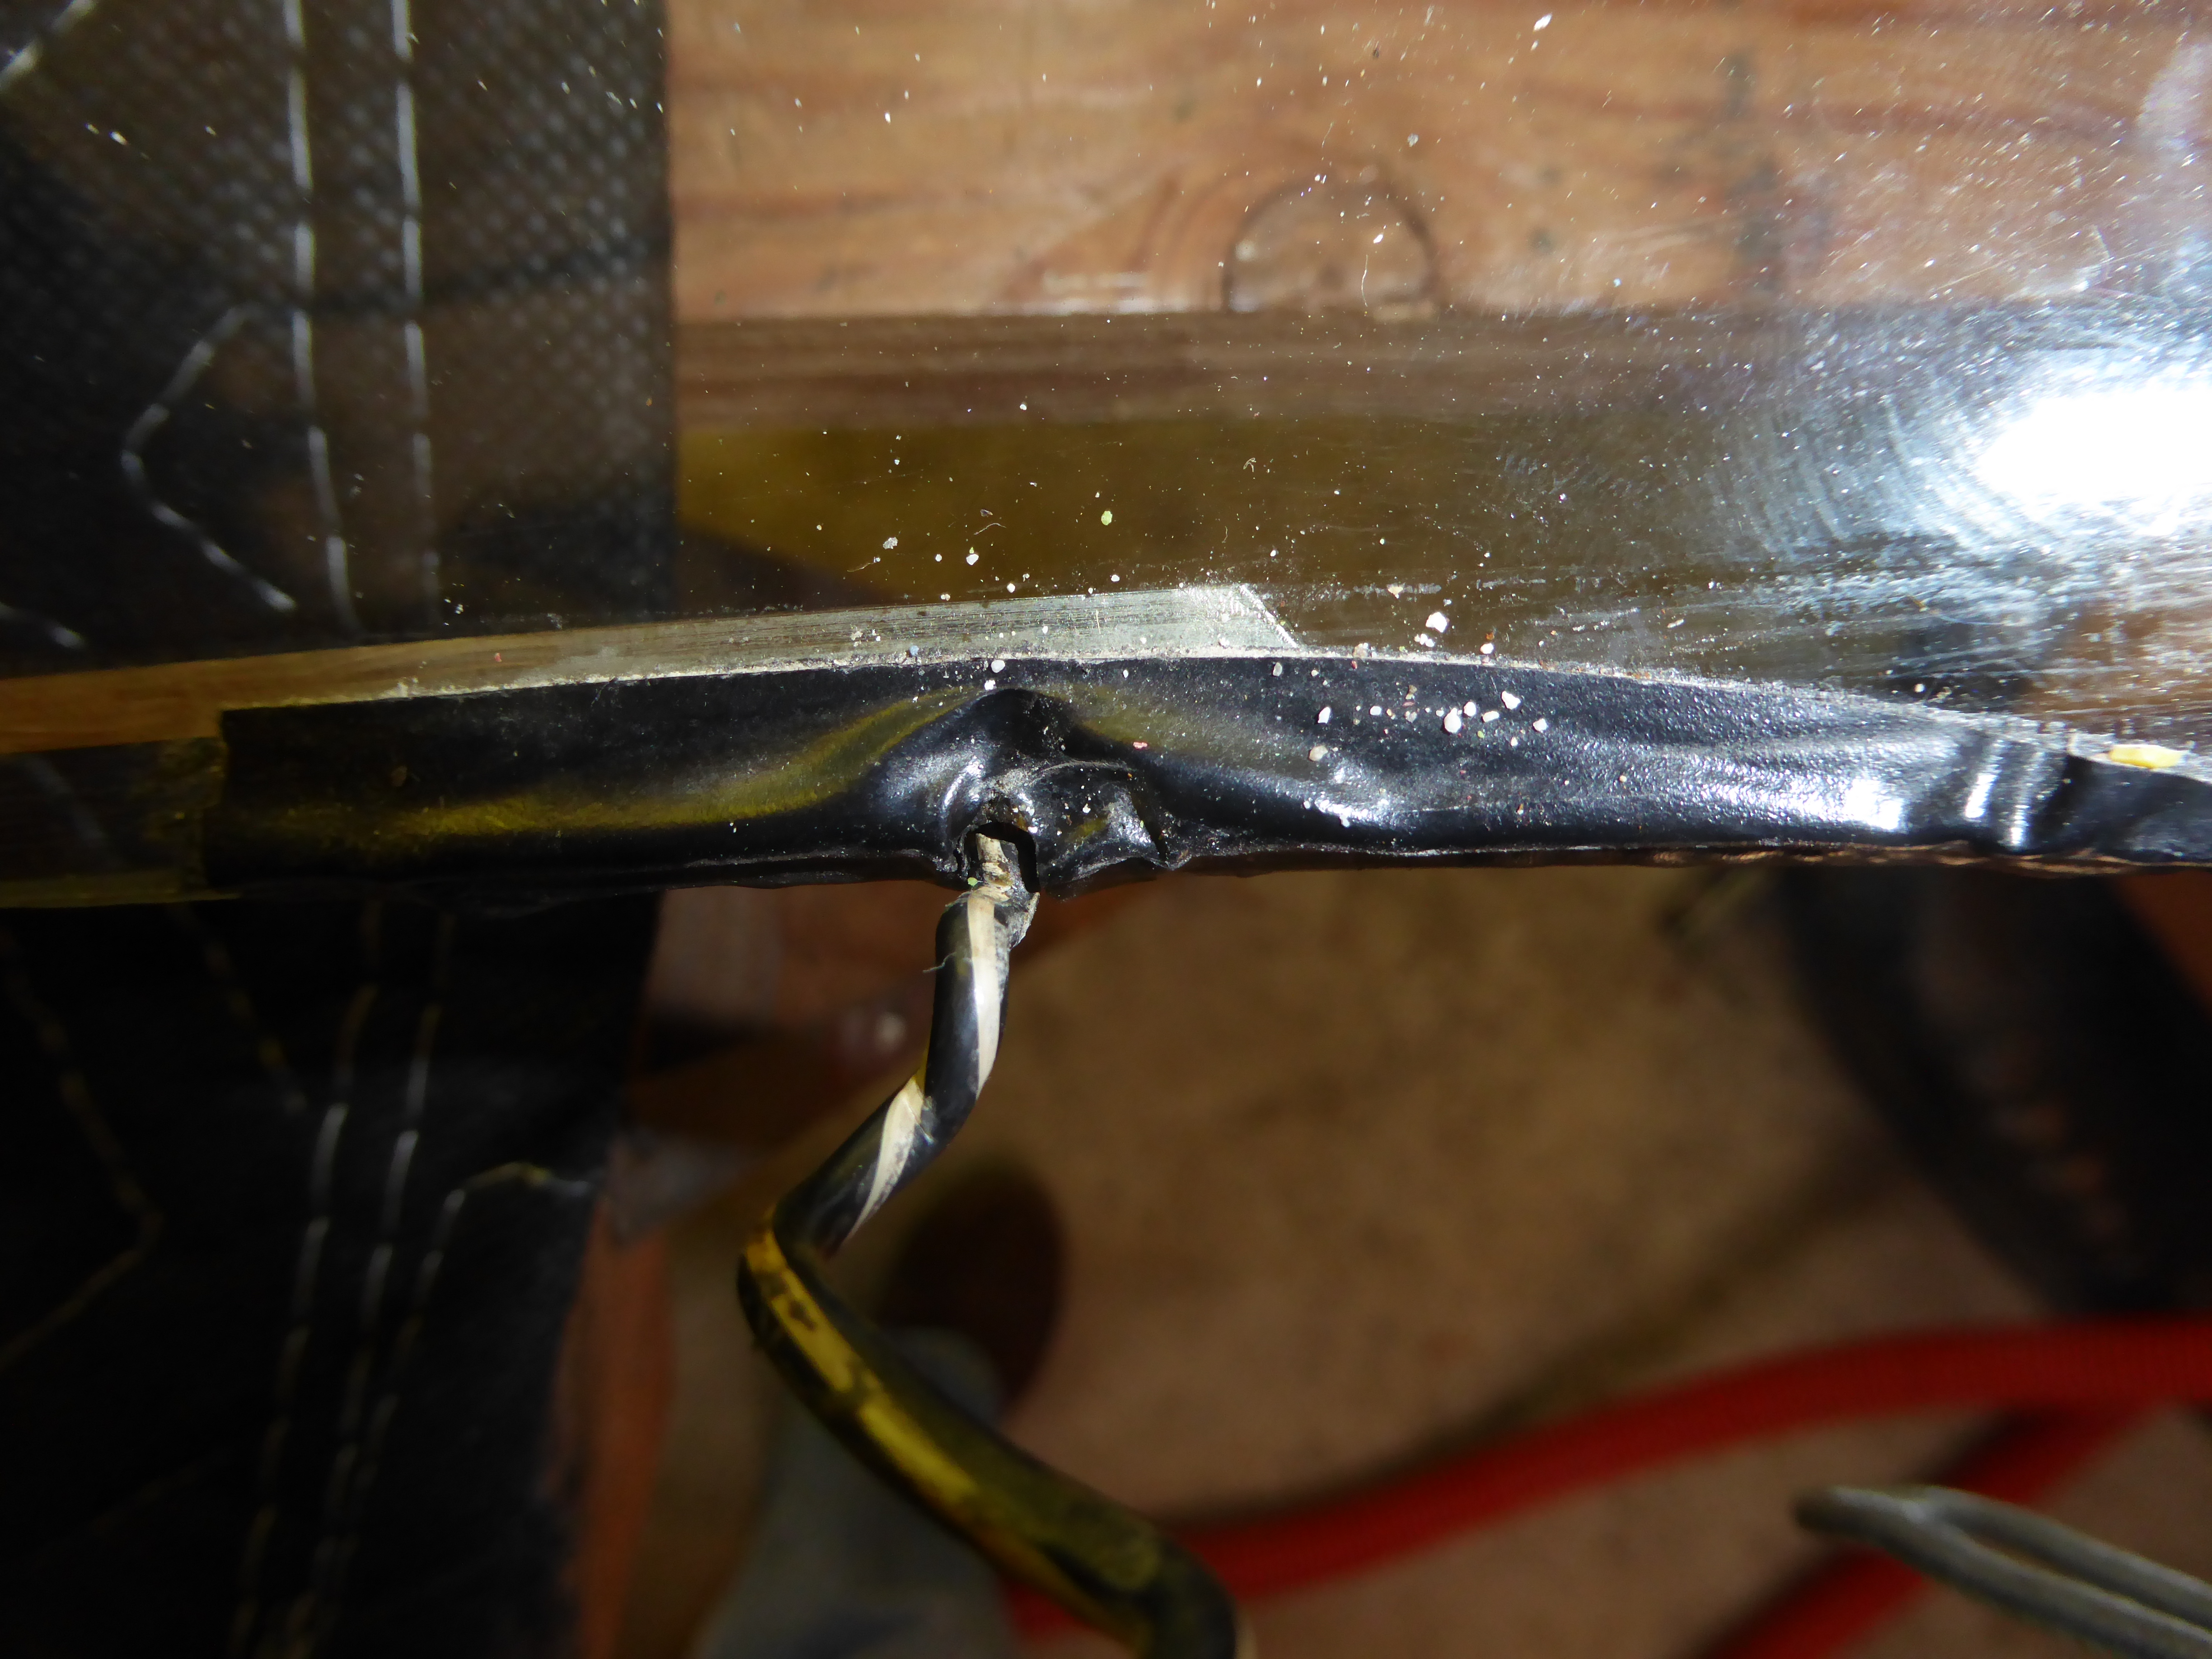
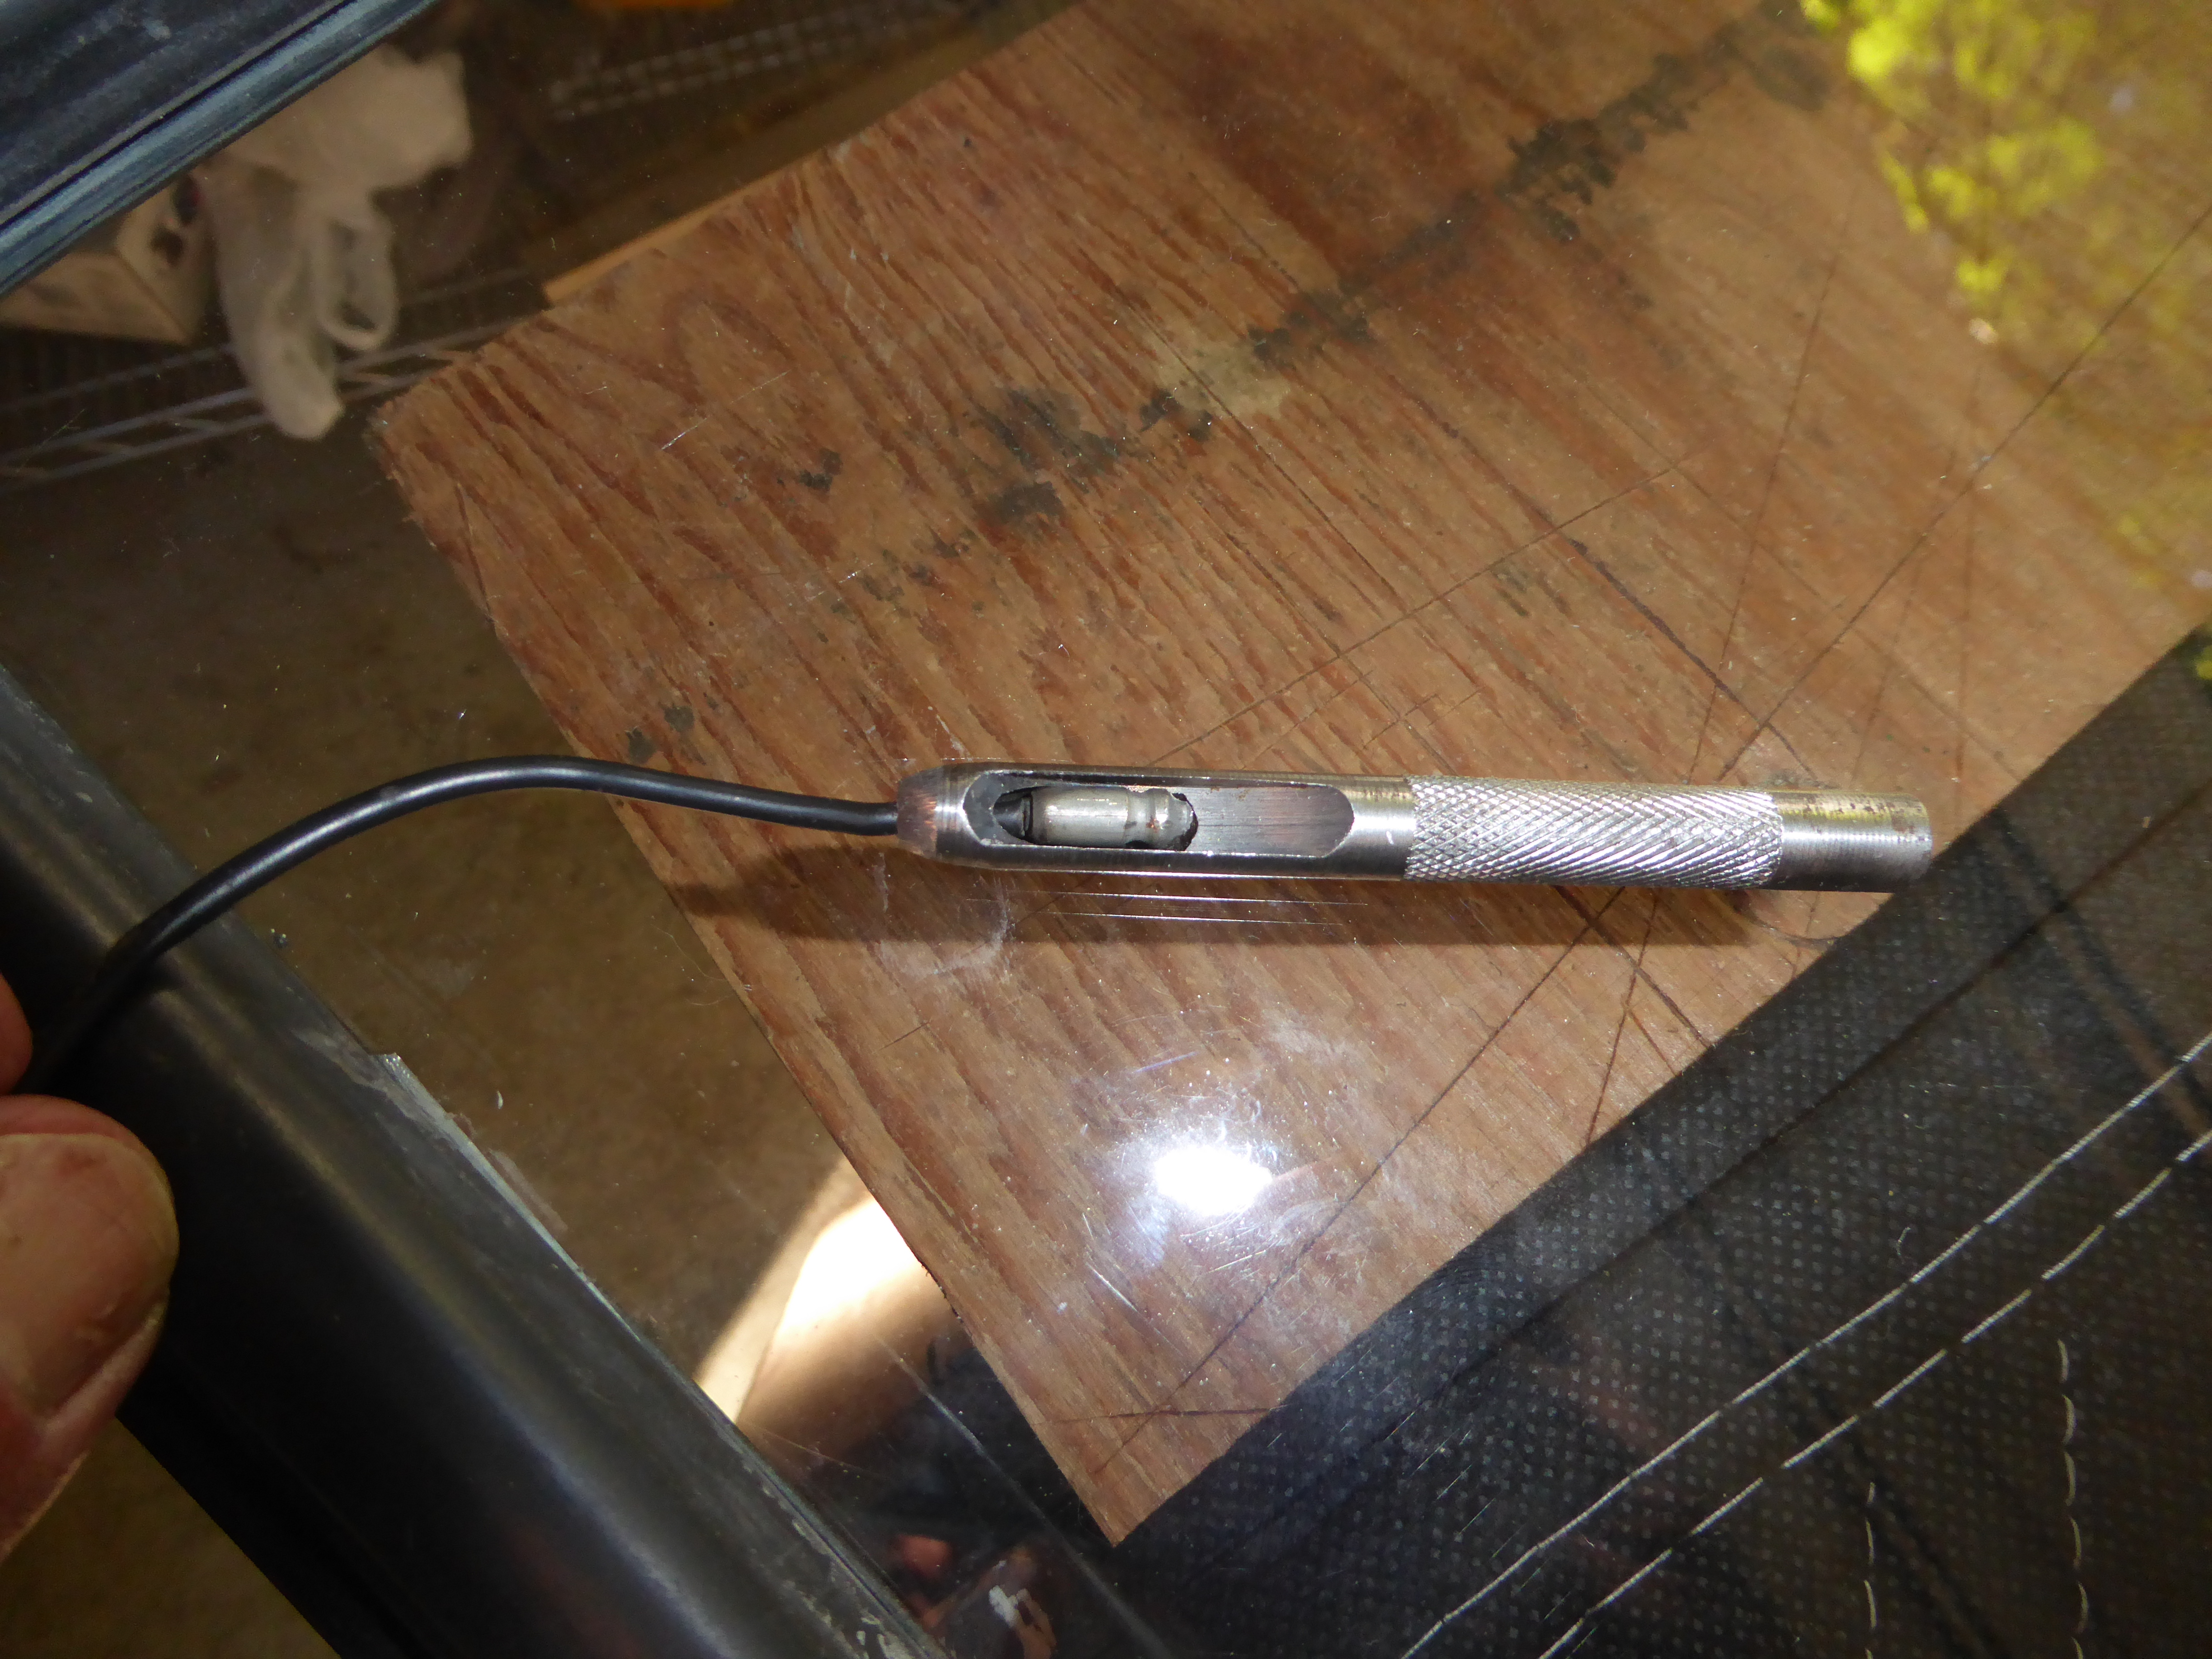
Then I fit the new seal to the glass. Because of the heat lines, I had to run the wires through the seal. First I poked a hole between the window channel and the body flange channel using an awl. I tried several things to enlarge the hole so the bullet connector would go through. Finally what worked was to have the awl through the hole, fit a hollow punch large enough to hold the connector and push it through using the awl as a guide. Then putting the connector in the hollow end and removing the punch with the wire inside of it. That left the wire through the rubber with a tight seal.
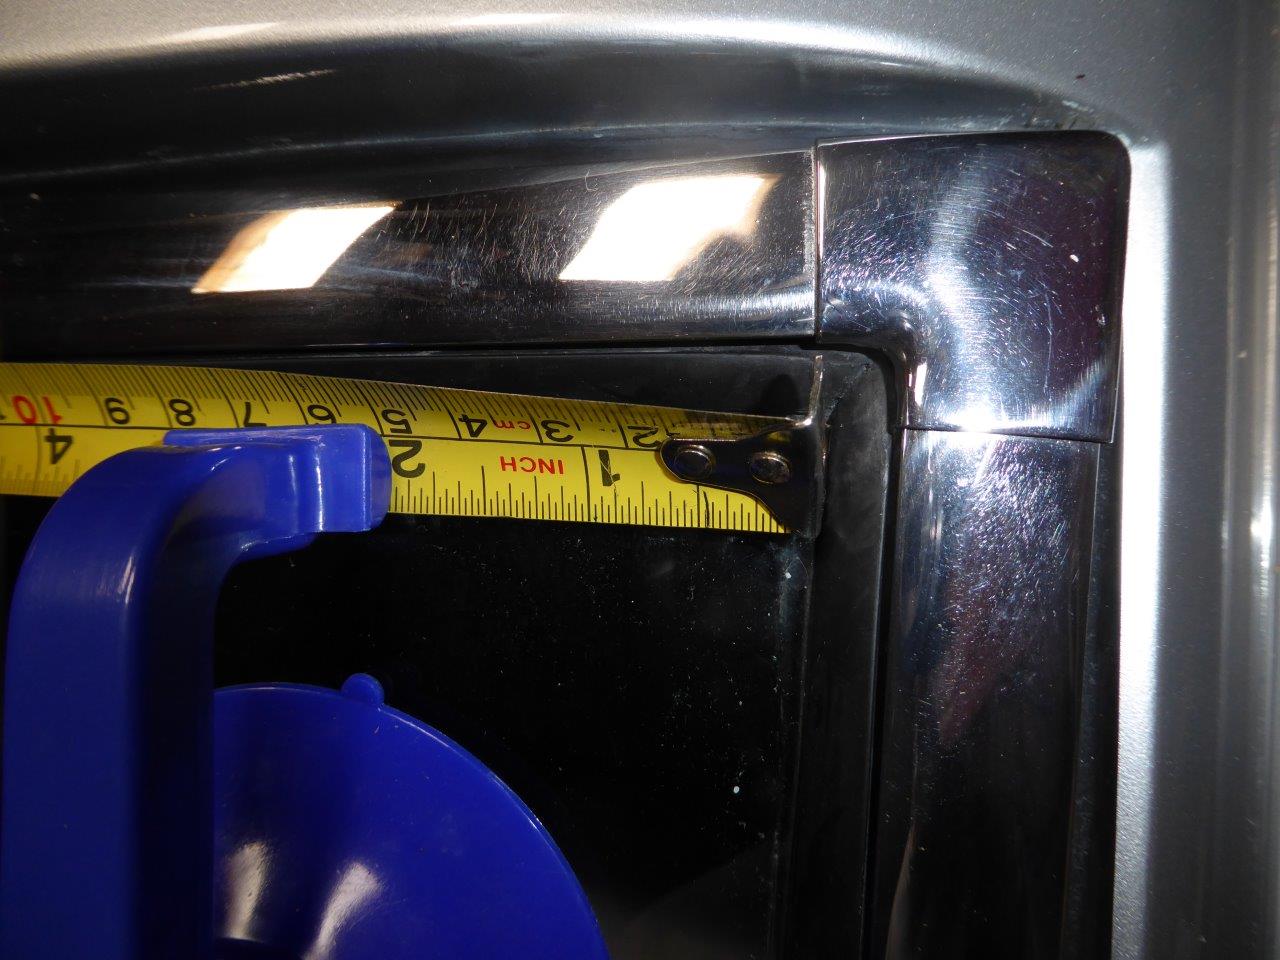
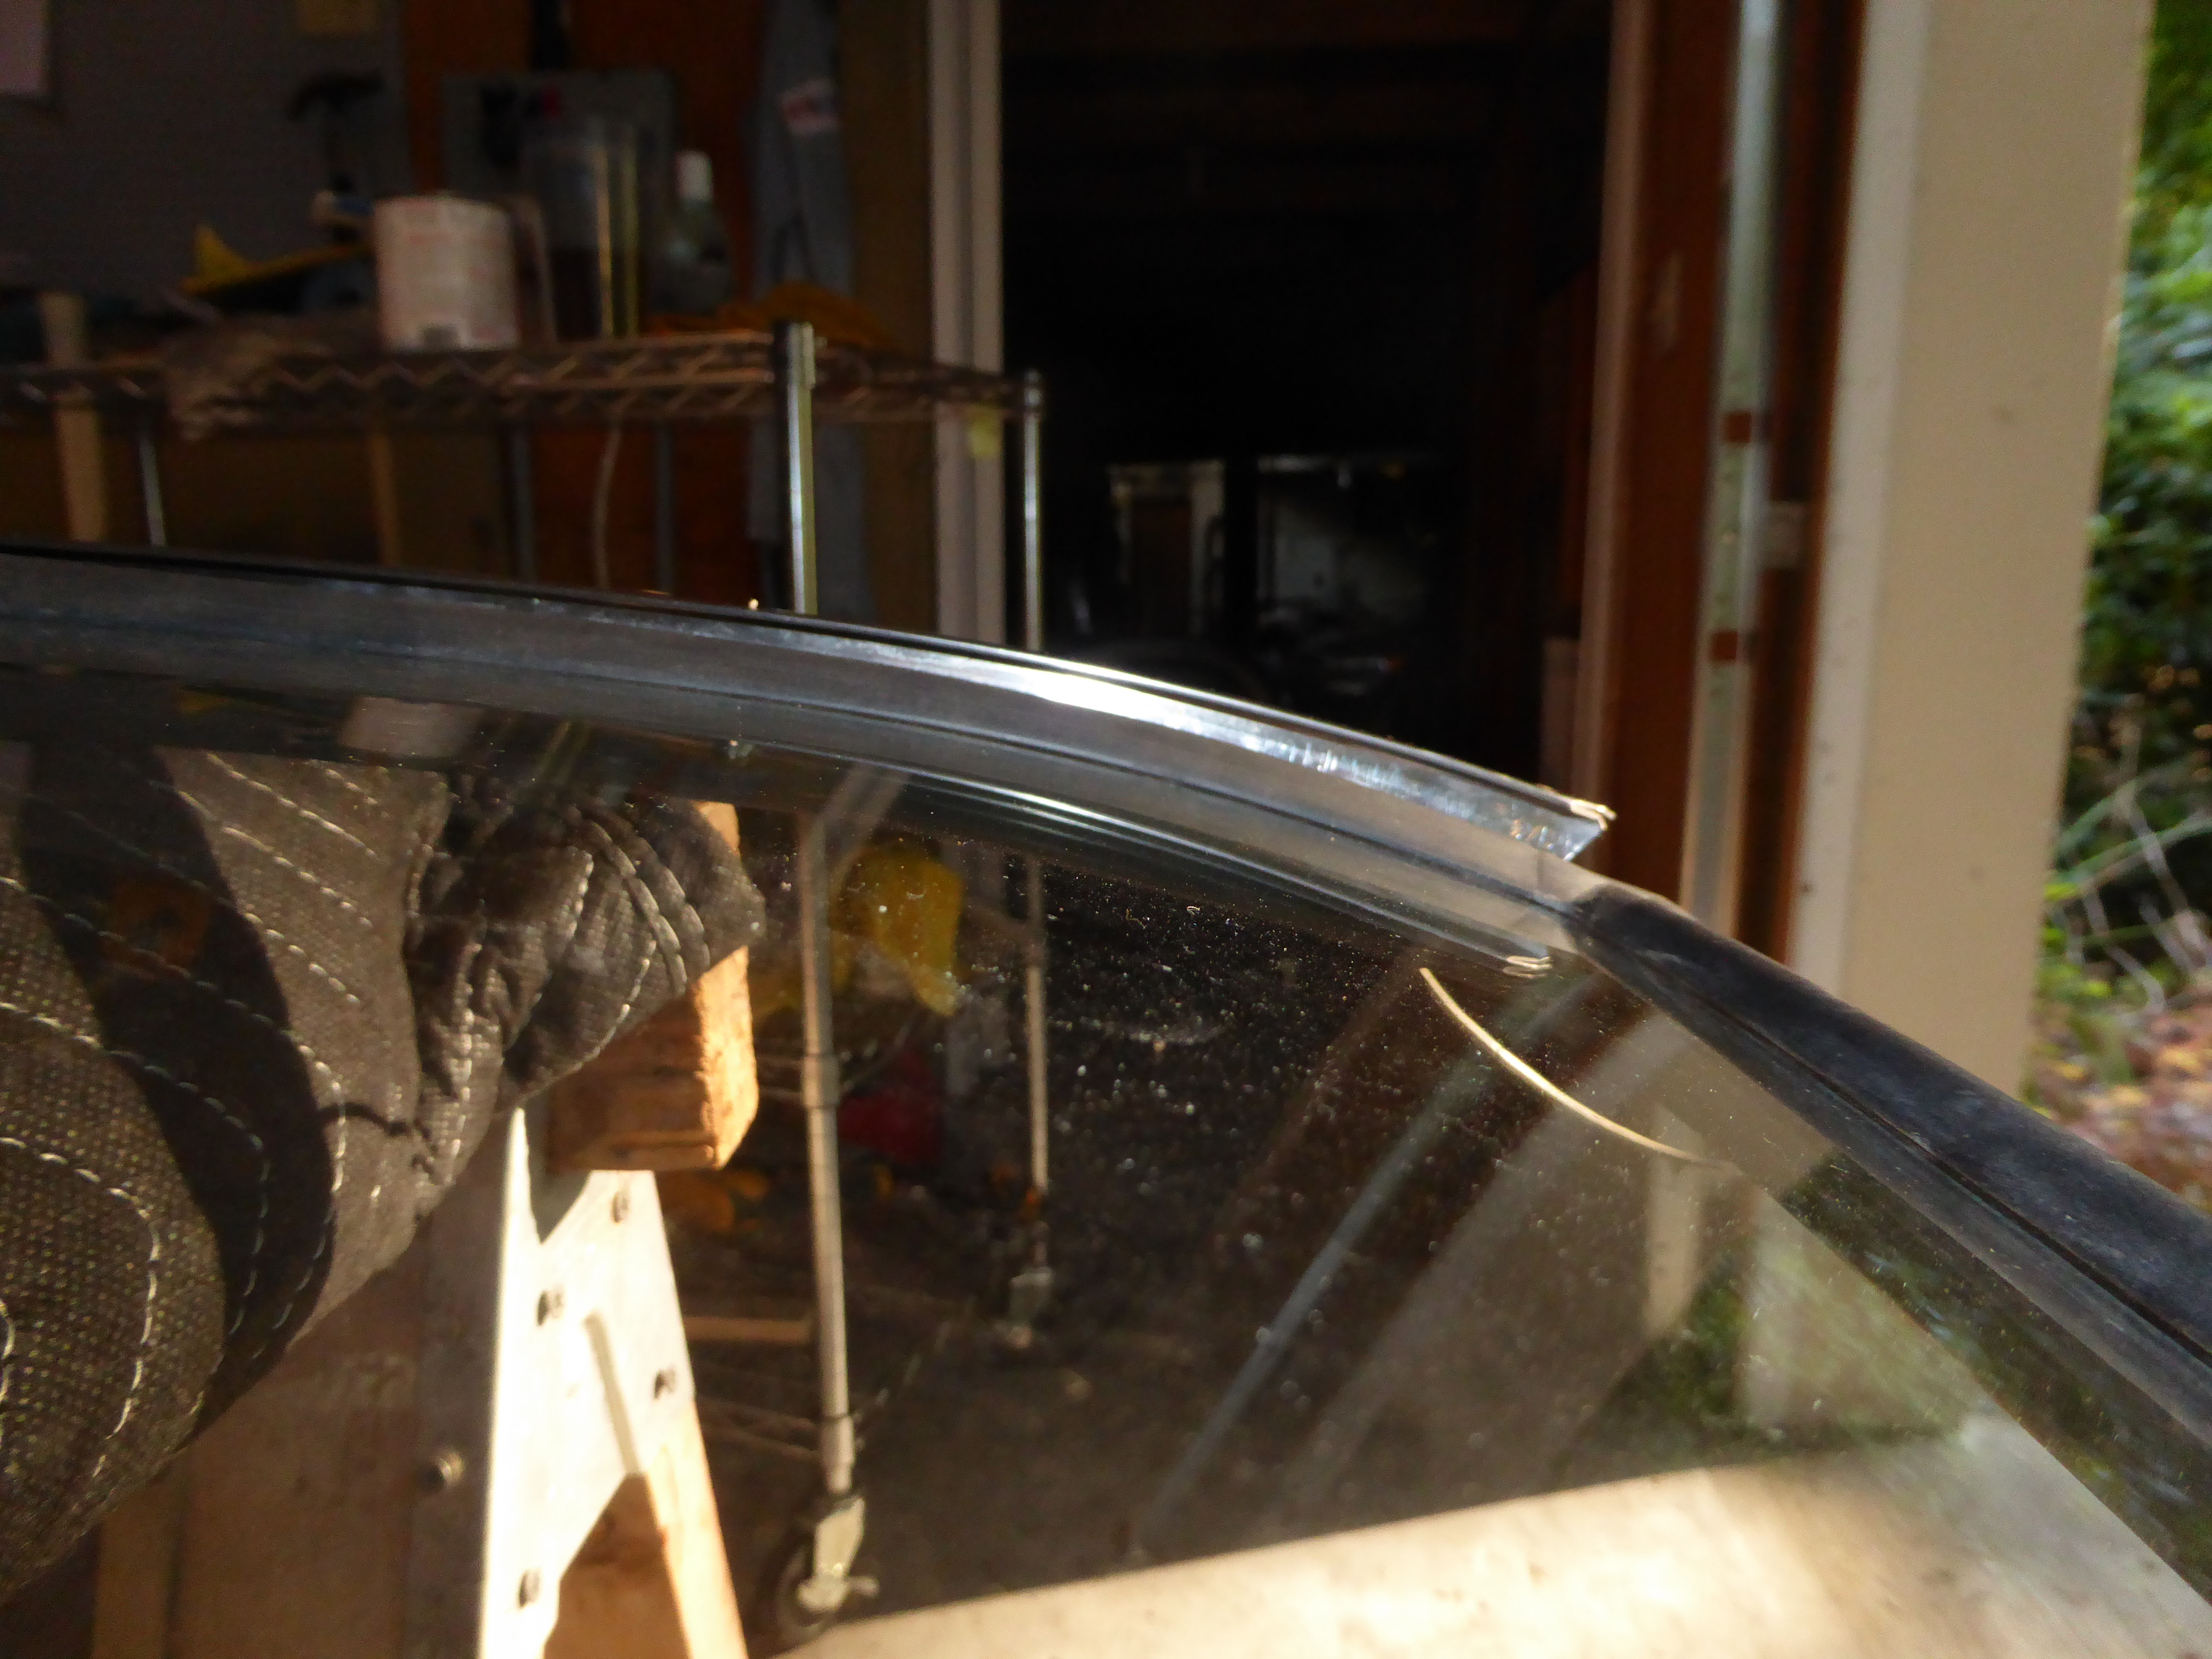
The stainless steel trim was the next thing to be done. One of the things I wanted to fix was to have the top bow fit better at the ends. When you remove these with the glass installed, they have to be pried out of a J channel and that ends up changing the curvature. So the upper corners never fit tight against the rubber. On the left, you can see how it sticks up. The right picture is the bow laying on the installed rubber and the end needs to be bent down about ½".
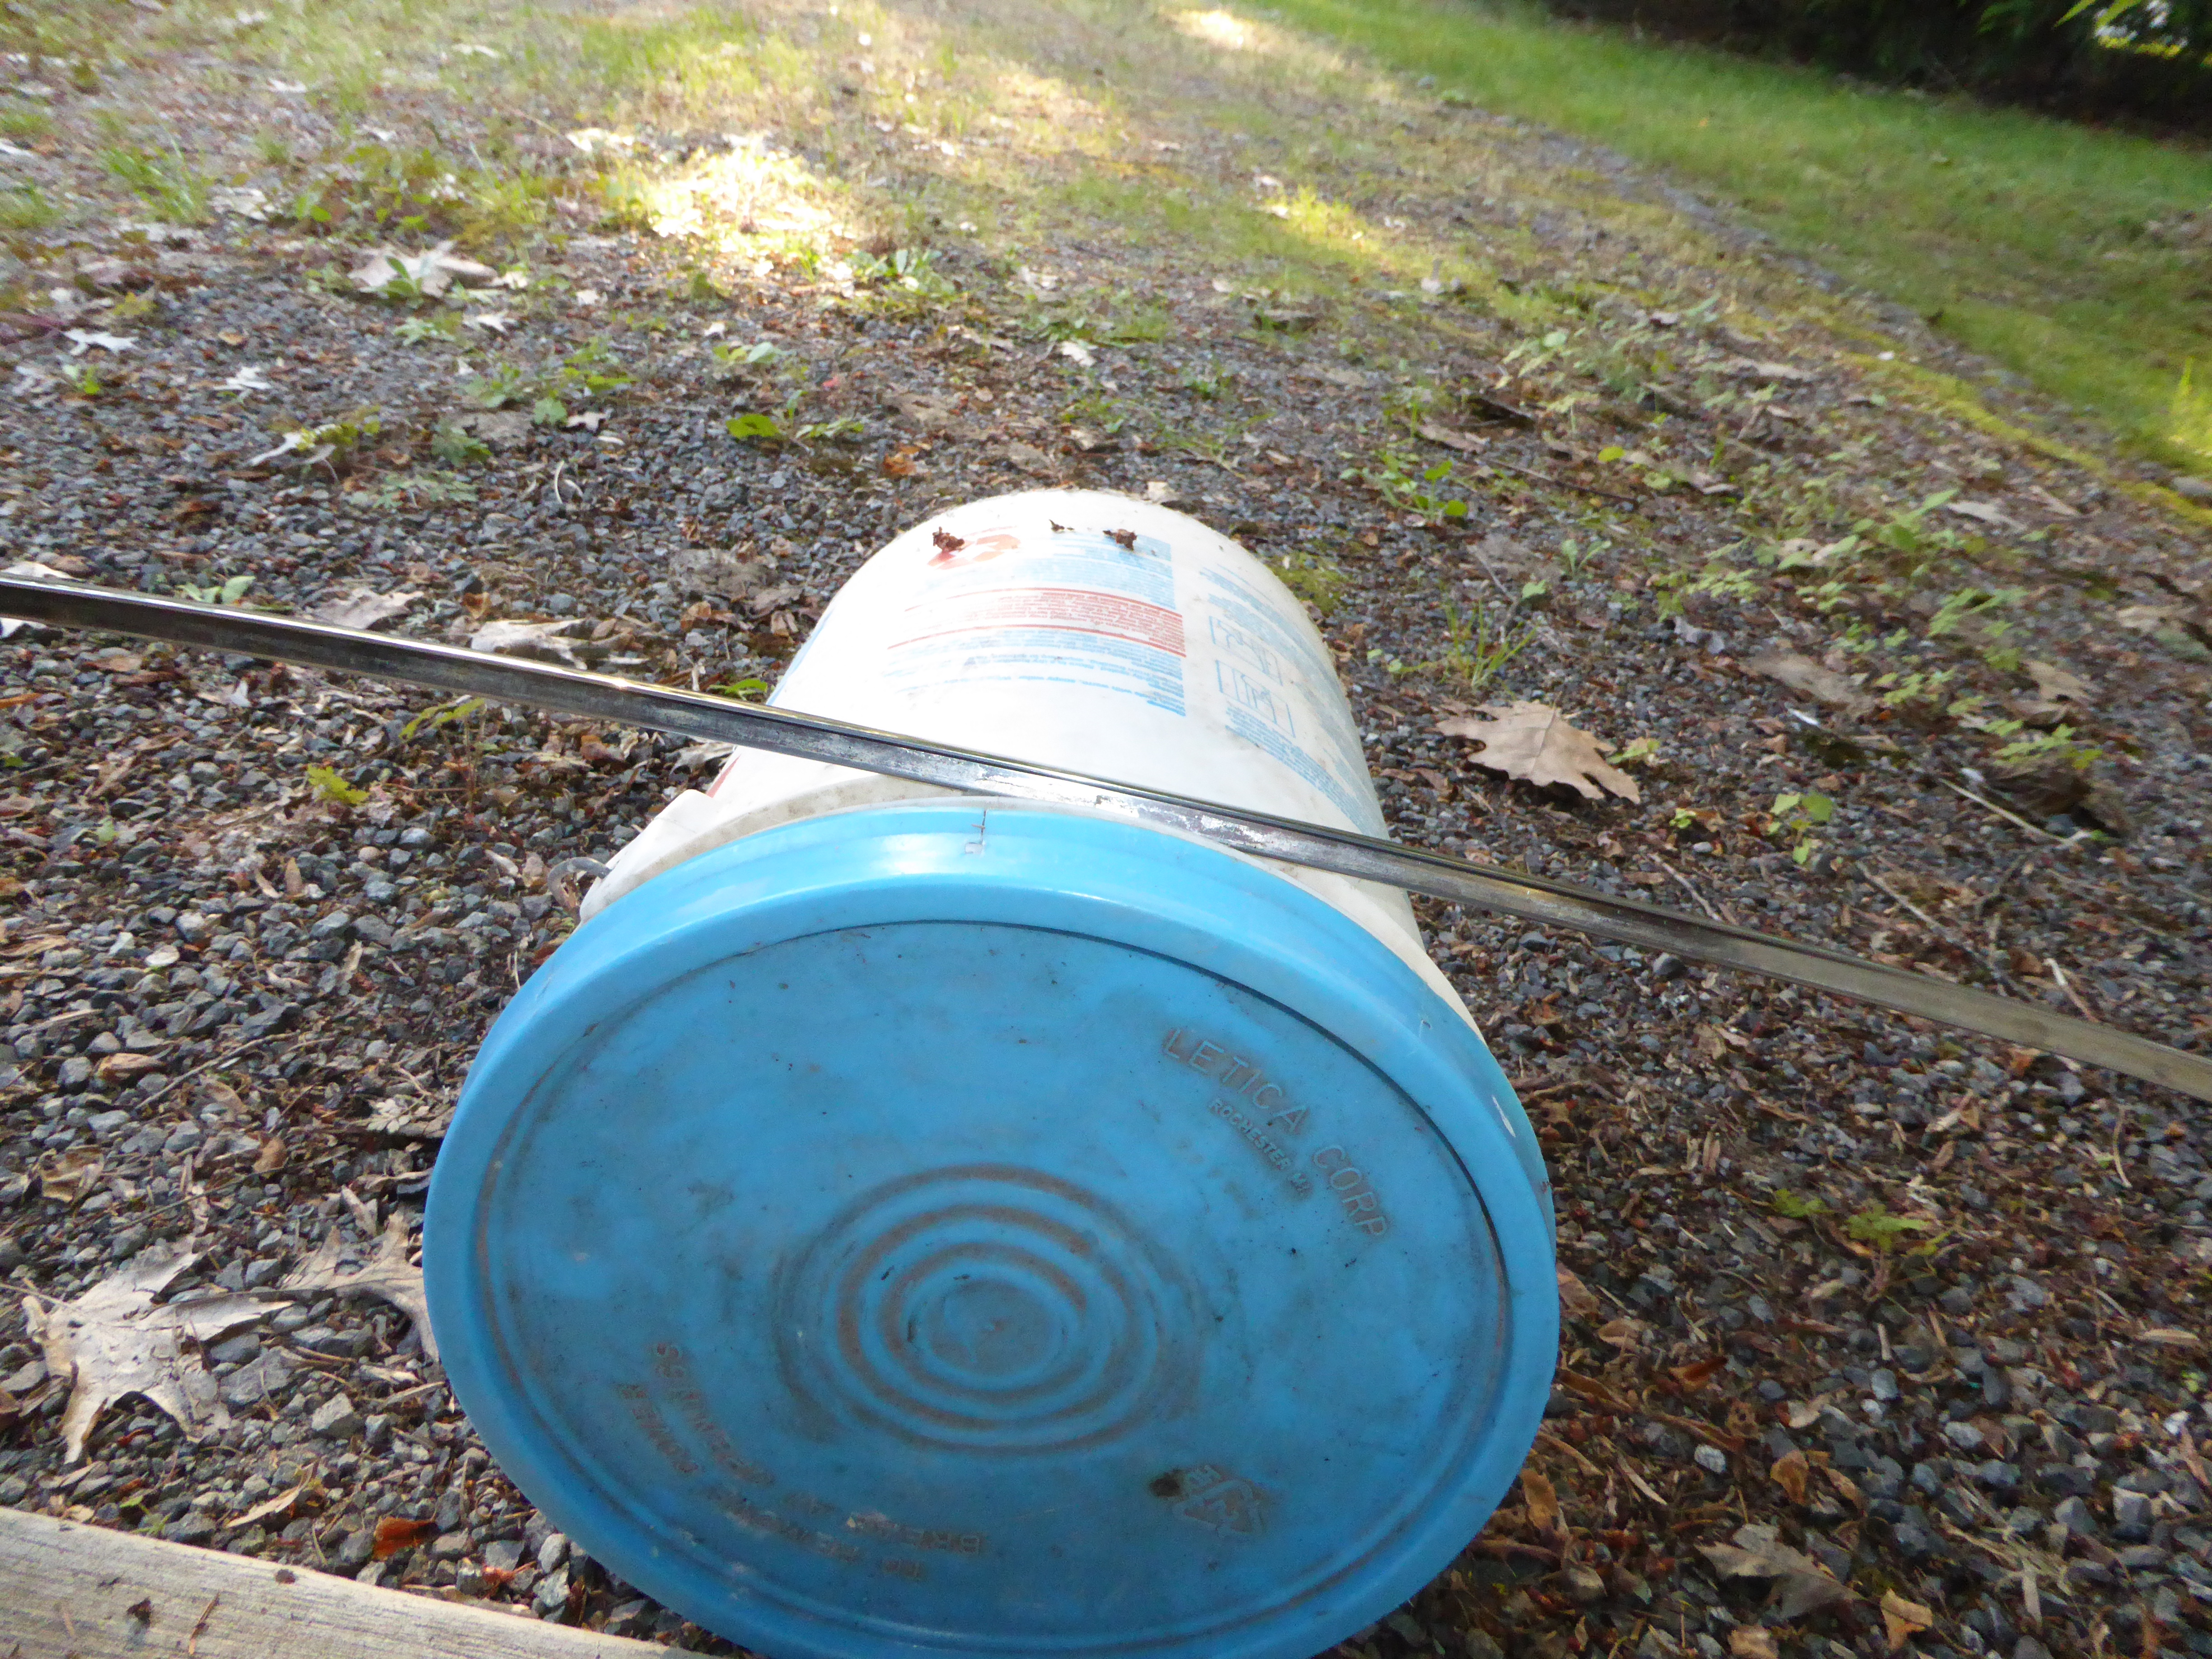
Bending these trim pieces is difficult because of the T shape. You want the top of the T to bend, but don't want the vertical piece to kink. George, who has a PF coupe, told me of how a professional bent the trim on his car. He used a five gallon bucket and rolled the bucket and trim back and forth while applying pressure. After several passes on each end, I was satisfied that I had the trim fitting properly.
Resting on the rubber after bending.
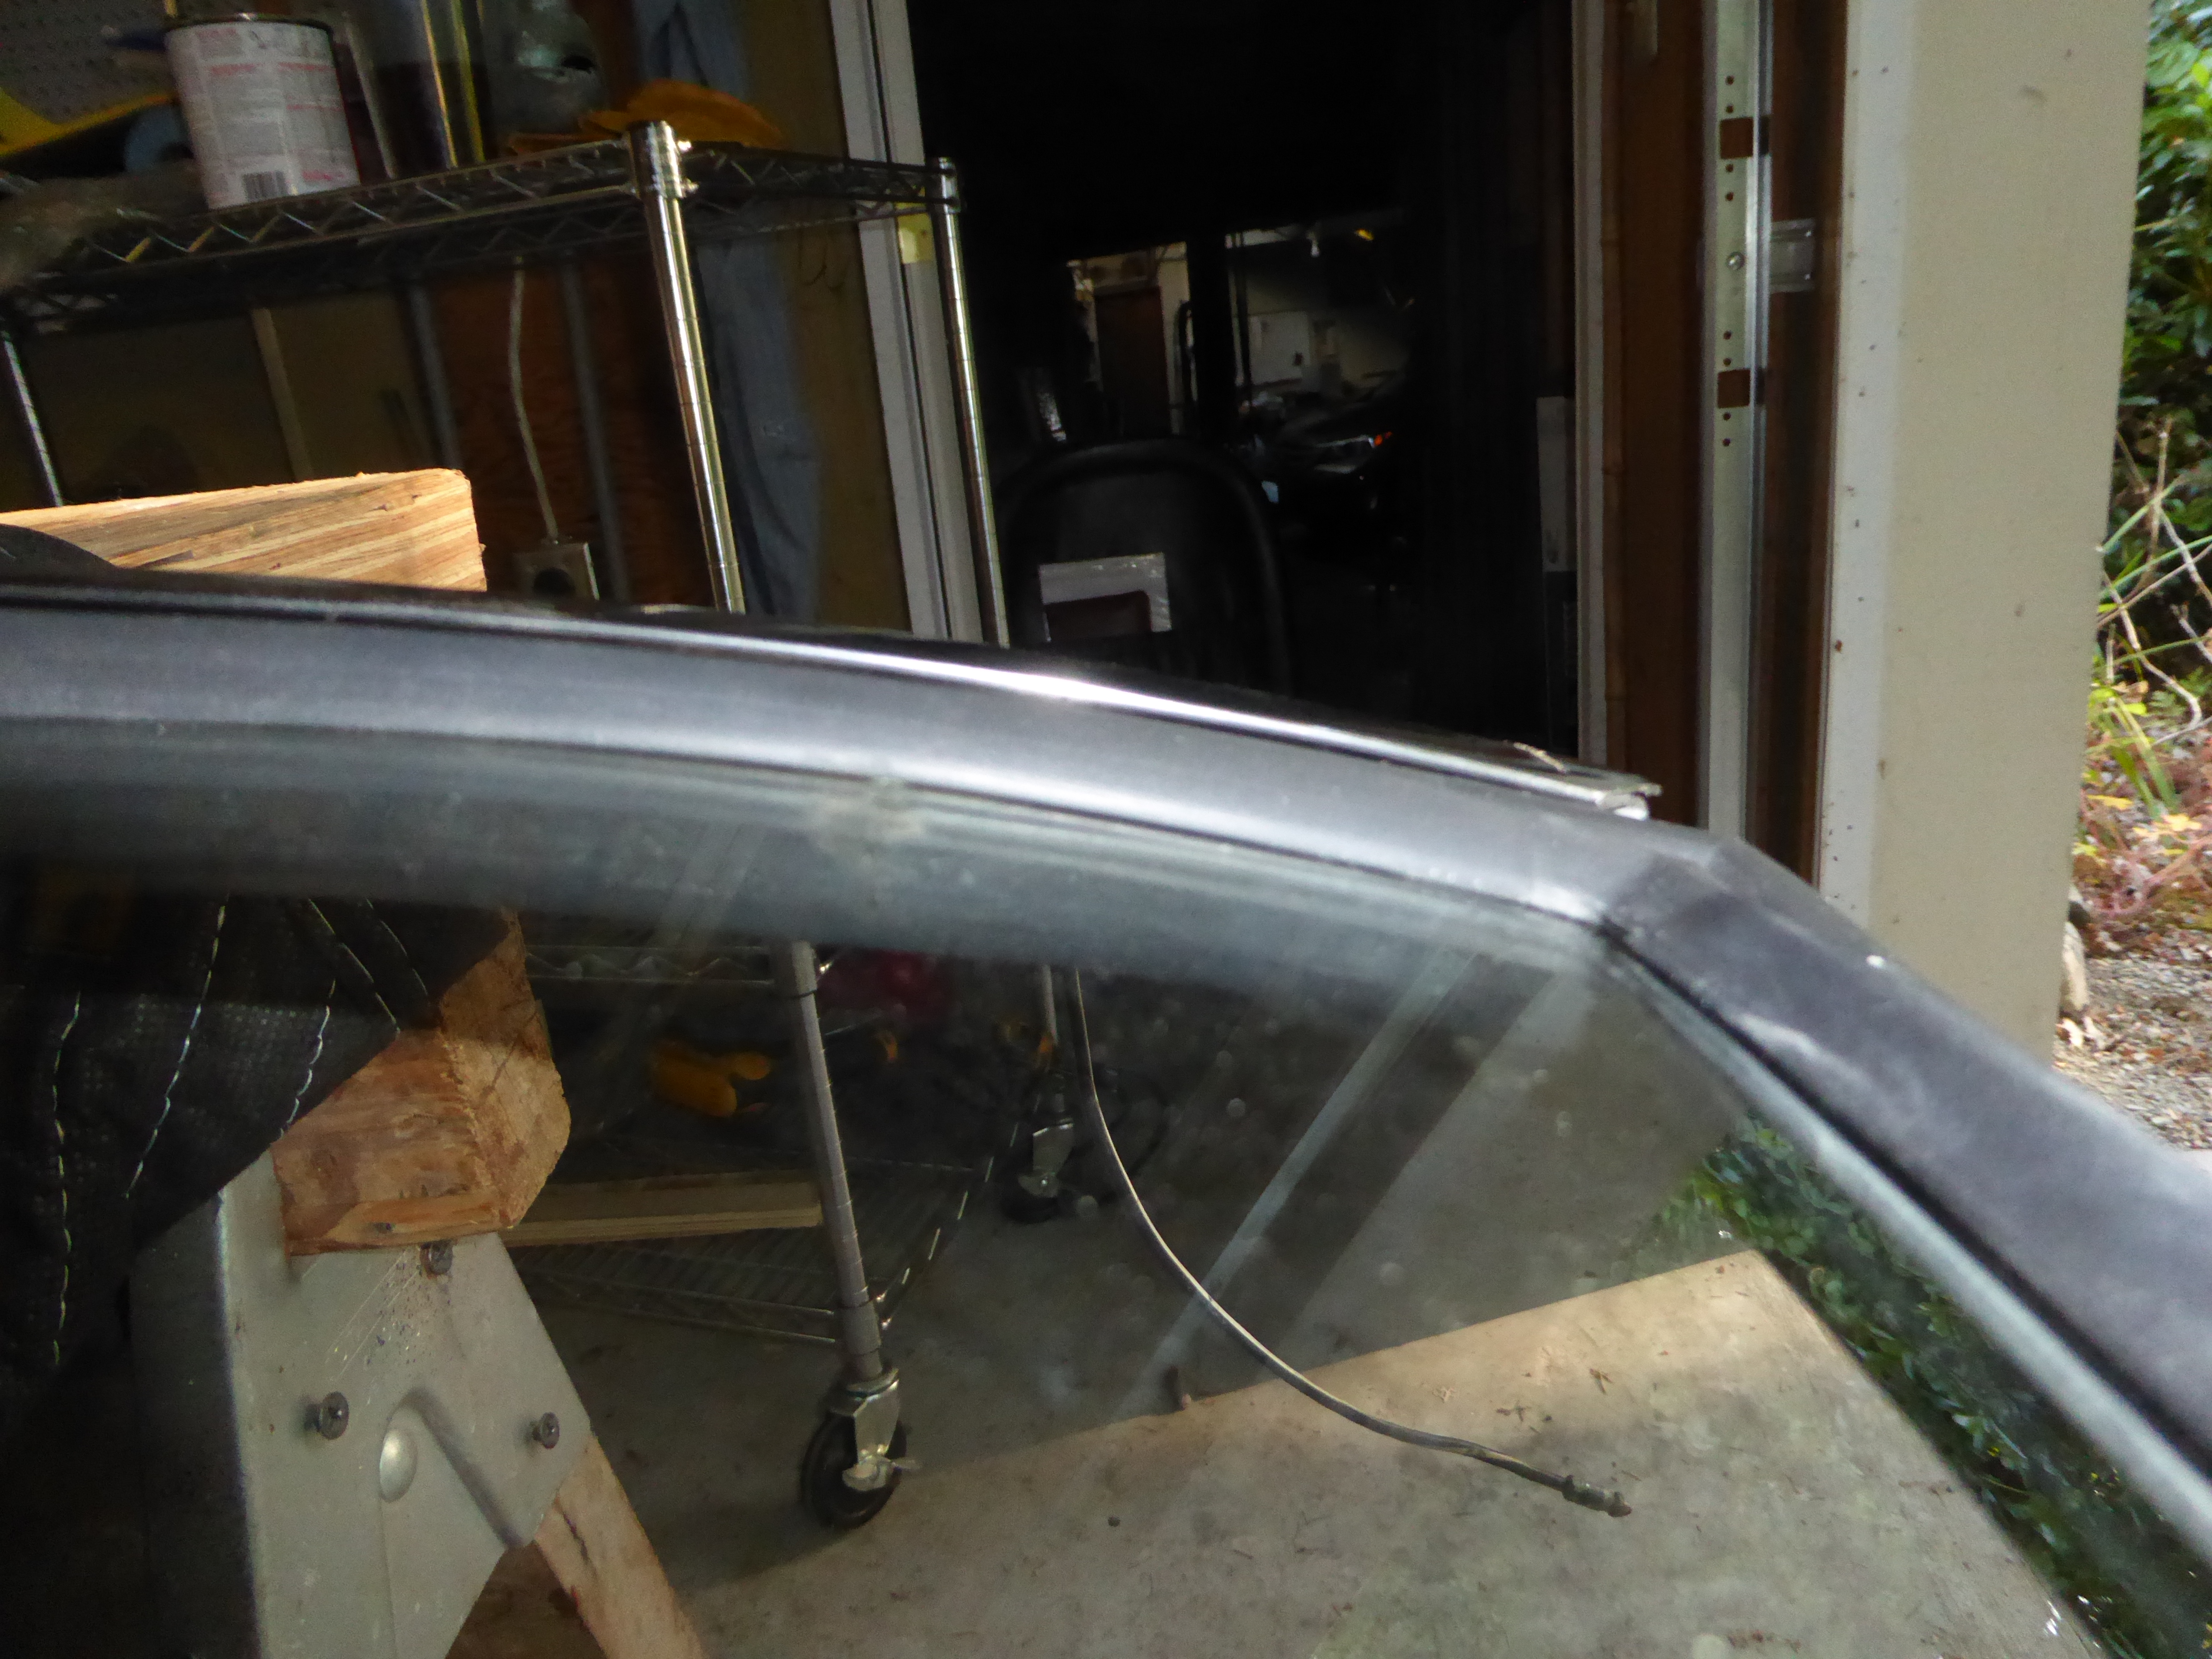

Installed with the side trim pieces.
.JPG)
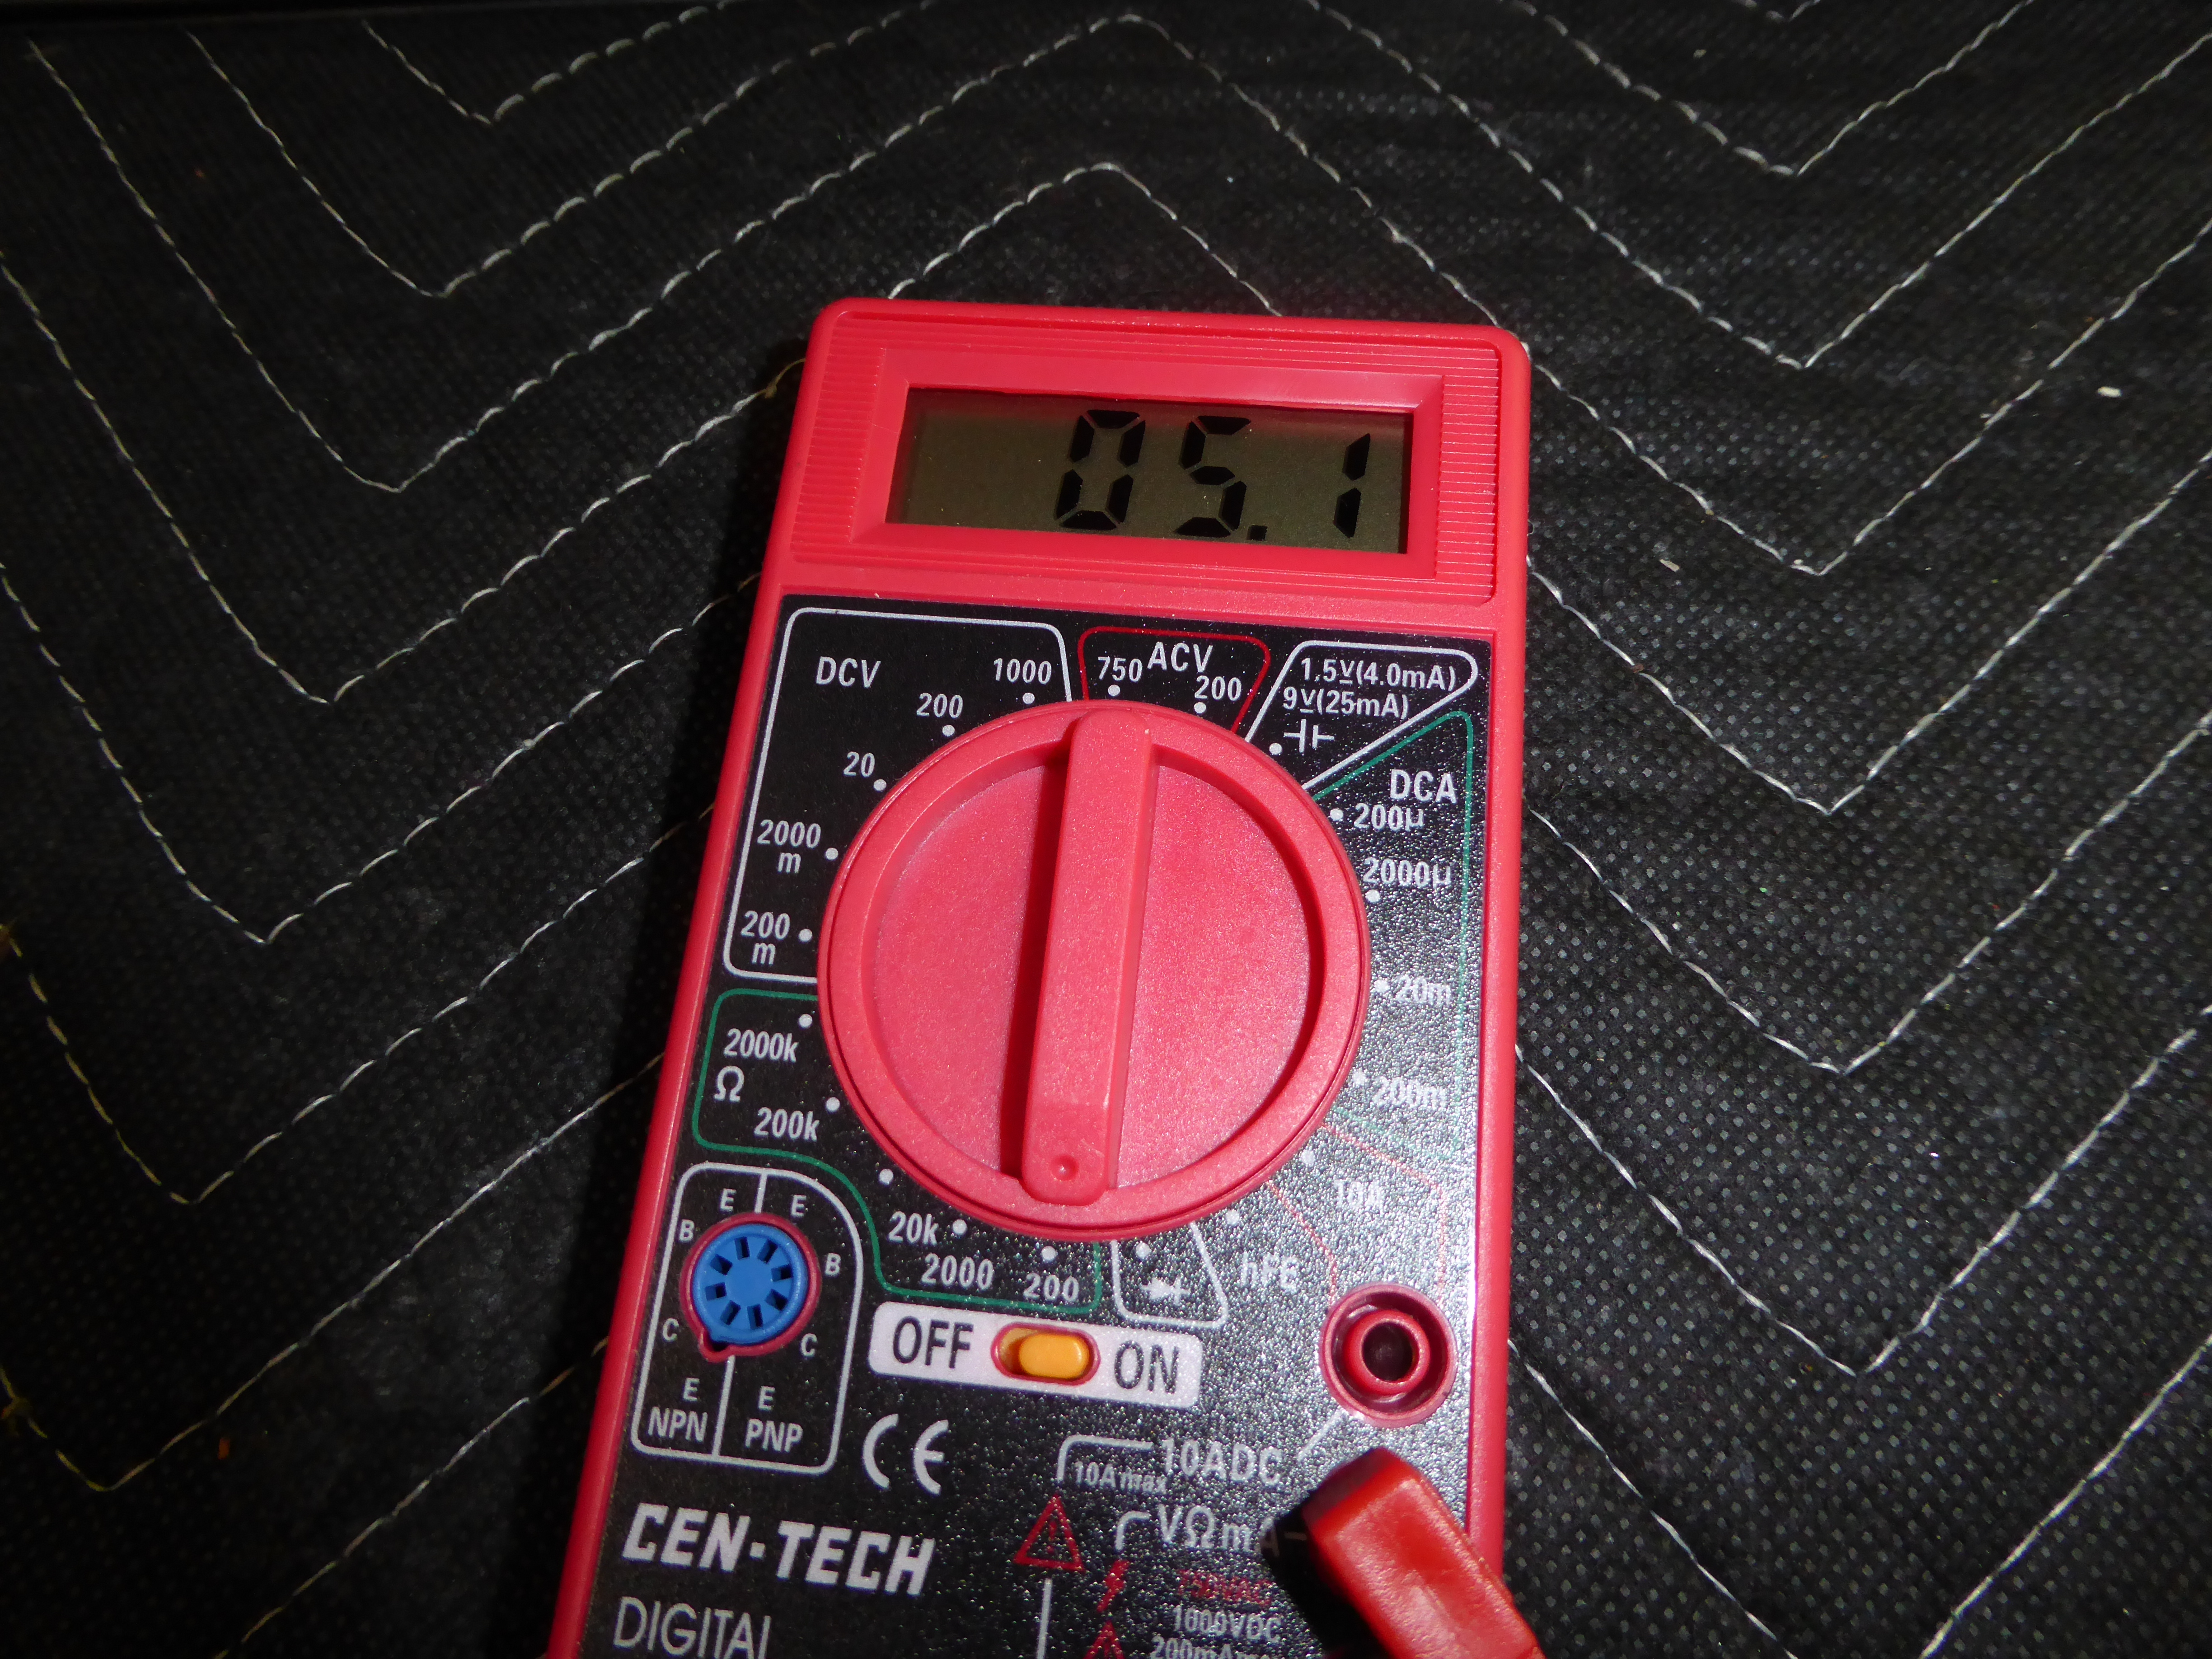
With some soap in the groove and clamps to hold everything in place, it just took time to fit the trim pieces into the seal. One last thing was to check that the wiring and heat lines were still good: 5.1 ohms.
.JPG)
.JPG)
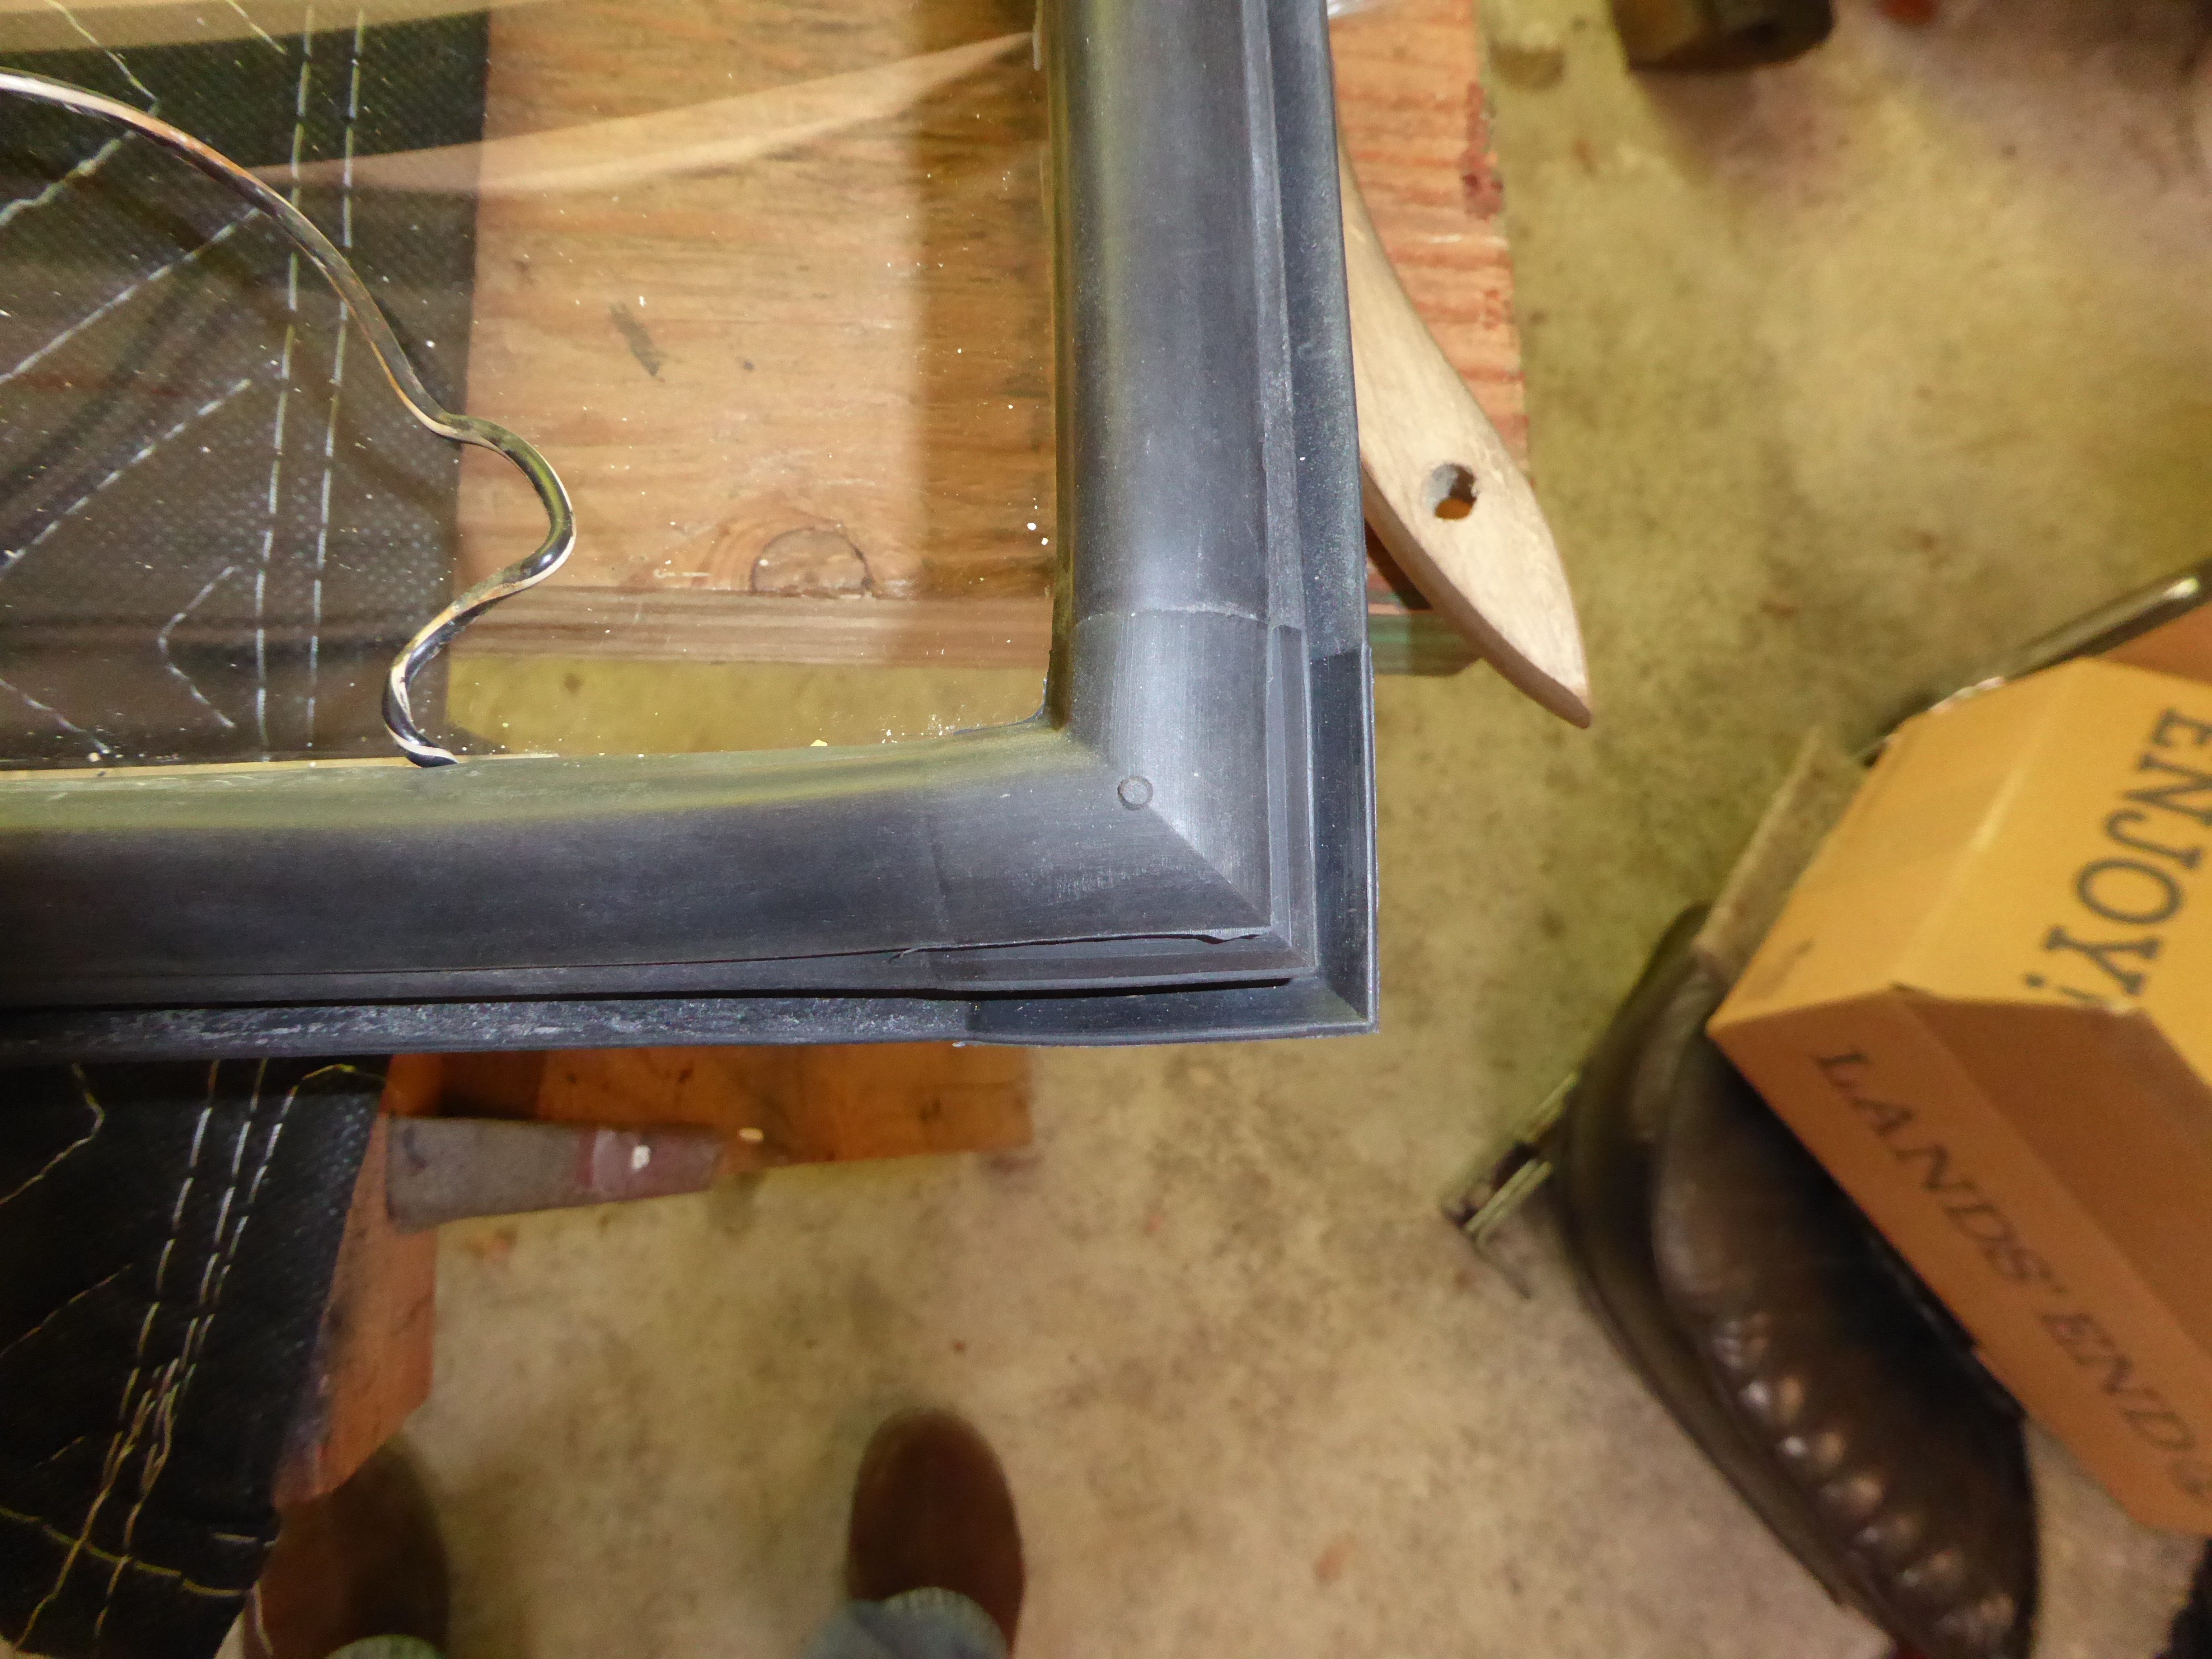
The next step is to put the pull cords into the body flange groove. Once the window is laid on the outside of the opening, pulling on each of these cords pulls the inner part of the rubber seal into the inside of the body flange. Adding some personal lubricant where the flange and rubber have to slide helps the flap pull to the inside. The bottom and sides went easily. The first corner was hard, but the last one went in easily. Less than an hour from start to finish.
.JPG)
The last thing was to put in interior trim, grab bars, etc. back in place. I did make one change: I swapped out the incandescent festoon bulbs in the interior lights for some LED ones. The major advantage is much less heat. The plastic covering has been known to deform or melt if the interior lights are left on for a long time. The LEDs also draw much less power, but the down side is a difference in the color tone, with the LED bulbs being much whiter and brighter. I may try to get some different ones that are more on the yellow spectrum. There are two bulbs in each fixture, so you can see the original color on the left side with the LED on the right. You can also see the LED pattern through the plastic covering. So I'm not sure, but for now, I'll try them out for a while. It is nice to have better interior lights.
.JPG)