Timing Chest
I've spent some time lately going over the timing chest and all of the associated parts. Among other things, I'm checking for missing parts so I can start searching. I had previously painted the chest and chain covers.
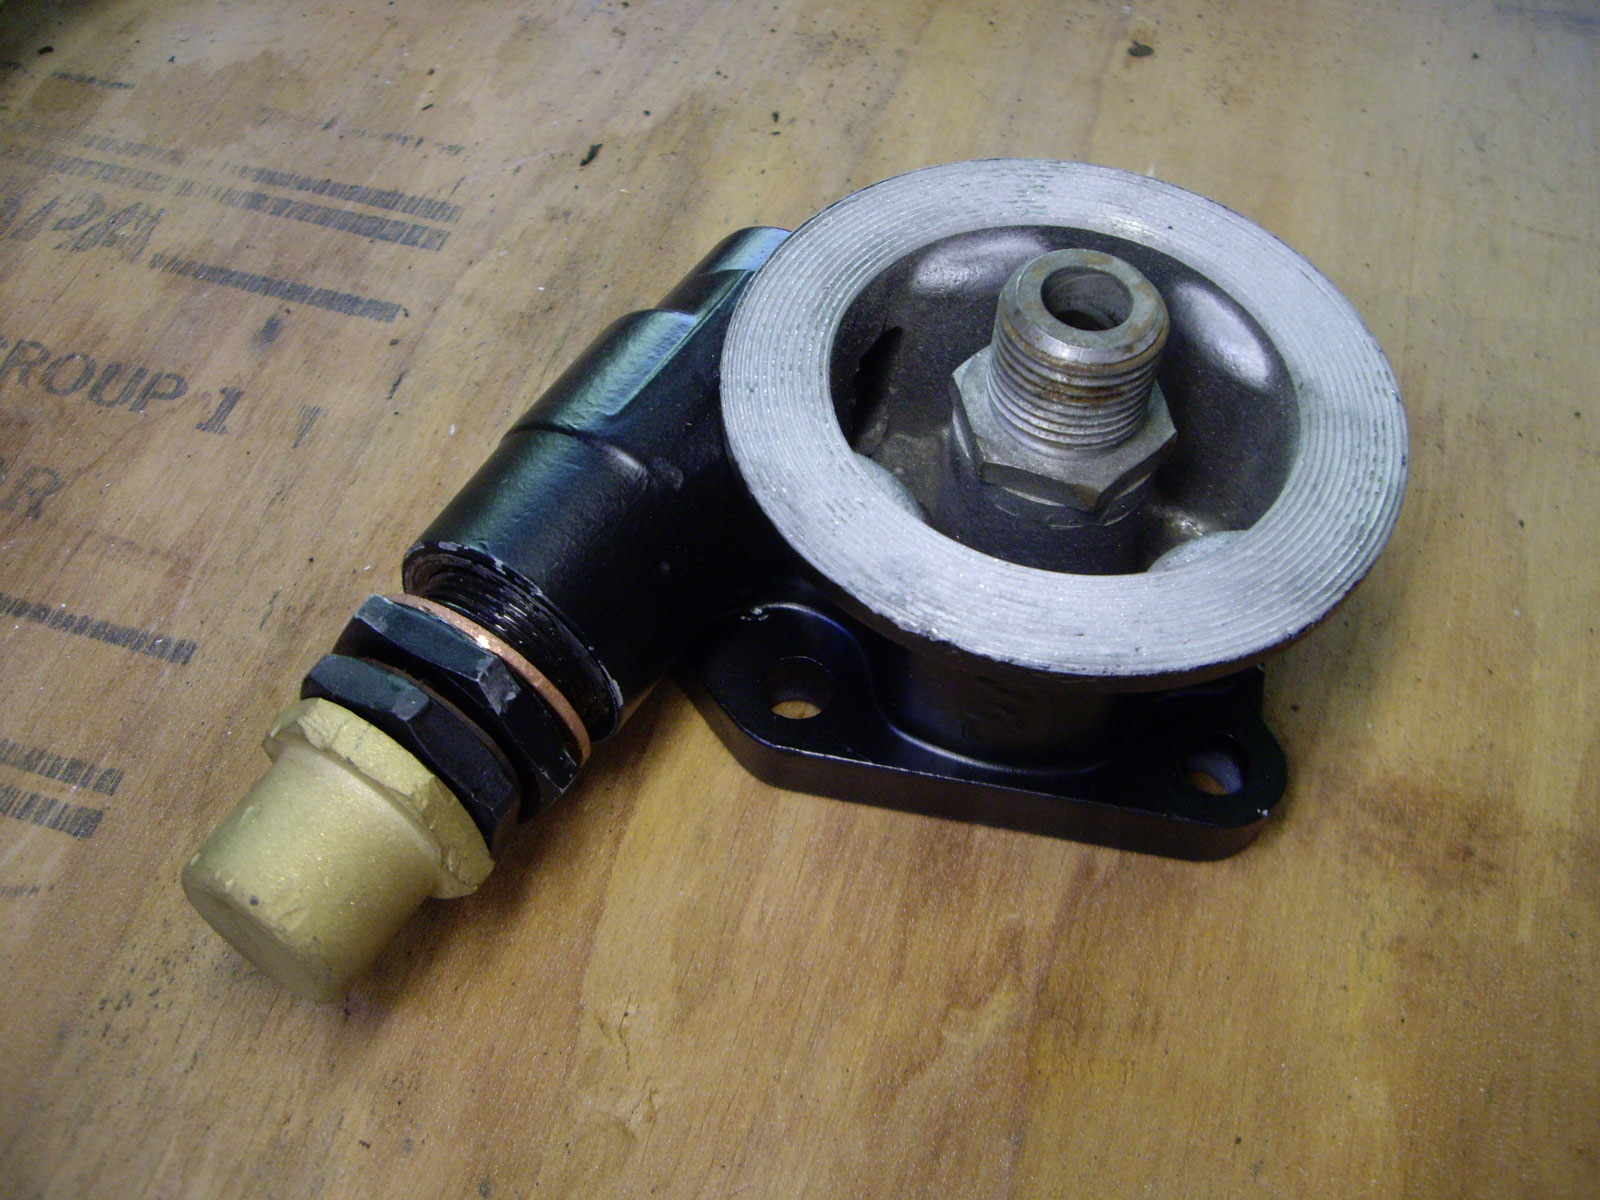
It turns out that the water pump housing and outlet pipe are among the missing items.
 |
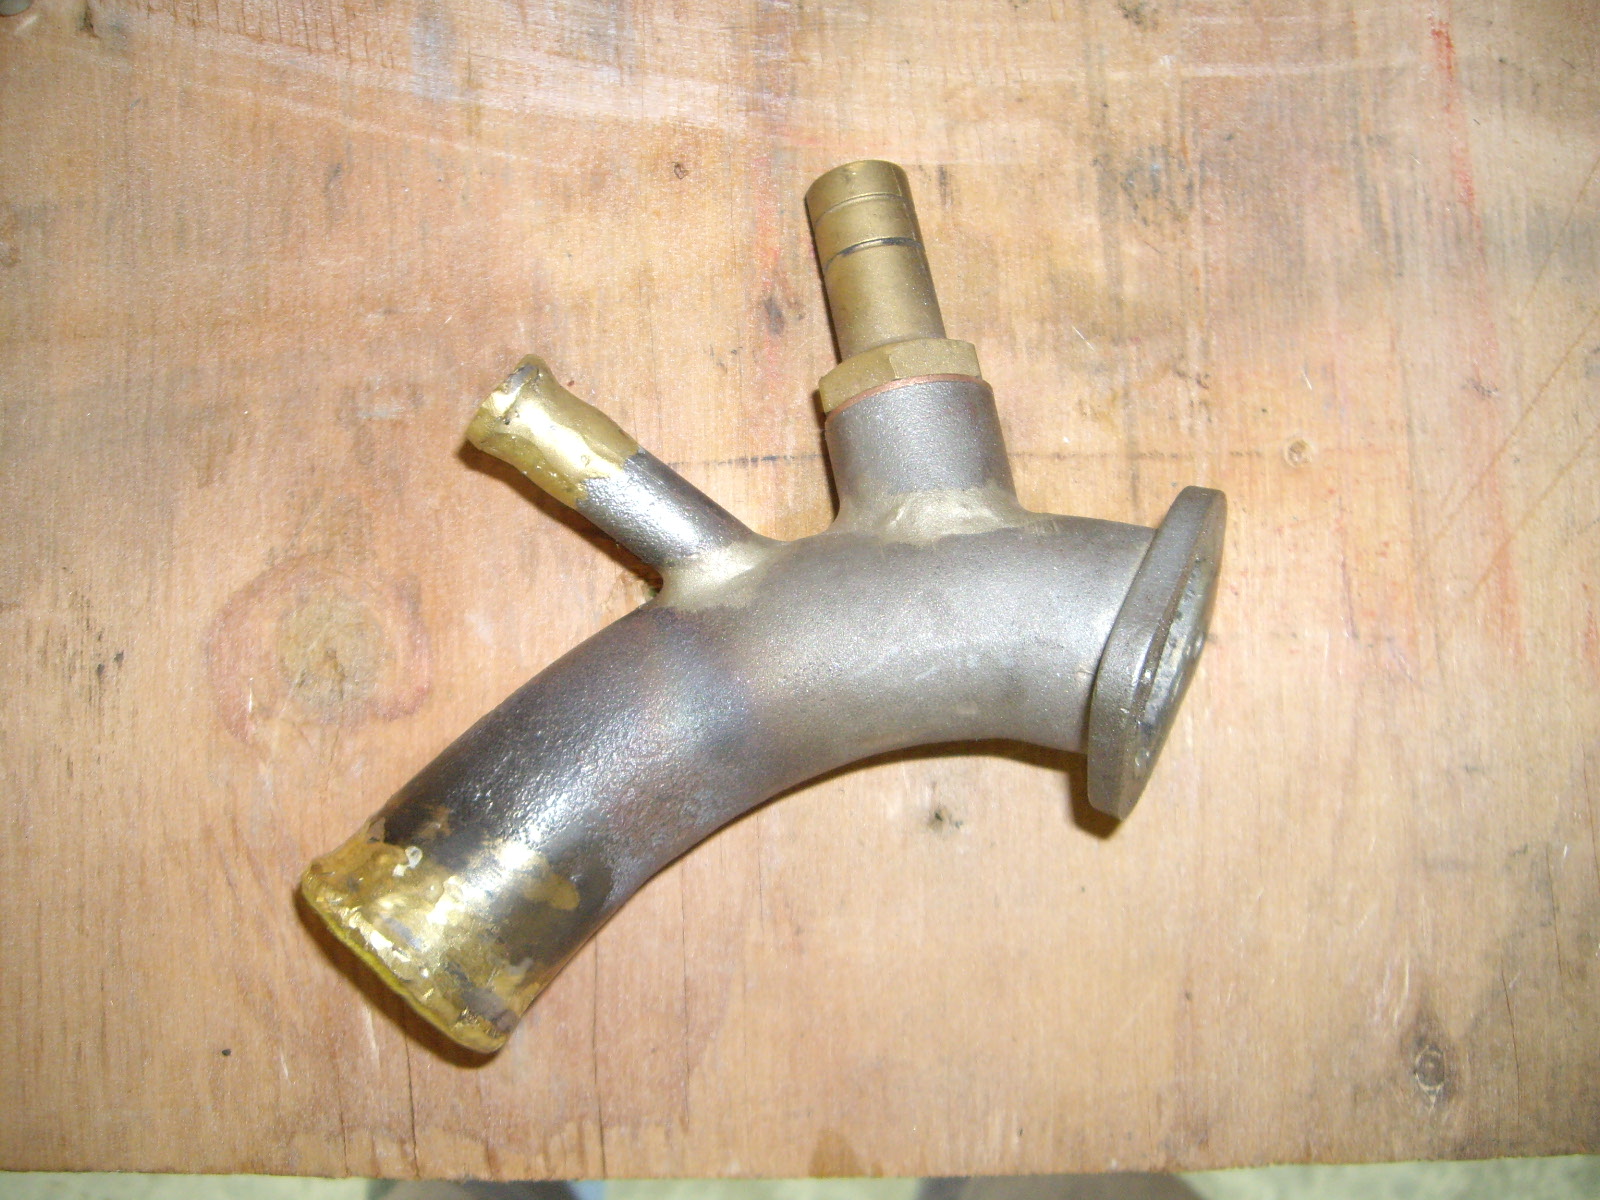 |
The water pump housing is being reproduced by Roelofs Parts in The Netherlands. I'll probably have to have the outlet pipe made. Since the actual water pump looks brand new, I presume that the PO took the housing and outlet pipe off, kept them together and they disappeared somewhere. All of the other water pipes were powder coated, but no outlet pipe was with them.
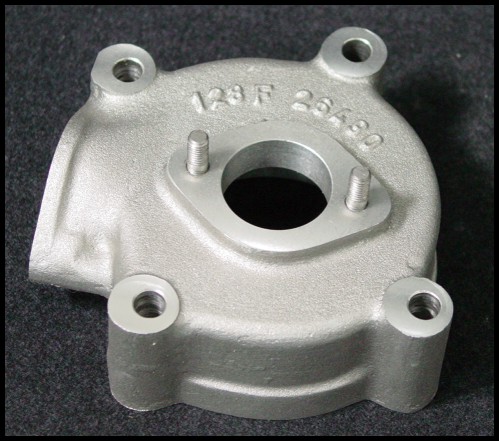
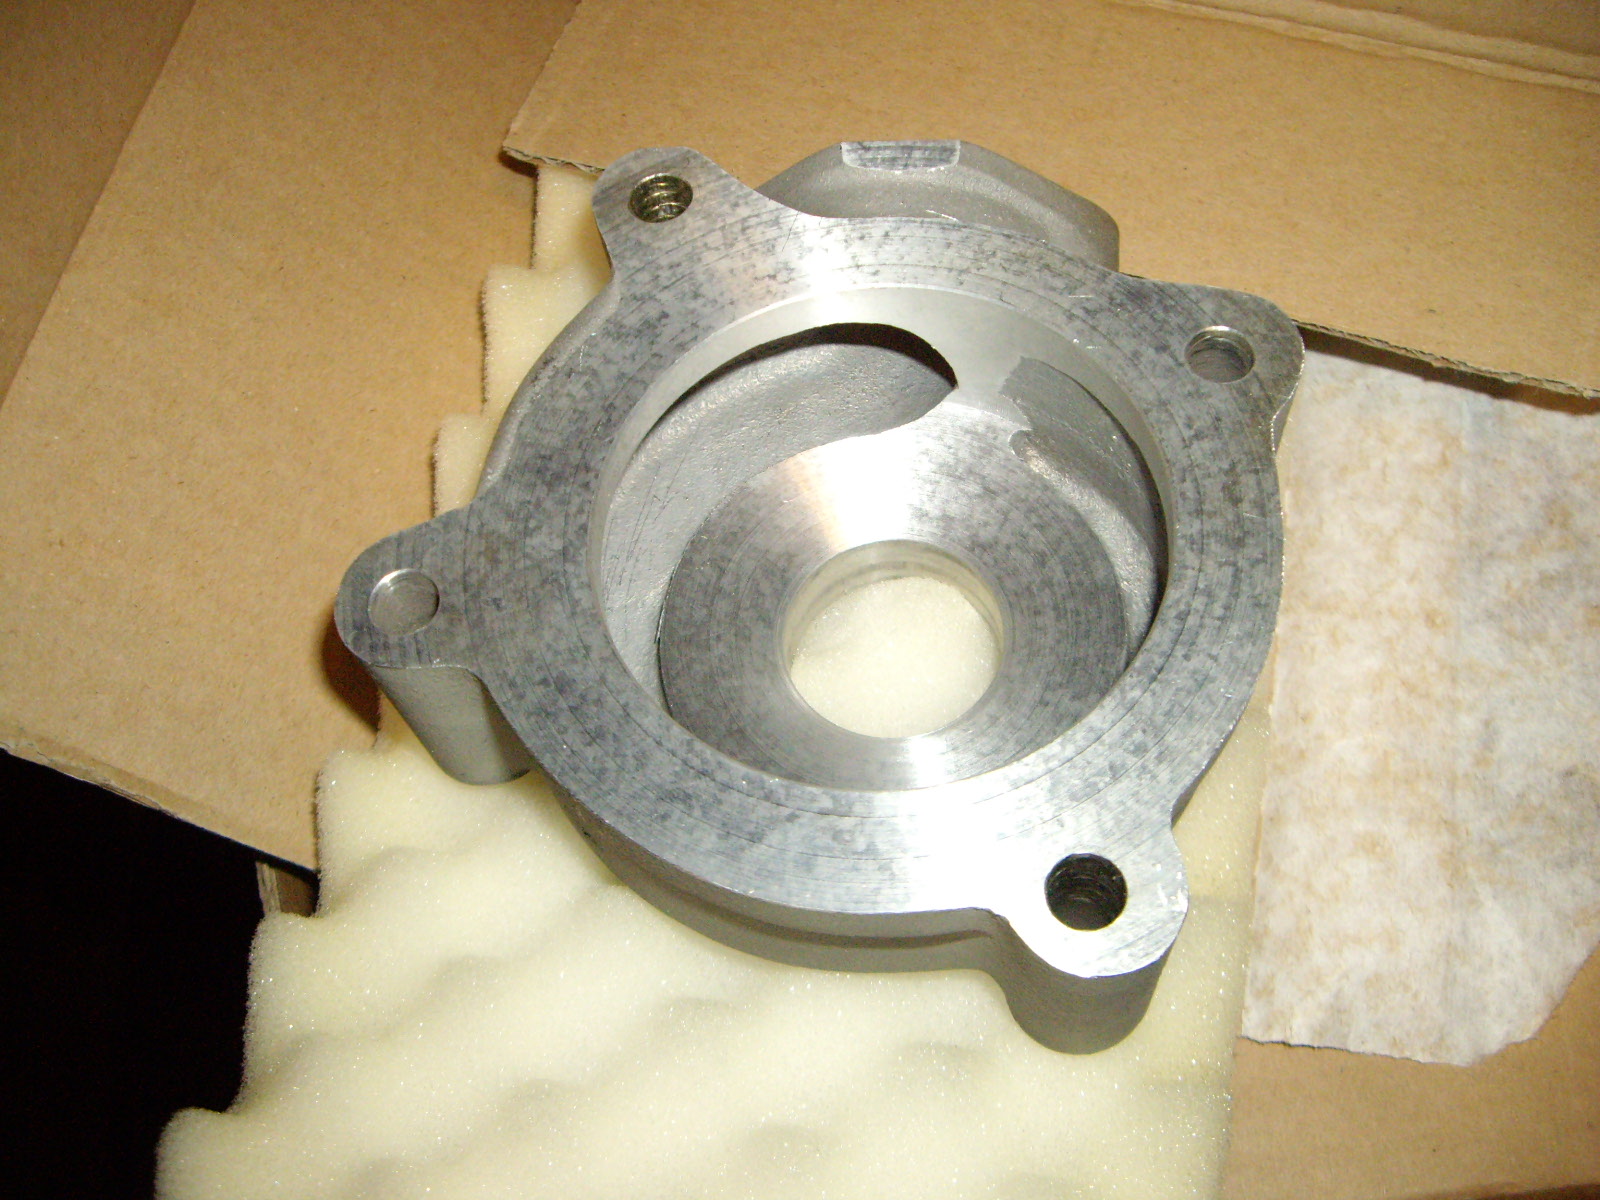
Tom Shaughnessy did have a water pump housing, but the inner surface near where the impeller rotates was severely pitted. So I did end up getting a newly cast one from Roelofs. Expensive at €375, but at least the US$ has gained some strength lately so the total cost including shipping and duty was about $650.
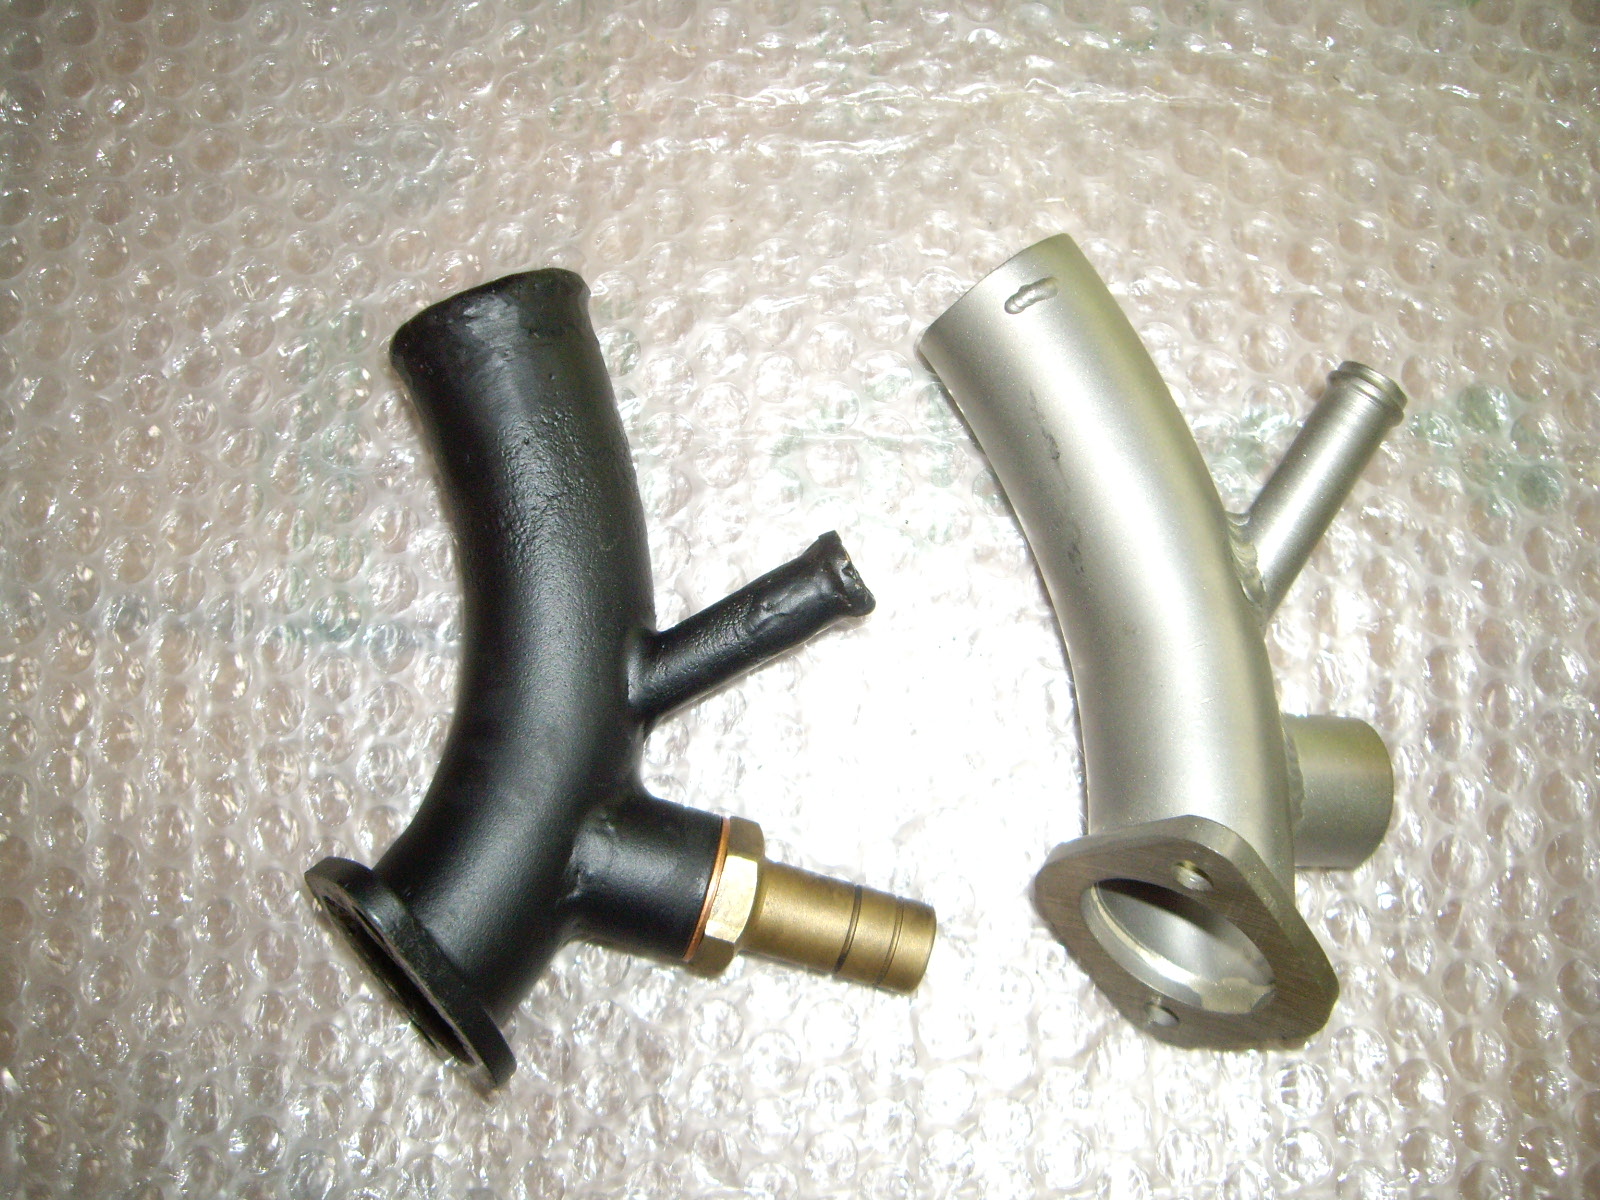
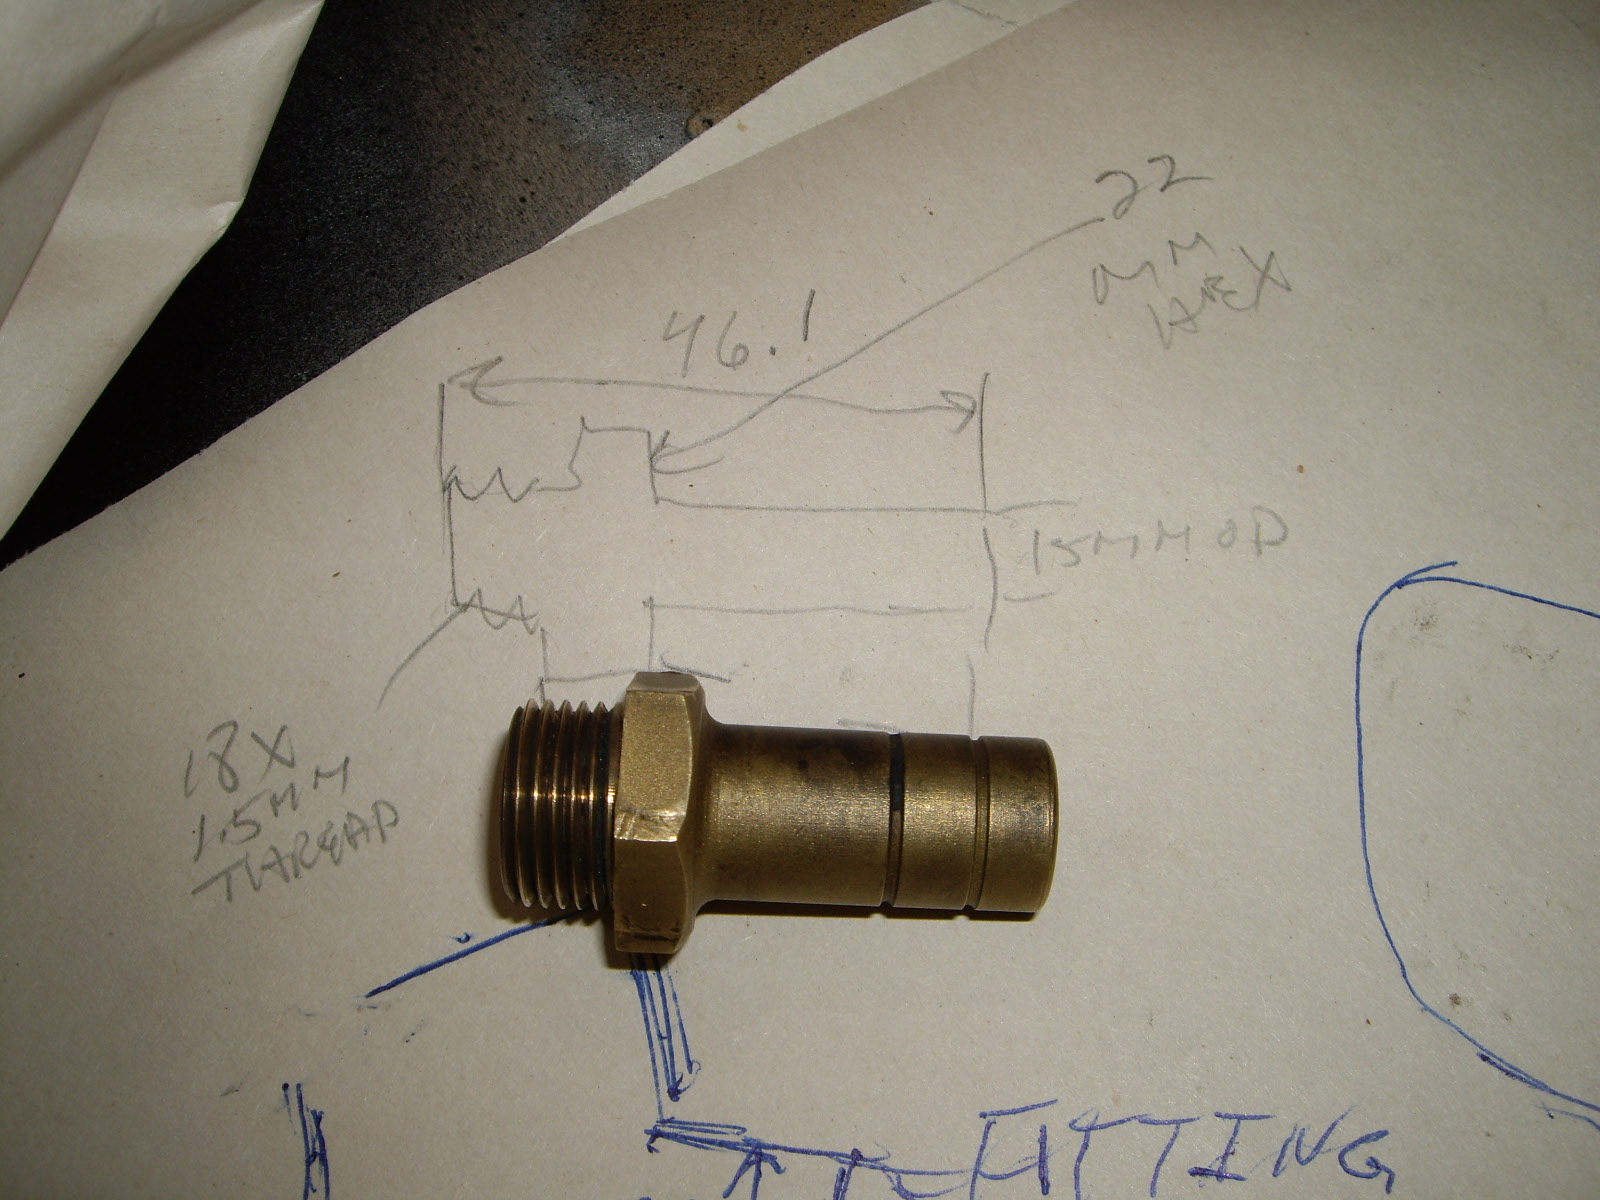
I ended up having the outlet made by a local marine fabrication shop. They used stainless steel, so I won't ever have to worry about this part rusting out. Here's the original and the new one. I still need to find the nipple (18x1.5 thread). (I ended up getting one from Greg Jones)
 |
 |
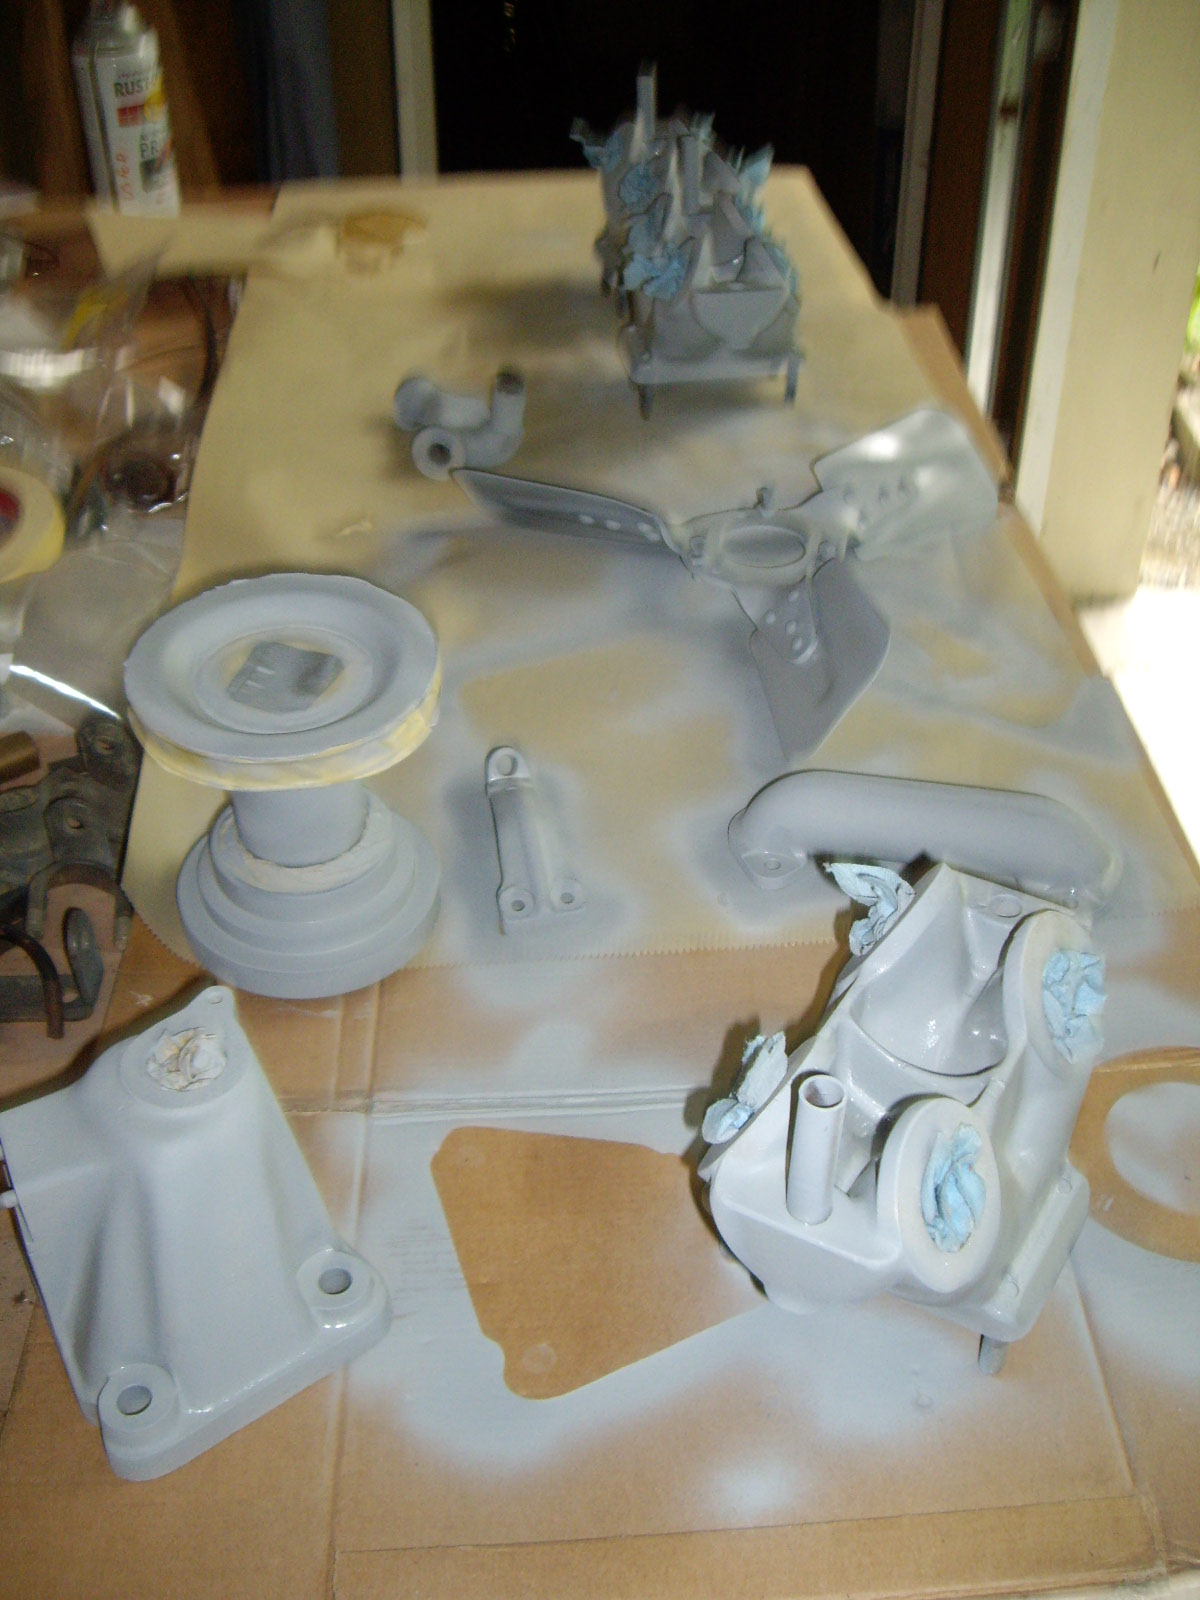
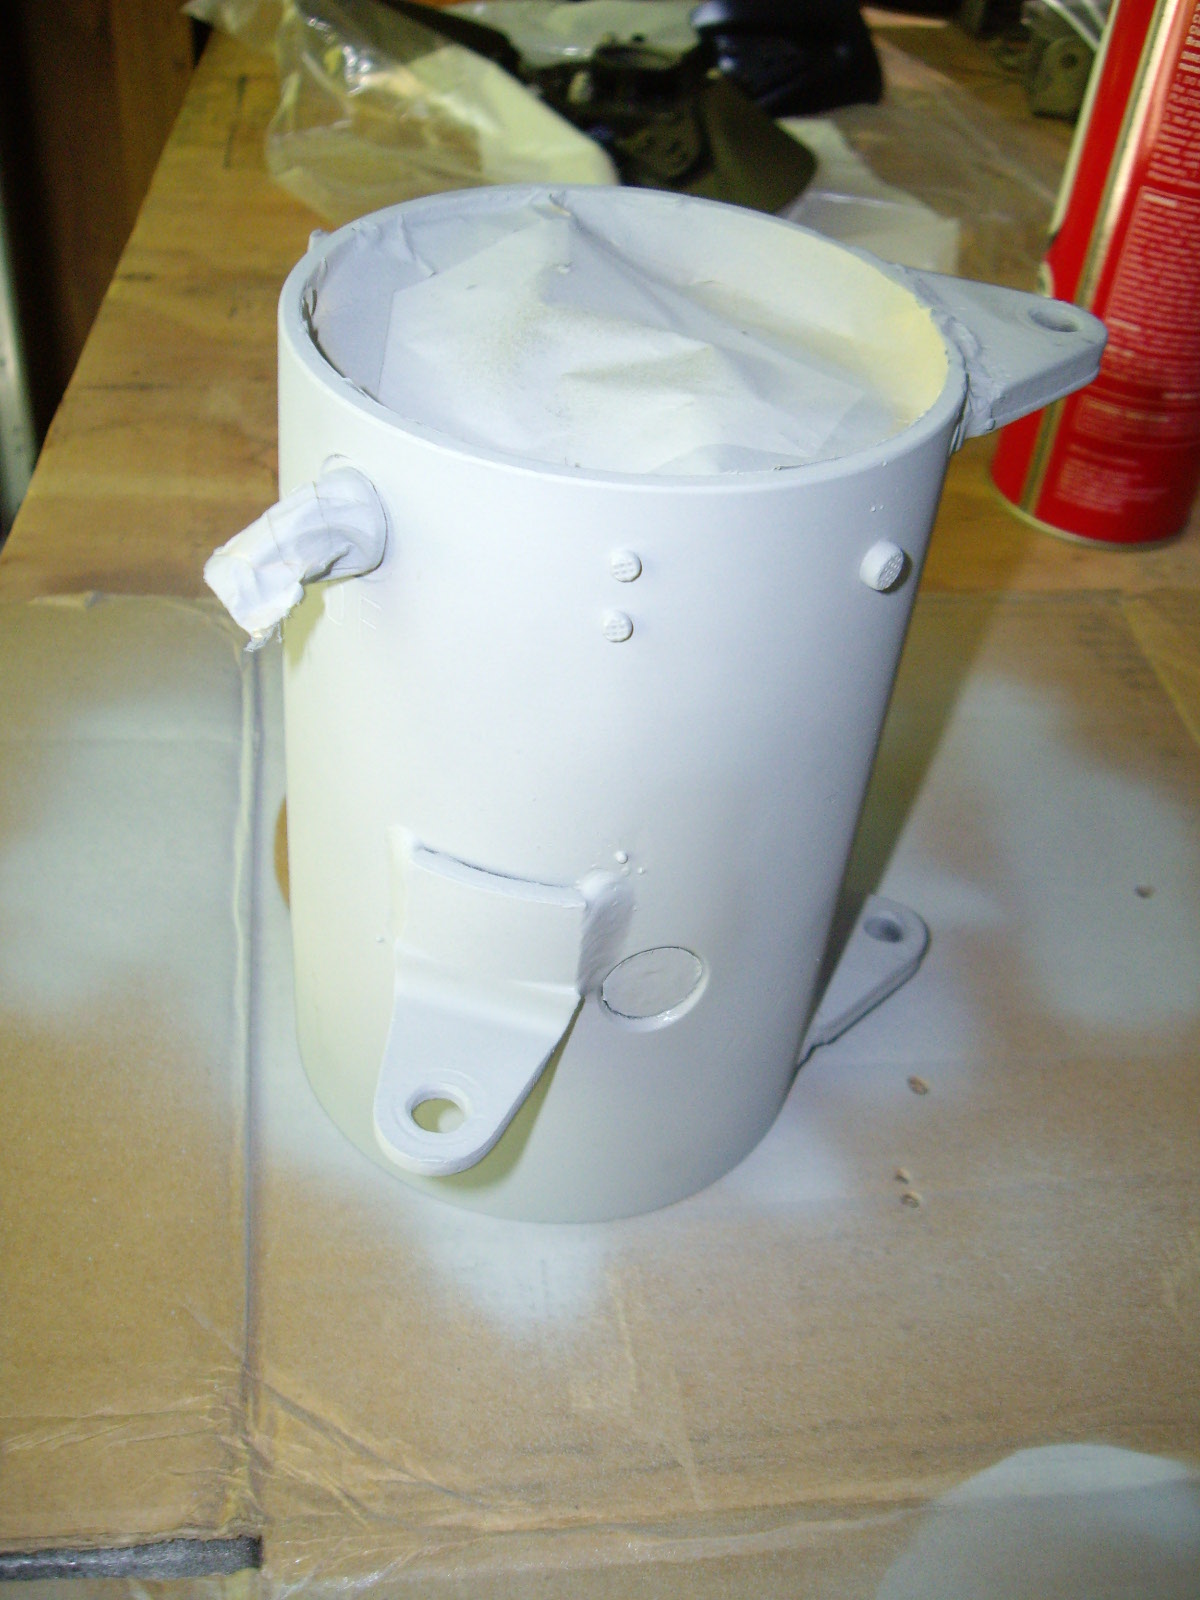
At the same time, I've been taking apart those assemblies, cleaning and painting them. I'm about finished on the radiator fan assembly, only waiting for a couple of bearings to arrive before being able to re-assemble it.
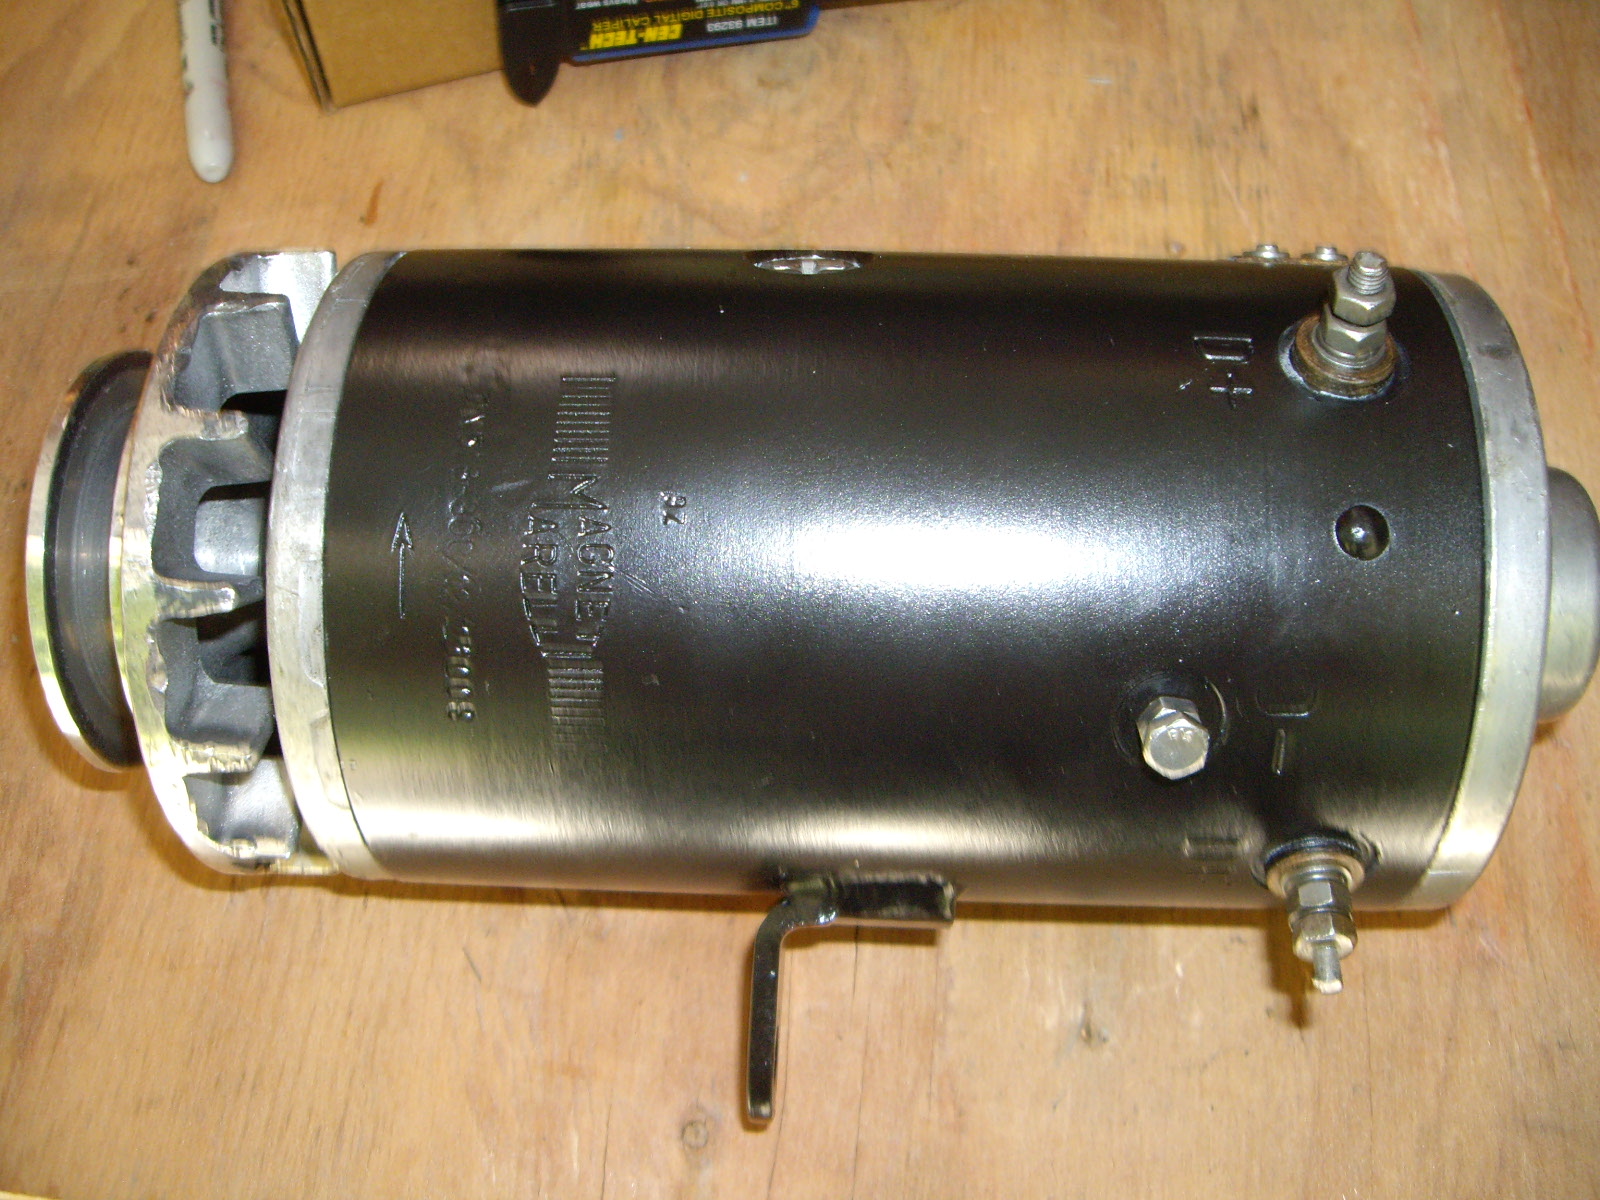
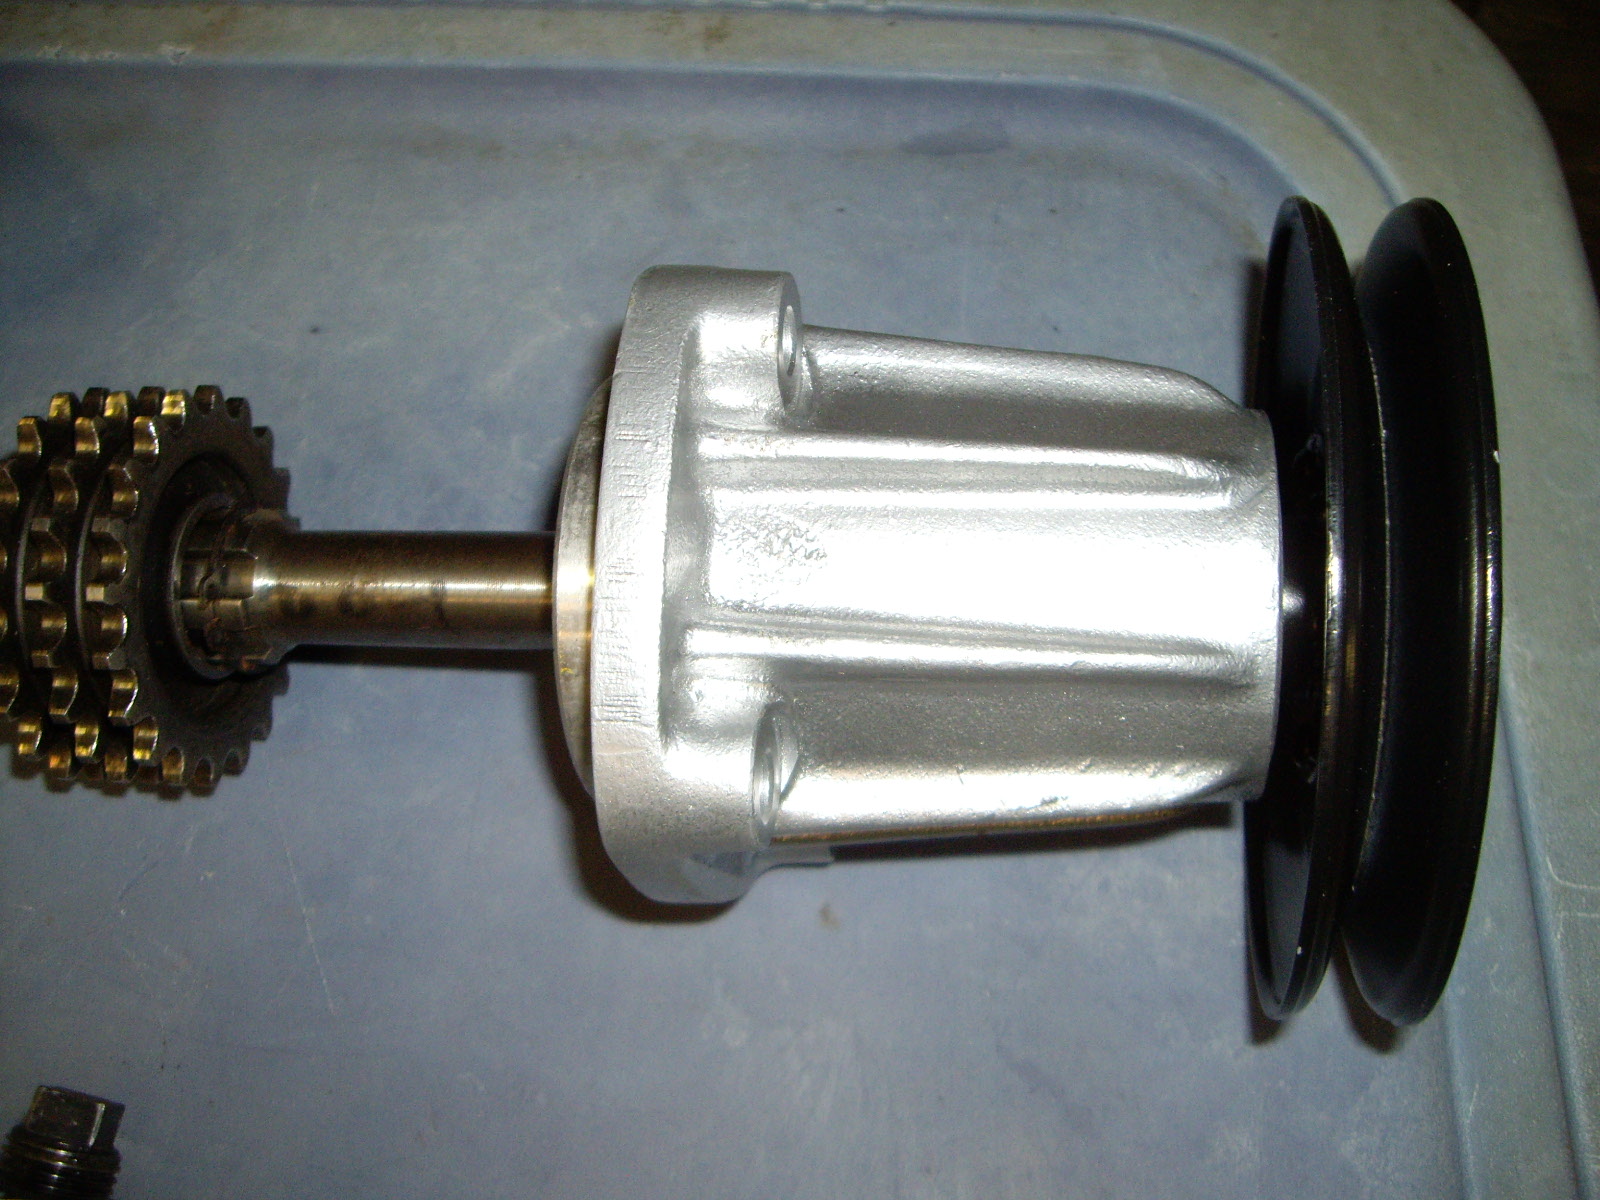
The generator also needed lots of work. I took it apart except for the electrical parts attached to the case, checked and greased the bearings and cleaned the end pieces and pulley. Since the end pieces and pulley are aluminum and are kept natural, I used my new ultrasonic cleaner to clean off the grease, etc.
 |
 |
The pulley that drives the fan belt also needed new paint, so I removed it from the shaft, sand-blasted it and then primed and painted it black.
The other timing chest plates, etc. just needed a quick sand-blast and silver paint to finish them.
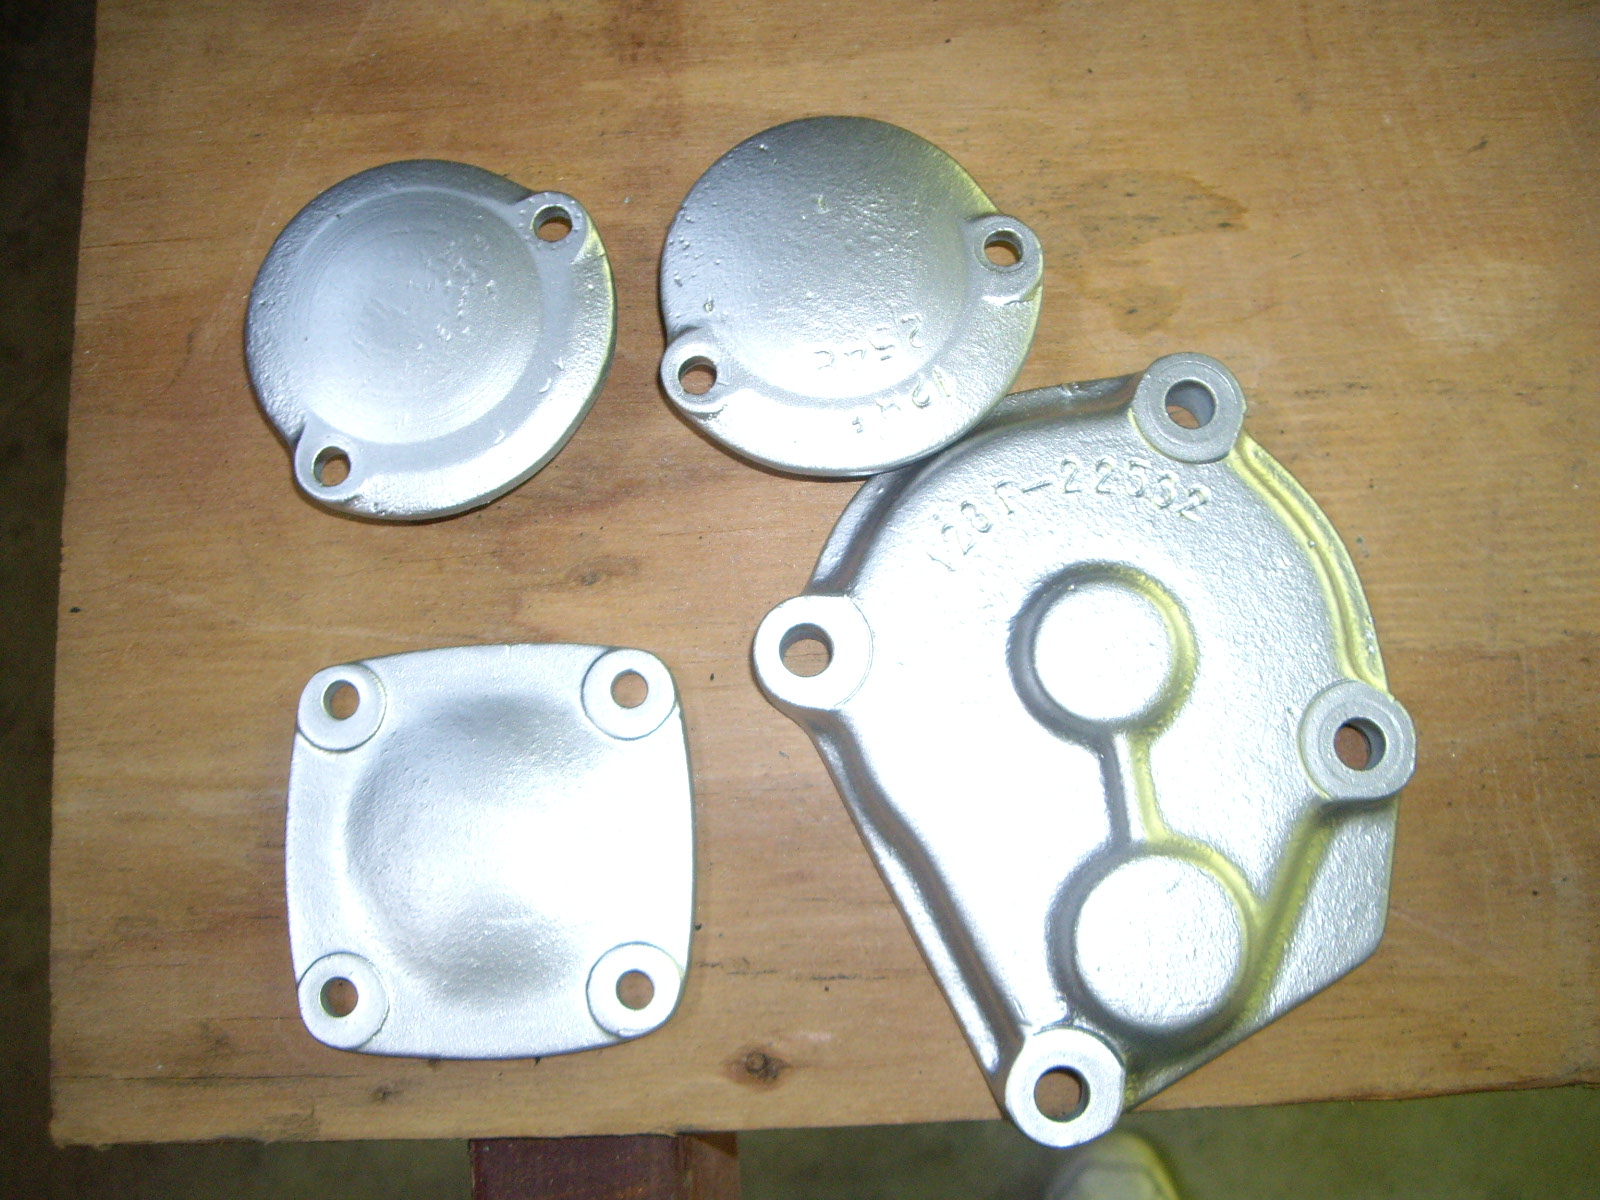
The oil filter block gets painted black.
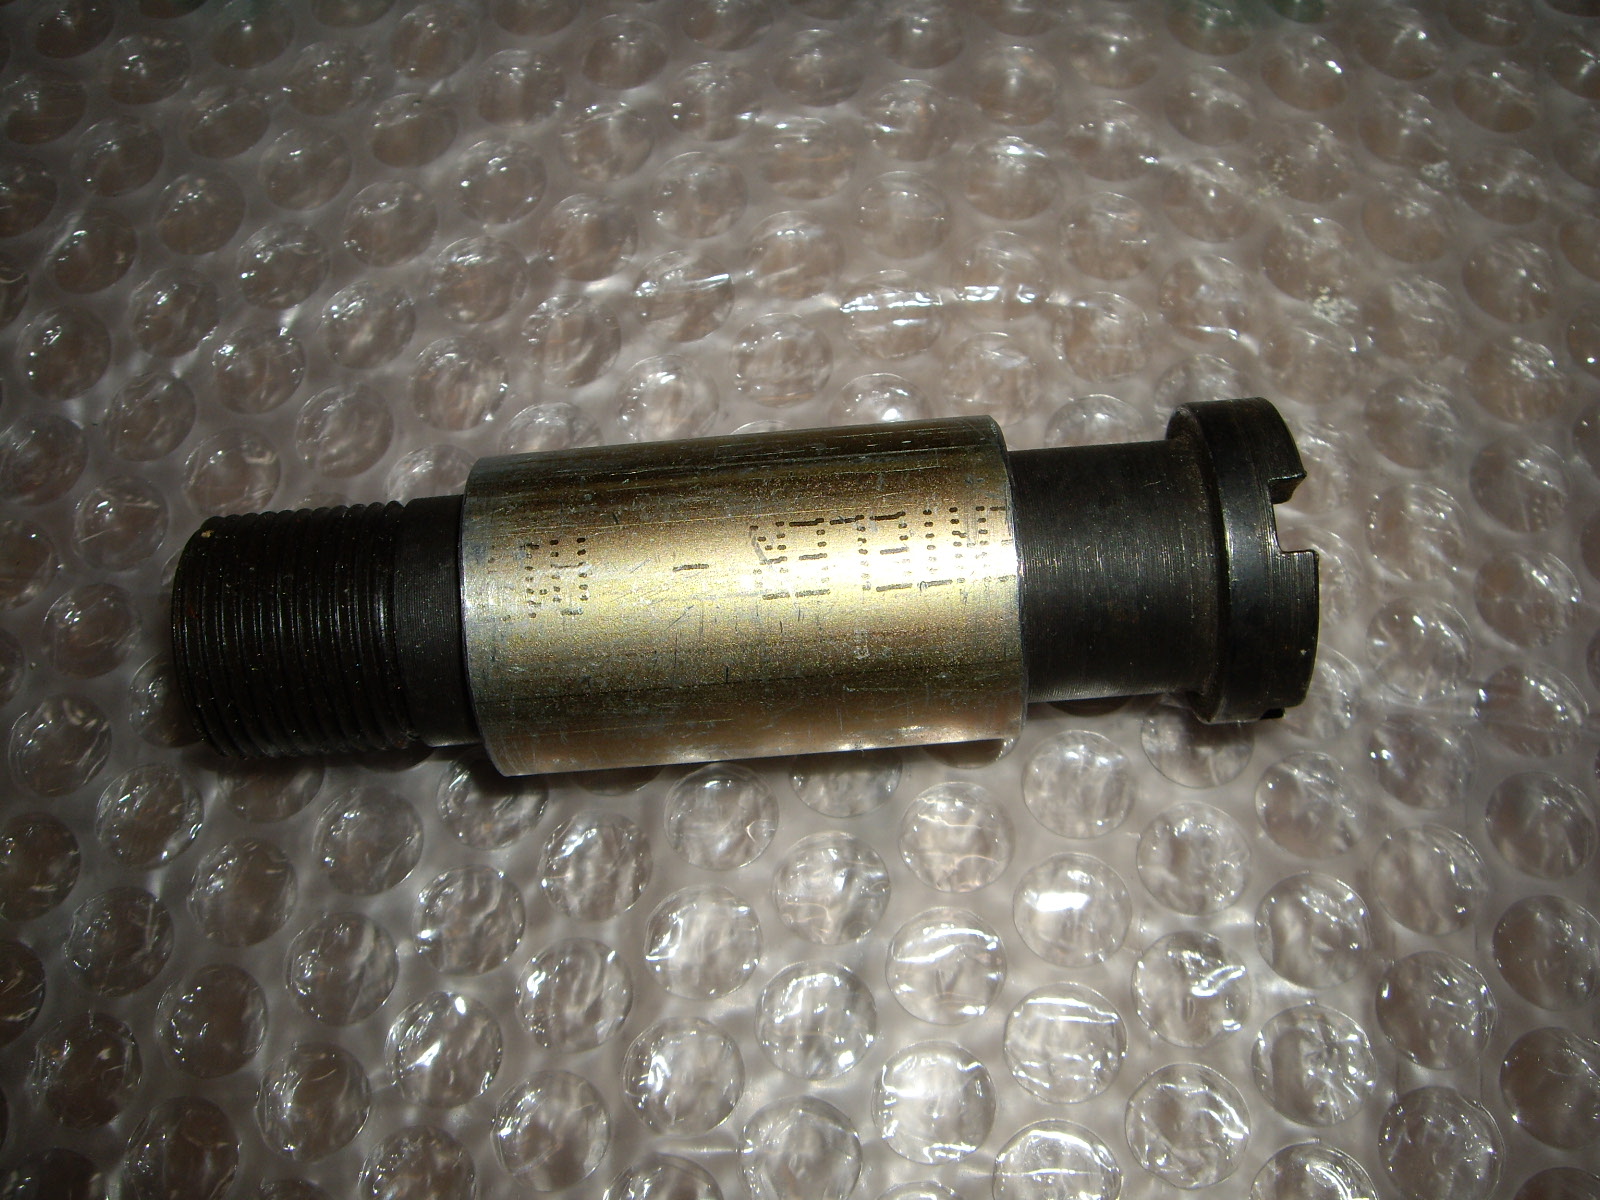
I need to make the spacer that surrounds the oil pipe that keeps the timing chest from bending when you tighten that pipe. It'll be easy, ~20mm ID, 28mm OD and 40mm long. The length is the only critical dimension. I can buy a piece of raw pipe stock from McMaster-Carr that's the right OD and a little small on the ID. I'll just cut it to length and then use the Dremel to grind out the inside to fit. This would be easier if I had a lathe available, but I have to make do with what I have.
It turns out that the pipe stock was perfect, just fitting over the special oil bolt. I took it back to my neighbors and used his cold saw (like a chop saw for metal) to cut off the 40mm needed. I left it just a hair long and then used the belt sander to evenly grind off one end until it just fit by tapping it in place.
 |
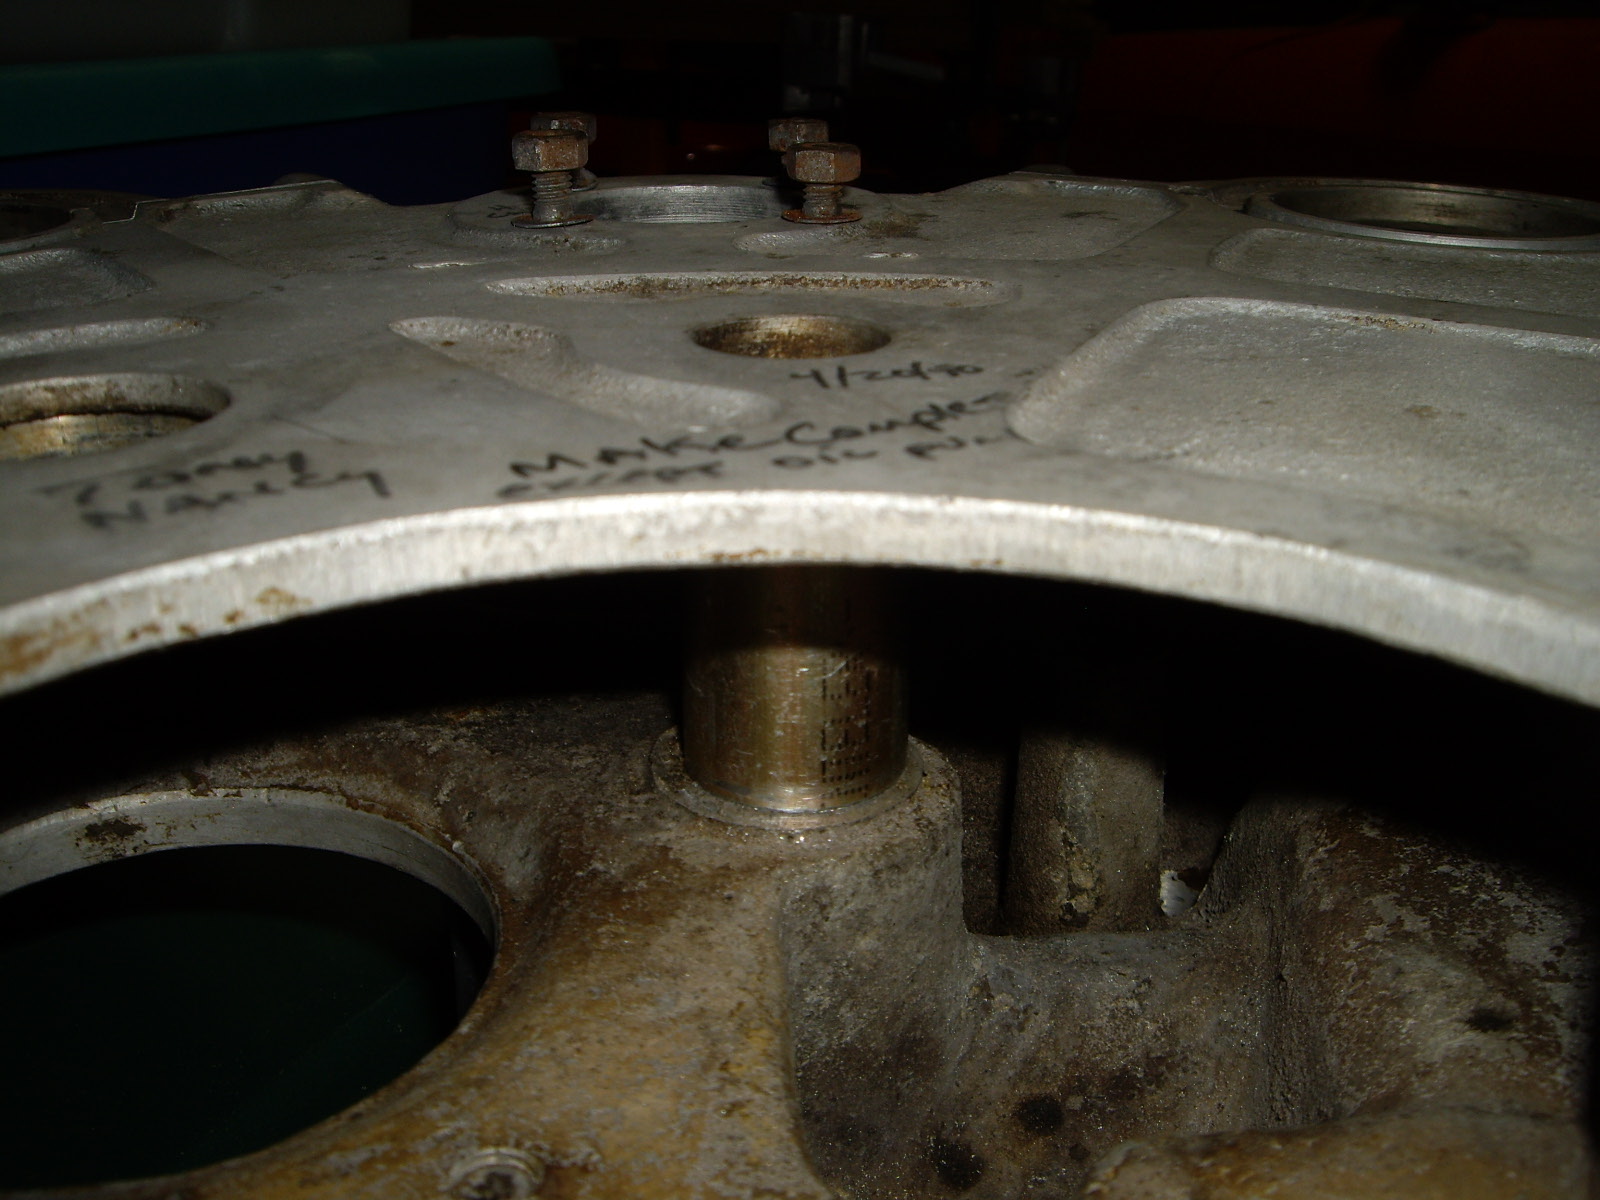 |
Another thing that needed to get done on the timing chest was replacing the firing order plate. As you can see, it was sand blasted into obscurity by whomever cleaned the timing chest.
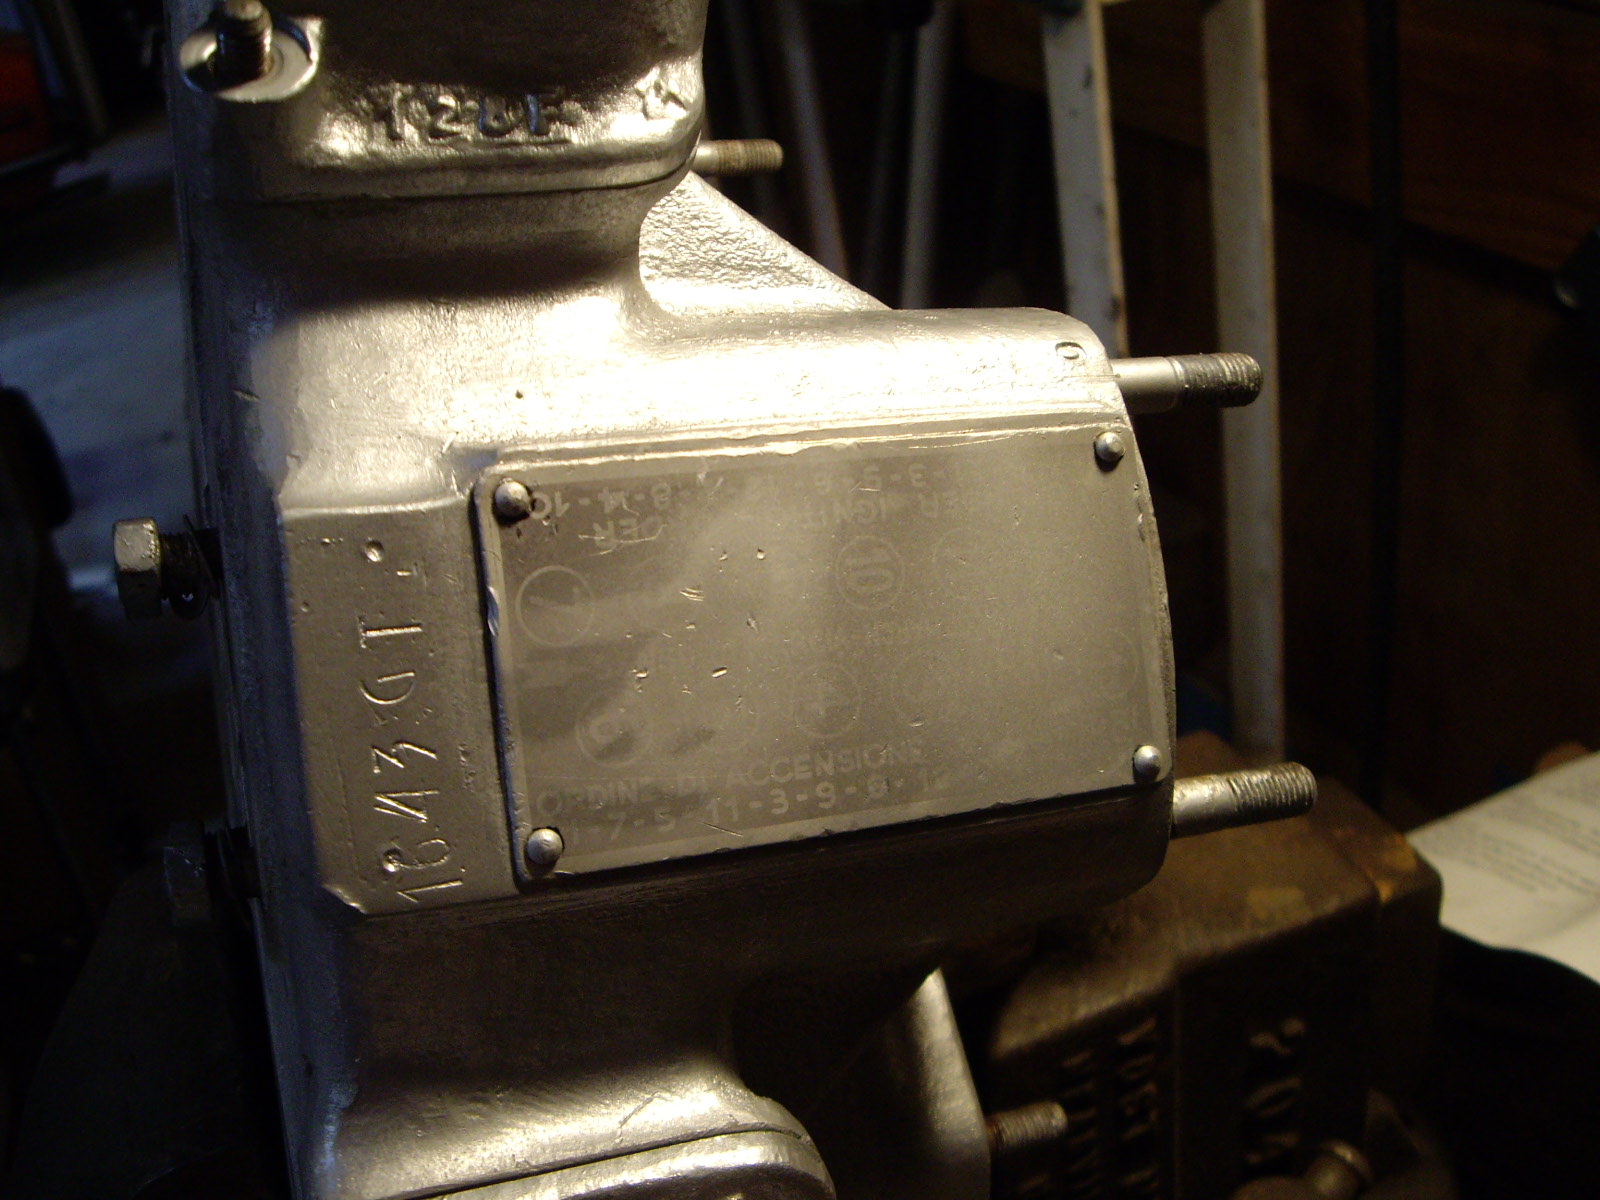
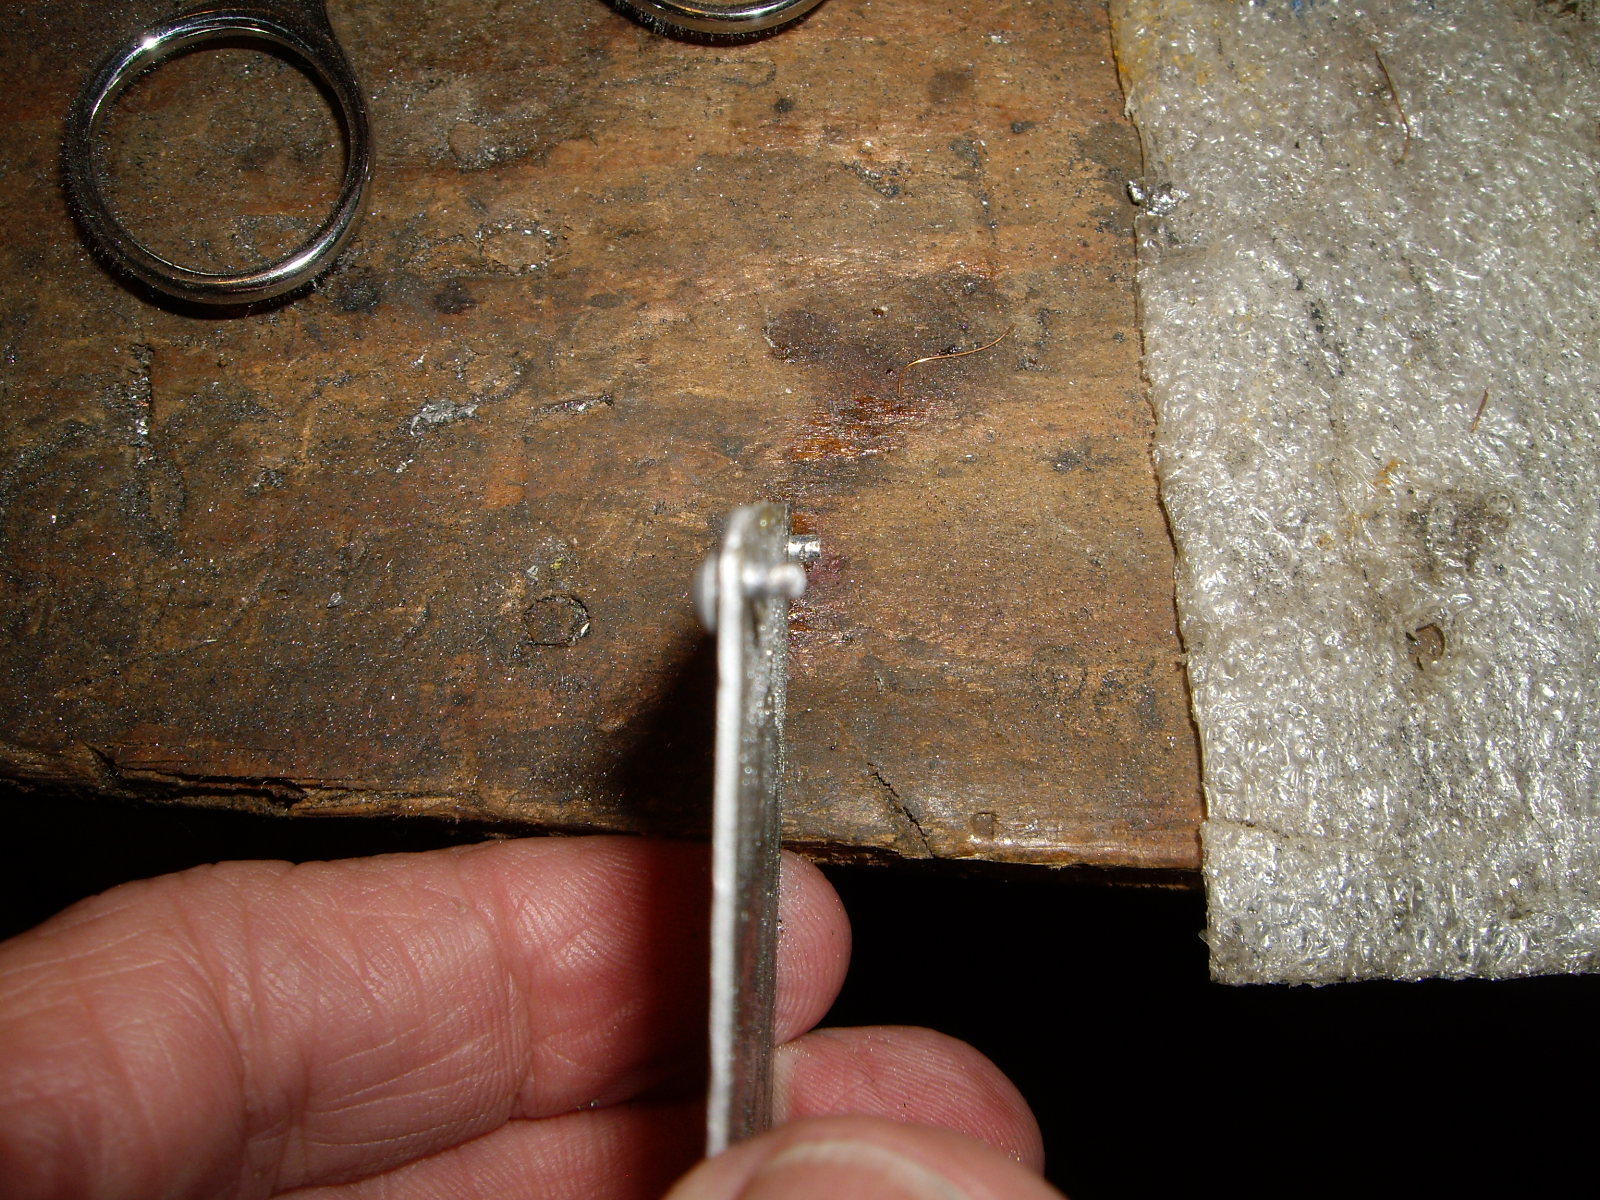
Lowell Brown had replaced this plate on his 330 GT and had a dickens of a time. He ground off the tops of the rivets and then tried to drill them out. They were too hard. In the case of the 330 type 209 engine, this plate is on the LH valve cover, so he was able to take this into a machine shop. Even then, several end mills were broken before all of the rivets were removed. So I approached the removal with some trepidation. After talking to Lowell, I decided that I would pry the plate from around the rivets and then try and use that space to be able to grip the rivet with Vise-Grip pliers and try to unscrew and twist each rivet out. Much to my surprise, each rivet just pulled out as I pried up on the corners of the plate.
The plate had come with the car, but I got new rivets from Parker Hall. However, they were larger than the old ones and the plate was a bit smaller. So I would have had the holes at the very corners to use the new rivets.
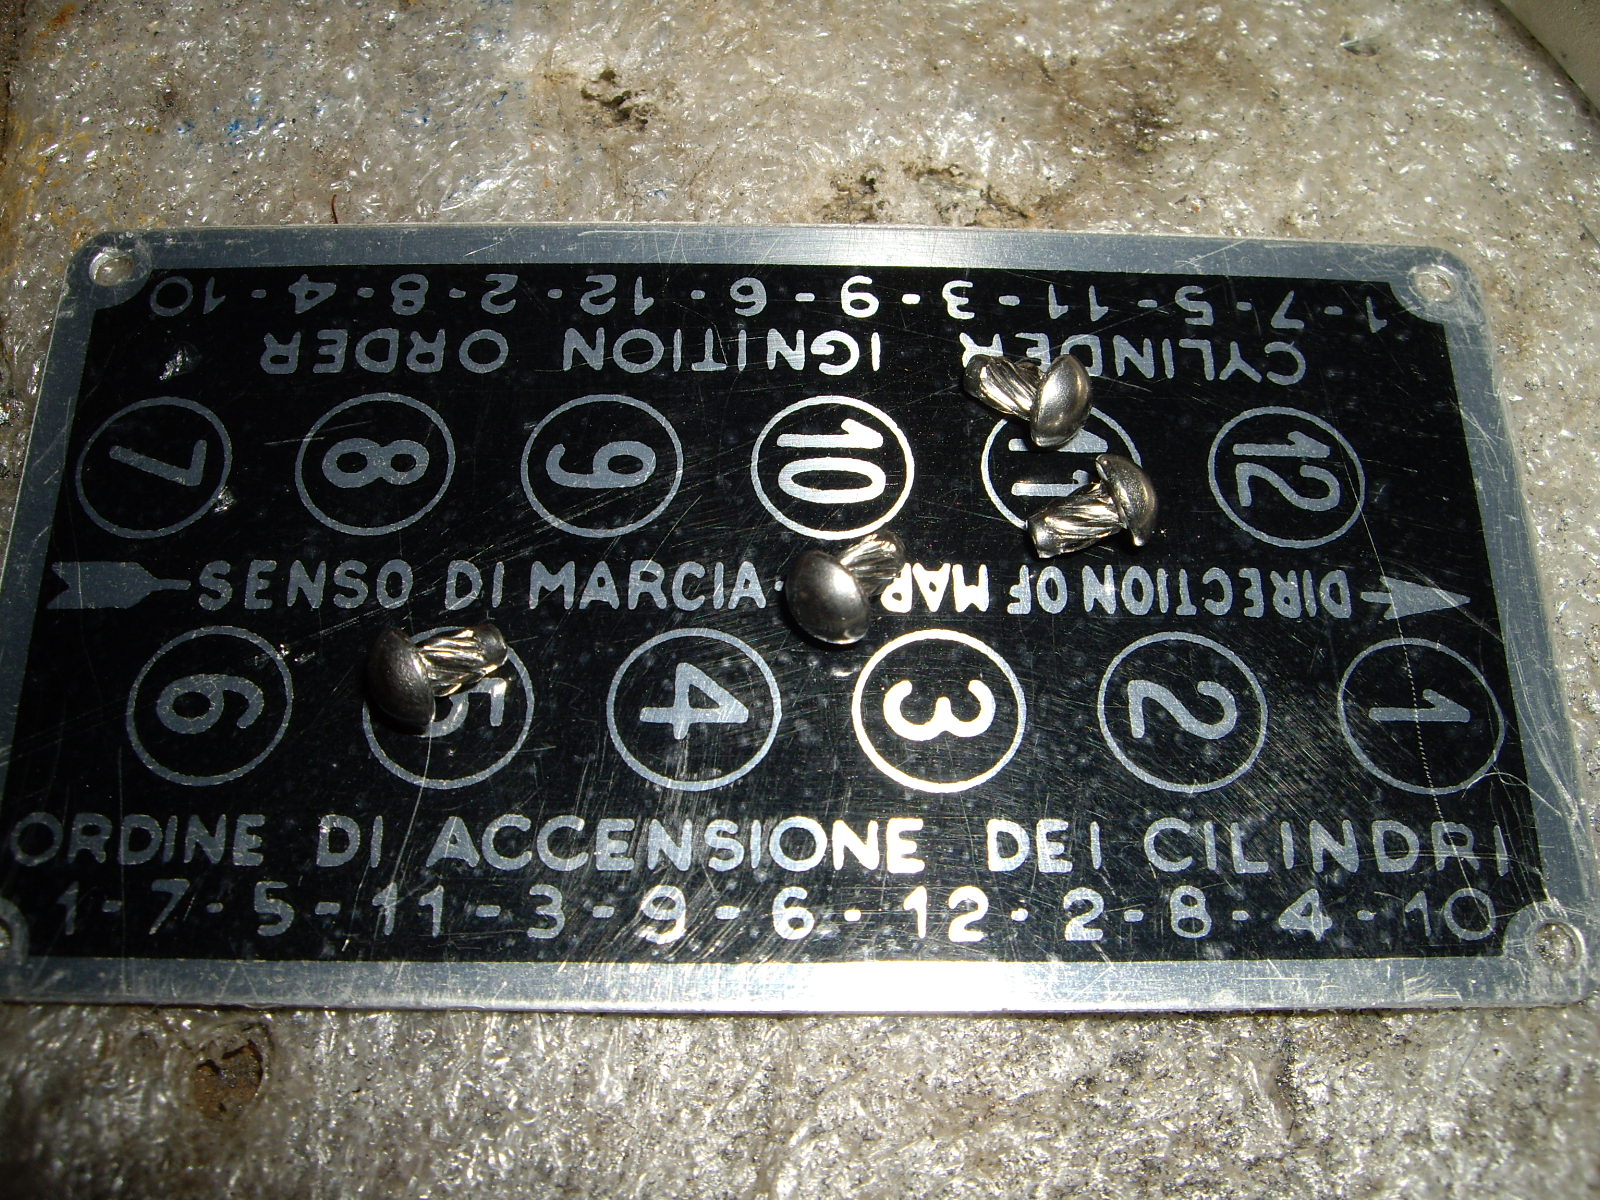
So I ended up using the old rivets and some contact cement under the plate to make sure that it stayed flat as I re-riveted it.
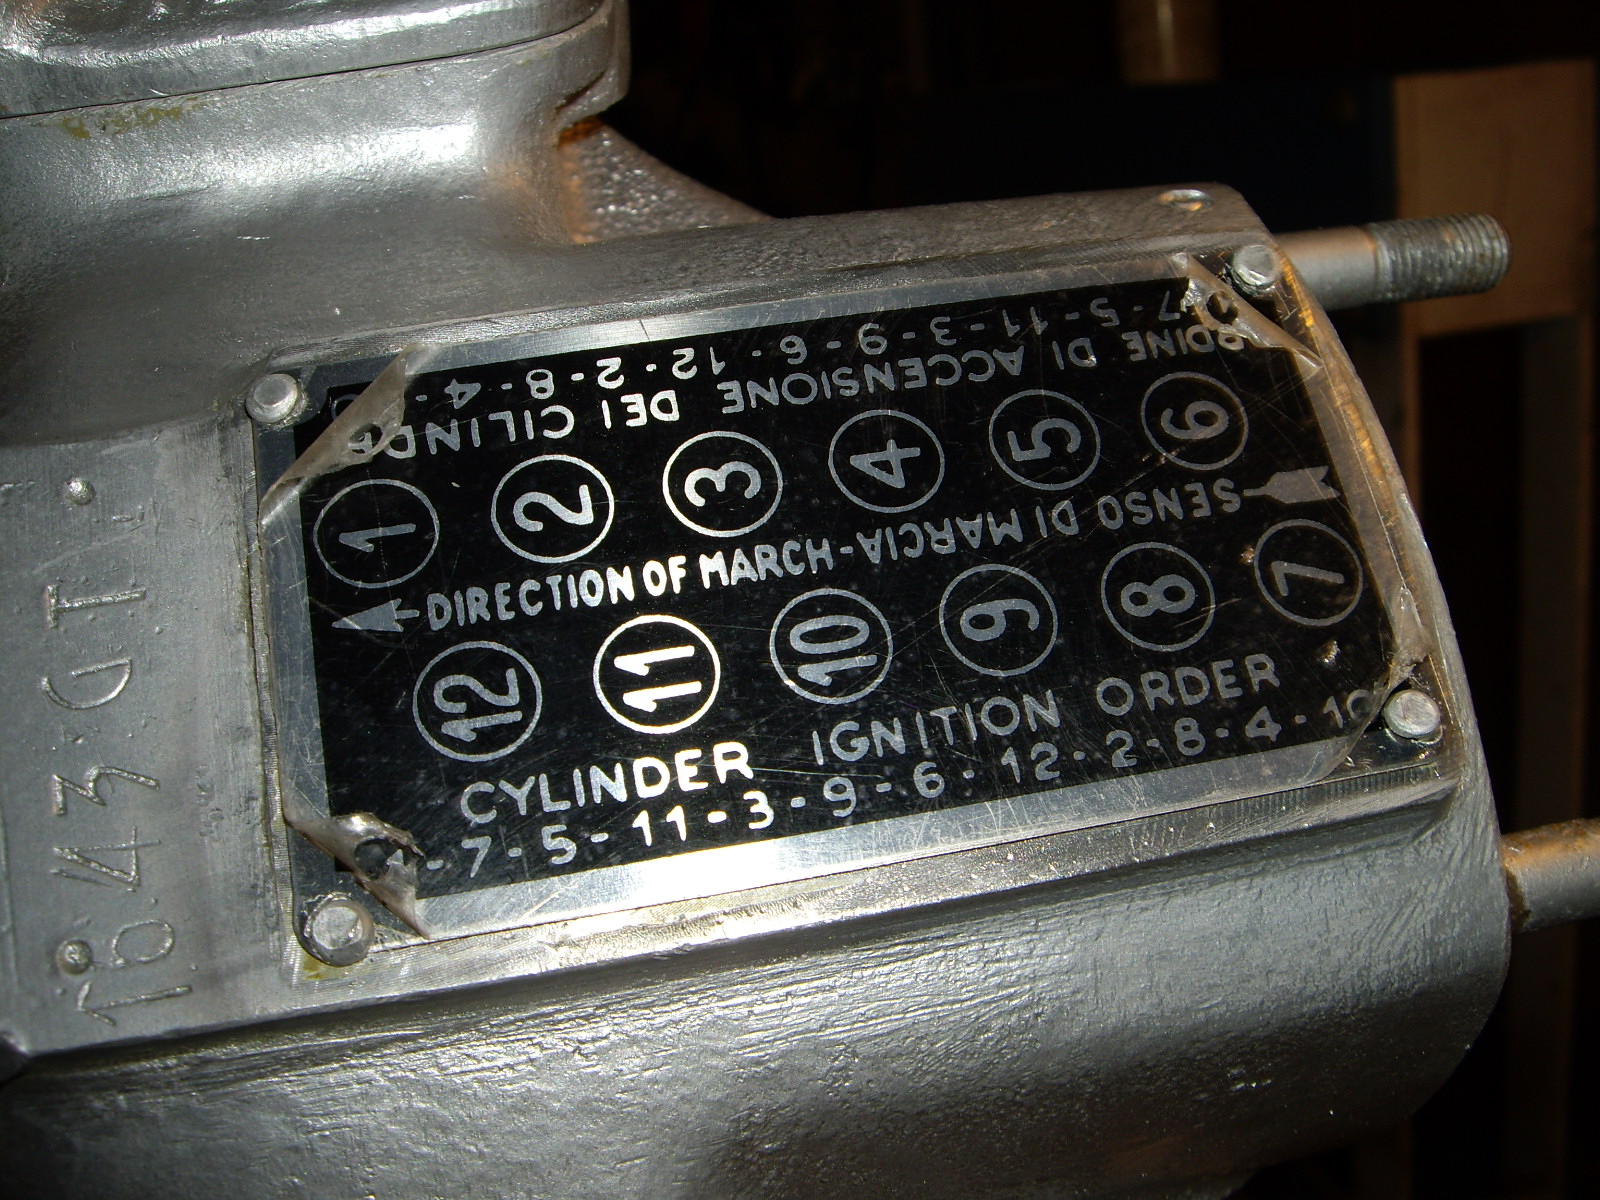
I'll keep the protective film on the plate until I have the engine installed in the car.