Trunk
There isn't a lot to take apart in the trunk for paint preparation. The trunk lid will be off the car when it is painted with the interior masked off. I did remove the carpeting as I'll be replacing it with the proper square weave style.
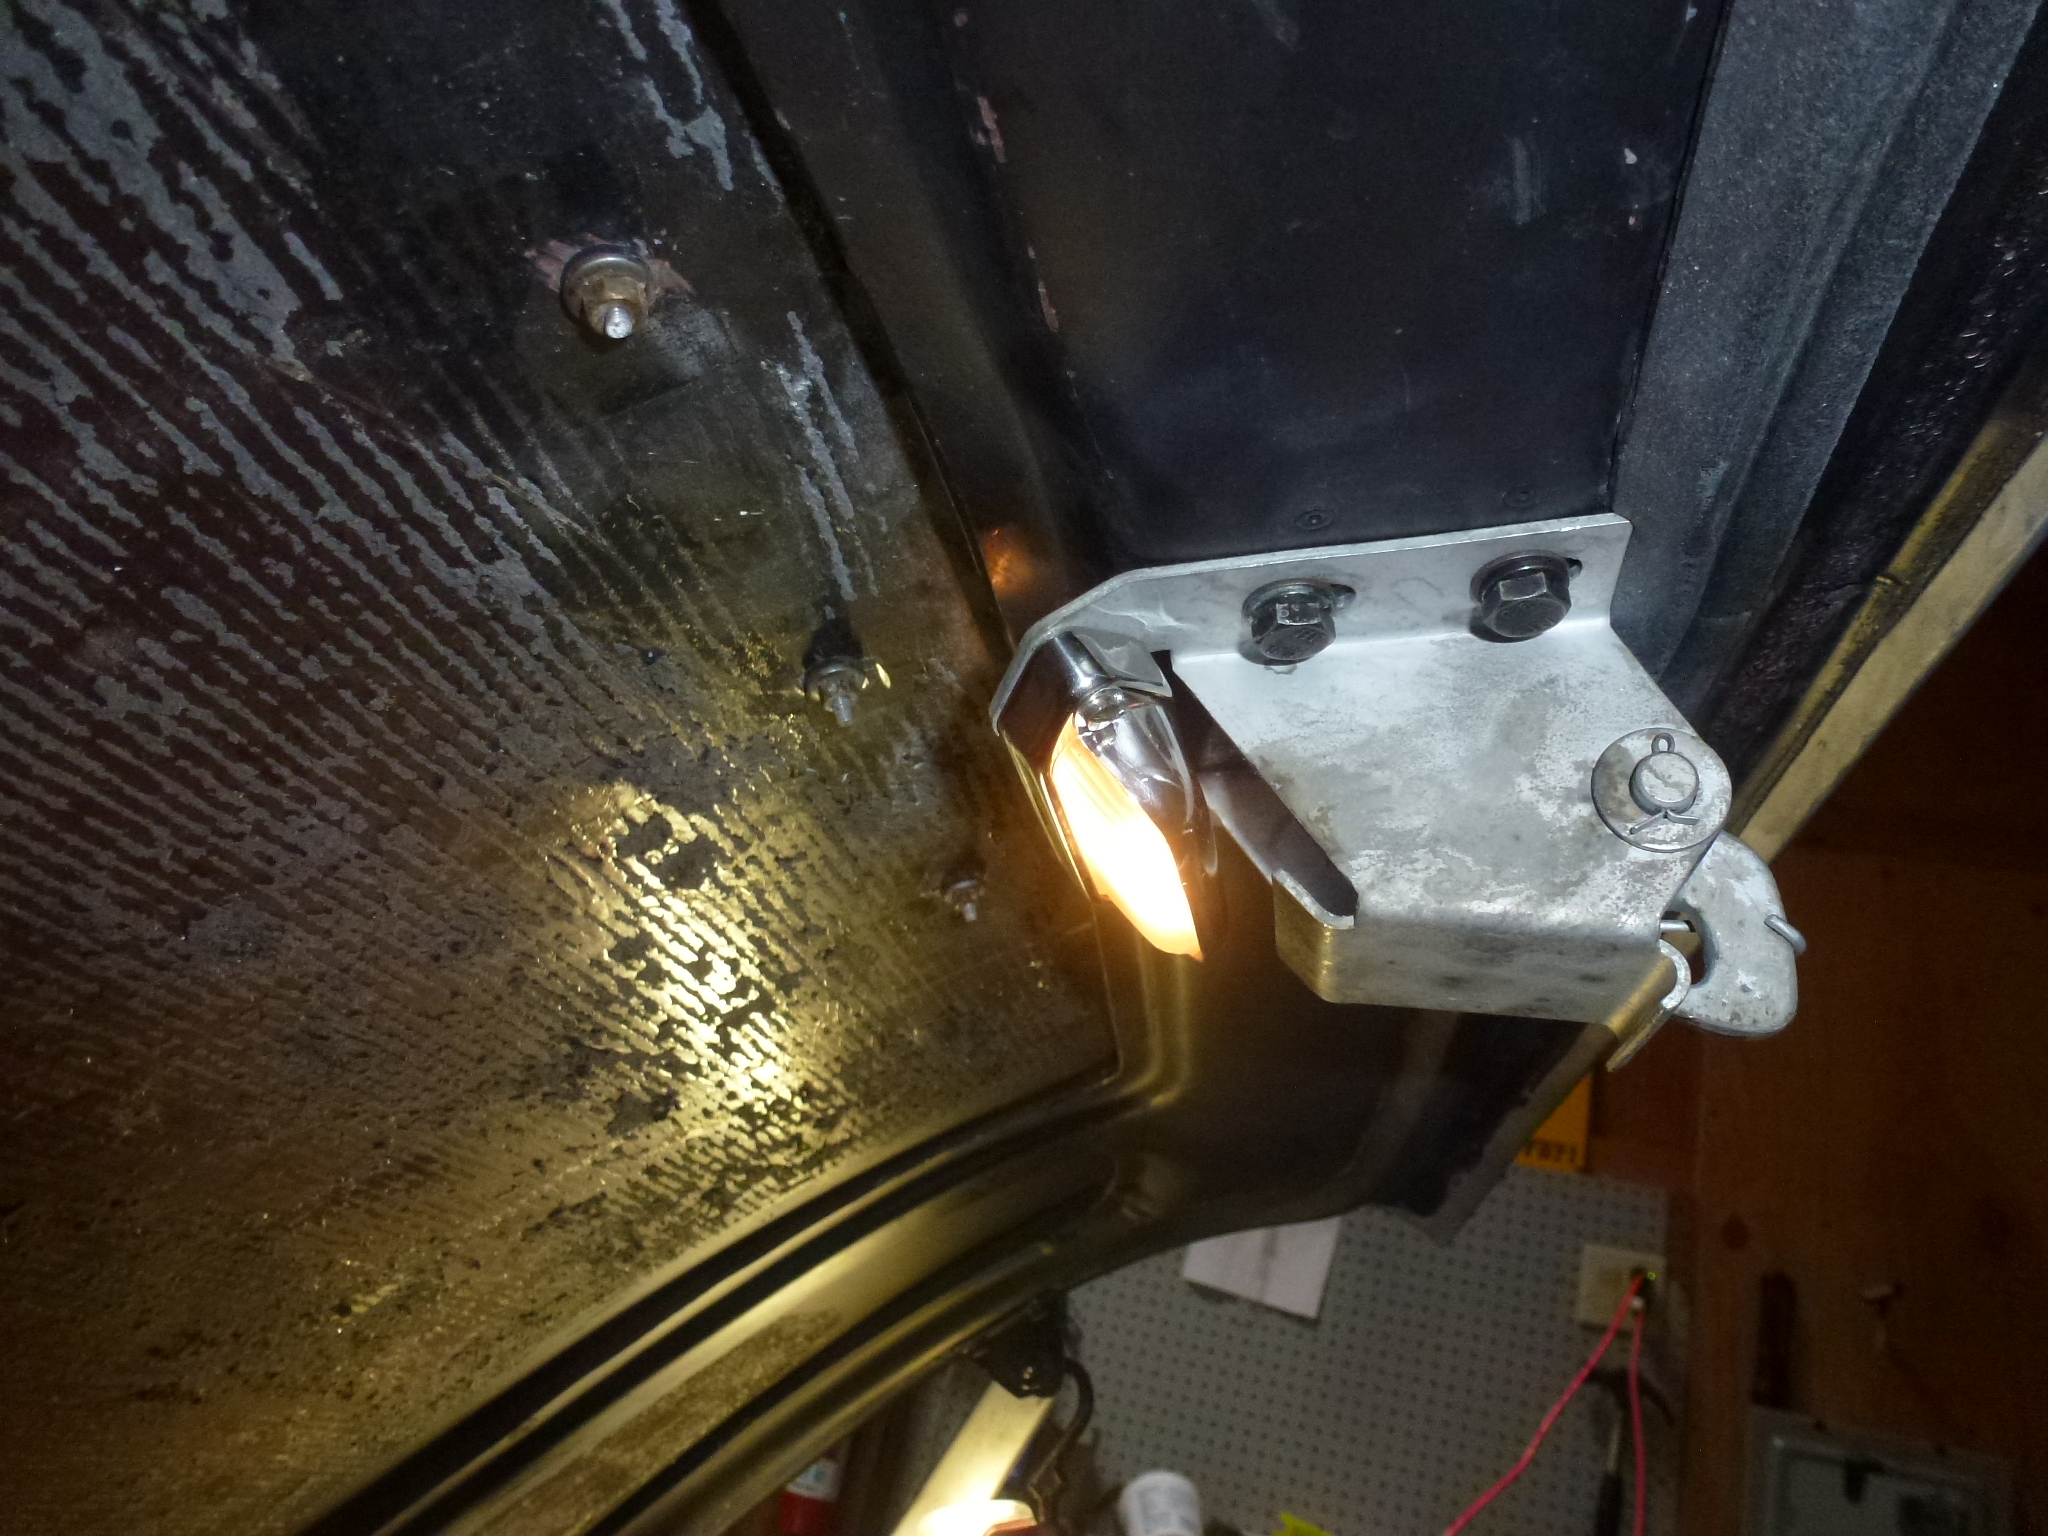
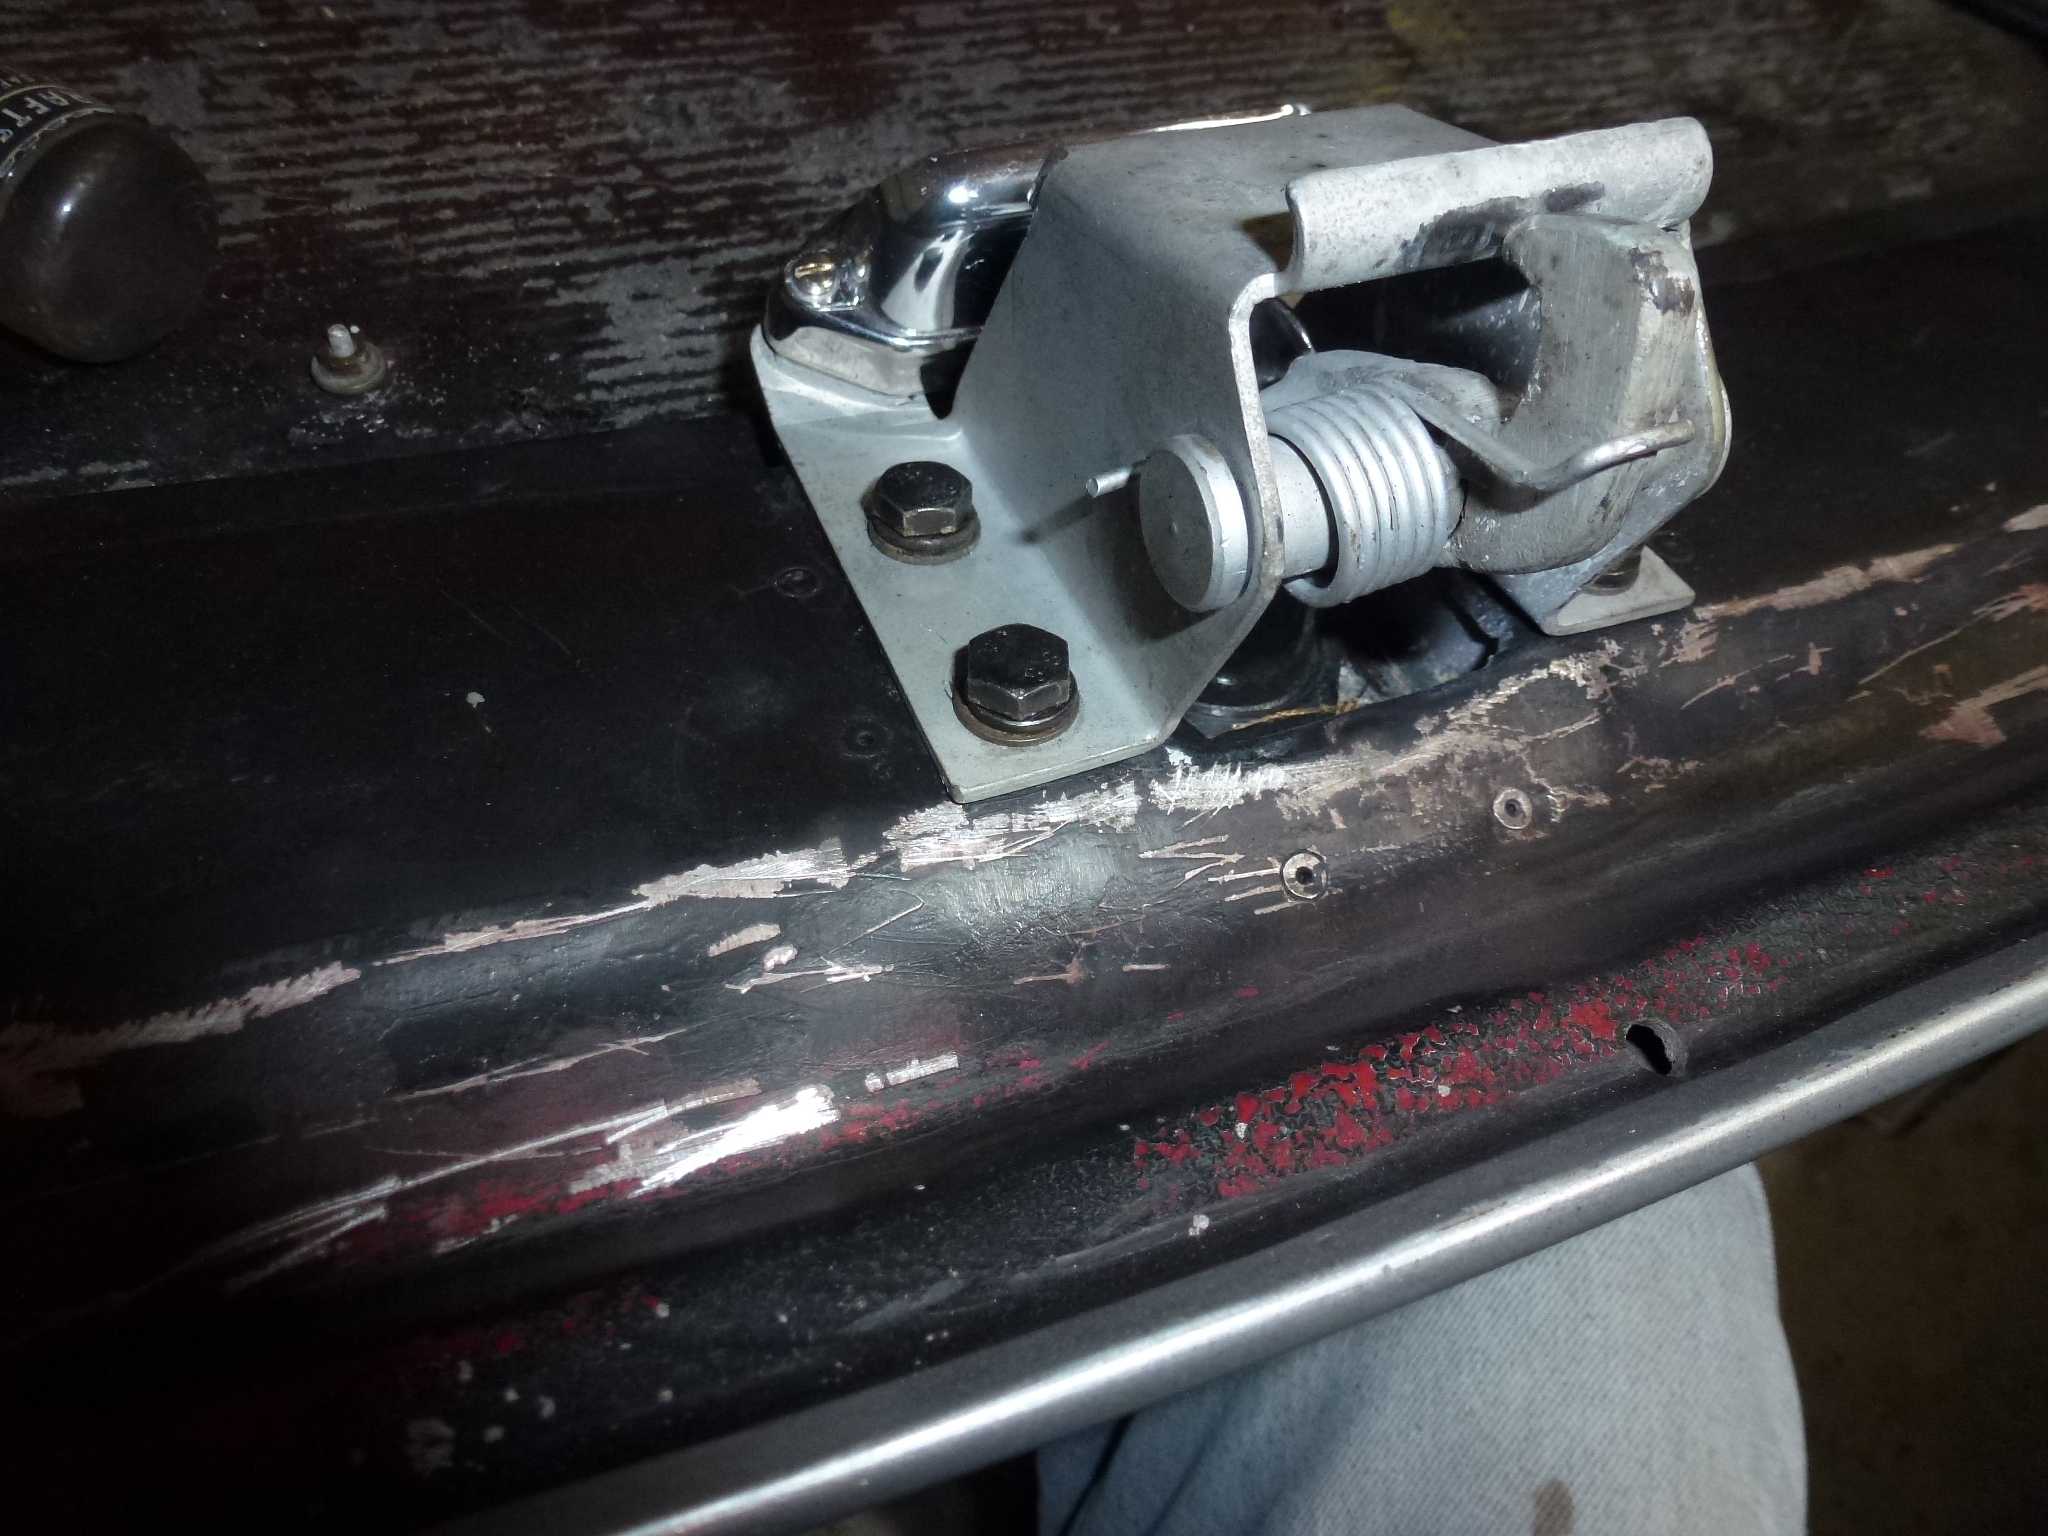
The lock needed to be removed. This requires removing the latch mechanism, which I left off after disconnecting the trunk light wire.
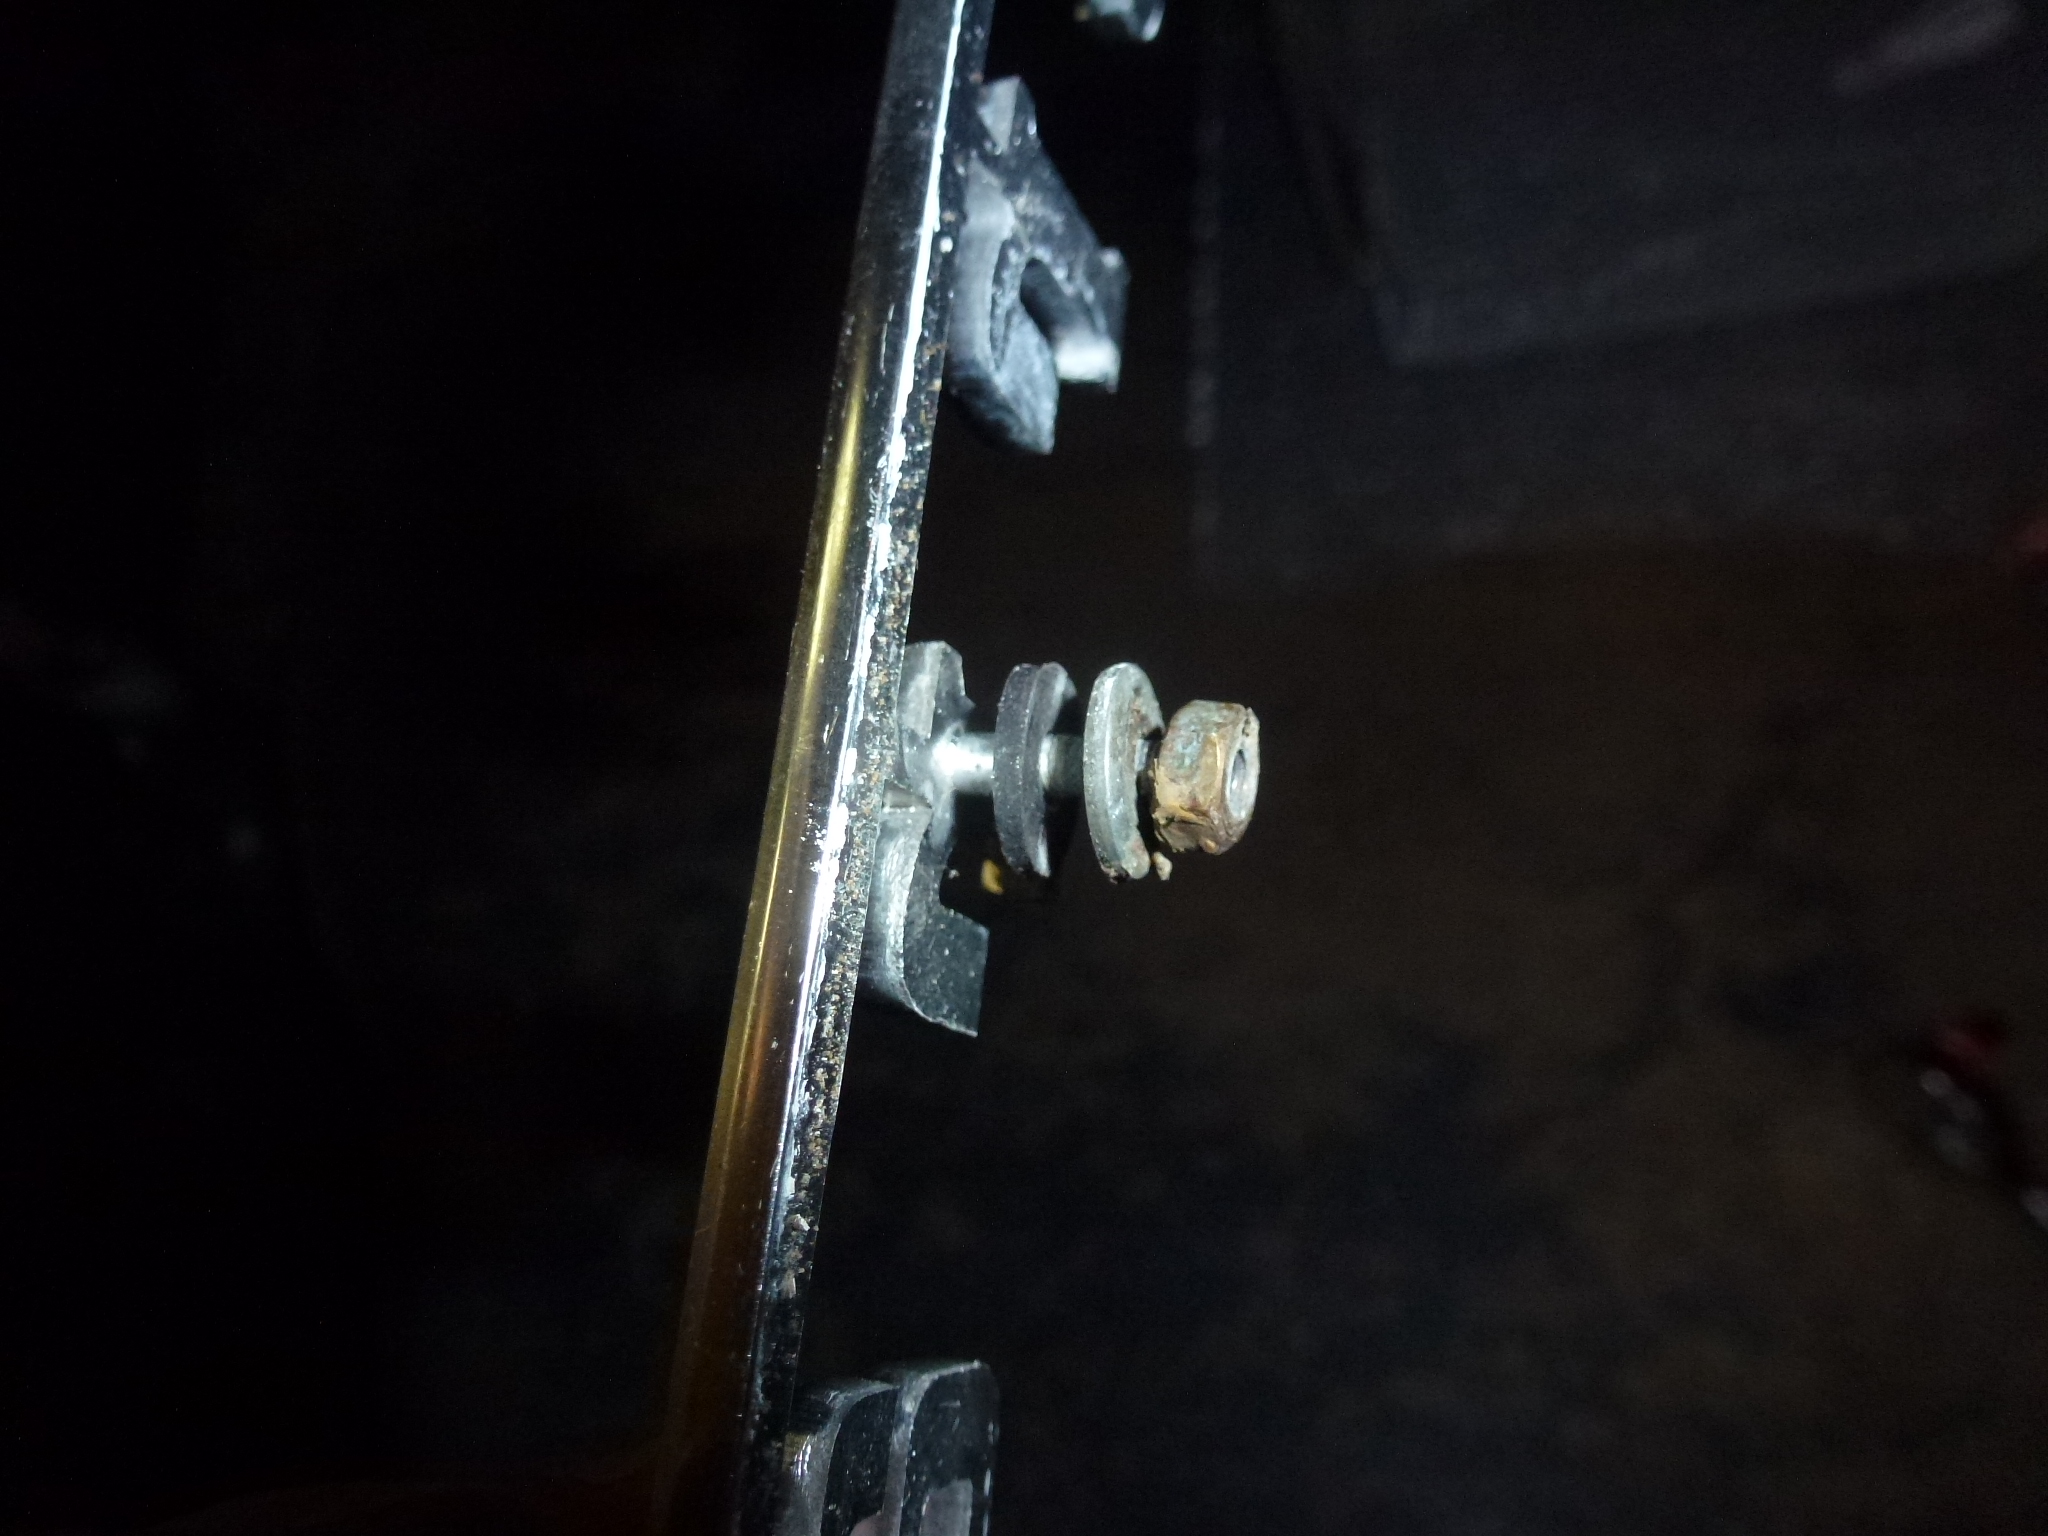
I removed the plastic coverings over the tail lights. The tail lights were left on with just wing nuts holding them. That way they'll be easy to remove at the body shop.

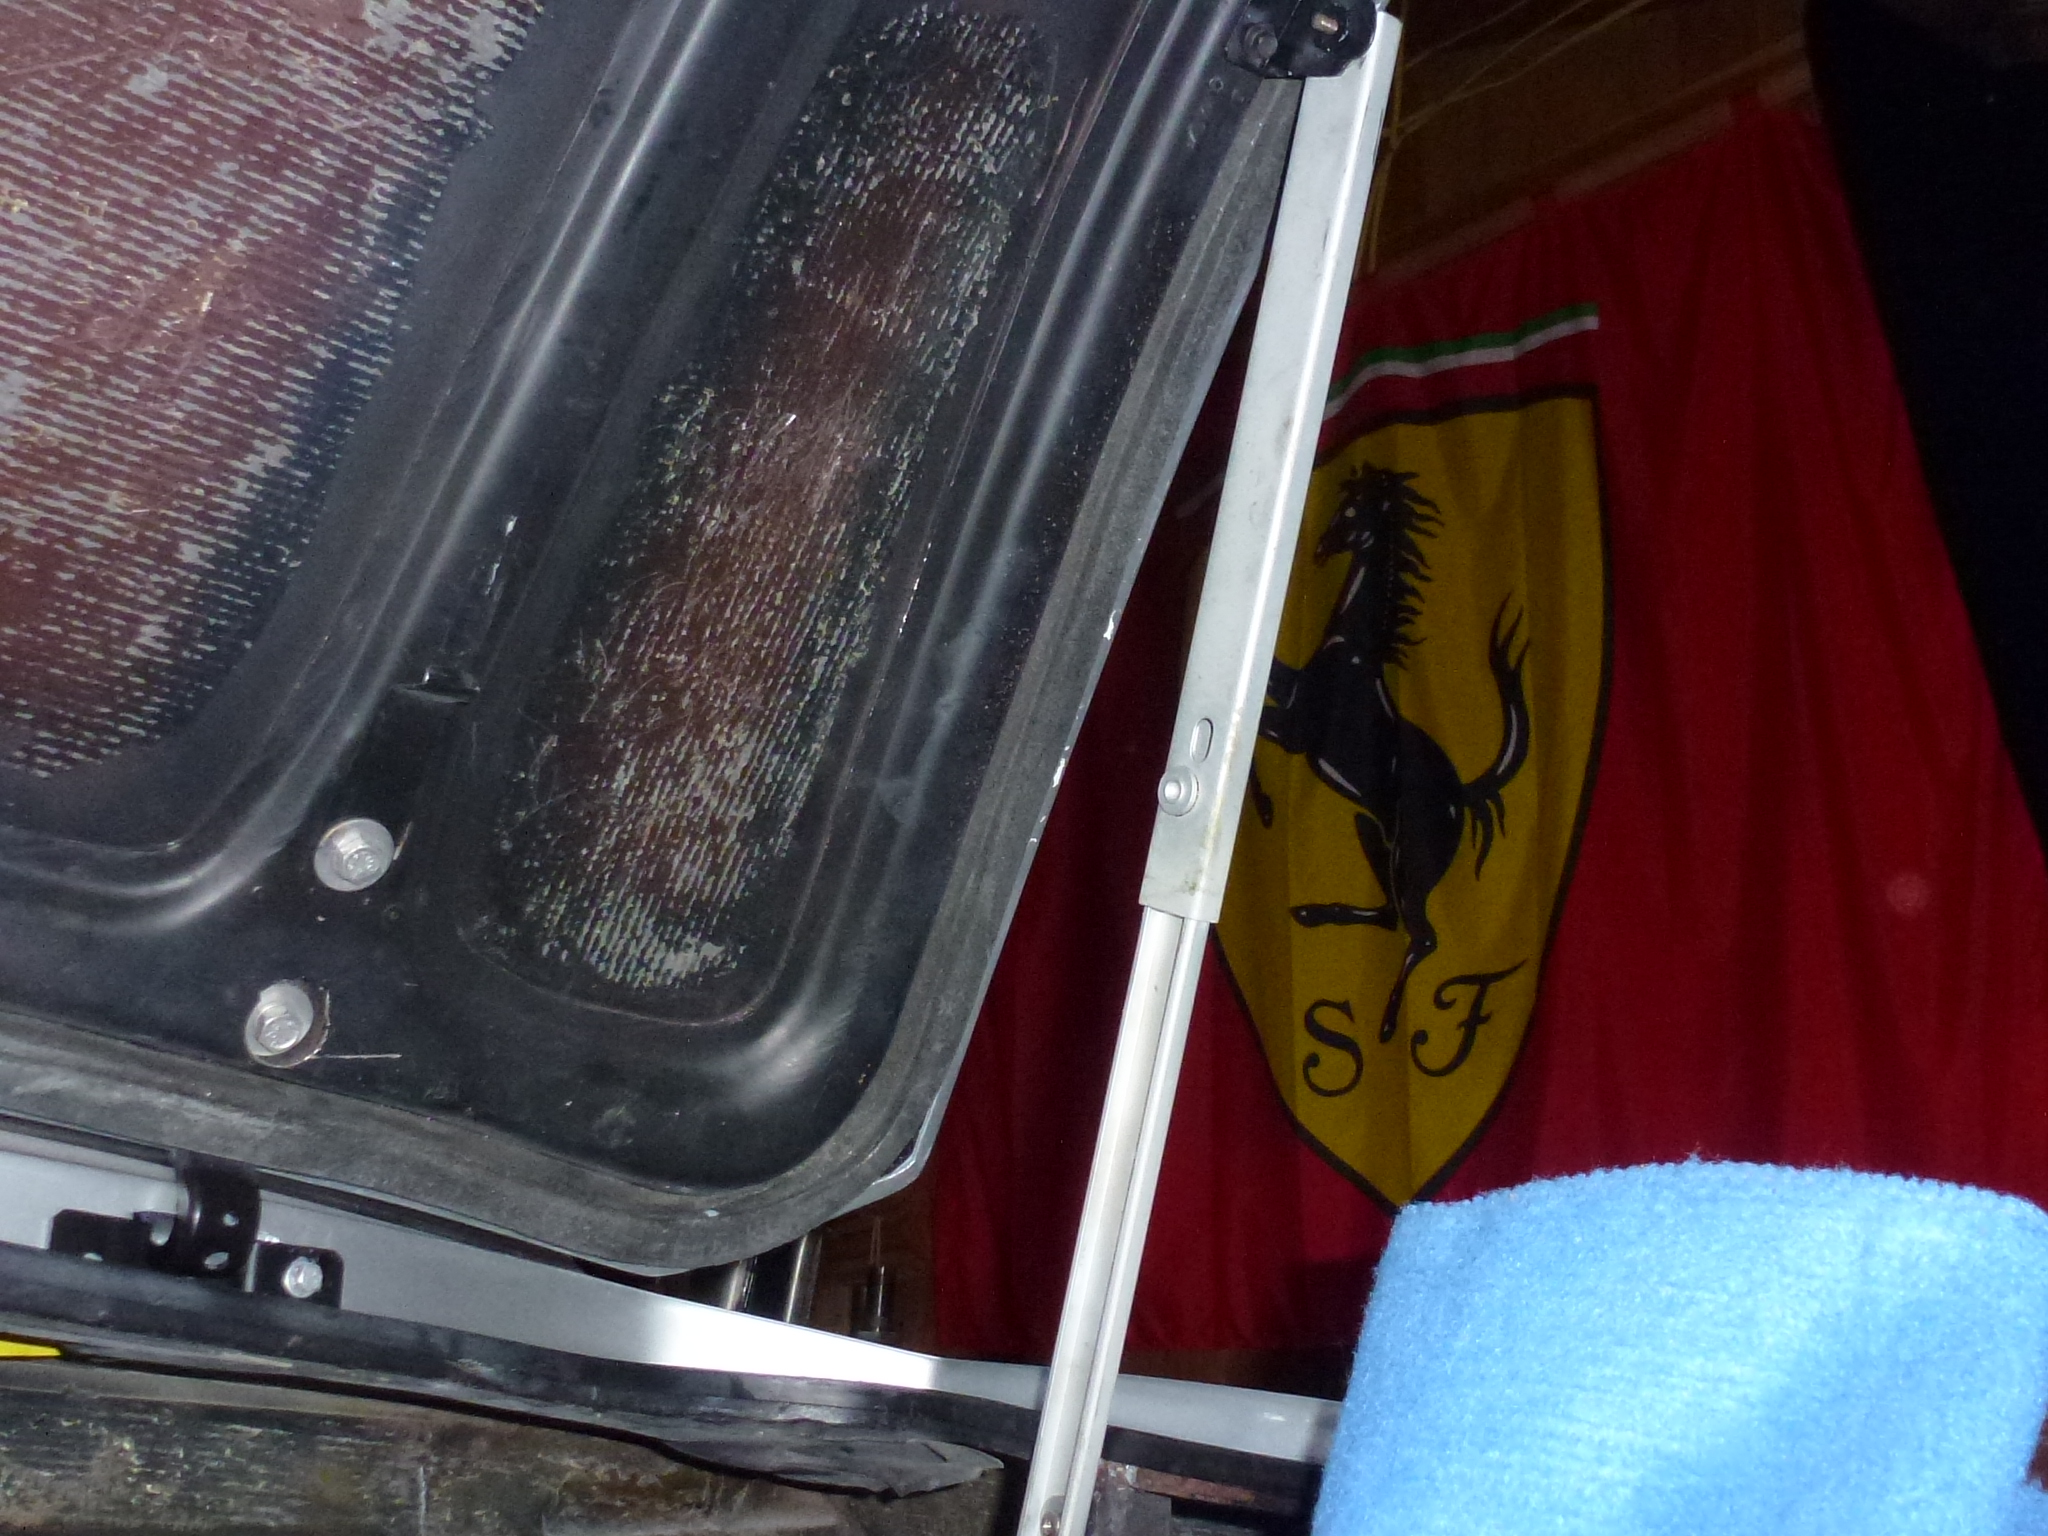
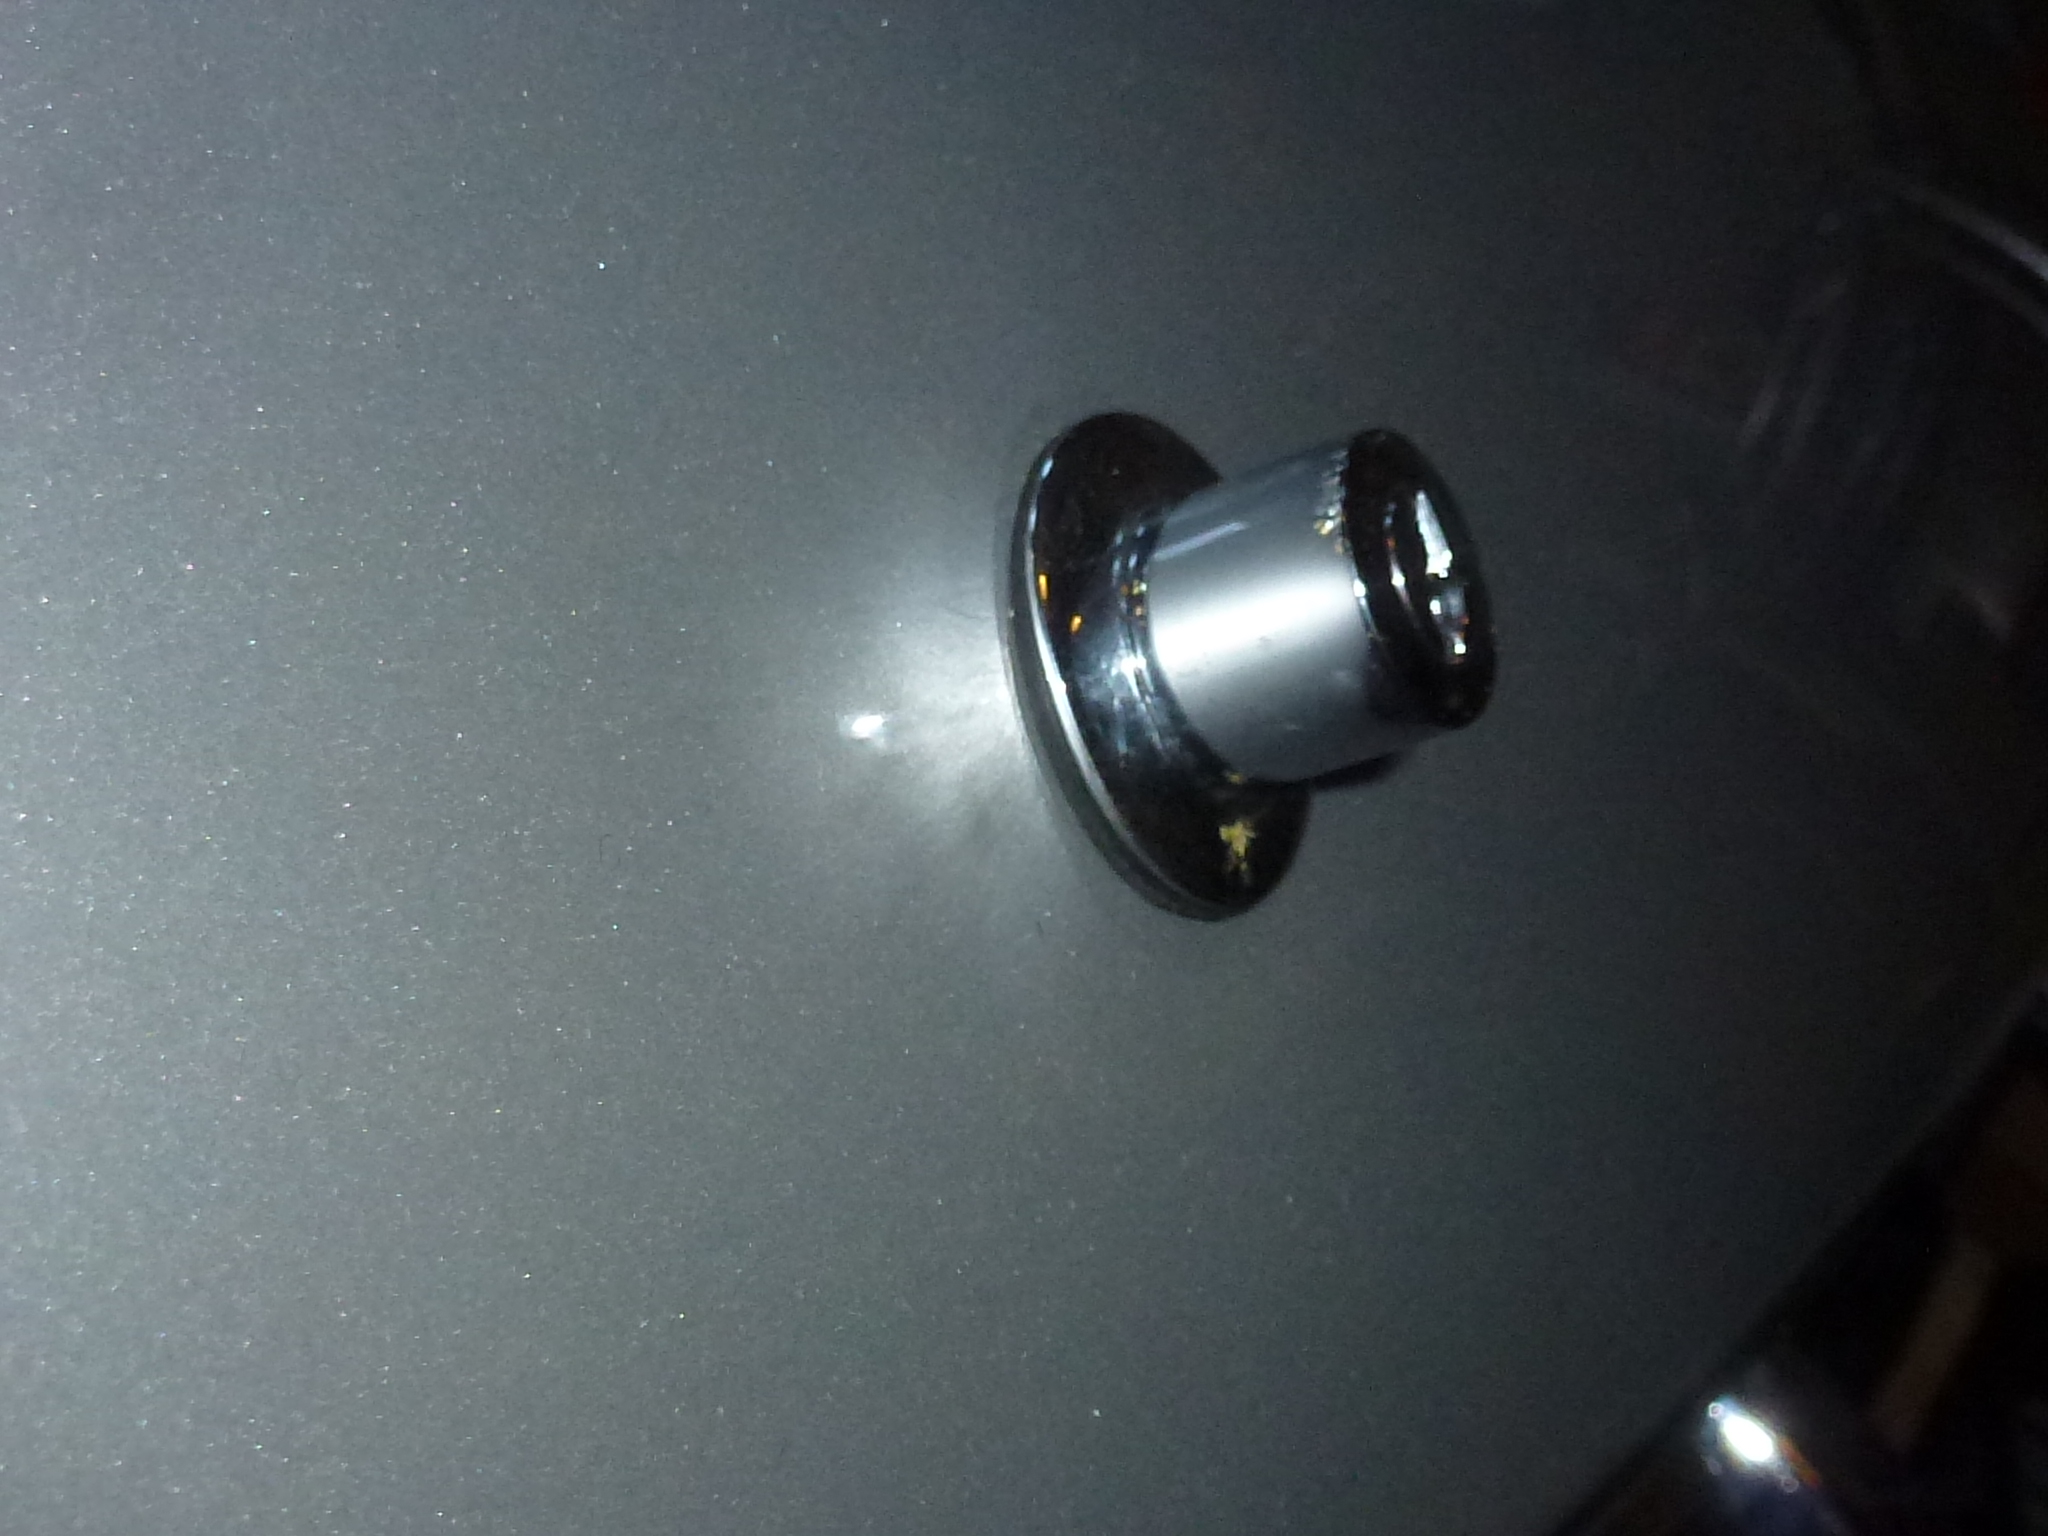
The Ferrari emblem also needed to come off. These are aluminum with just pins on the back, designed to be held on with Tinnerman fasteners. However, once on those fasteners don't like to be removed. So one of the many times I painted the trunk, I threaded the pins so I could use regular nuts to hold the emblem on. So removing it was easy. One thing I do for the emblems is to put a rubber washer next to the body. This achieves two purposes, one, you don't have to tighten the nuts so hard as the rubber will prevent vibration and two, the rubber helps keep water out.
As I mentioned, the trunk area involves a couple of changes. I'm going to put a European license plate frame in place of the USA one on the car now. I can see where the original holes were. Even the cardboard backing for the carpet on both sides of the latch had the matching holes.
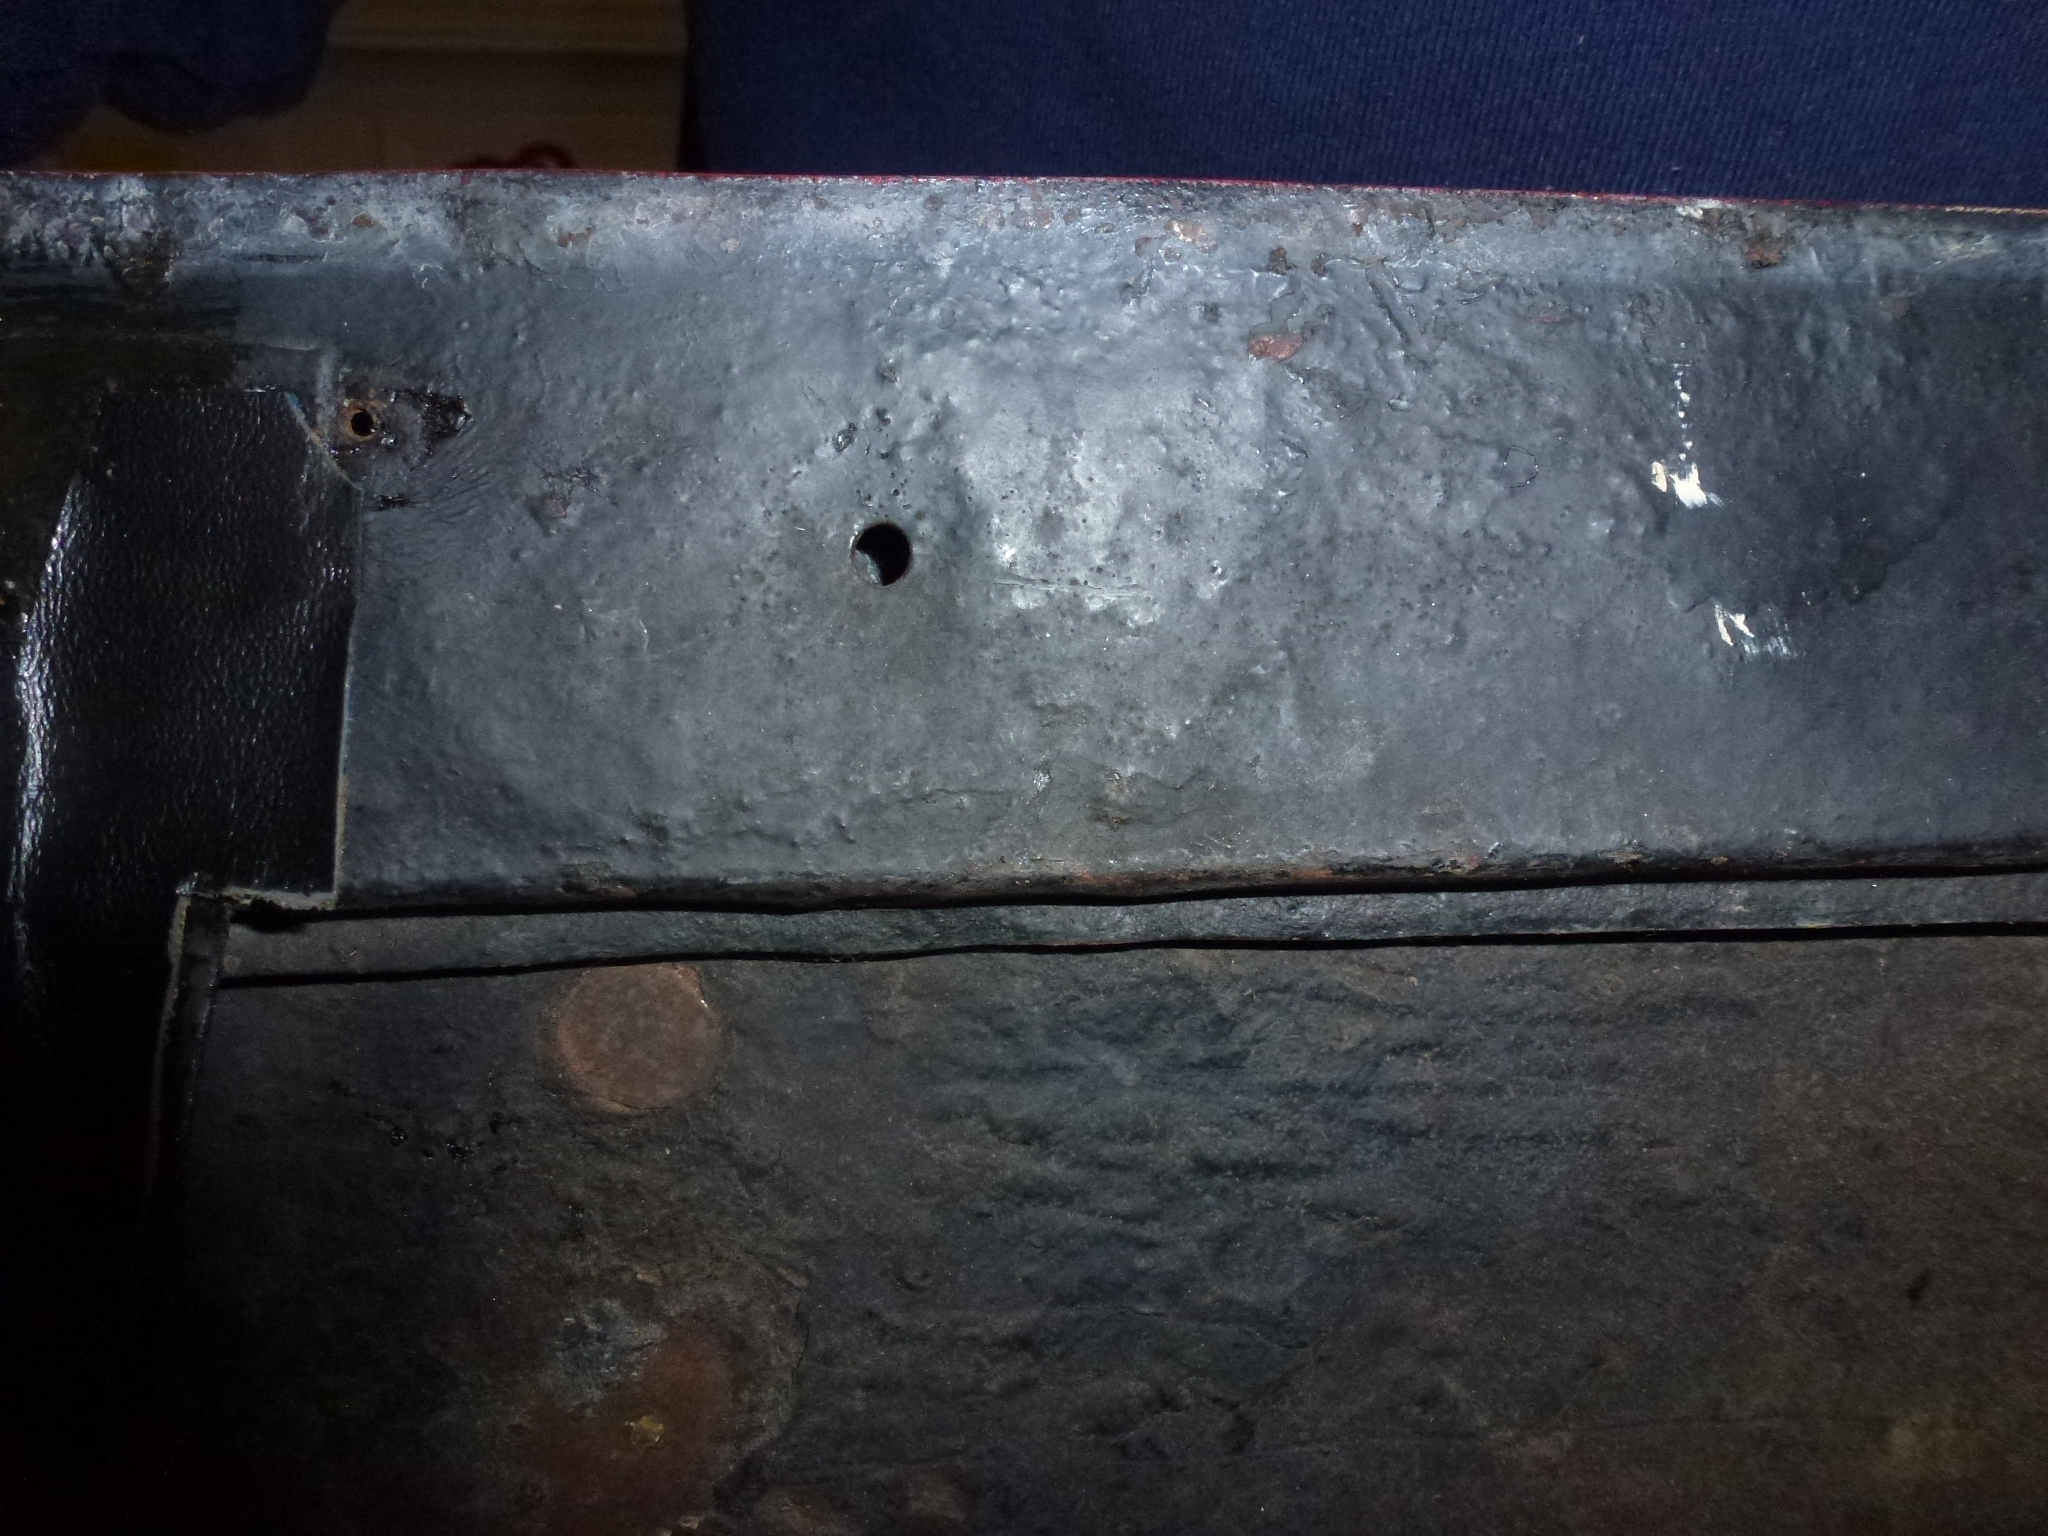
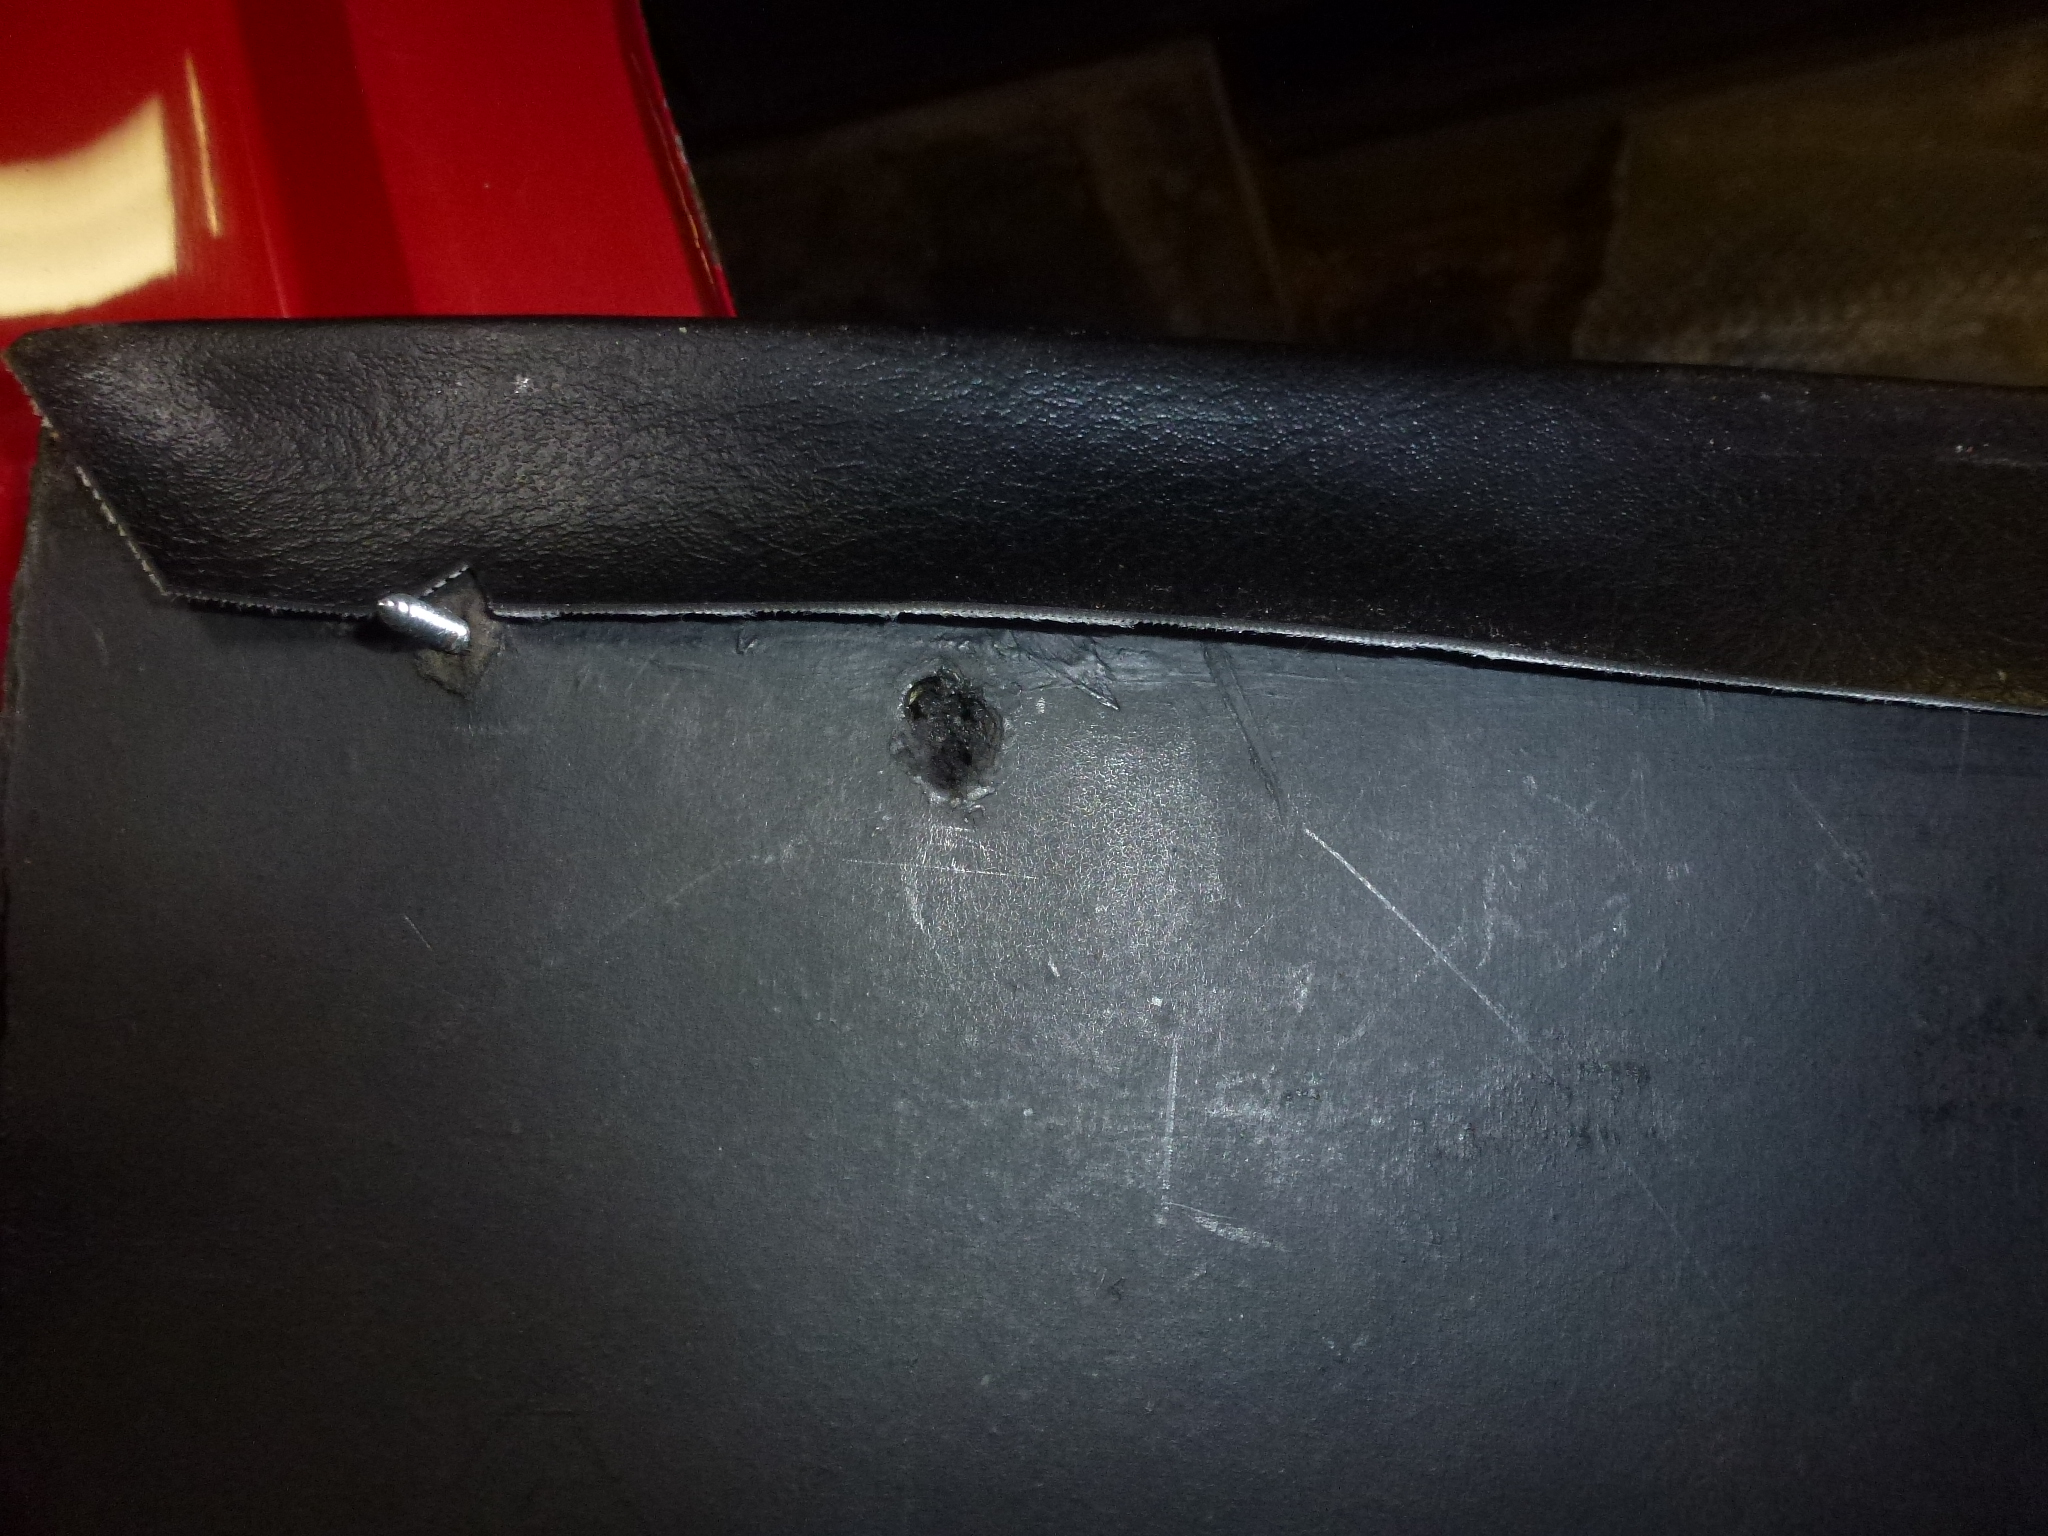
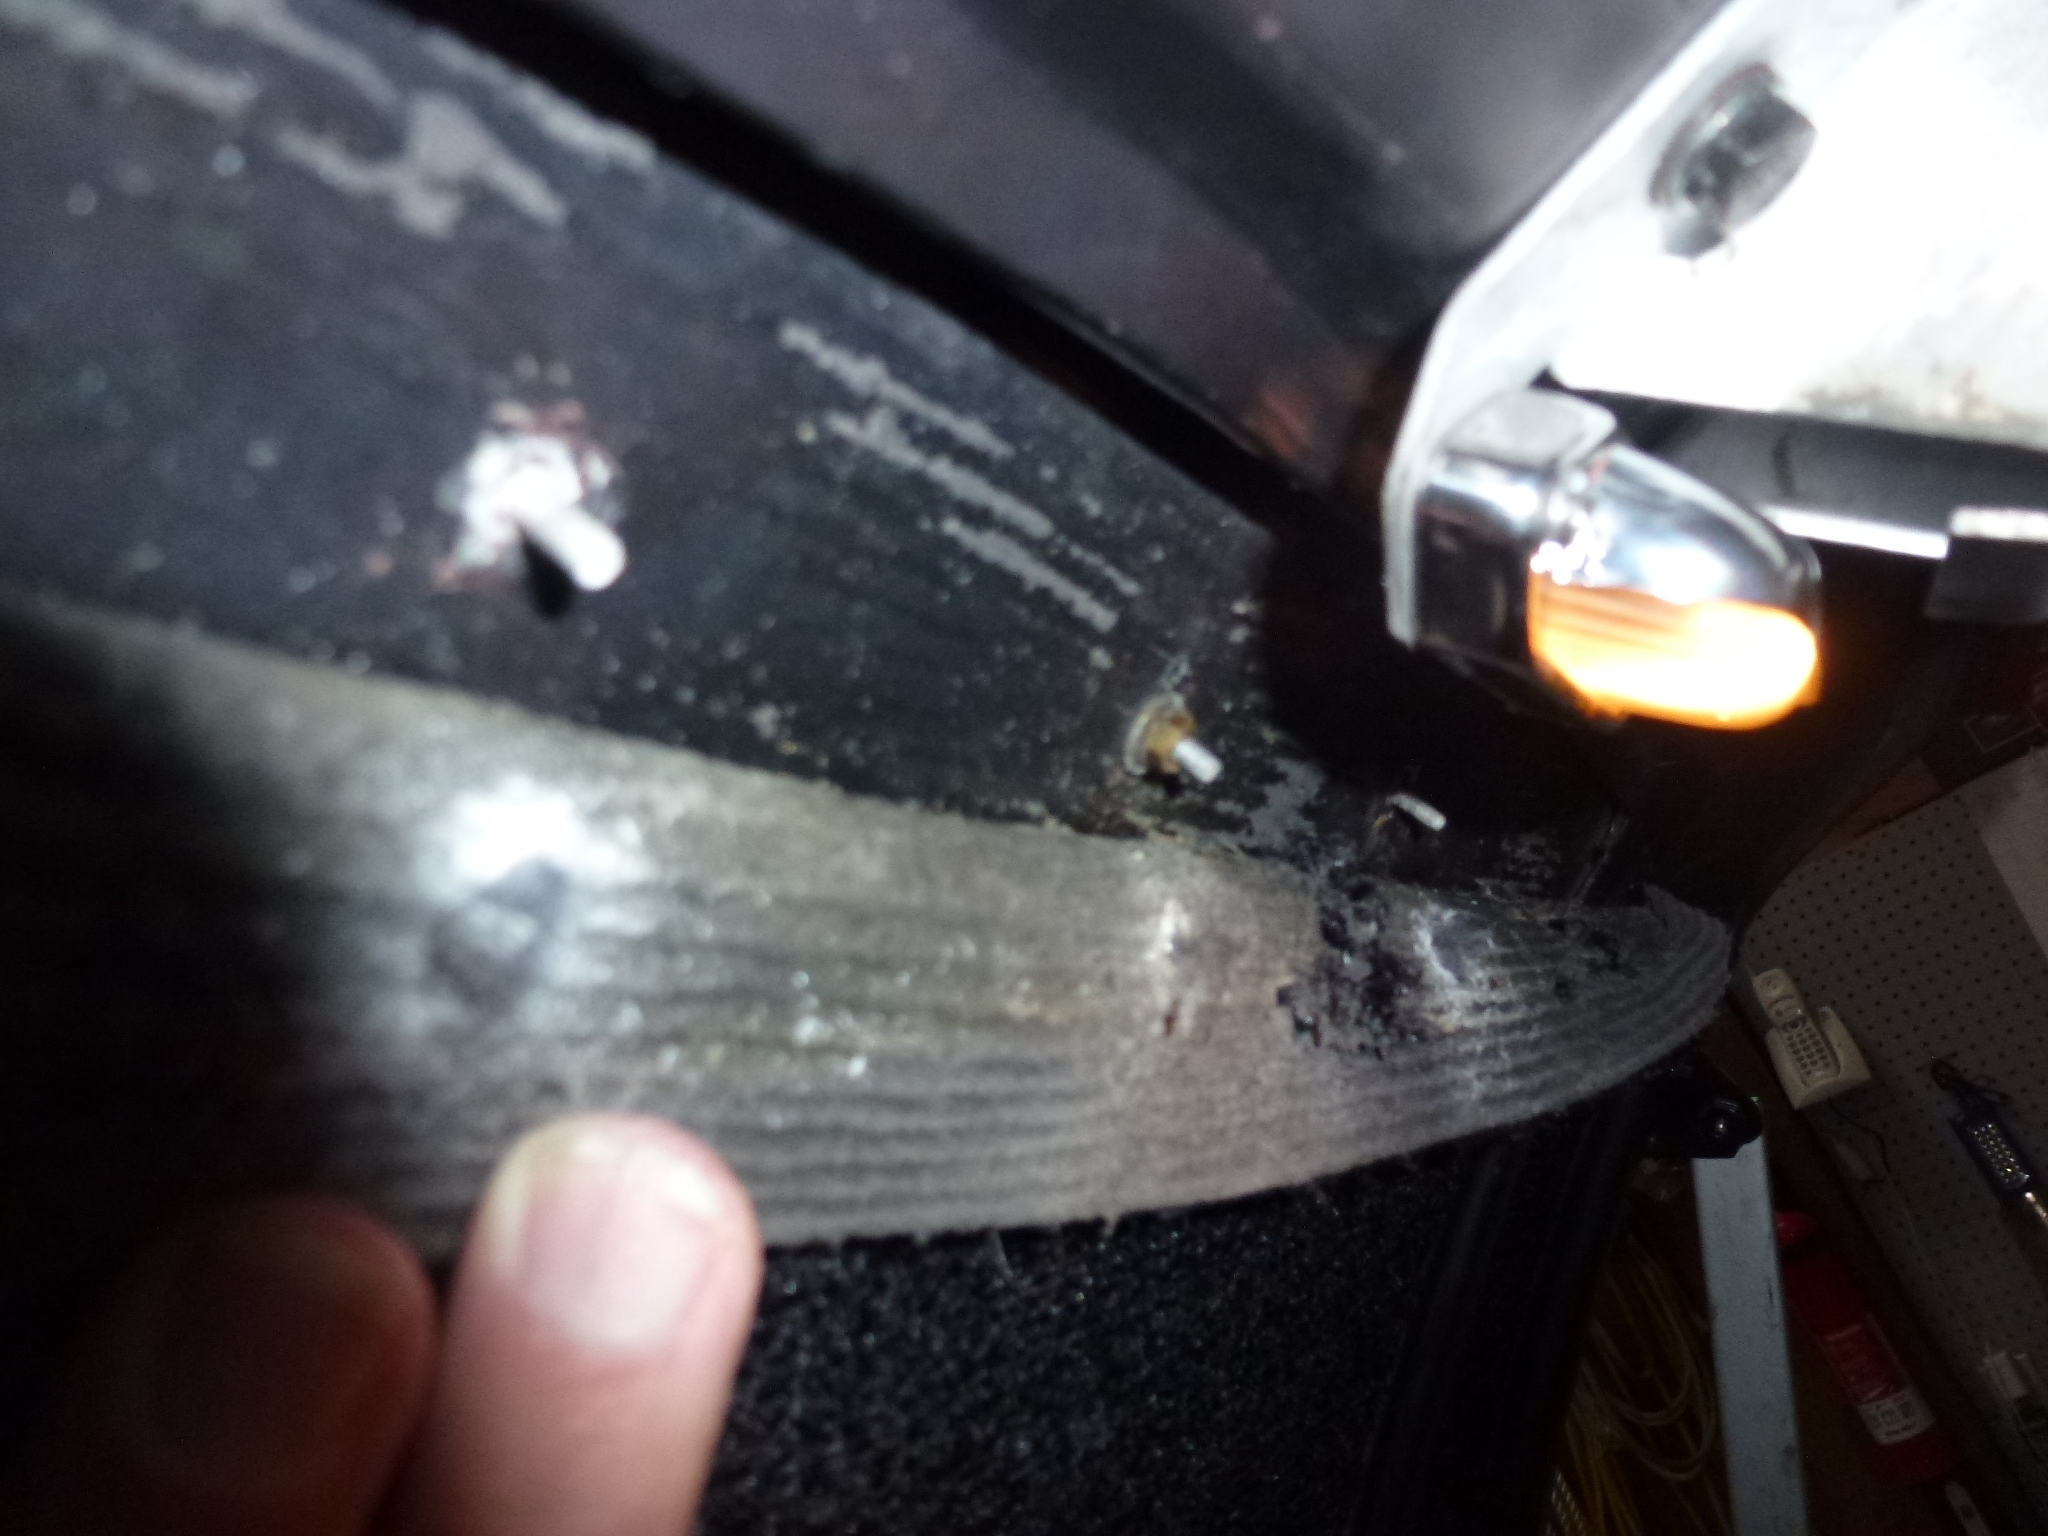
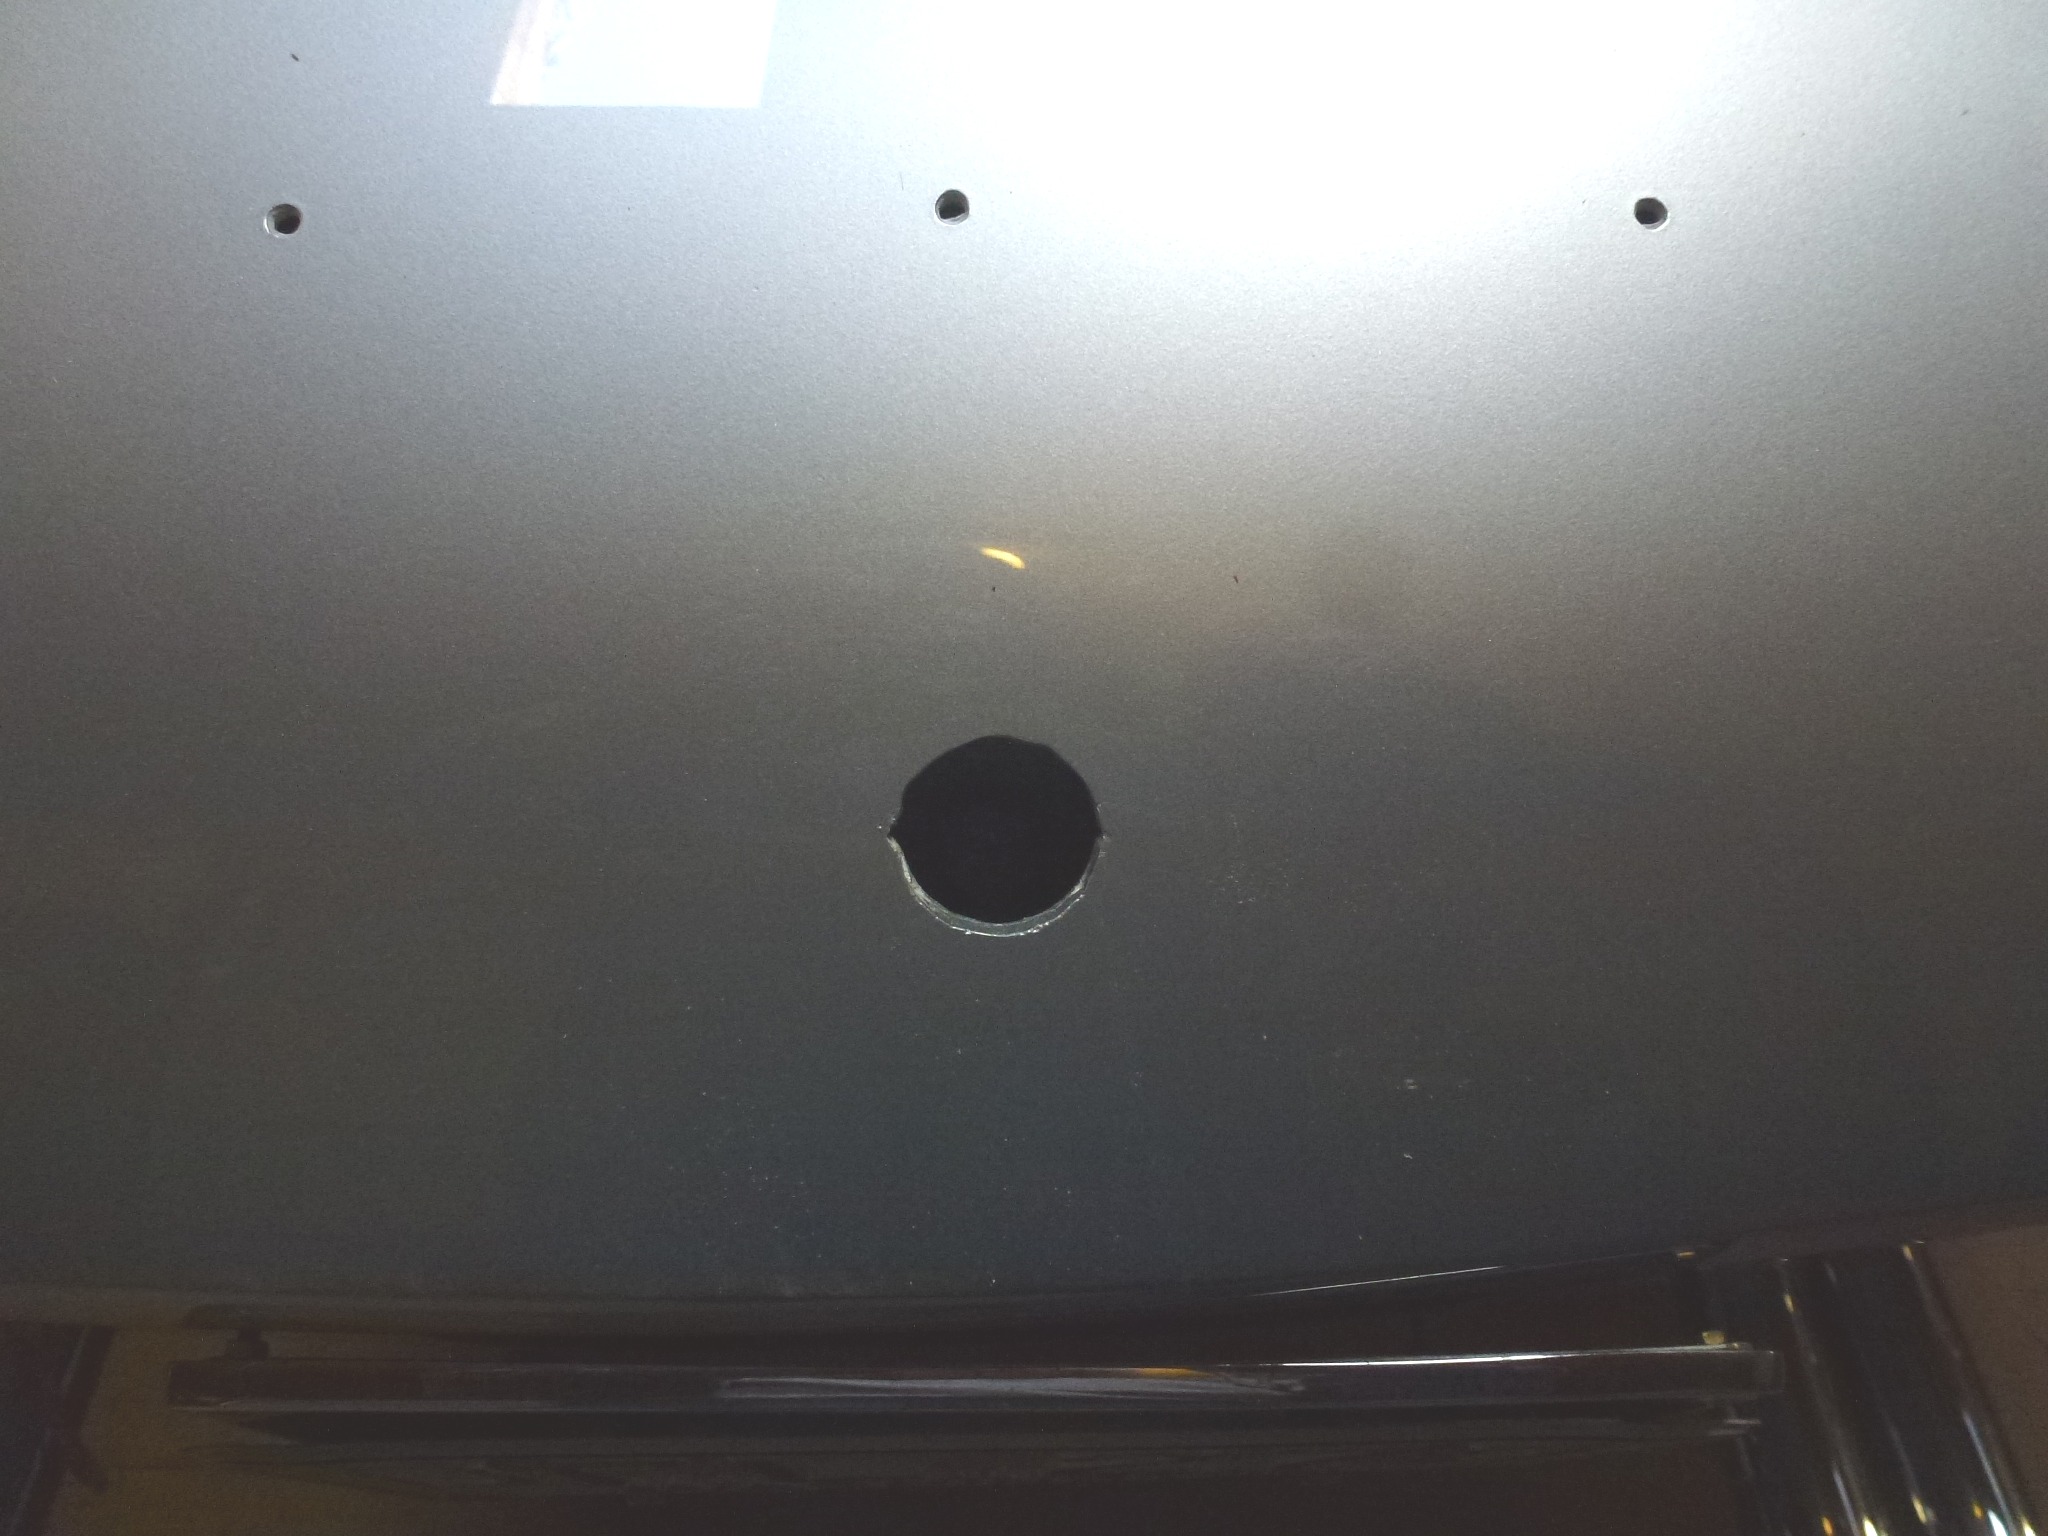
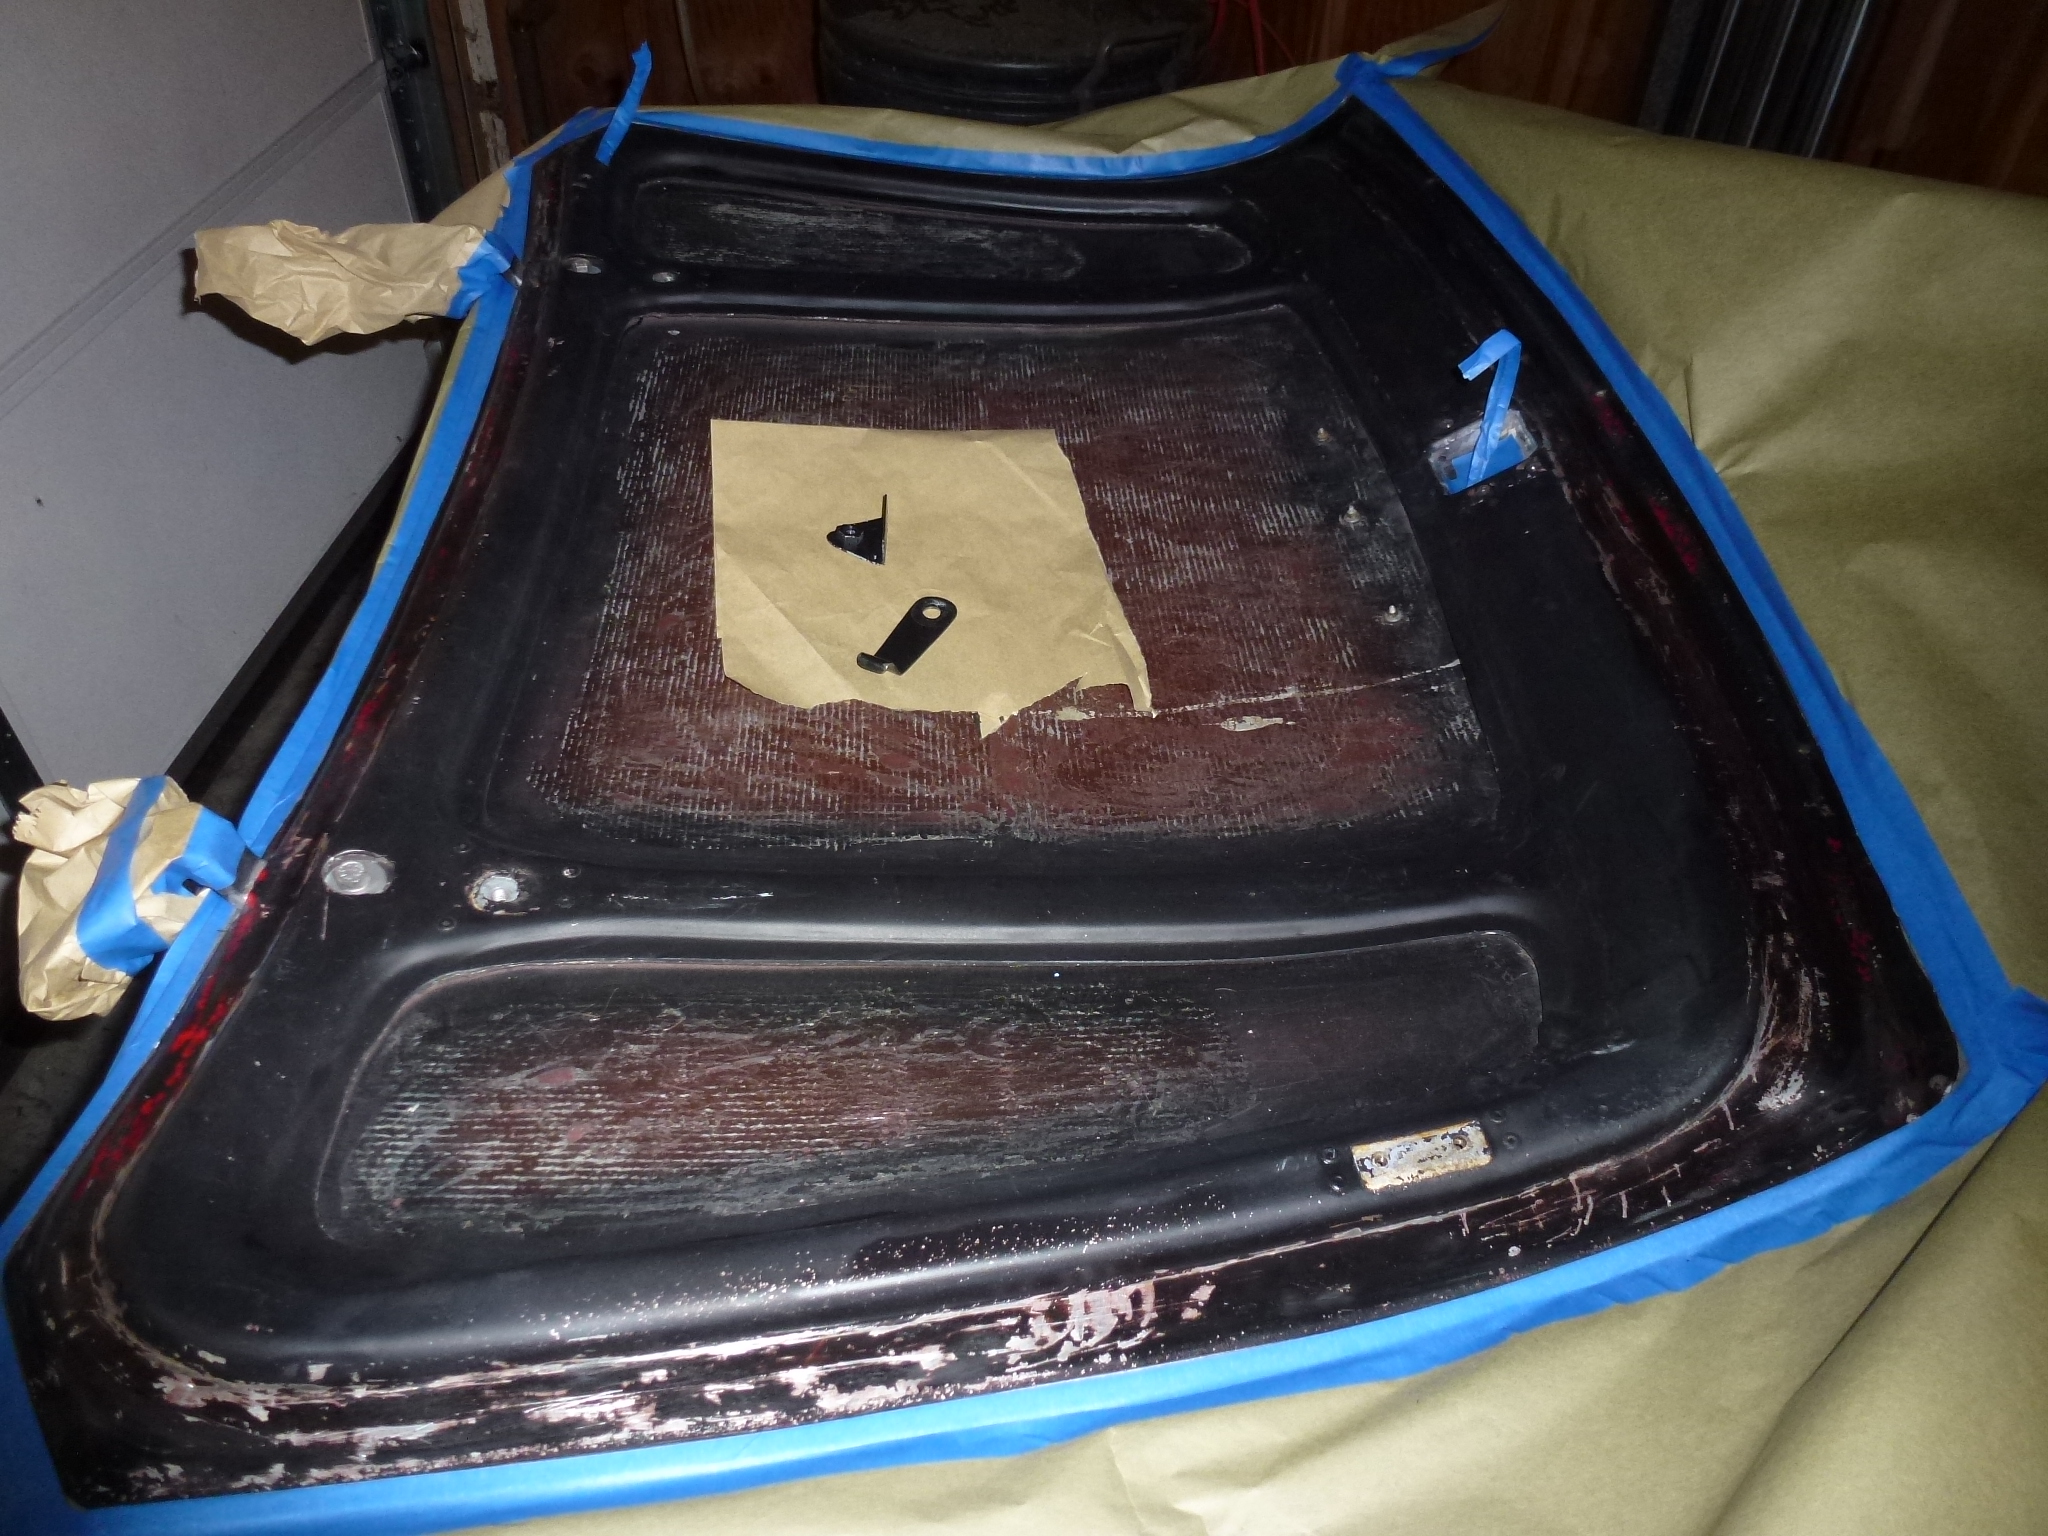
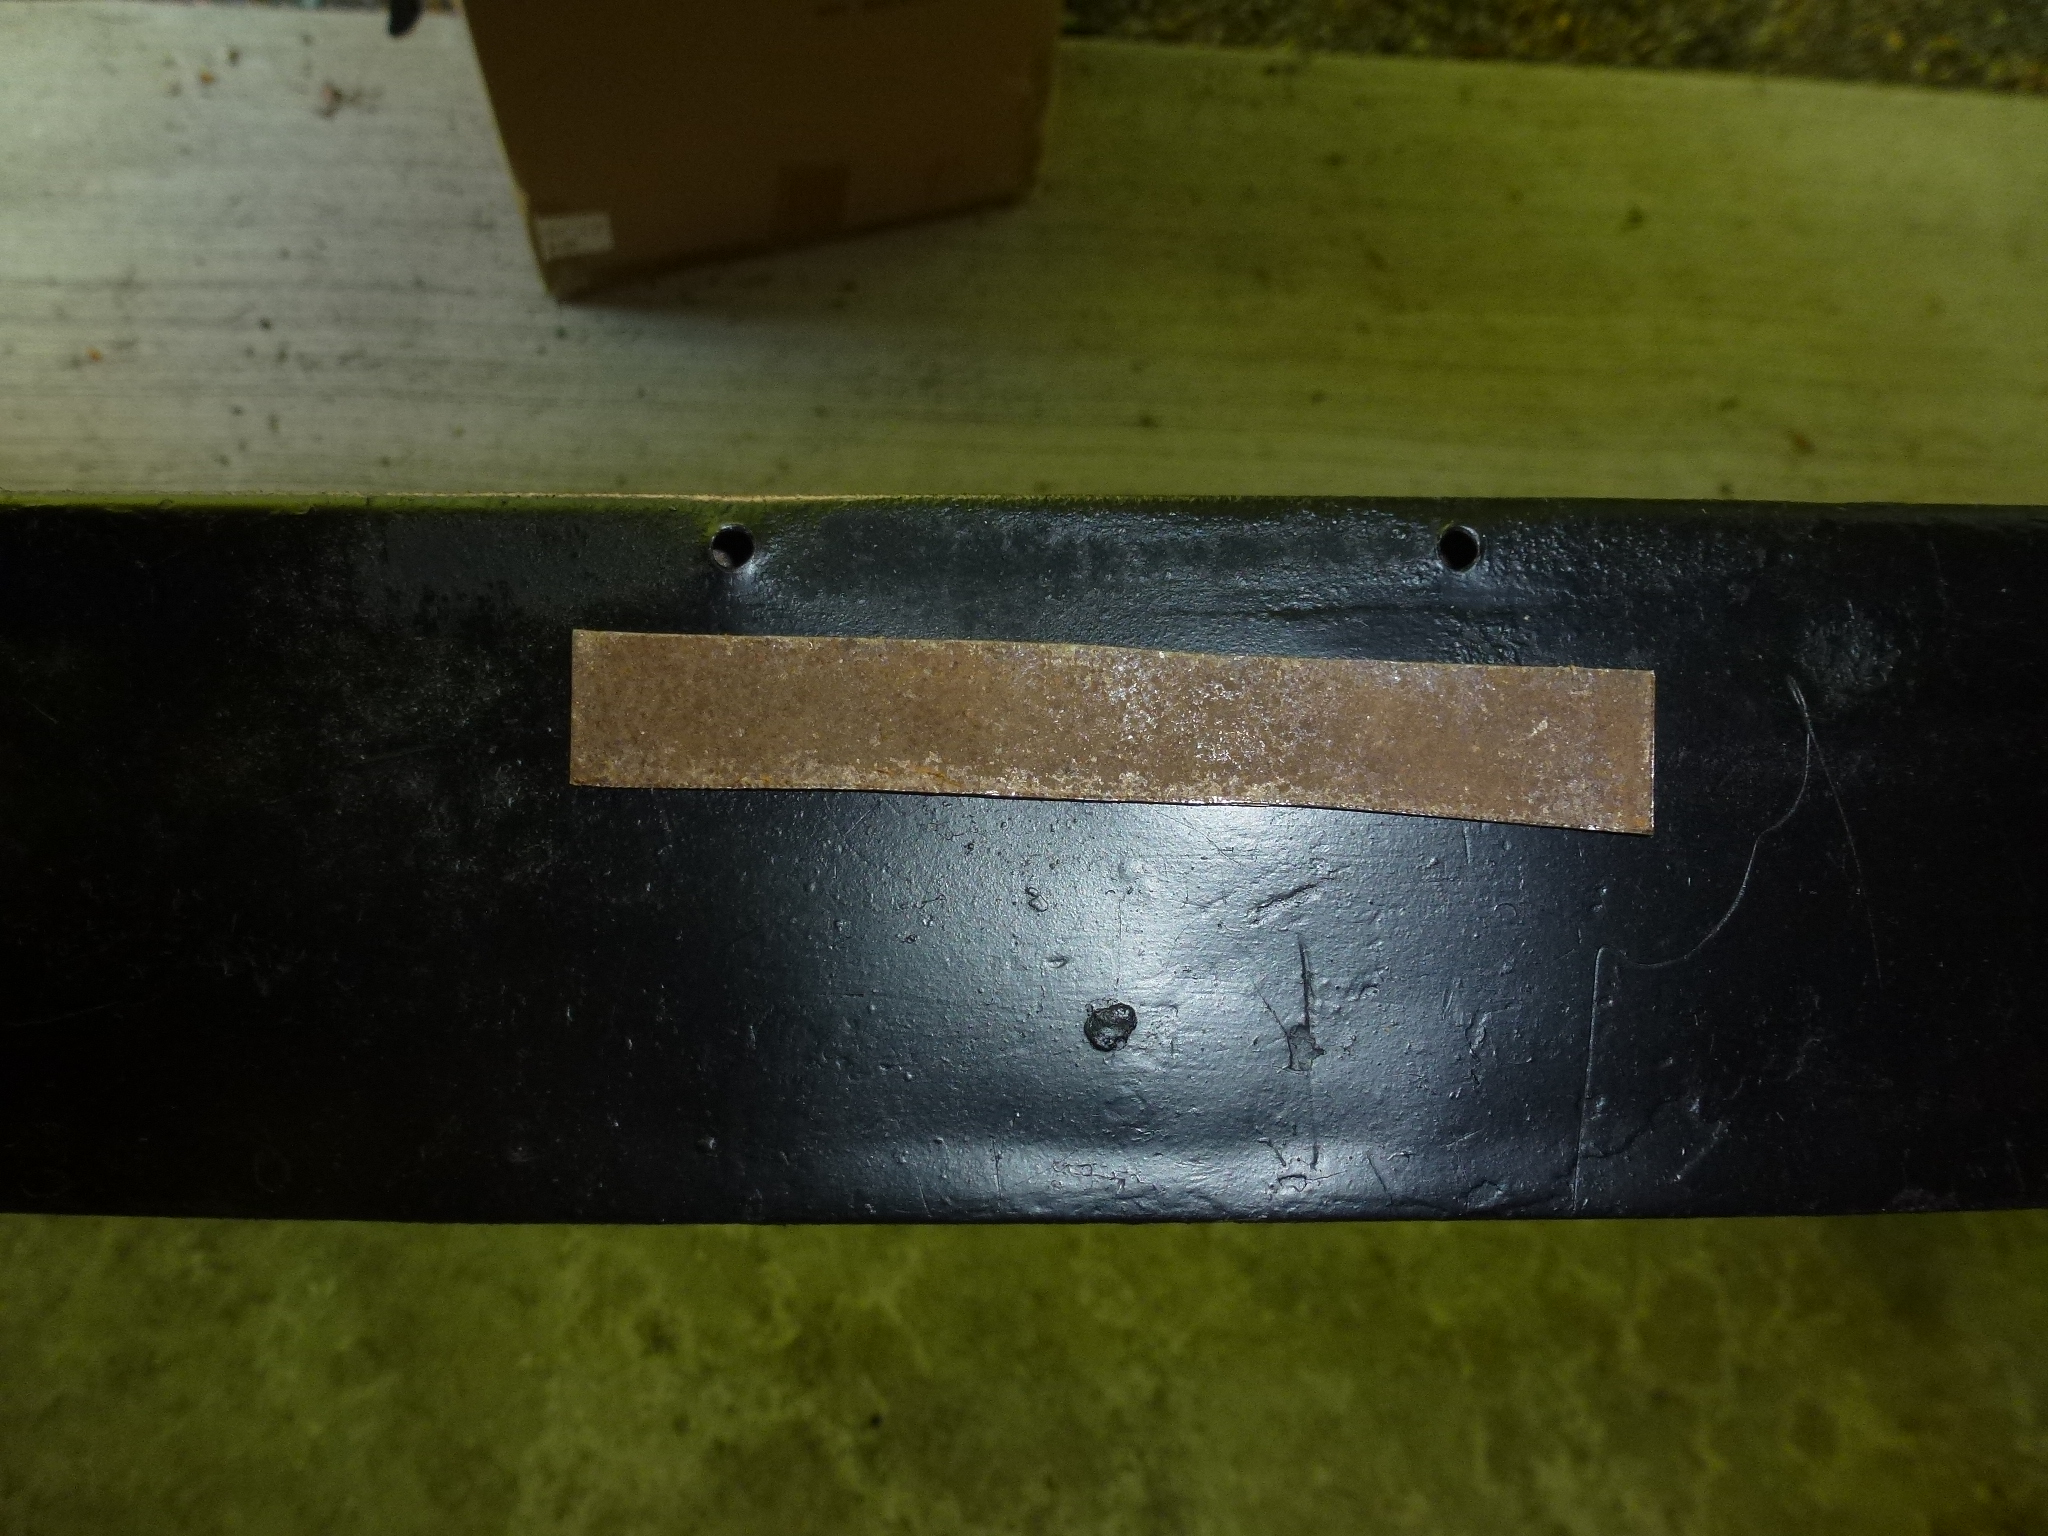
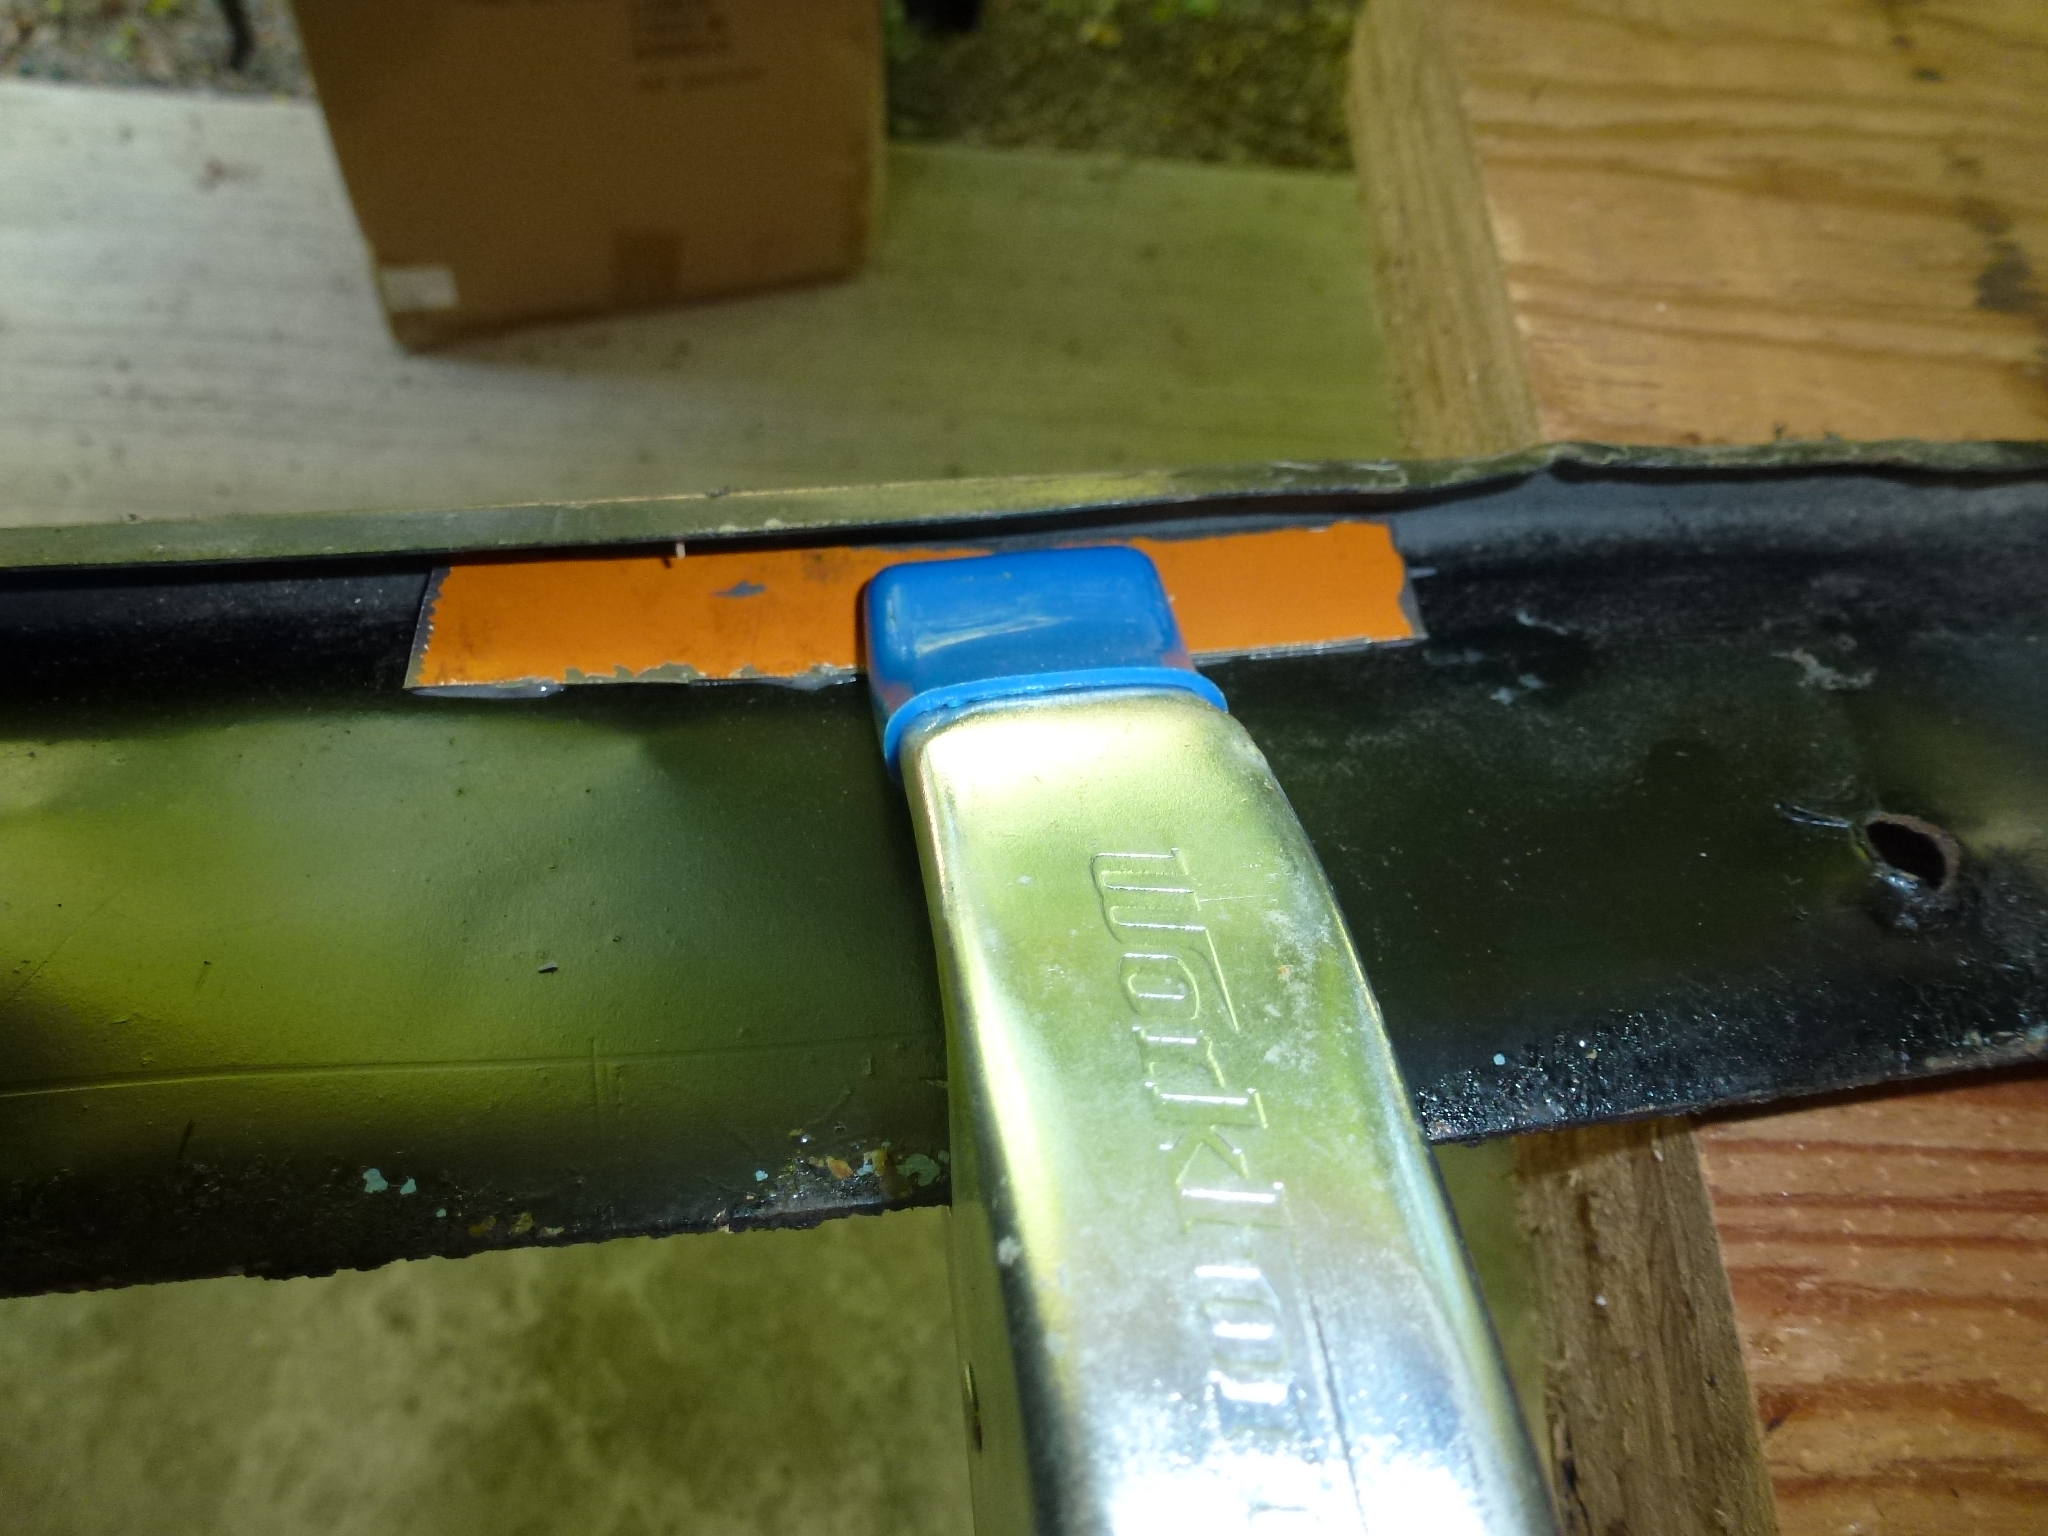
The rear reflectors were removed so I can relocate them to the proper place and have the holes welded up. The old hole locations aren't apparent, but perhaps they are under the undercoat/paint. I'll sand that area off to try and find them. If not, I'll be visiting Lowell Brown in a couple of weeks and I can measure on his car to properly place the reflectors.
Here's the rear of the car with the holes marked that need to be welded up.

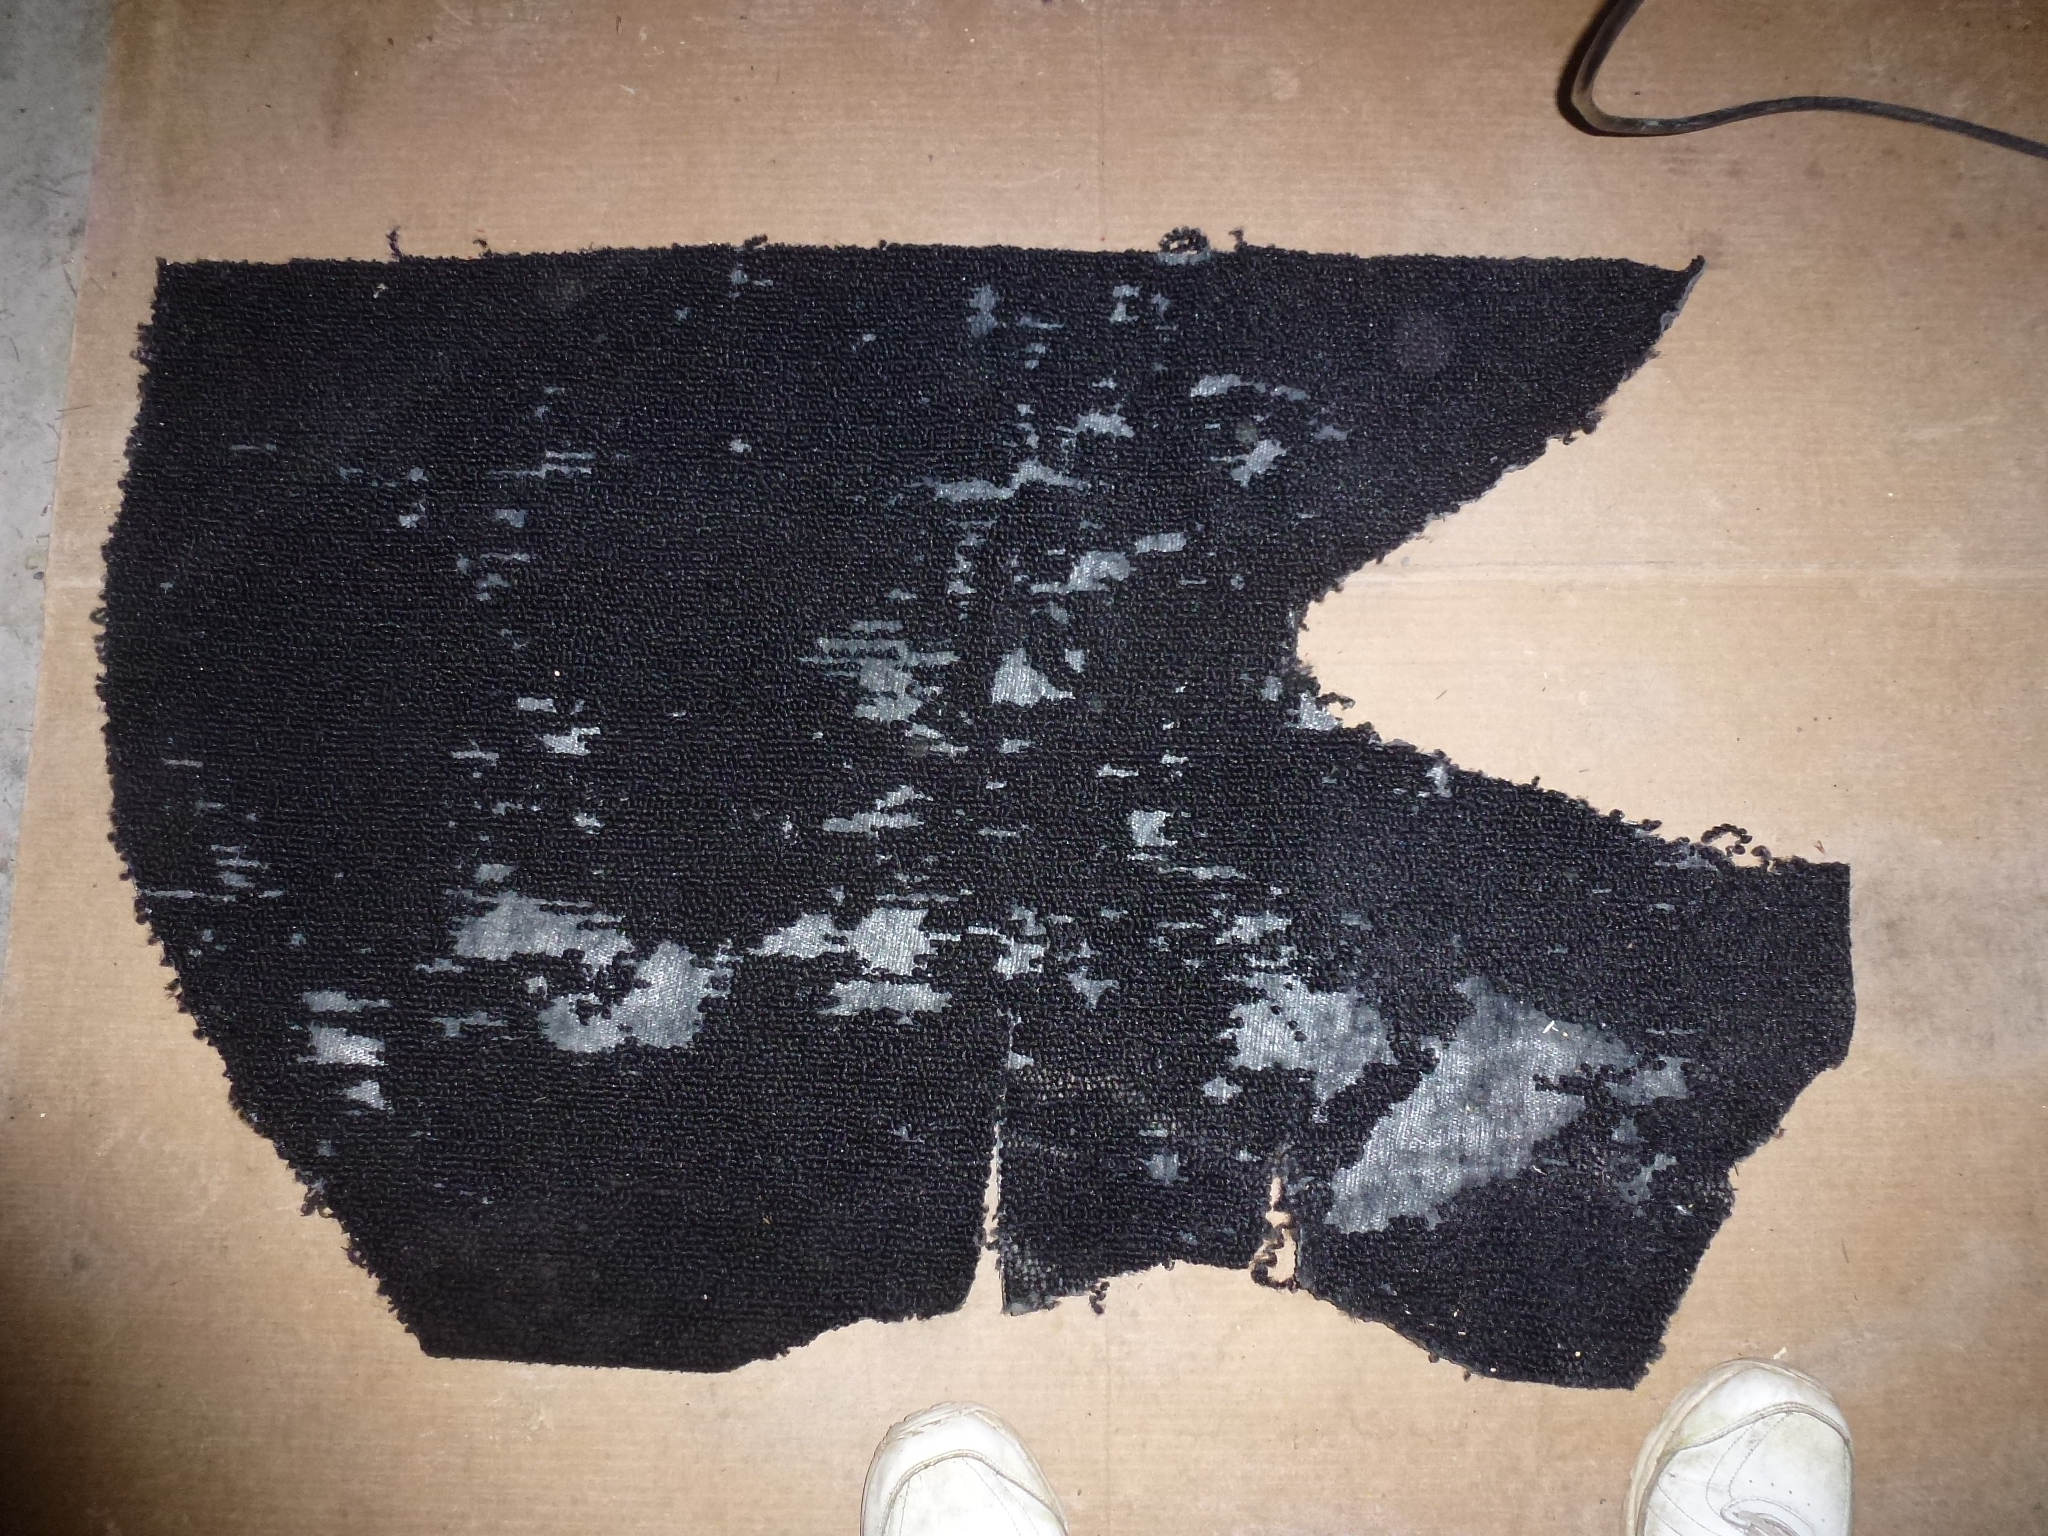
I removed all of the carpet from the trunk. This will get replaced by the correct type. The carpet that was in there has a rubber backing that liked the contact cement I used better than the carpet itself. So as I pulled it off, some areas ended up in shreds. By using a razor blade scraper, hot air gun and brute force it all came off.
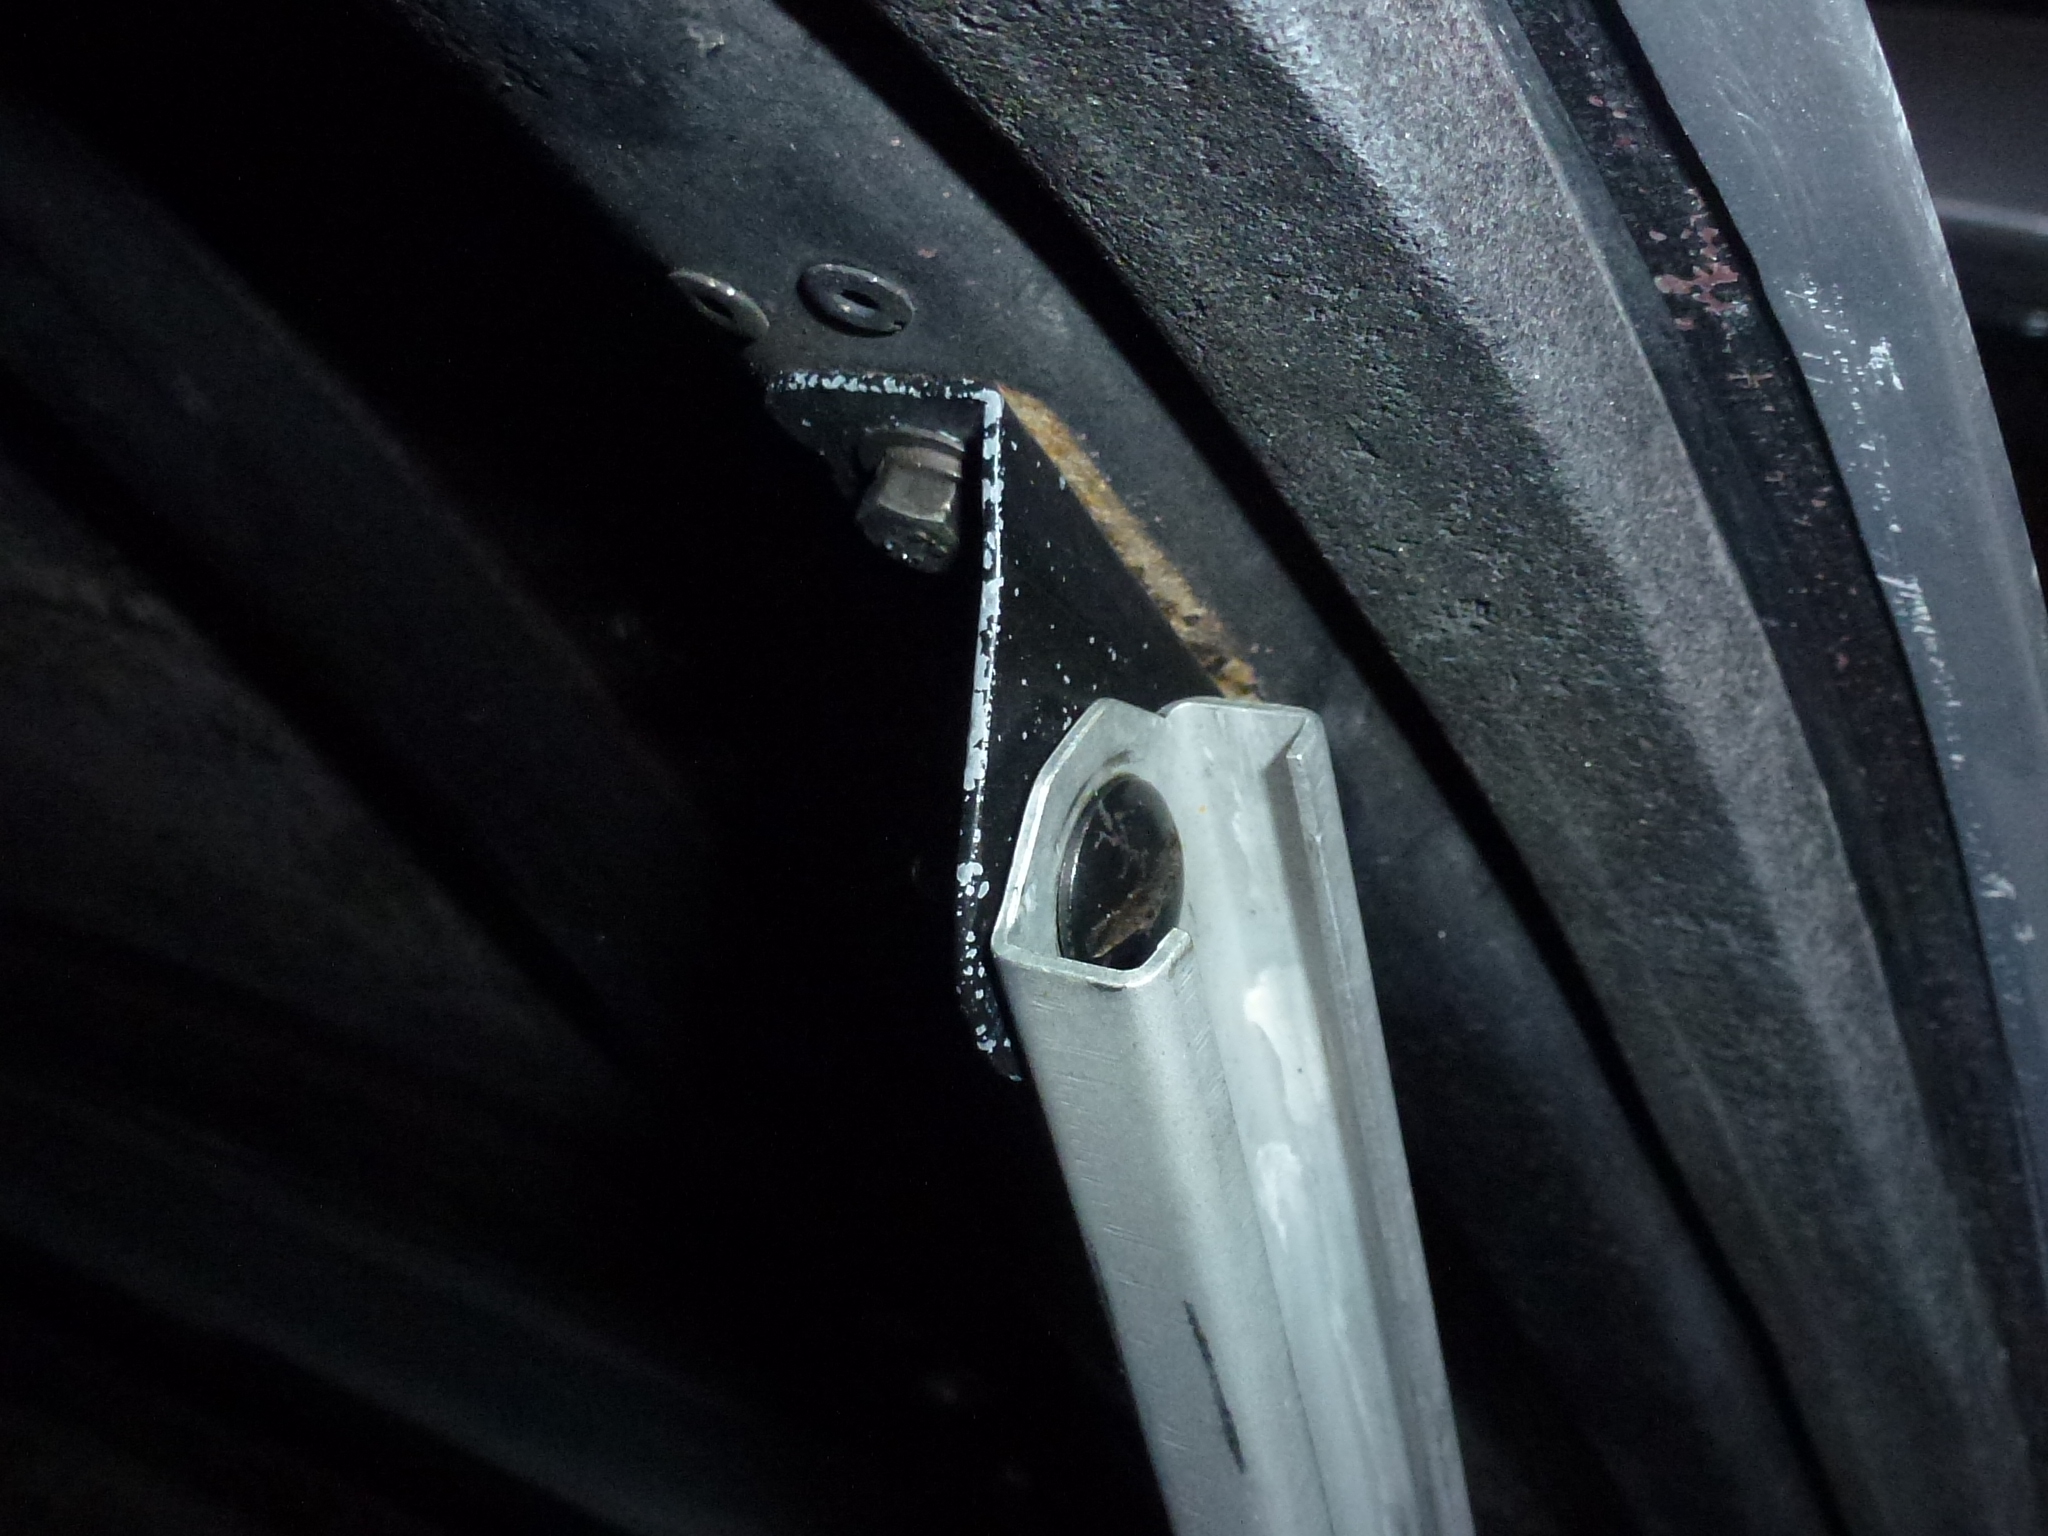
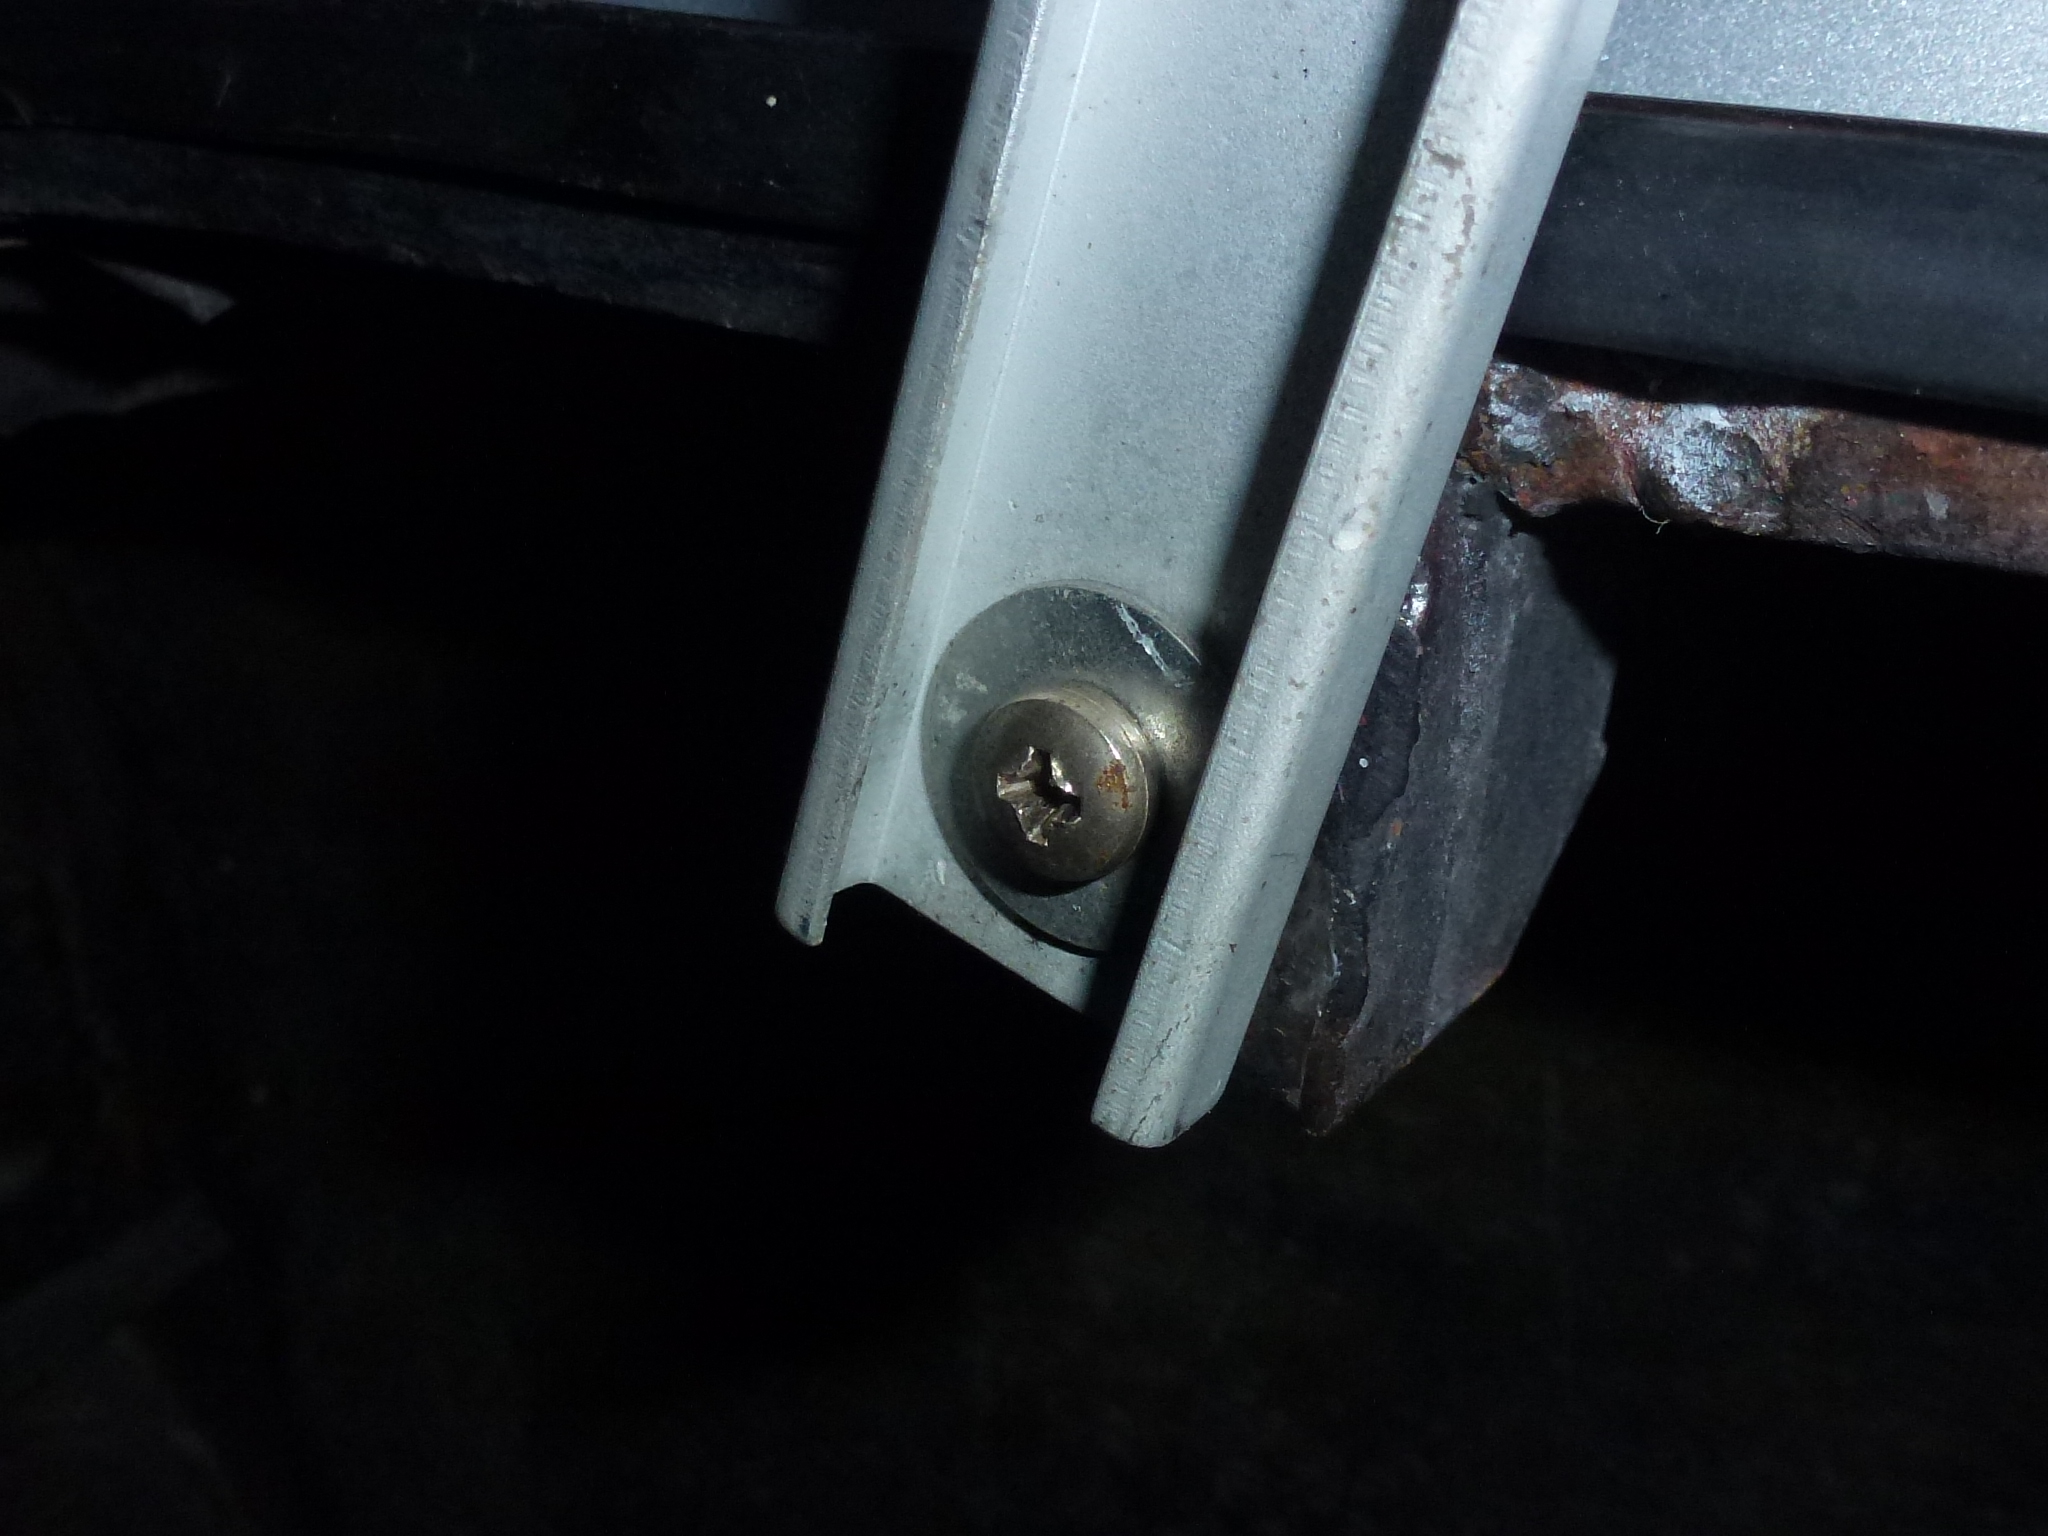
I started with the trunk stay so I wouldn't need to use my bamboo strut. I realized that I only have one of the original screws which are a special slotted low profile large head screw with a shoulder that allows the strut to rotate on the screw when the screw is tight. Of course, these aren't available, so I'll look around for a large cheese or pan head screw that I can grind to a low profile and epoxy a thick washer onto it to act as a shoulder. I did find some screws that would work.
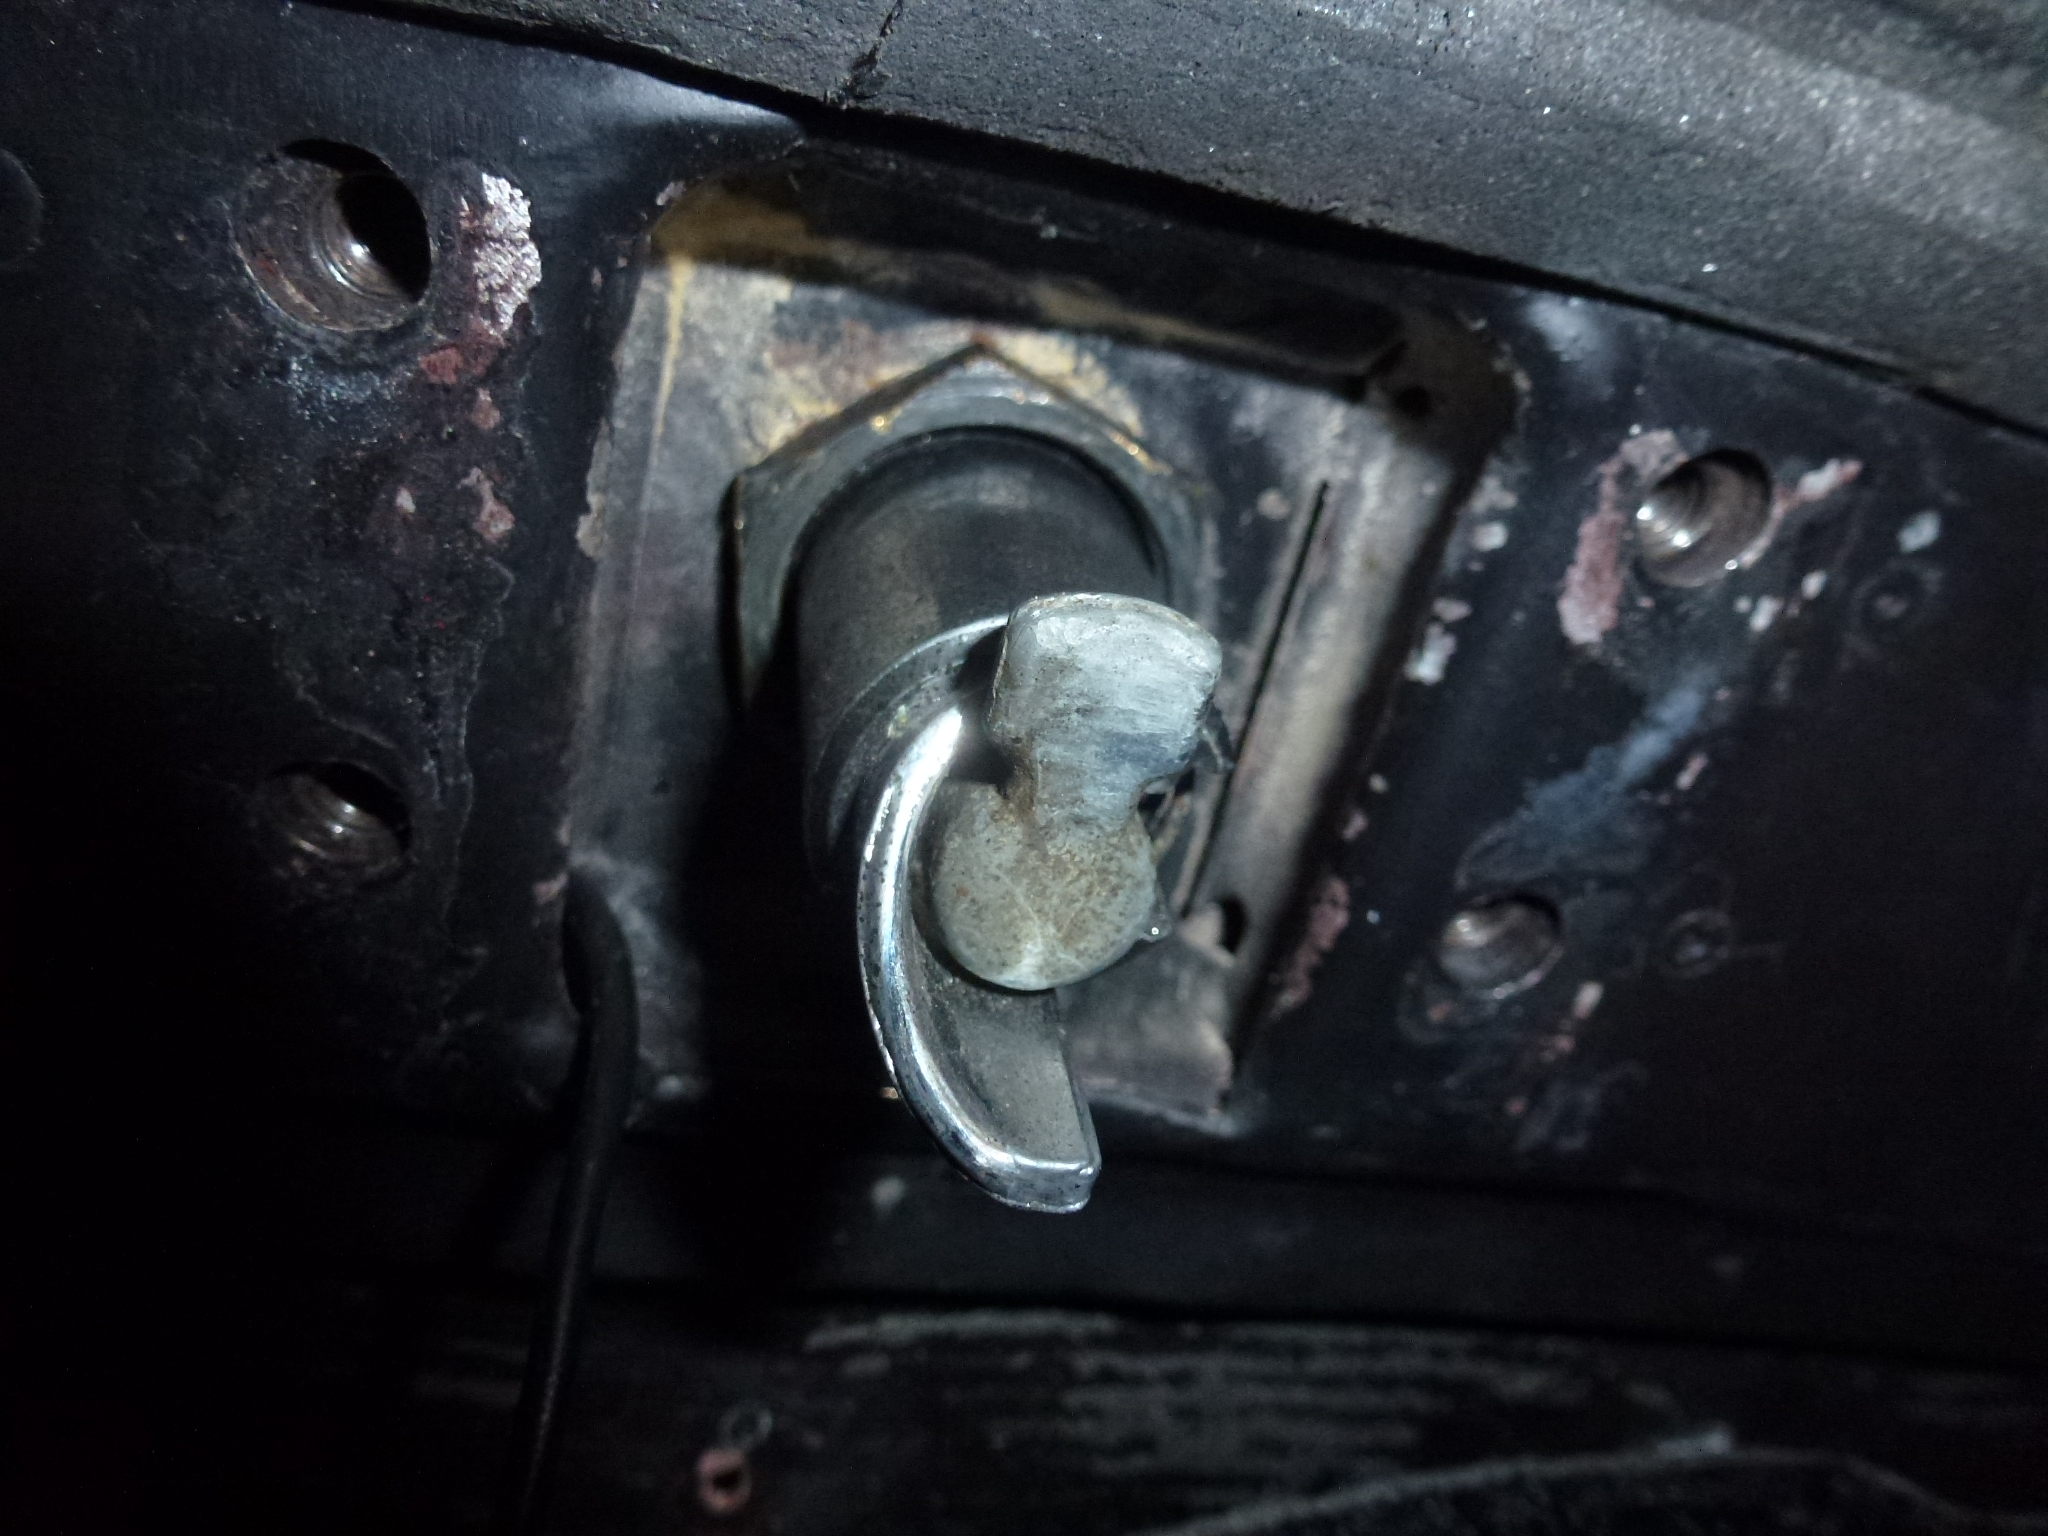
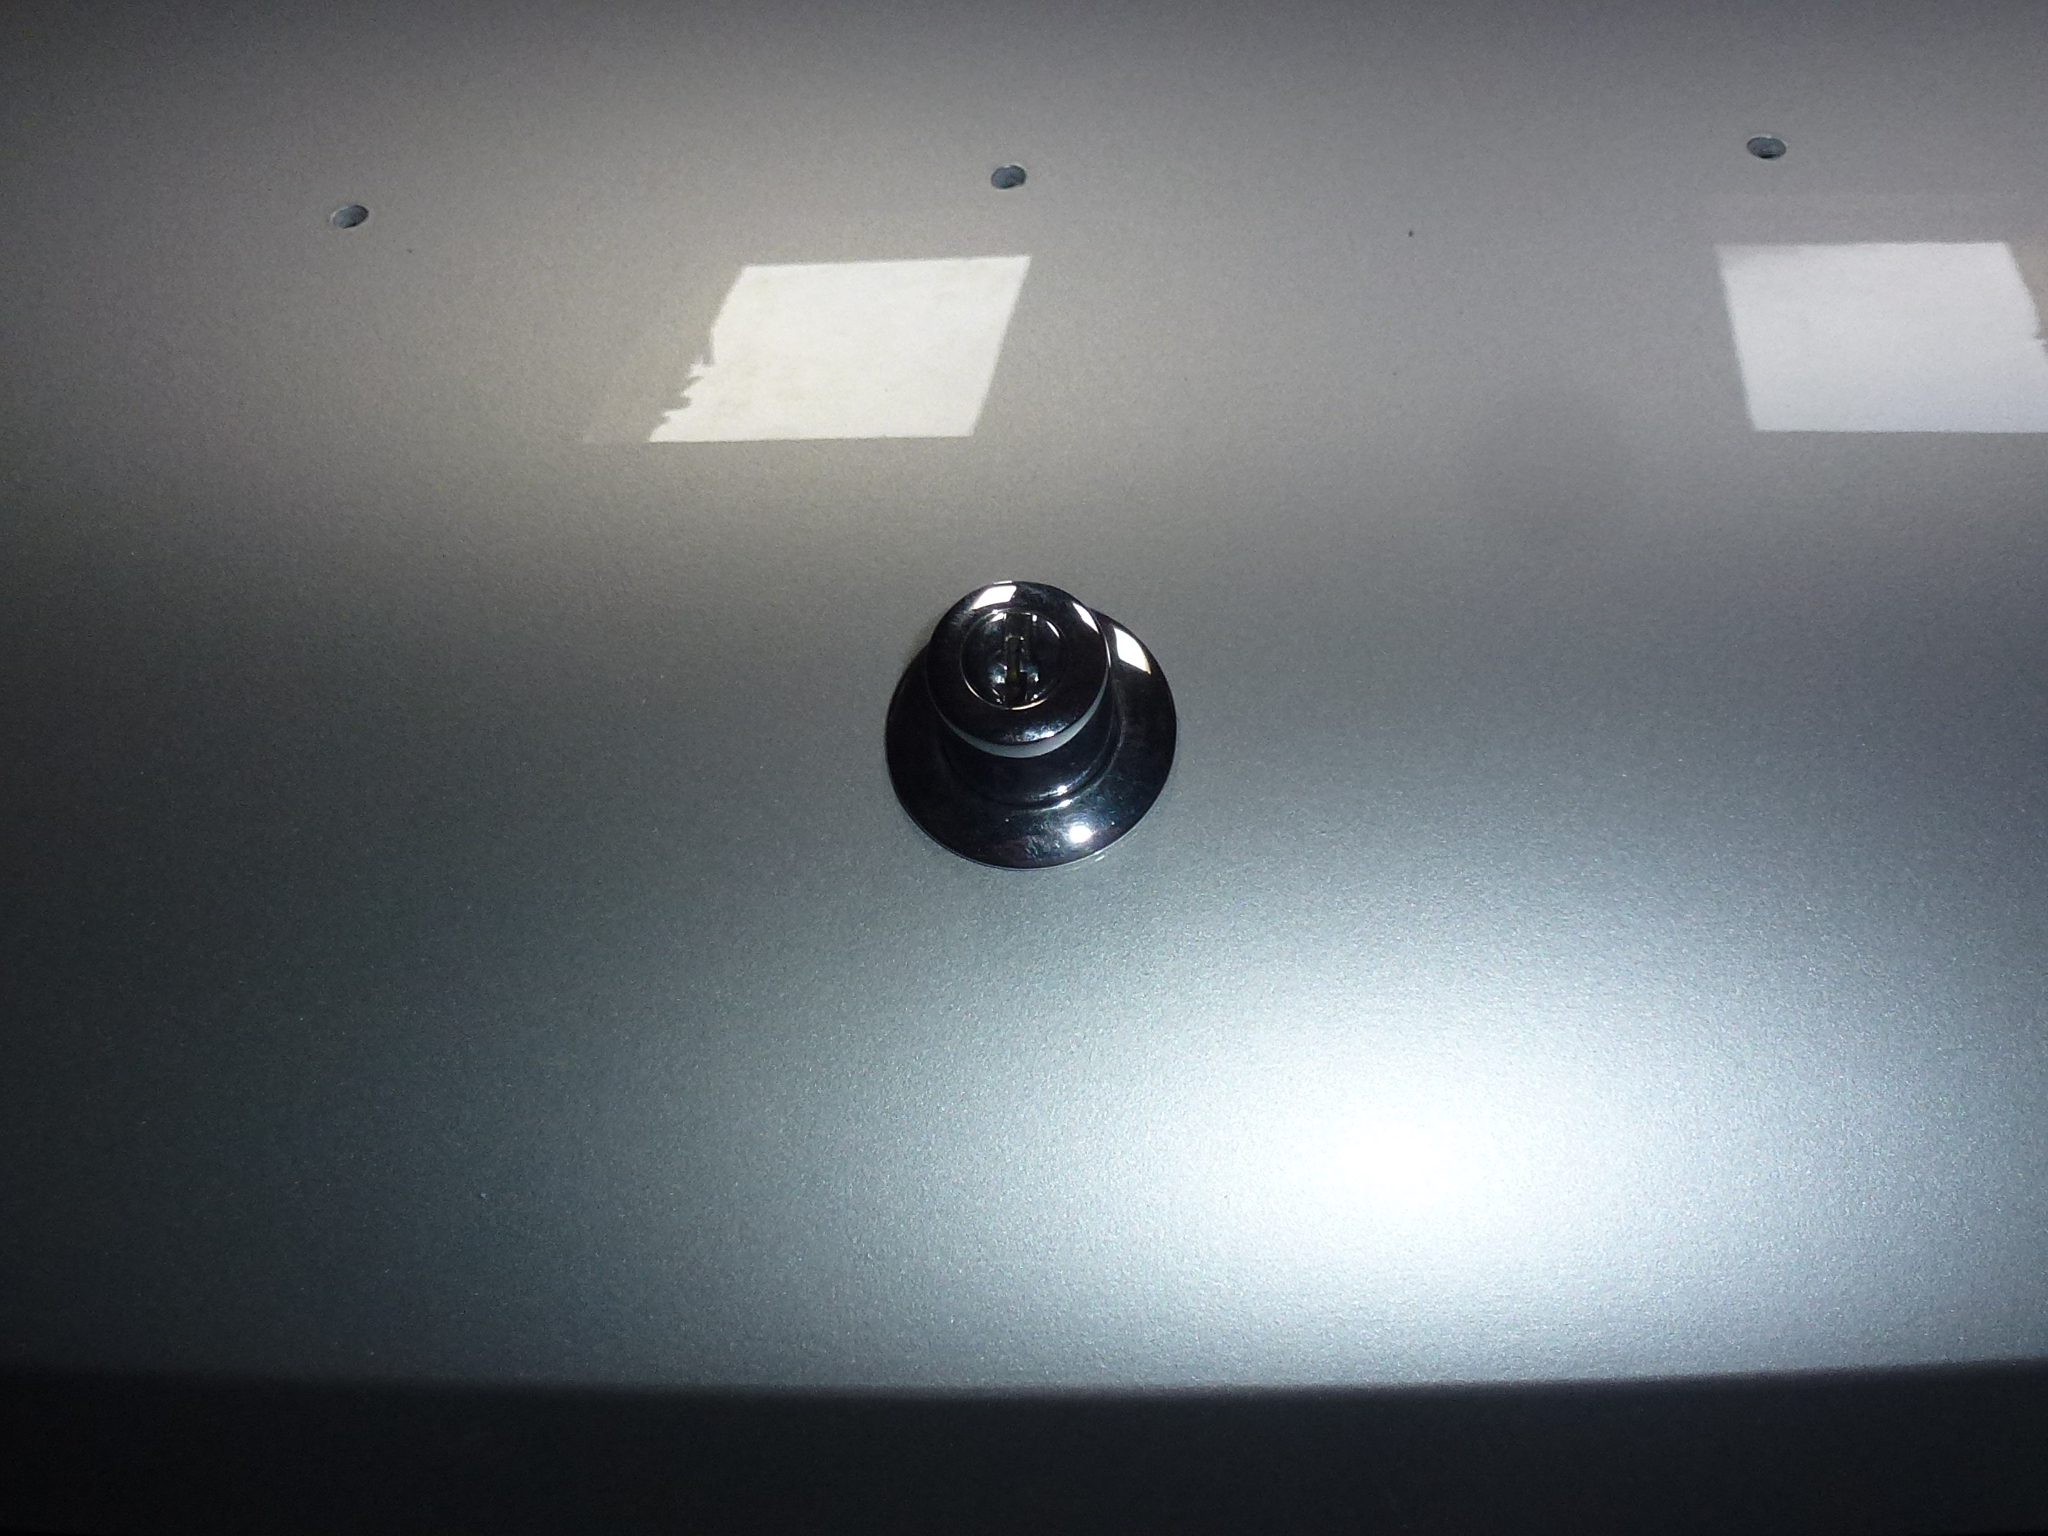
Next I went to put on the trunk lock. In general, the auto body guy was quite good about keeping holes open. Usually, one has to go looking for the holes for the emblems, etc. and then drilling them out to remove the paint and filler. In the case of the trunk lock, there are two locating notches which had gotten partially filled in. I used a small cutting bit in the Dremel and then a square file to re-establish the notches.
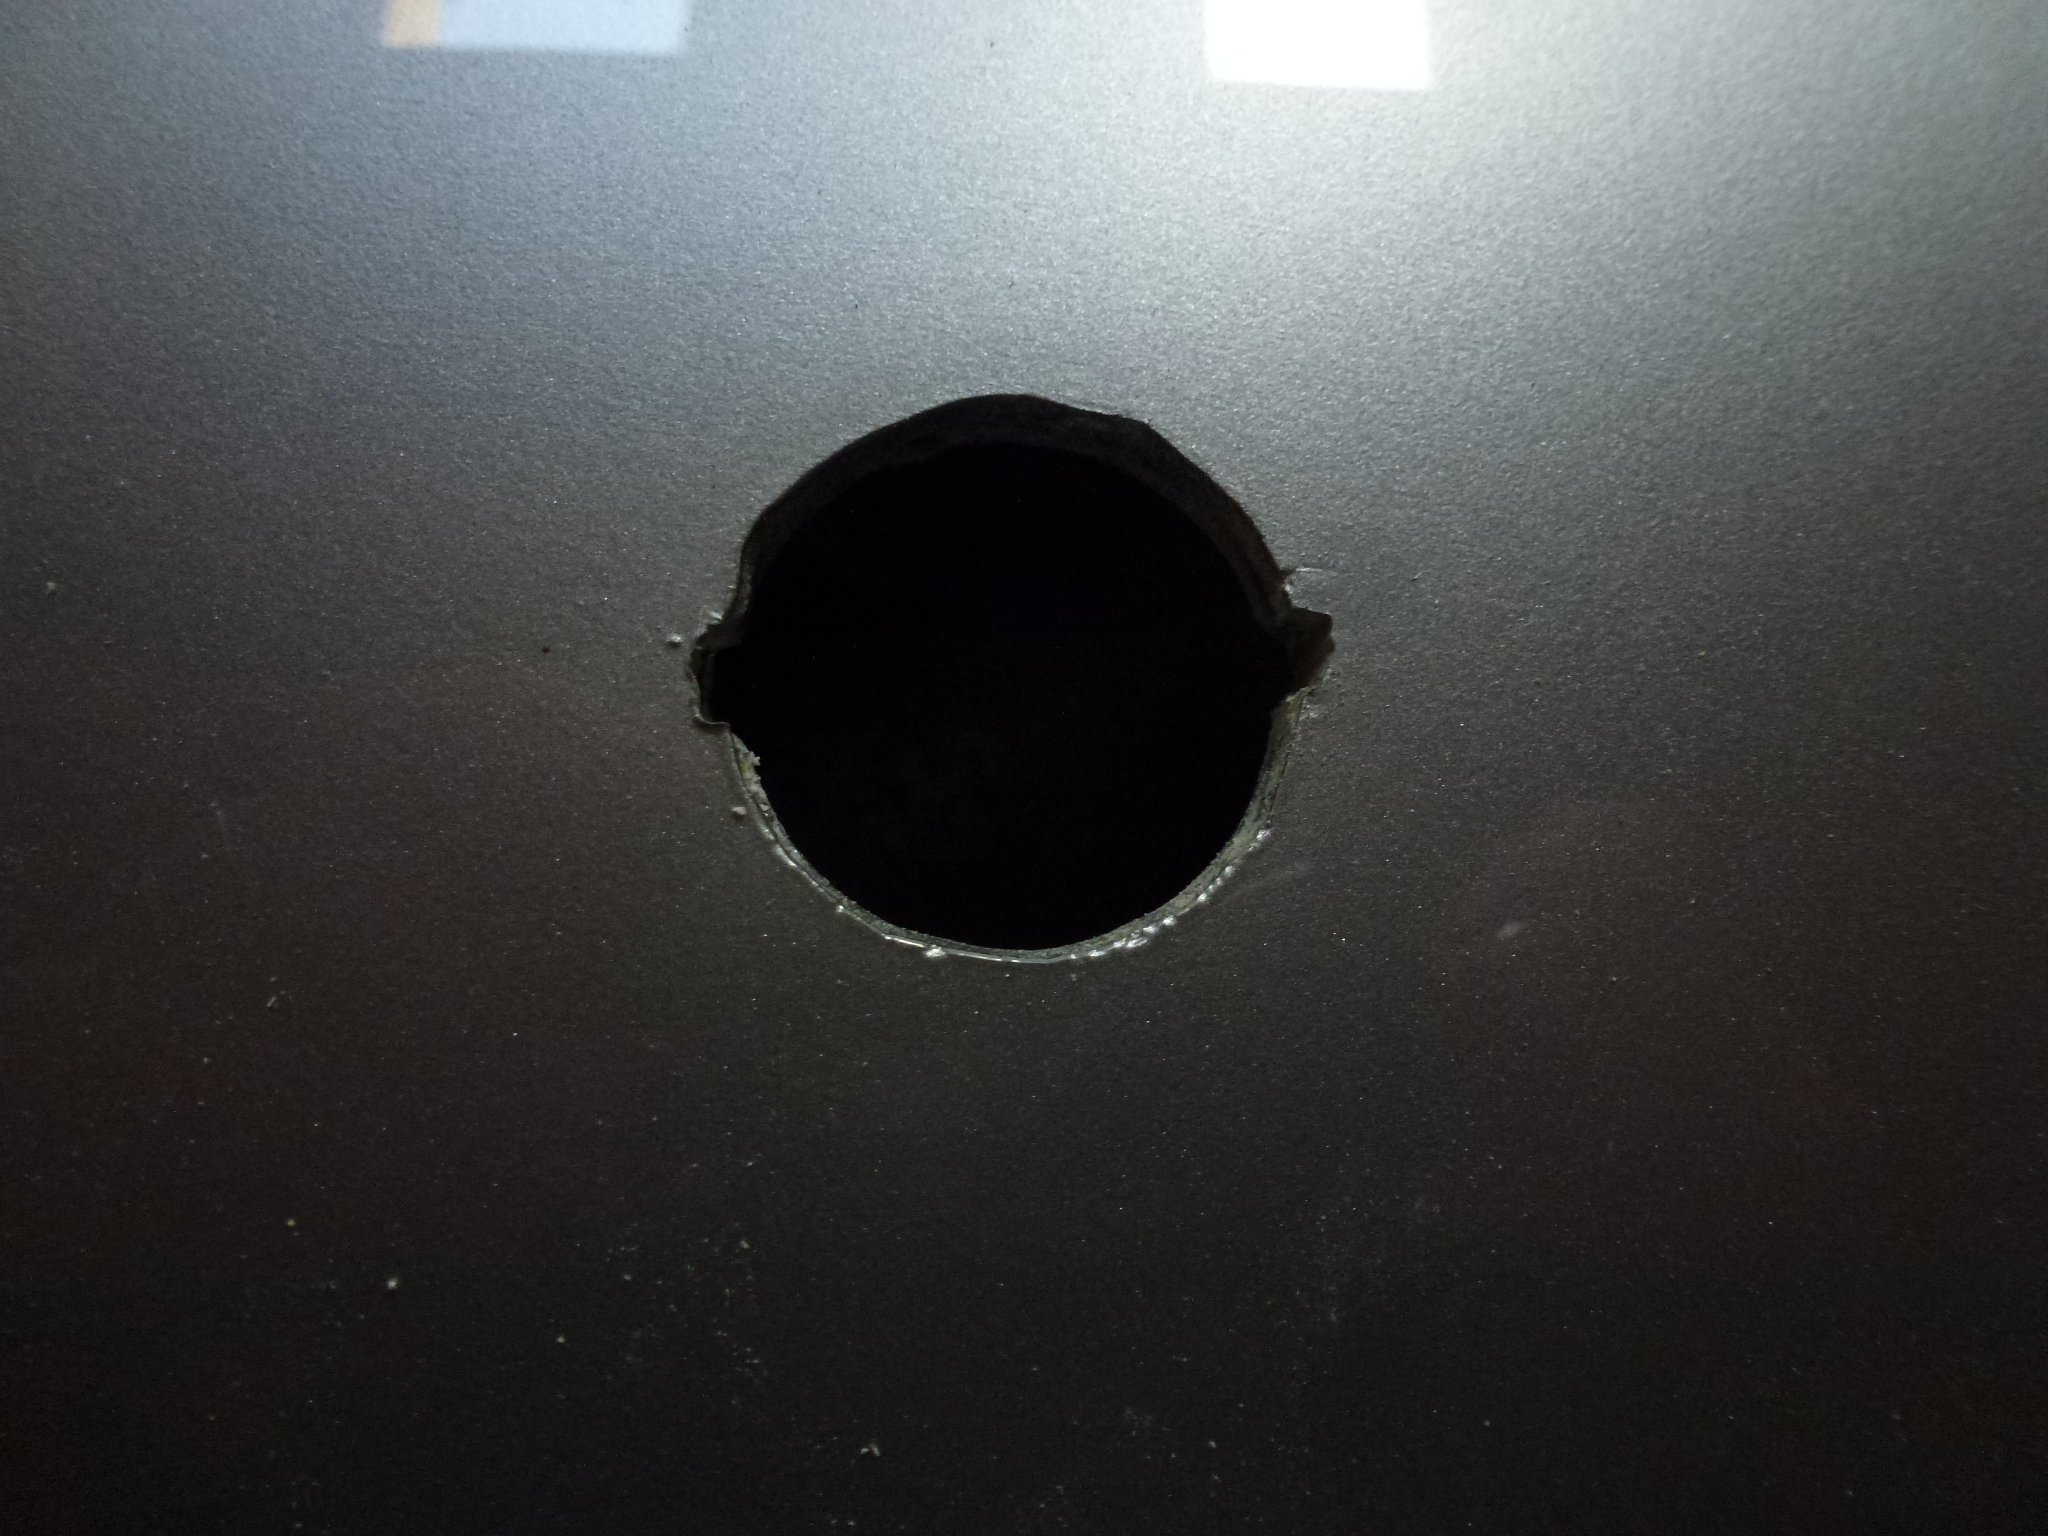
Once that was done, I went to install the lock but I couldn't get the nut to start on the threads. Evidently, the total thickness (filler and paint) was enough thicker now, so the lock with rubber pad wouldn't stick through enough. I temporarily didn't use the rubber pad, but will have to cut a new one from thinner material.
One of the things I need to replace is the trunk carpet. First, it was not like the original square weave jute back style and second, it all came apart when I removed it.
I re-installed the radio antenna in the new location.
I had misplaced the base to the trunk light, but found it when I was working on the radio antenna, so I was able to install and get the light working.
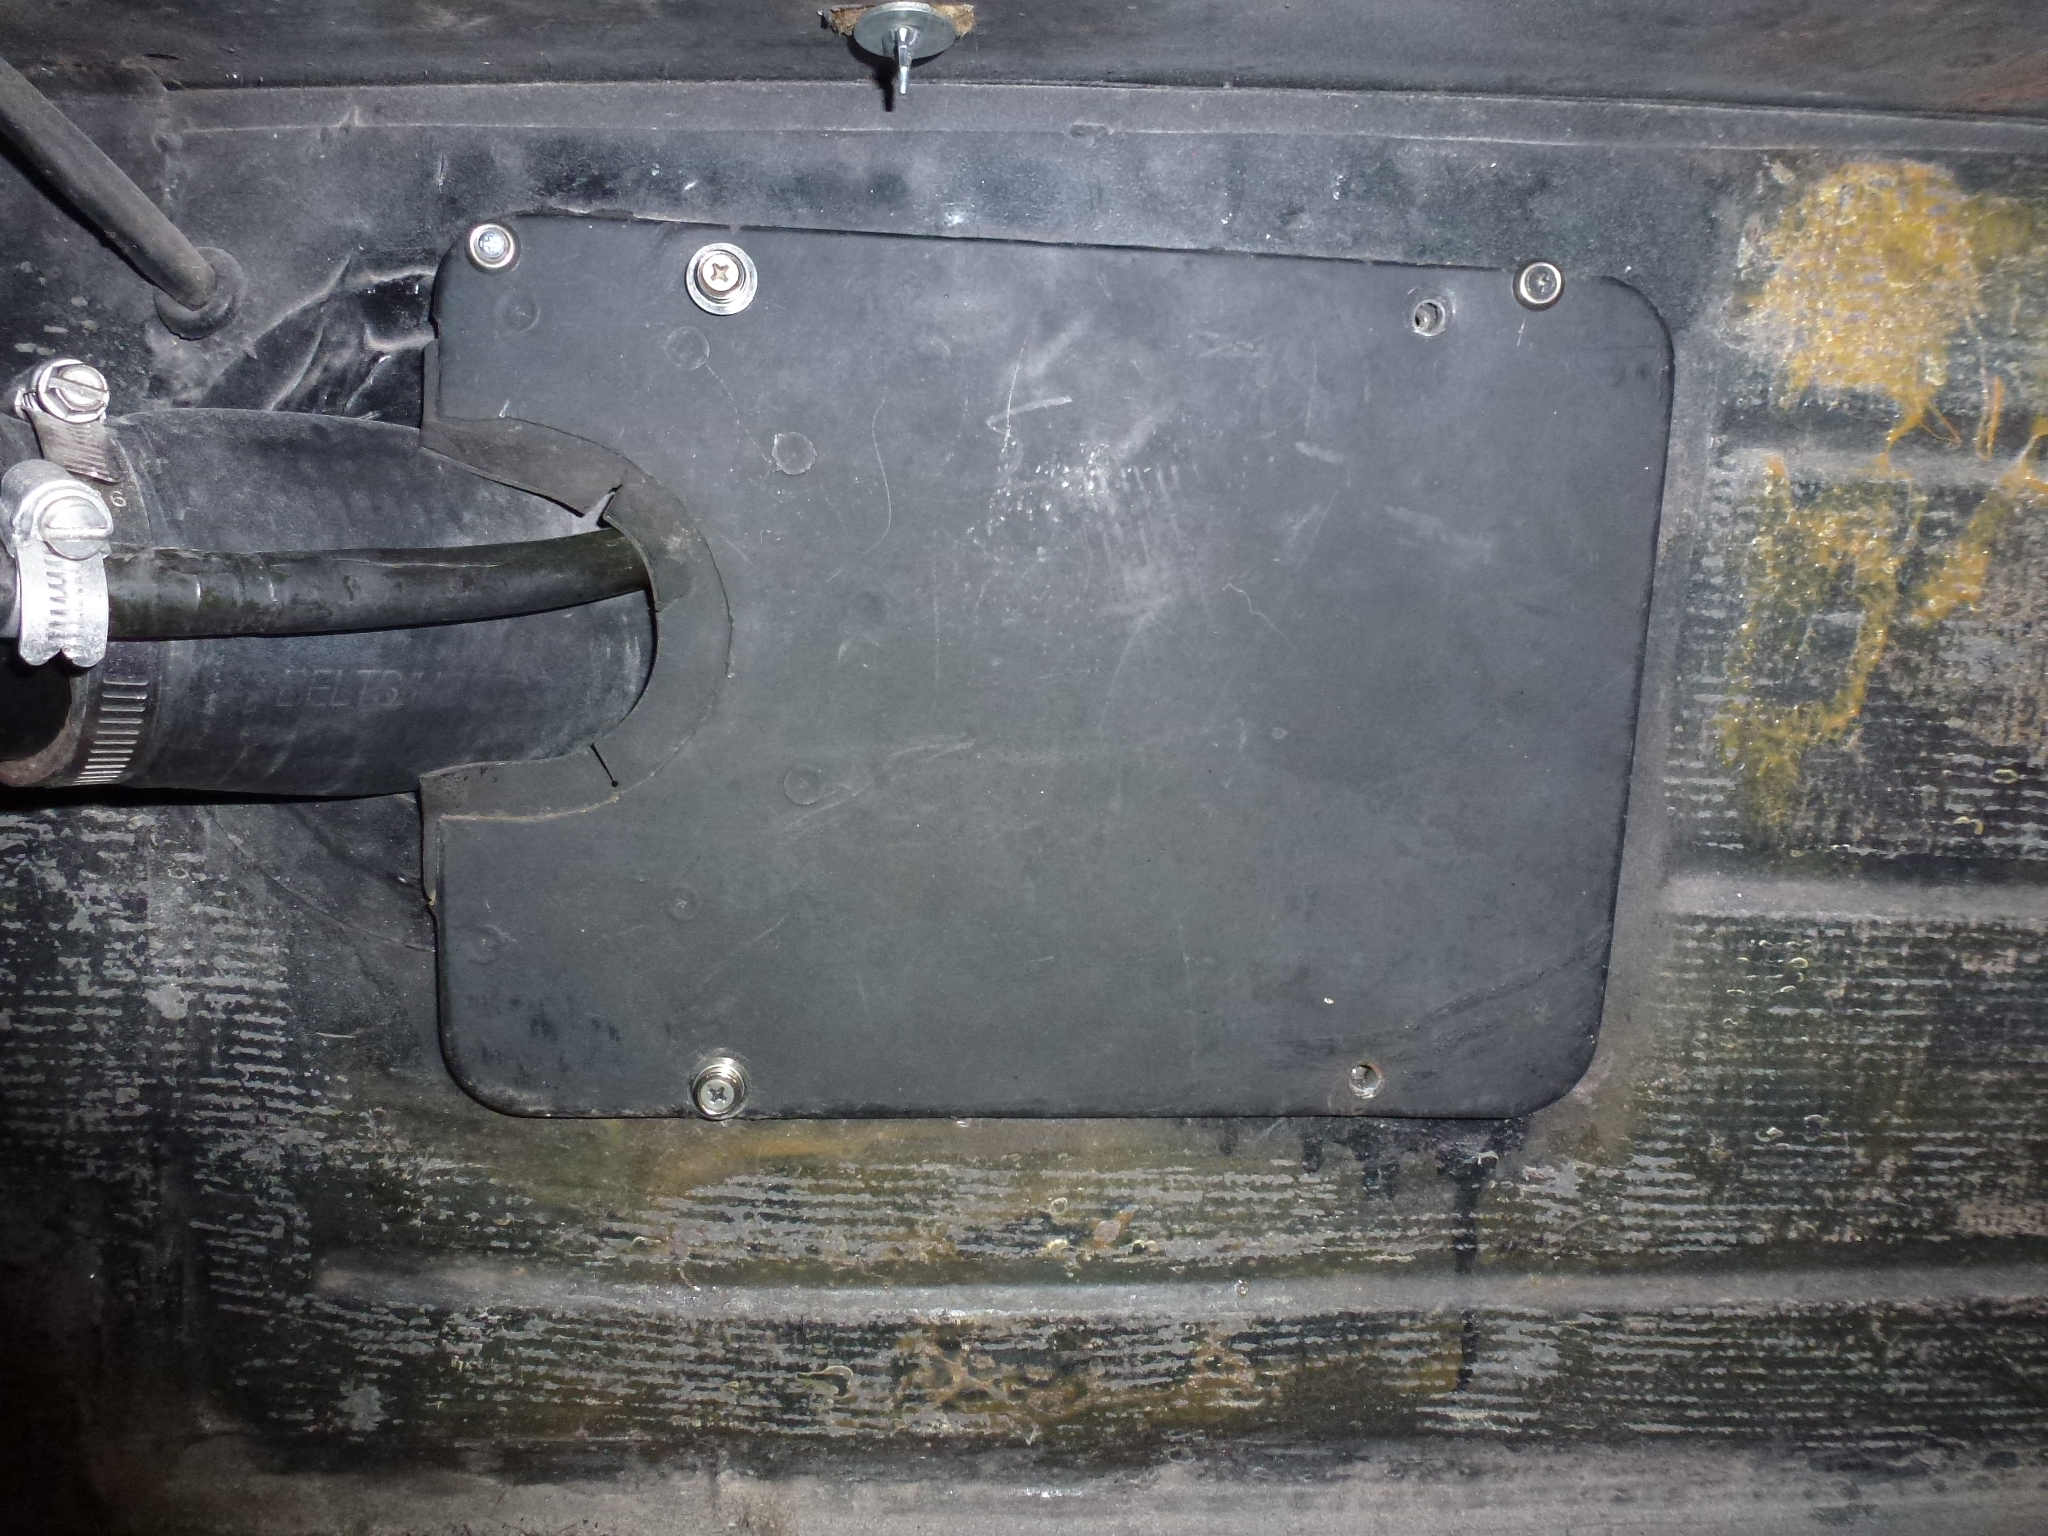
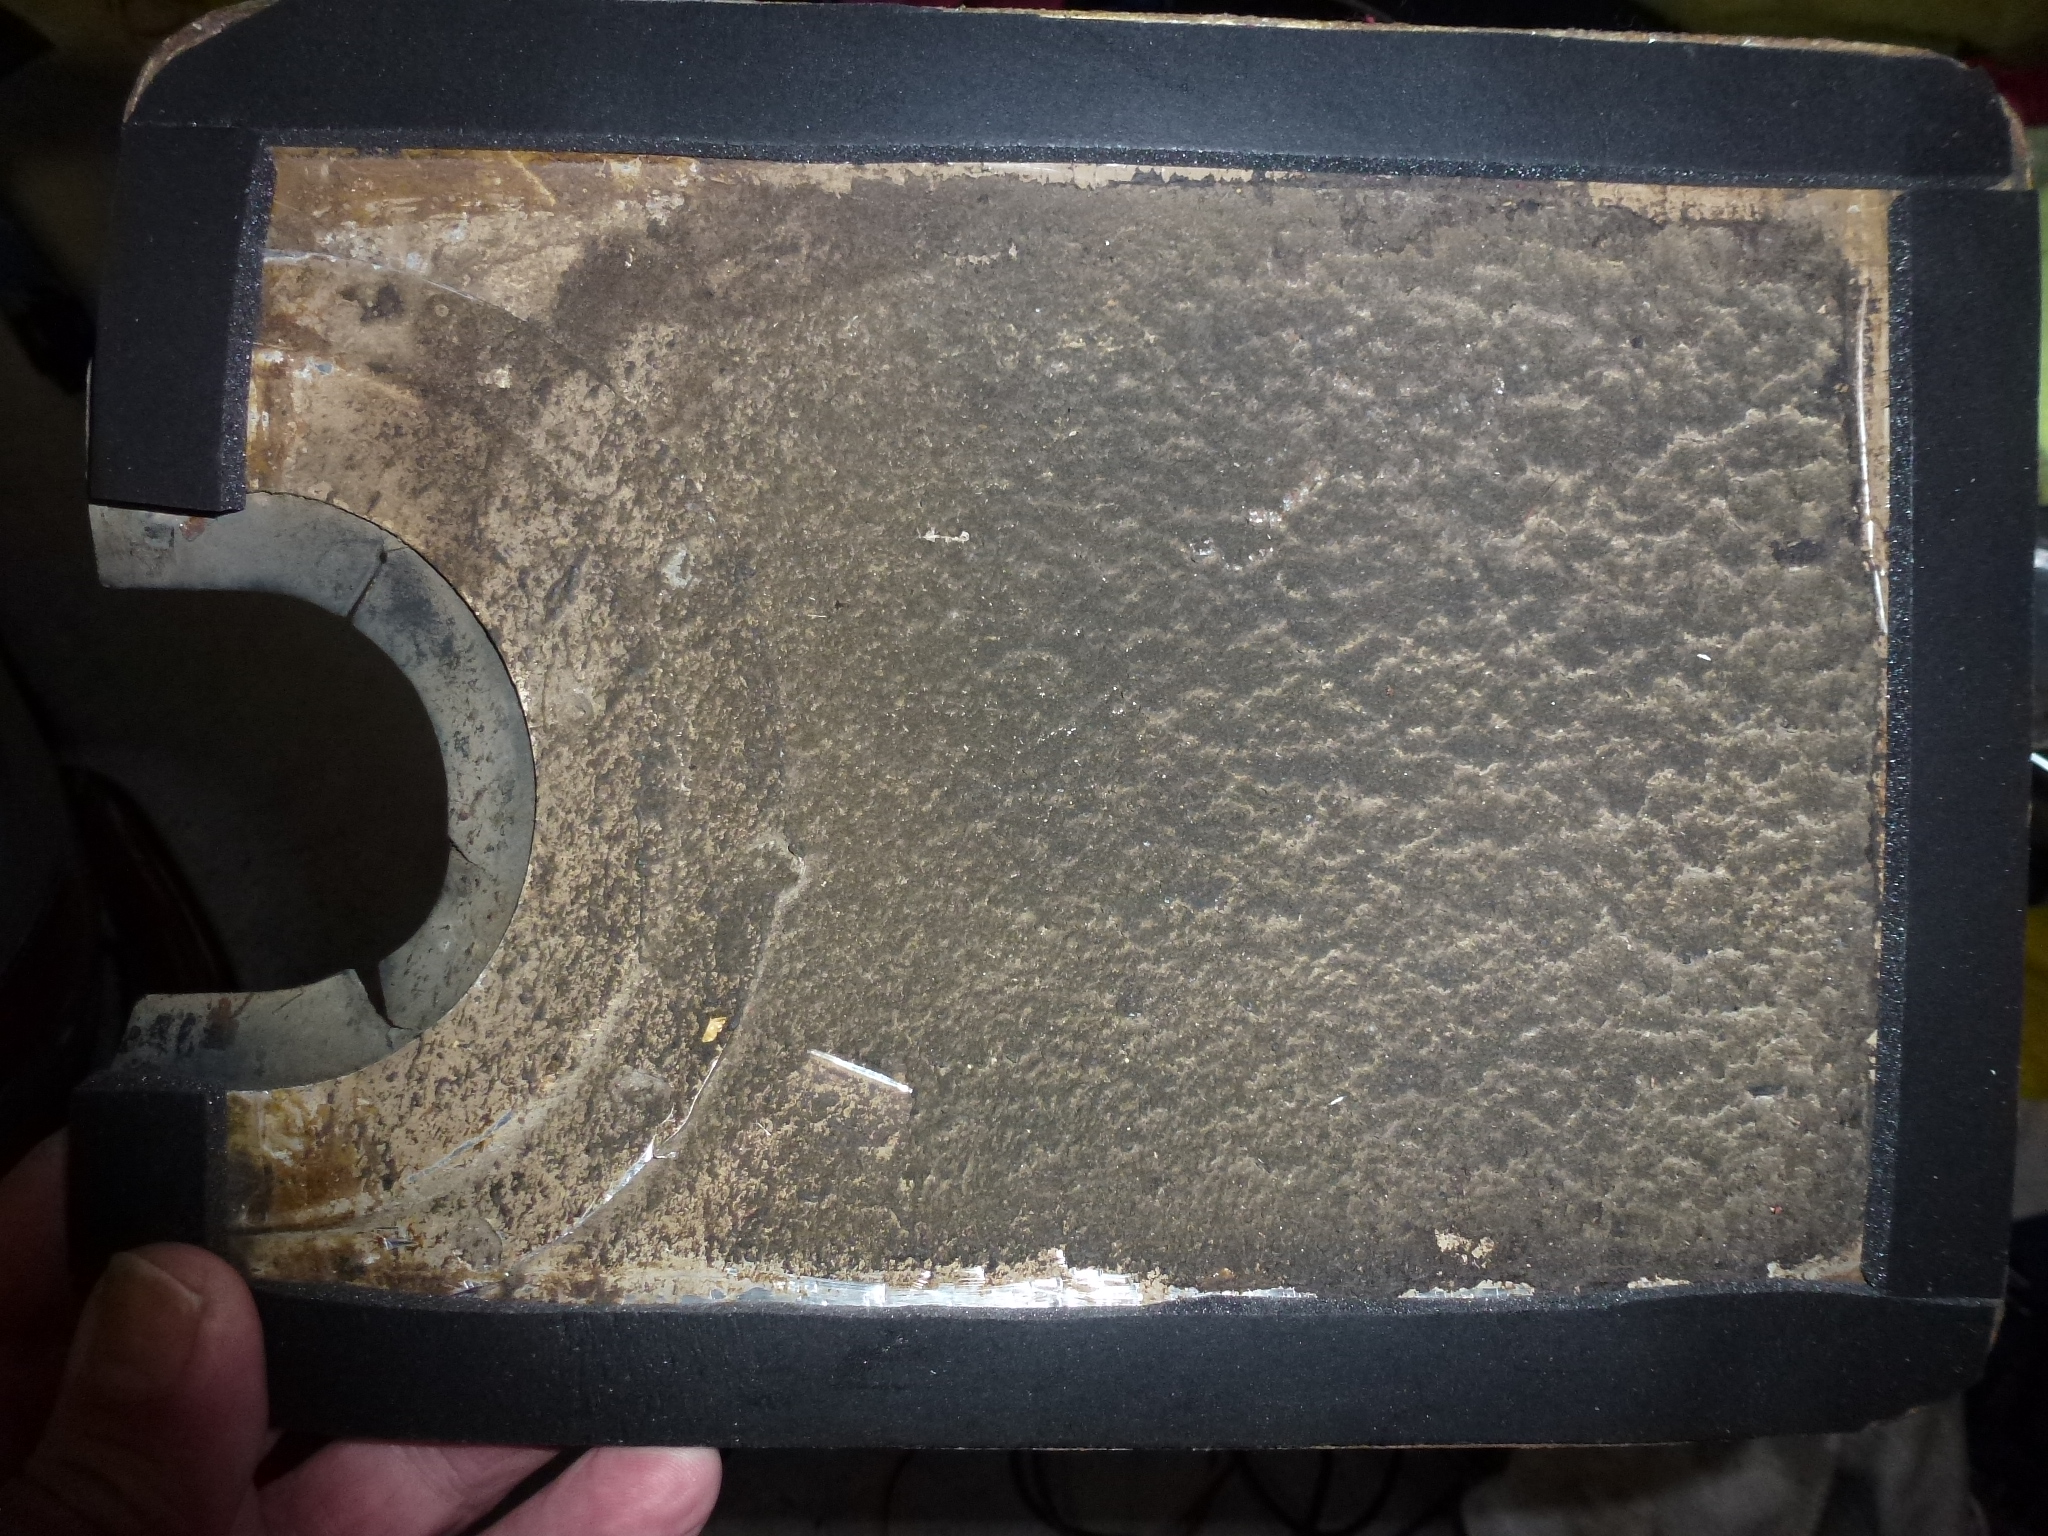
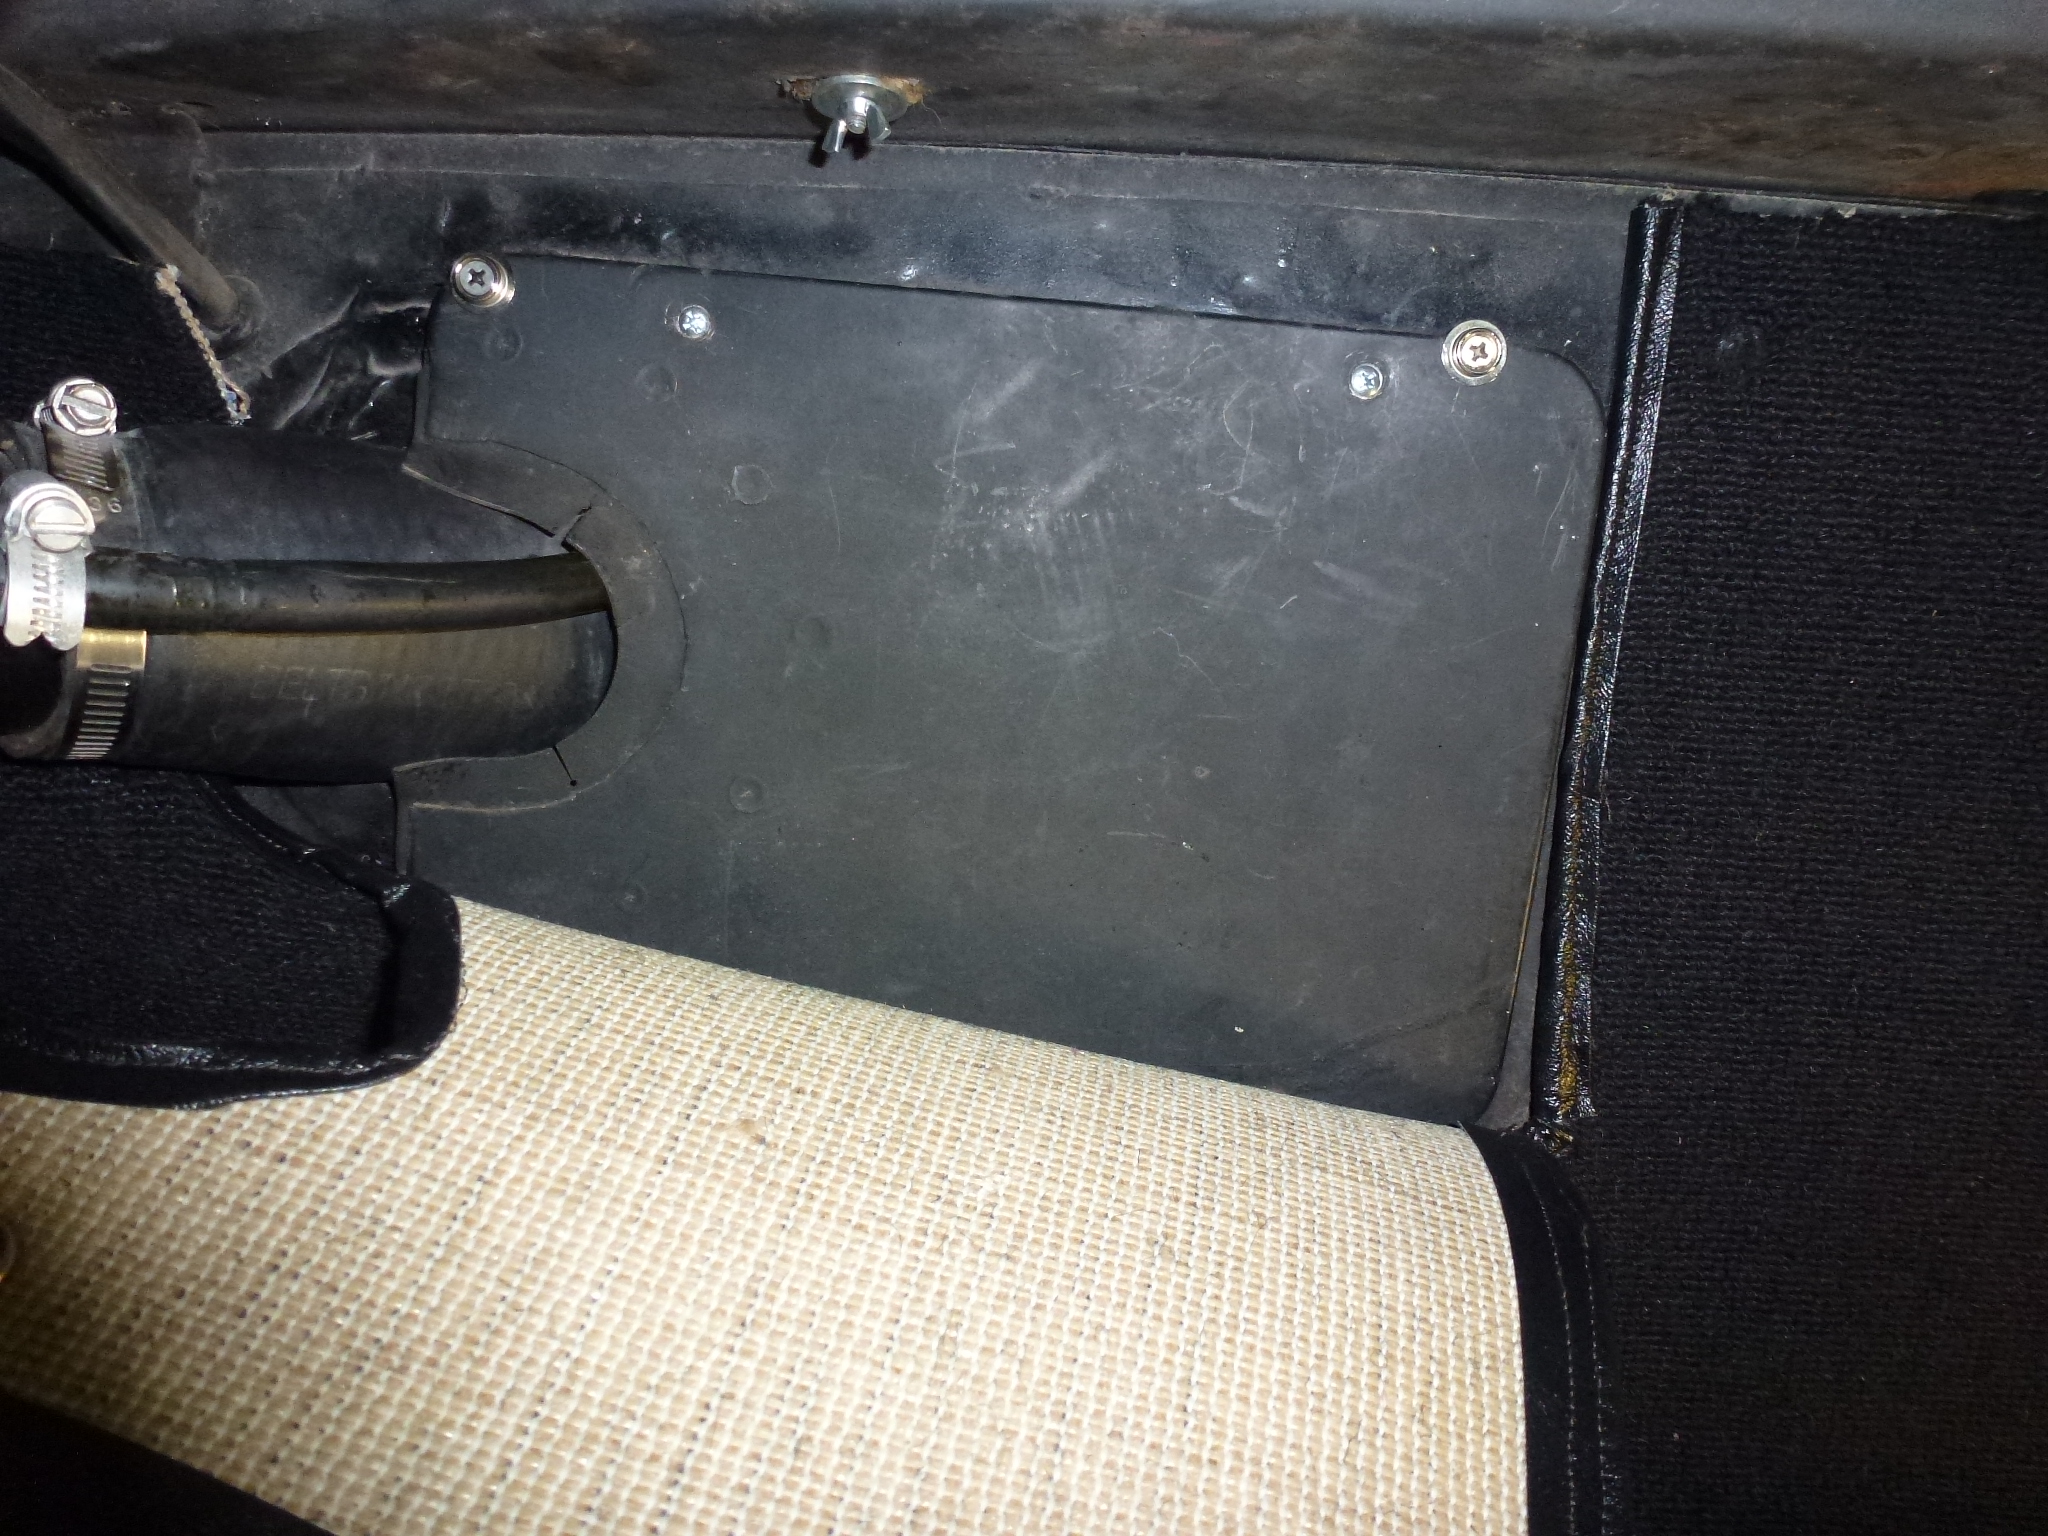
I also replaced the cover for access to the fuel tank tubing.
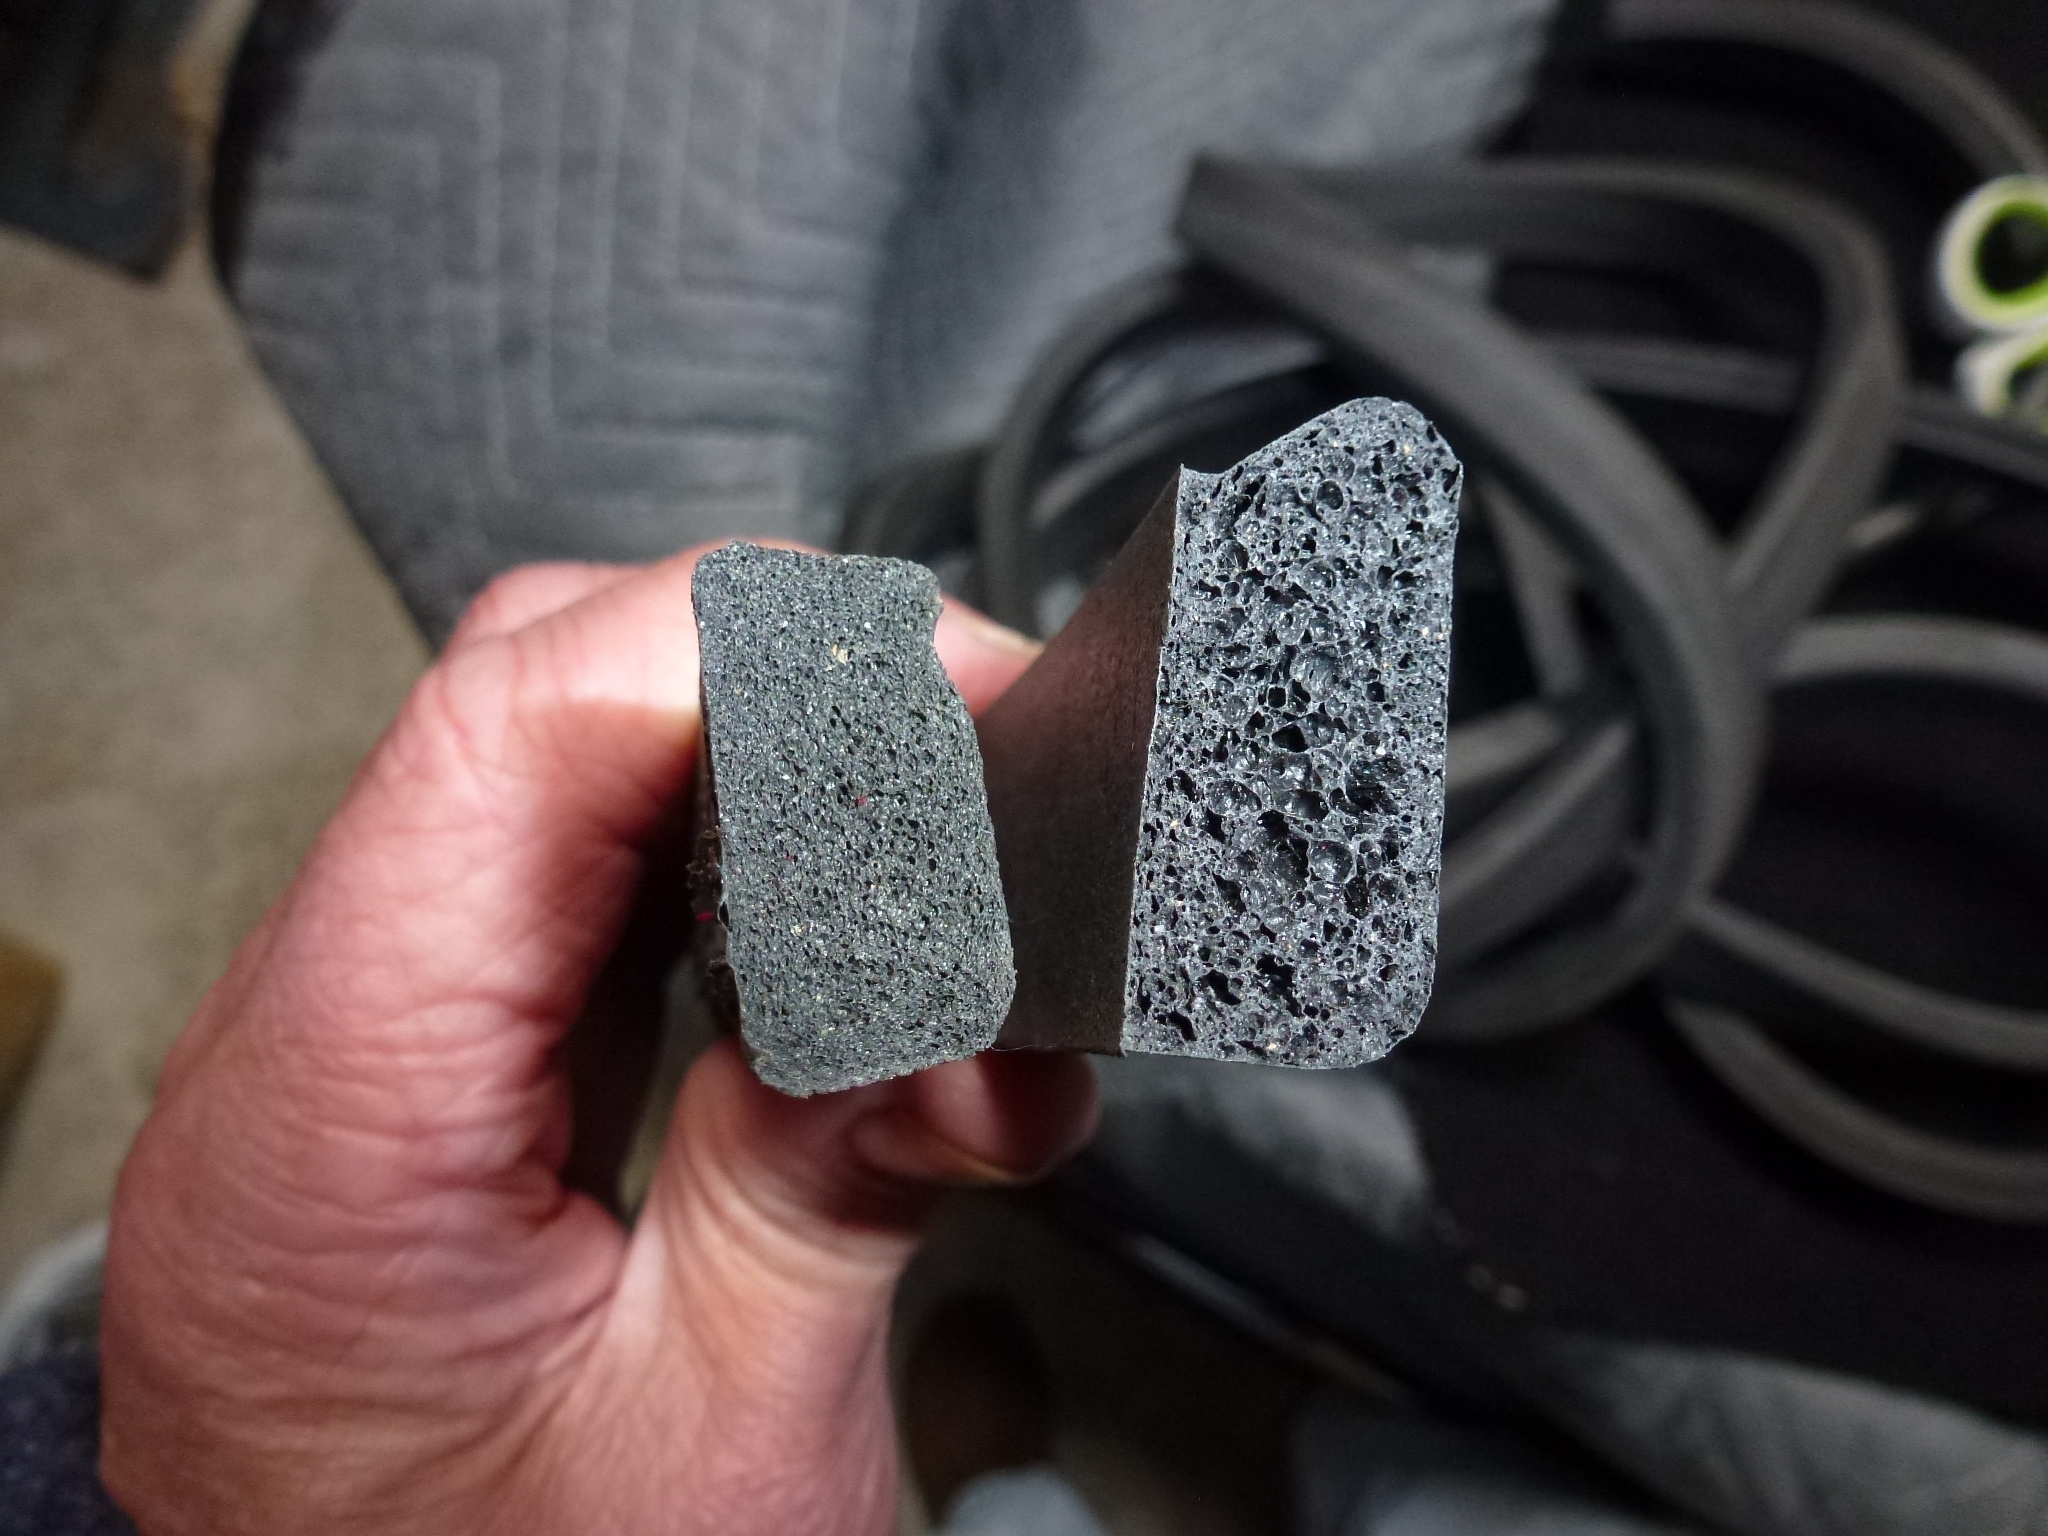
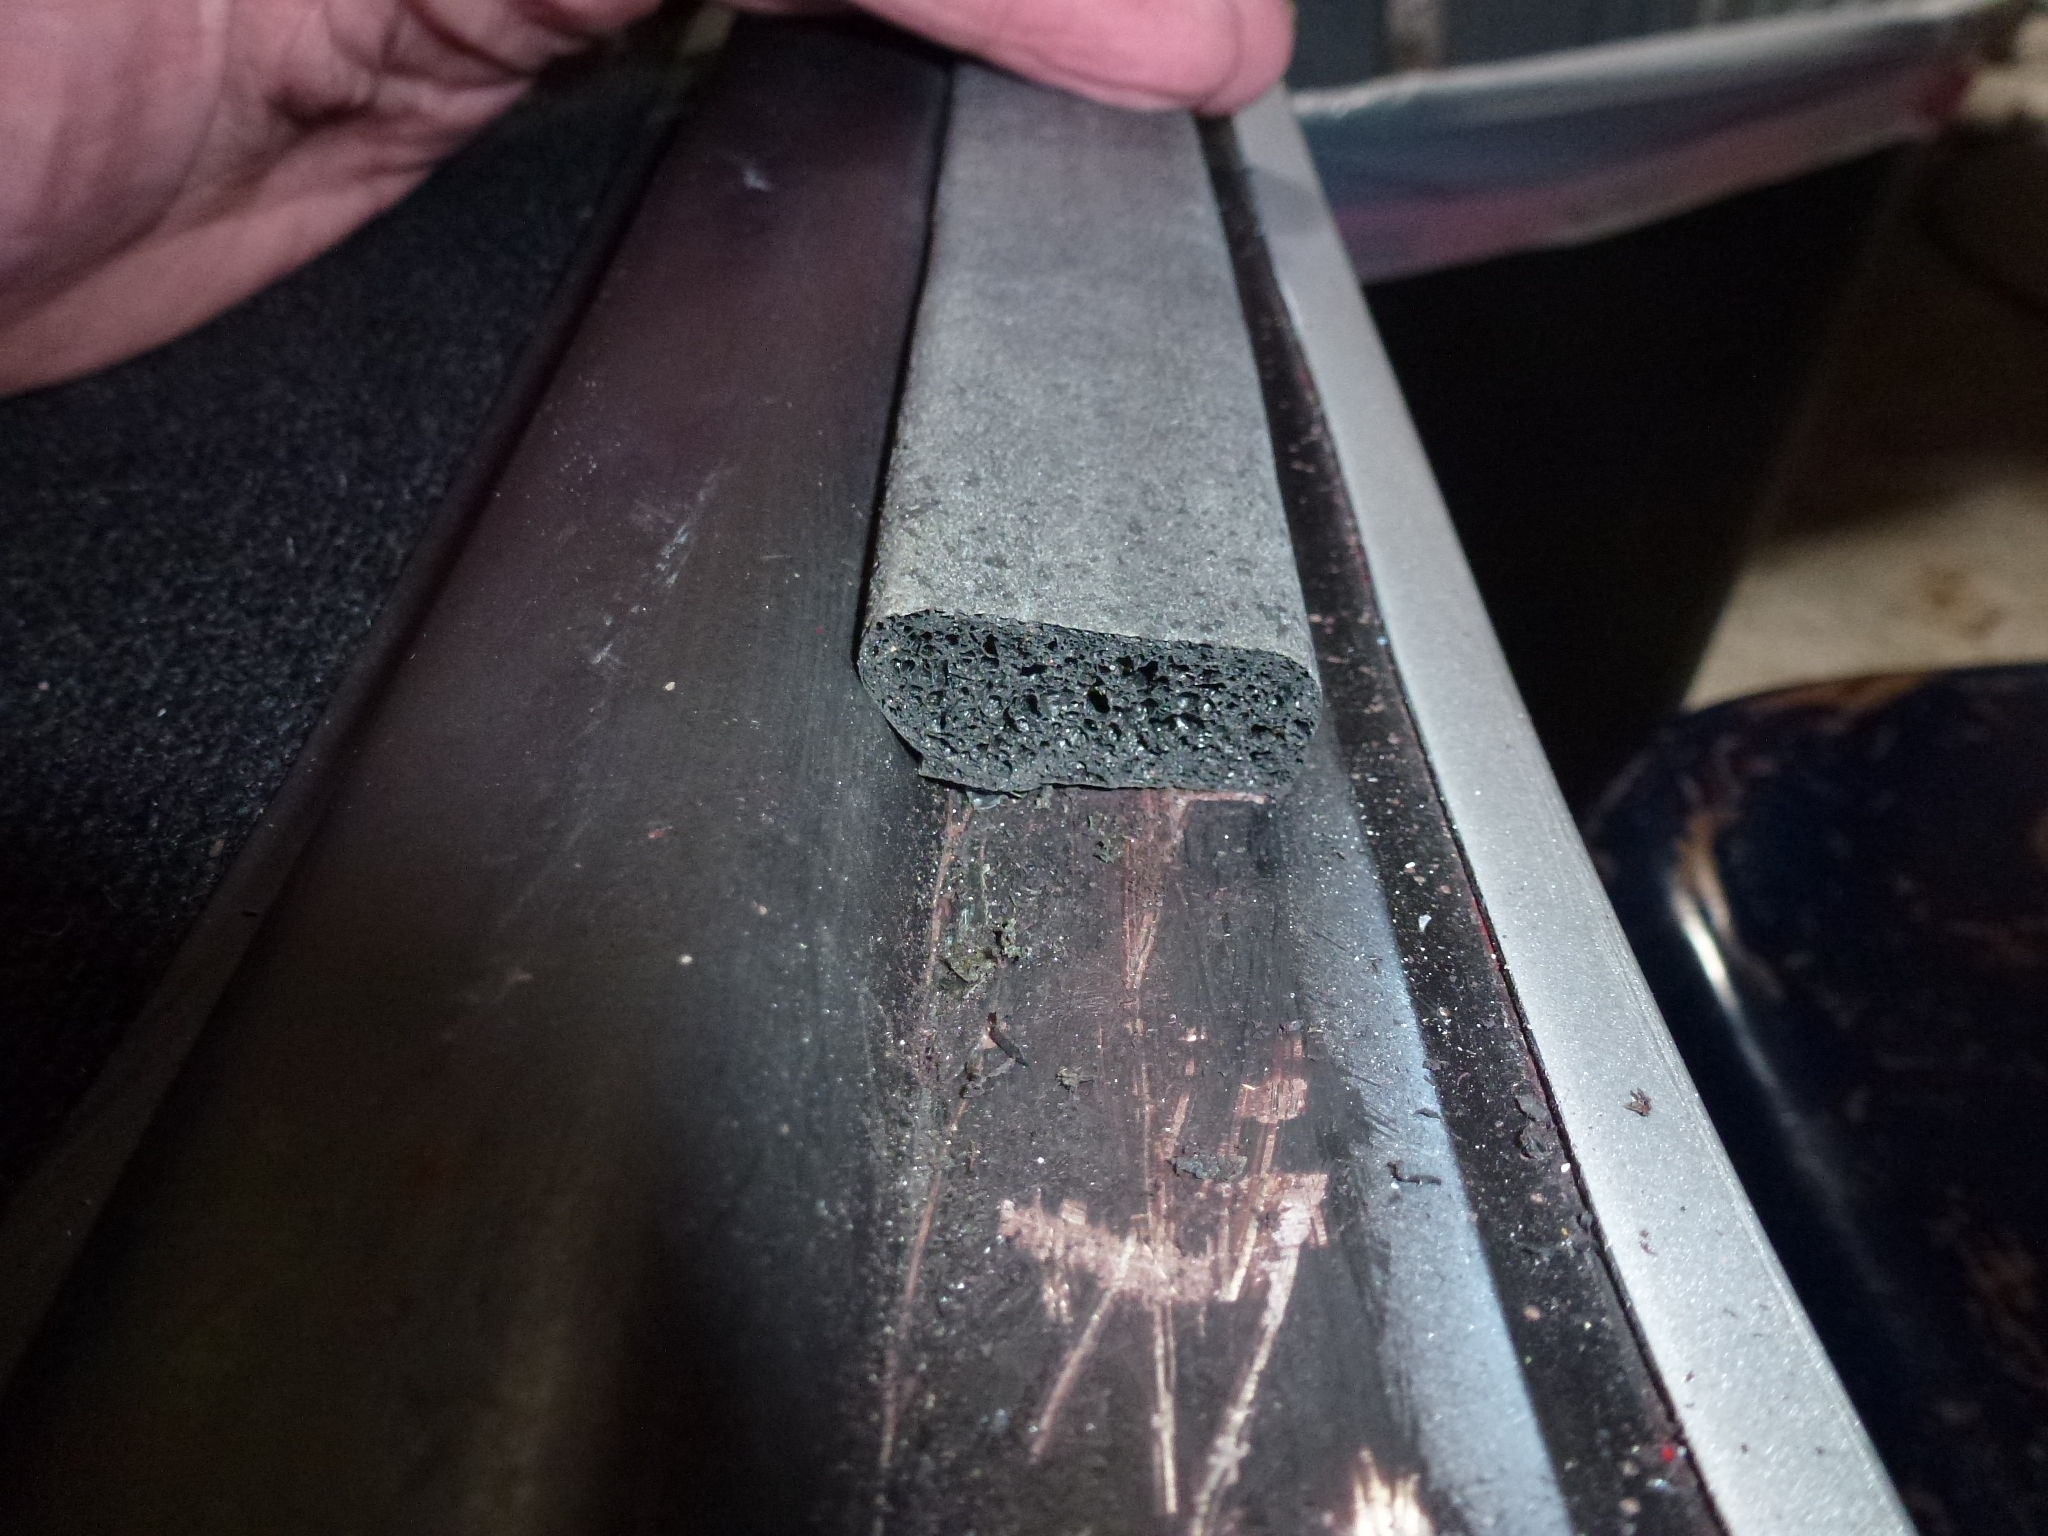
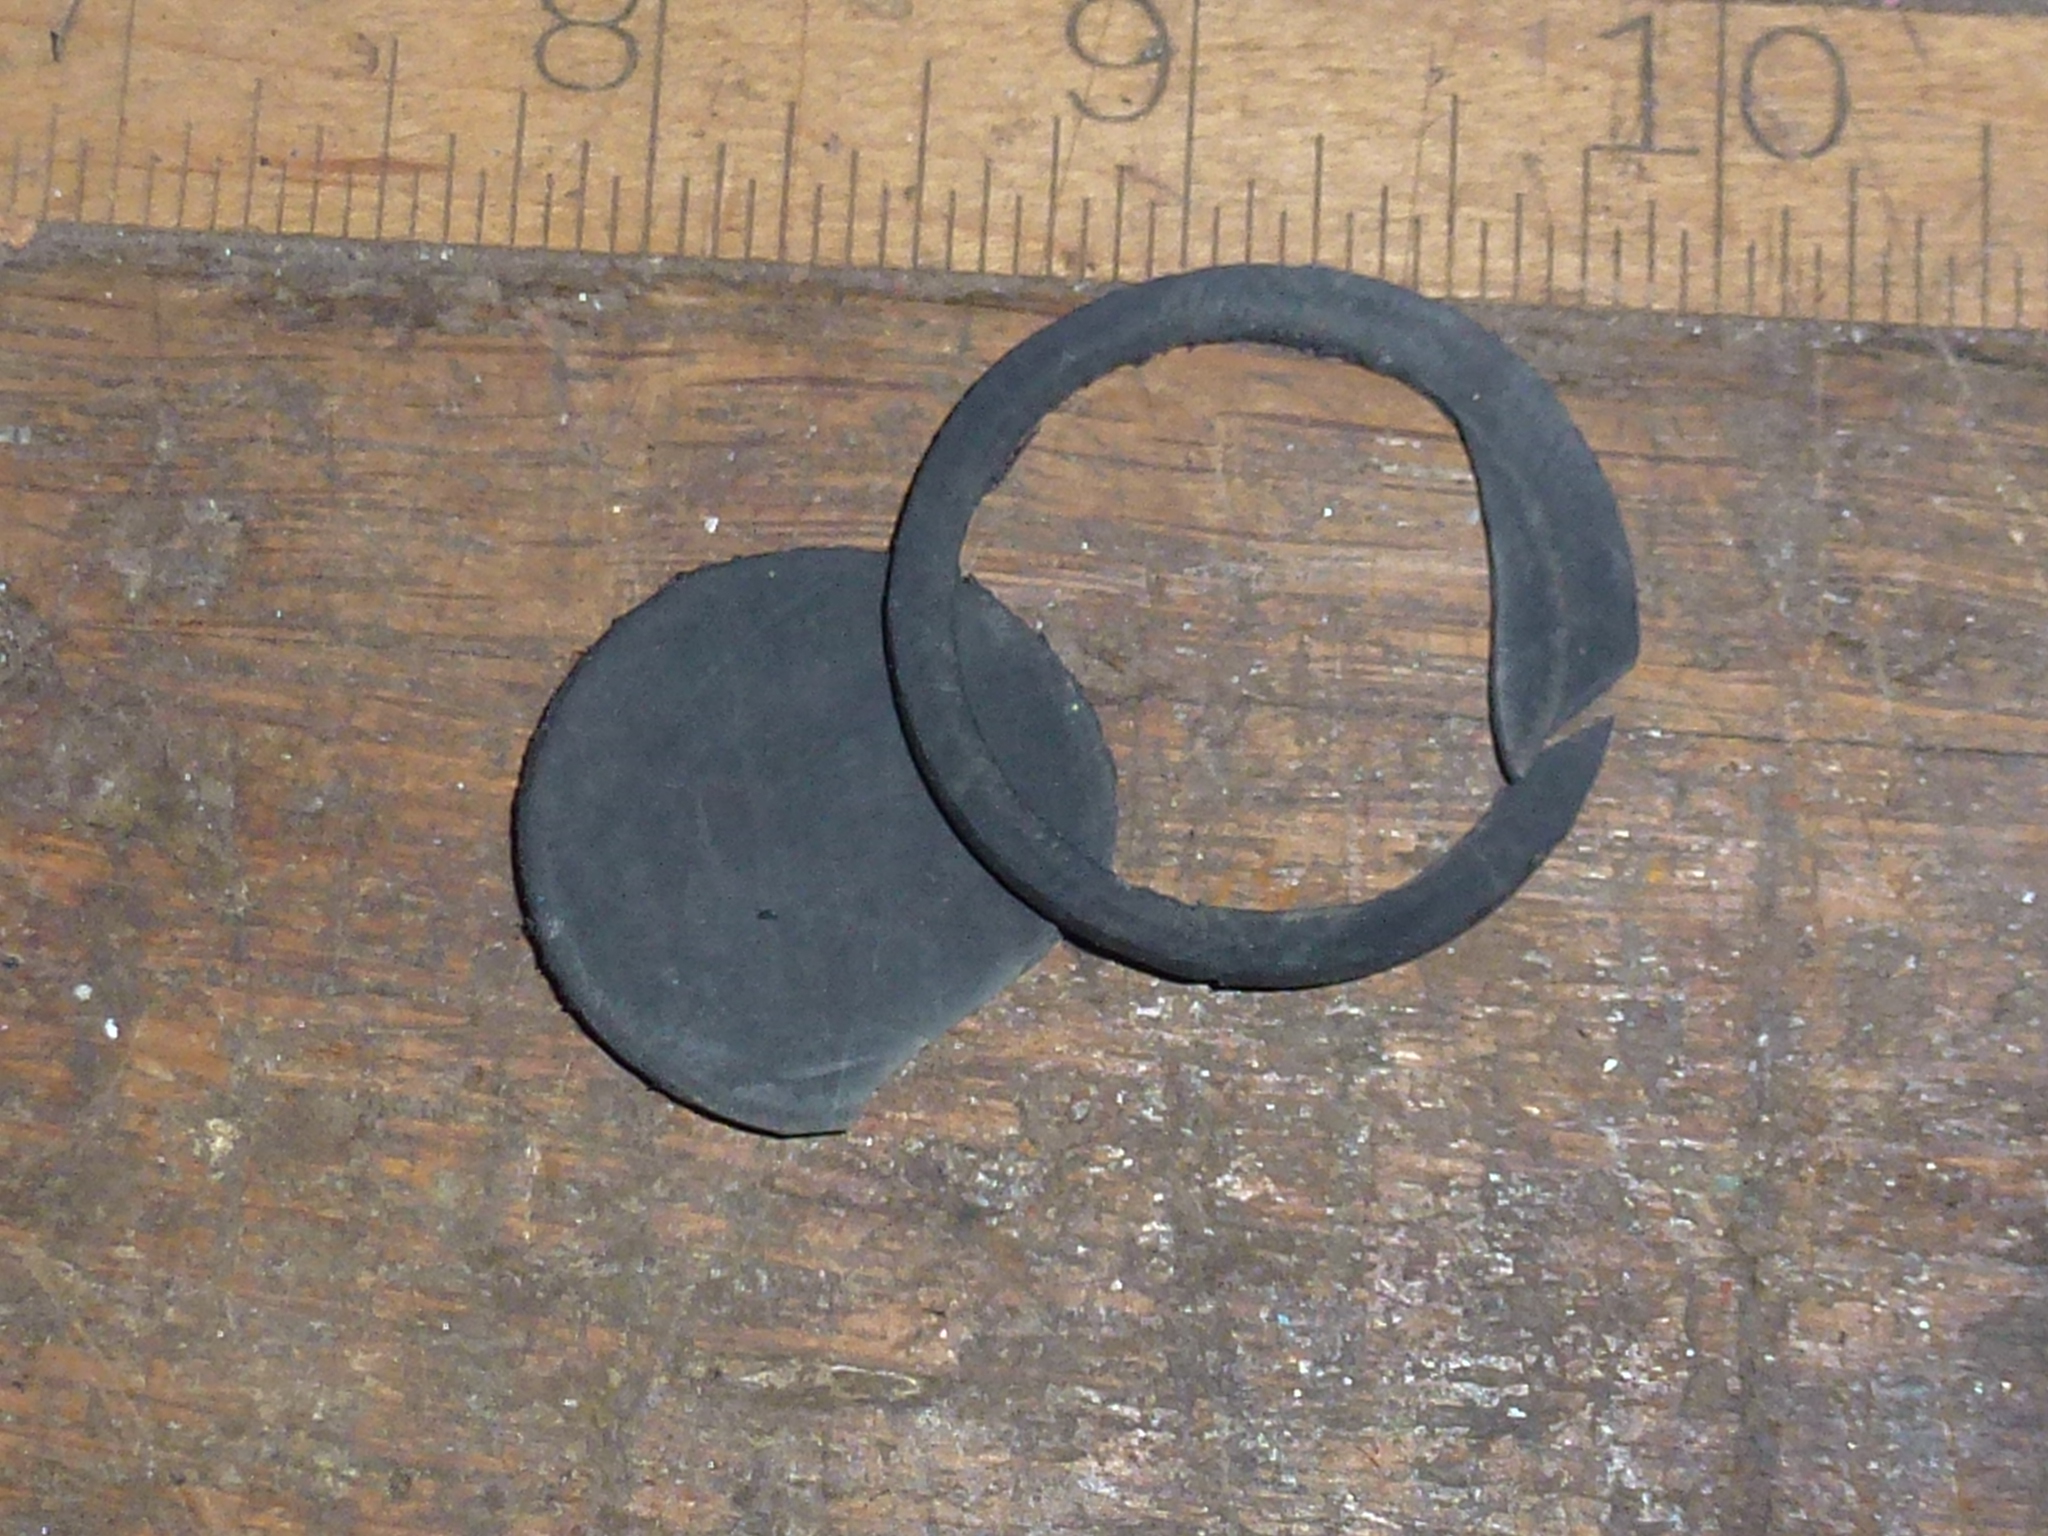
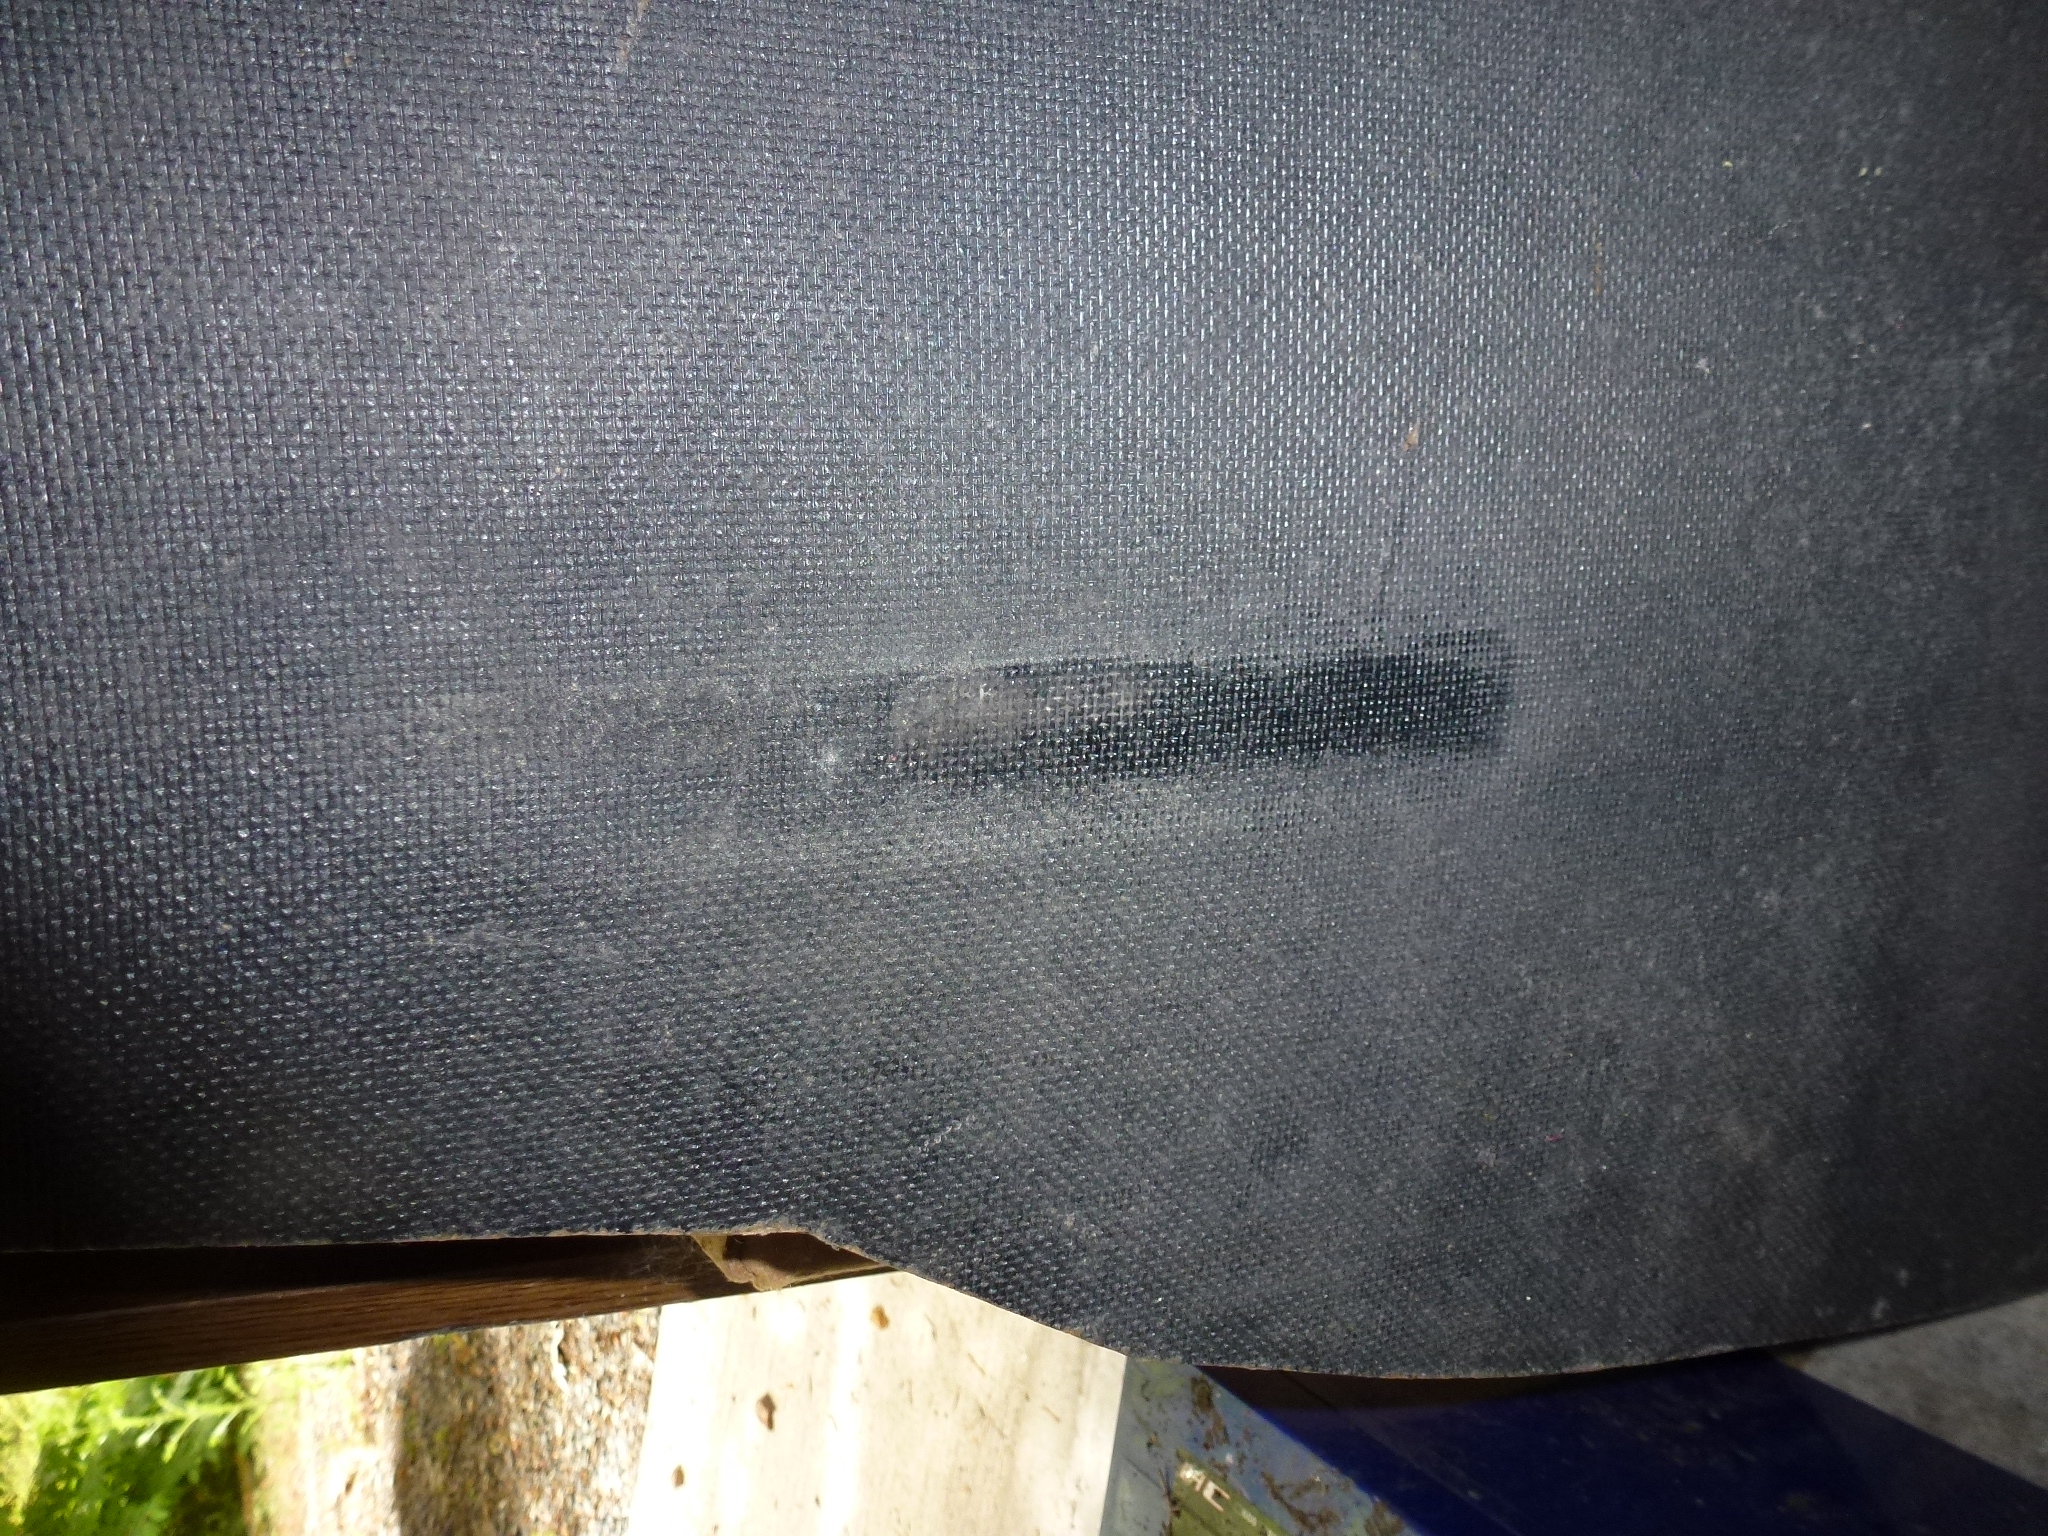
In addition, I bought the correct rubber seal for the trunk lid. The correct profile is on the right. You can see how it fits against the sloping inner support frame.
Installing the seal first required cleaning off the material and old glue that was left after pulling off the rubber.
Once the rubber was all off and the inner frame cleaned, I painted it.
When I put the car back together after painting it, I couldn't put the rubber pad under the trunk lock as it was too thick with the new paint job. So I made a new one from some thin rubber stock I have. It was thin enough to allow the lock to be put back in. The first try was a failure, but I was more careful on the second.
I also took the opportunity to install new trunk hinge bumpers. I put everything back together and the trunk lid was done.
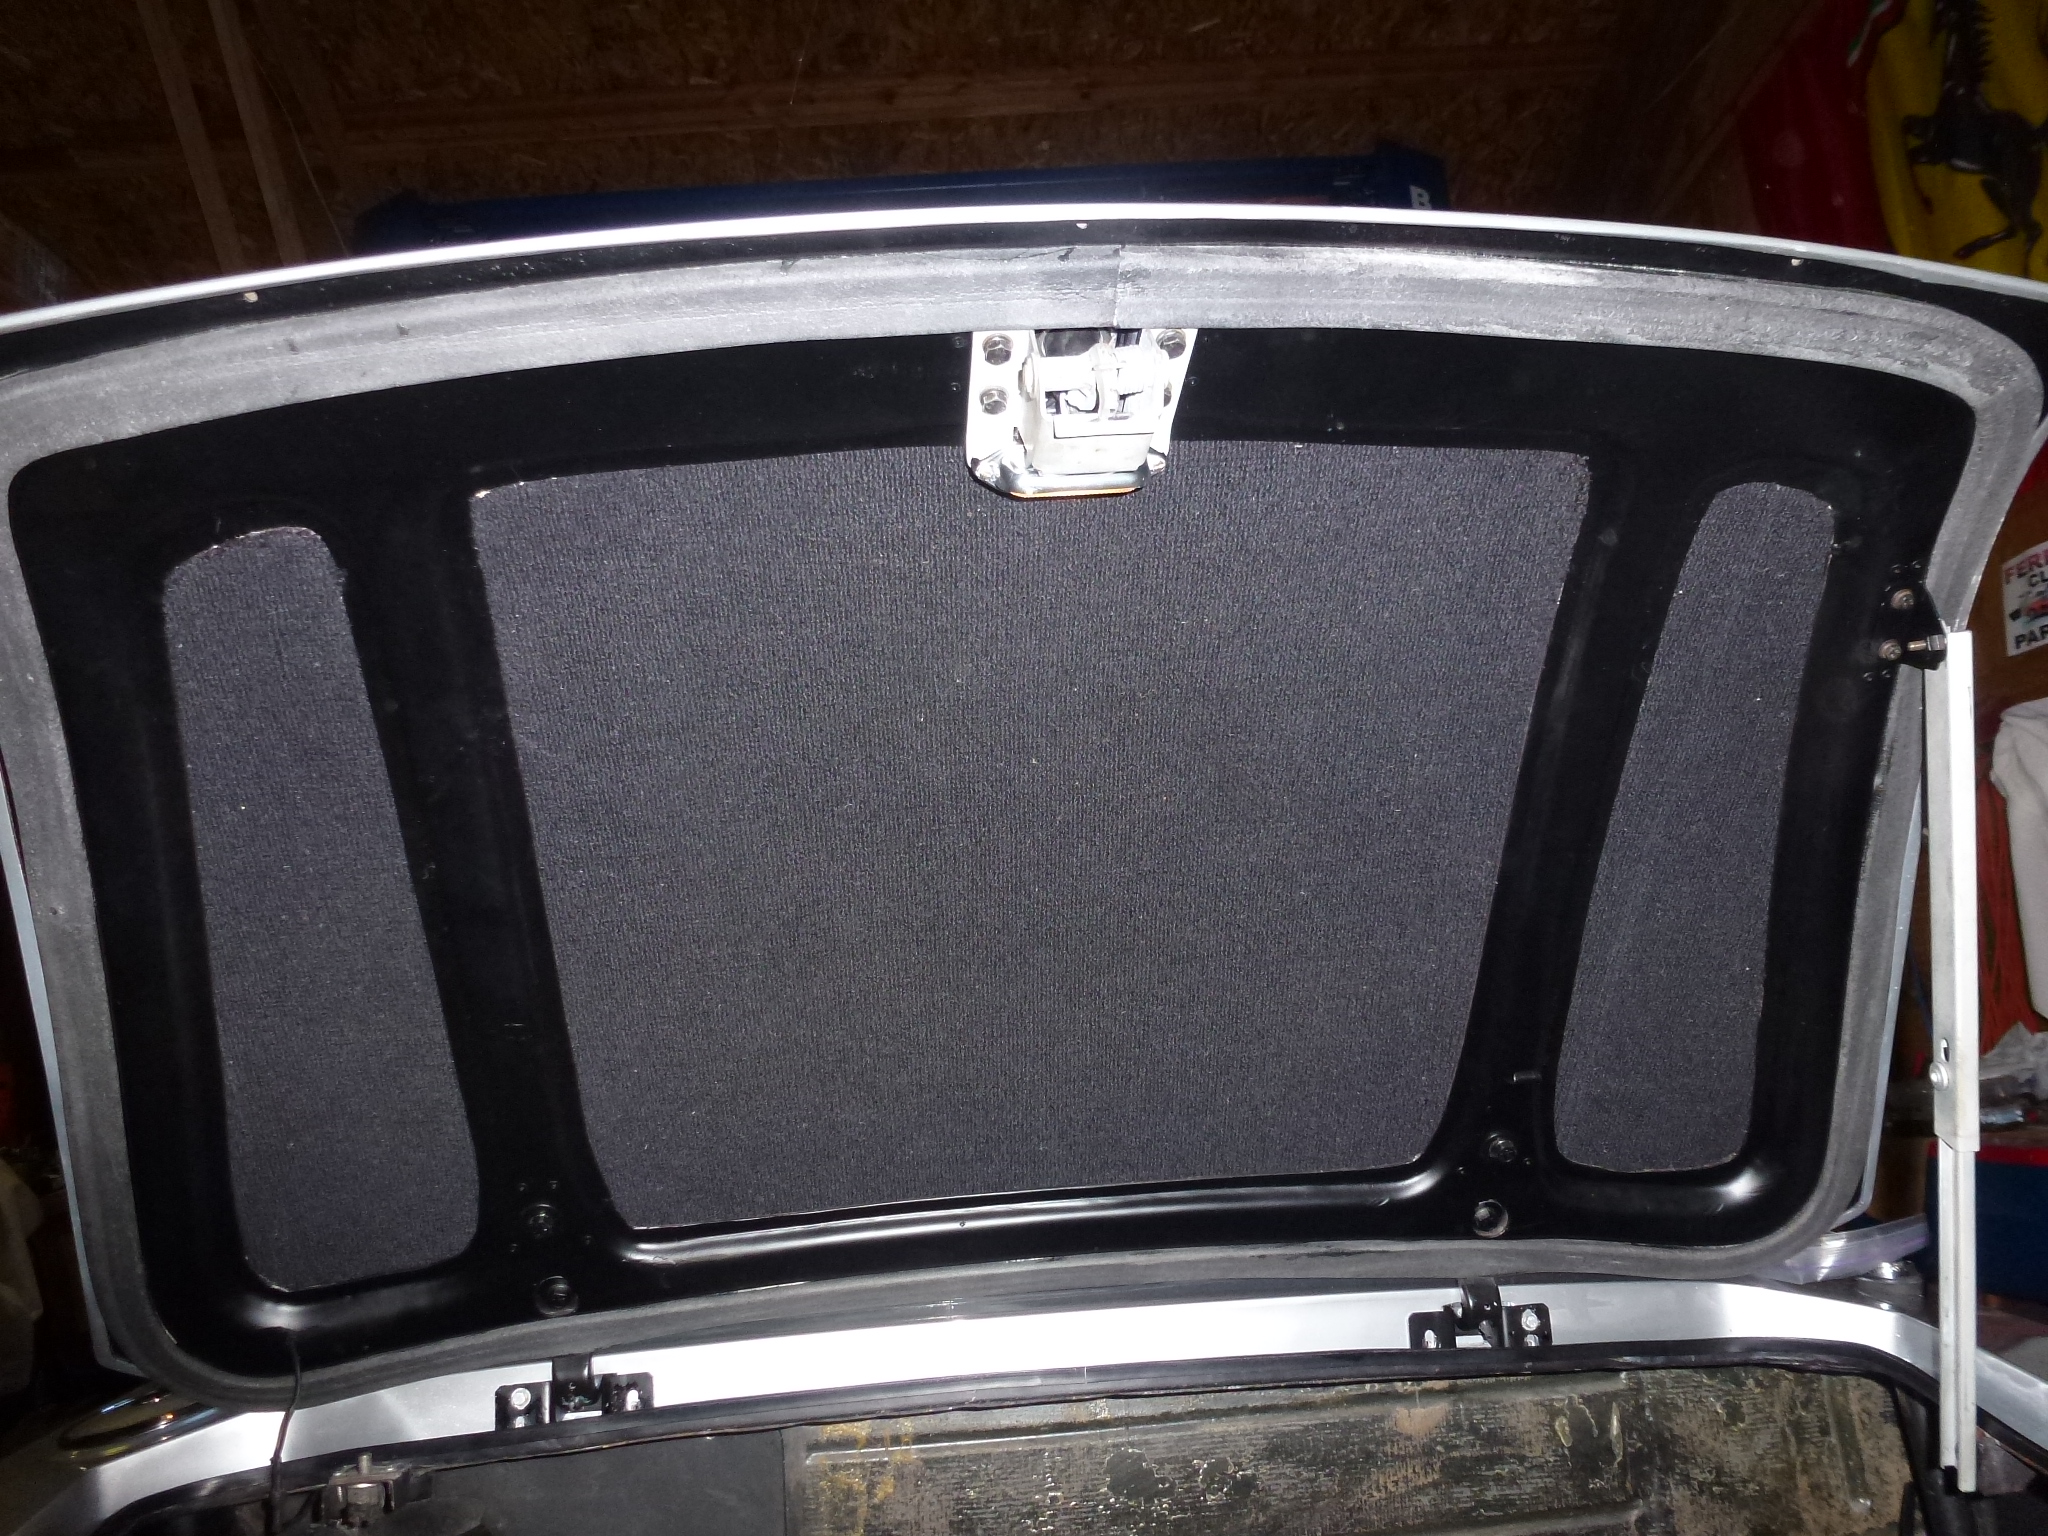
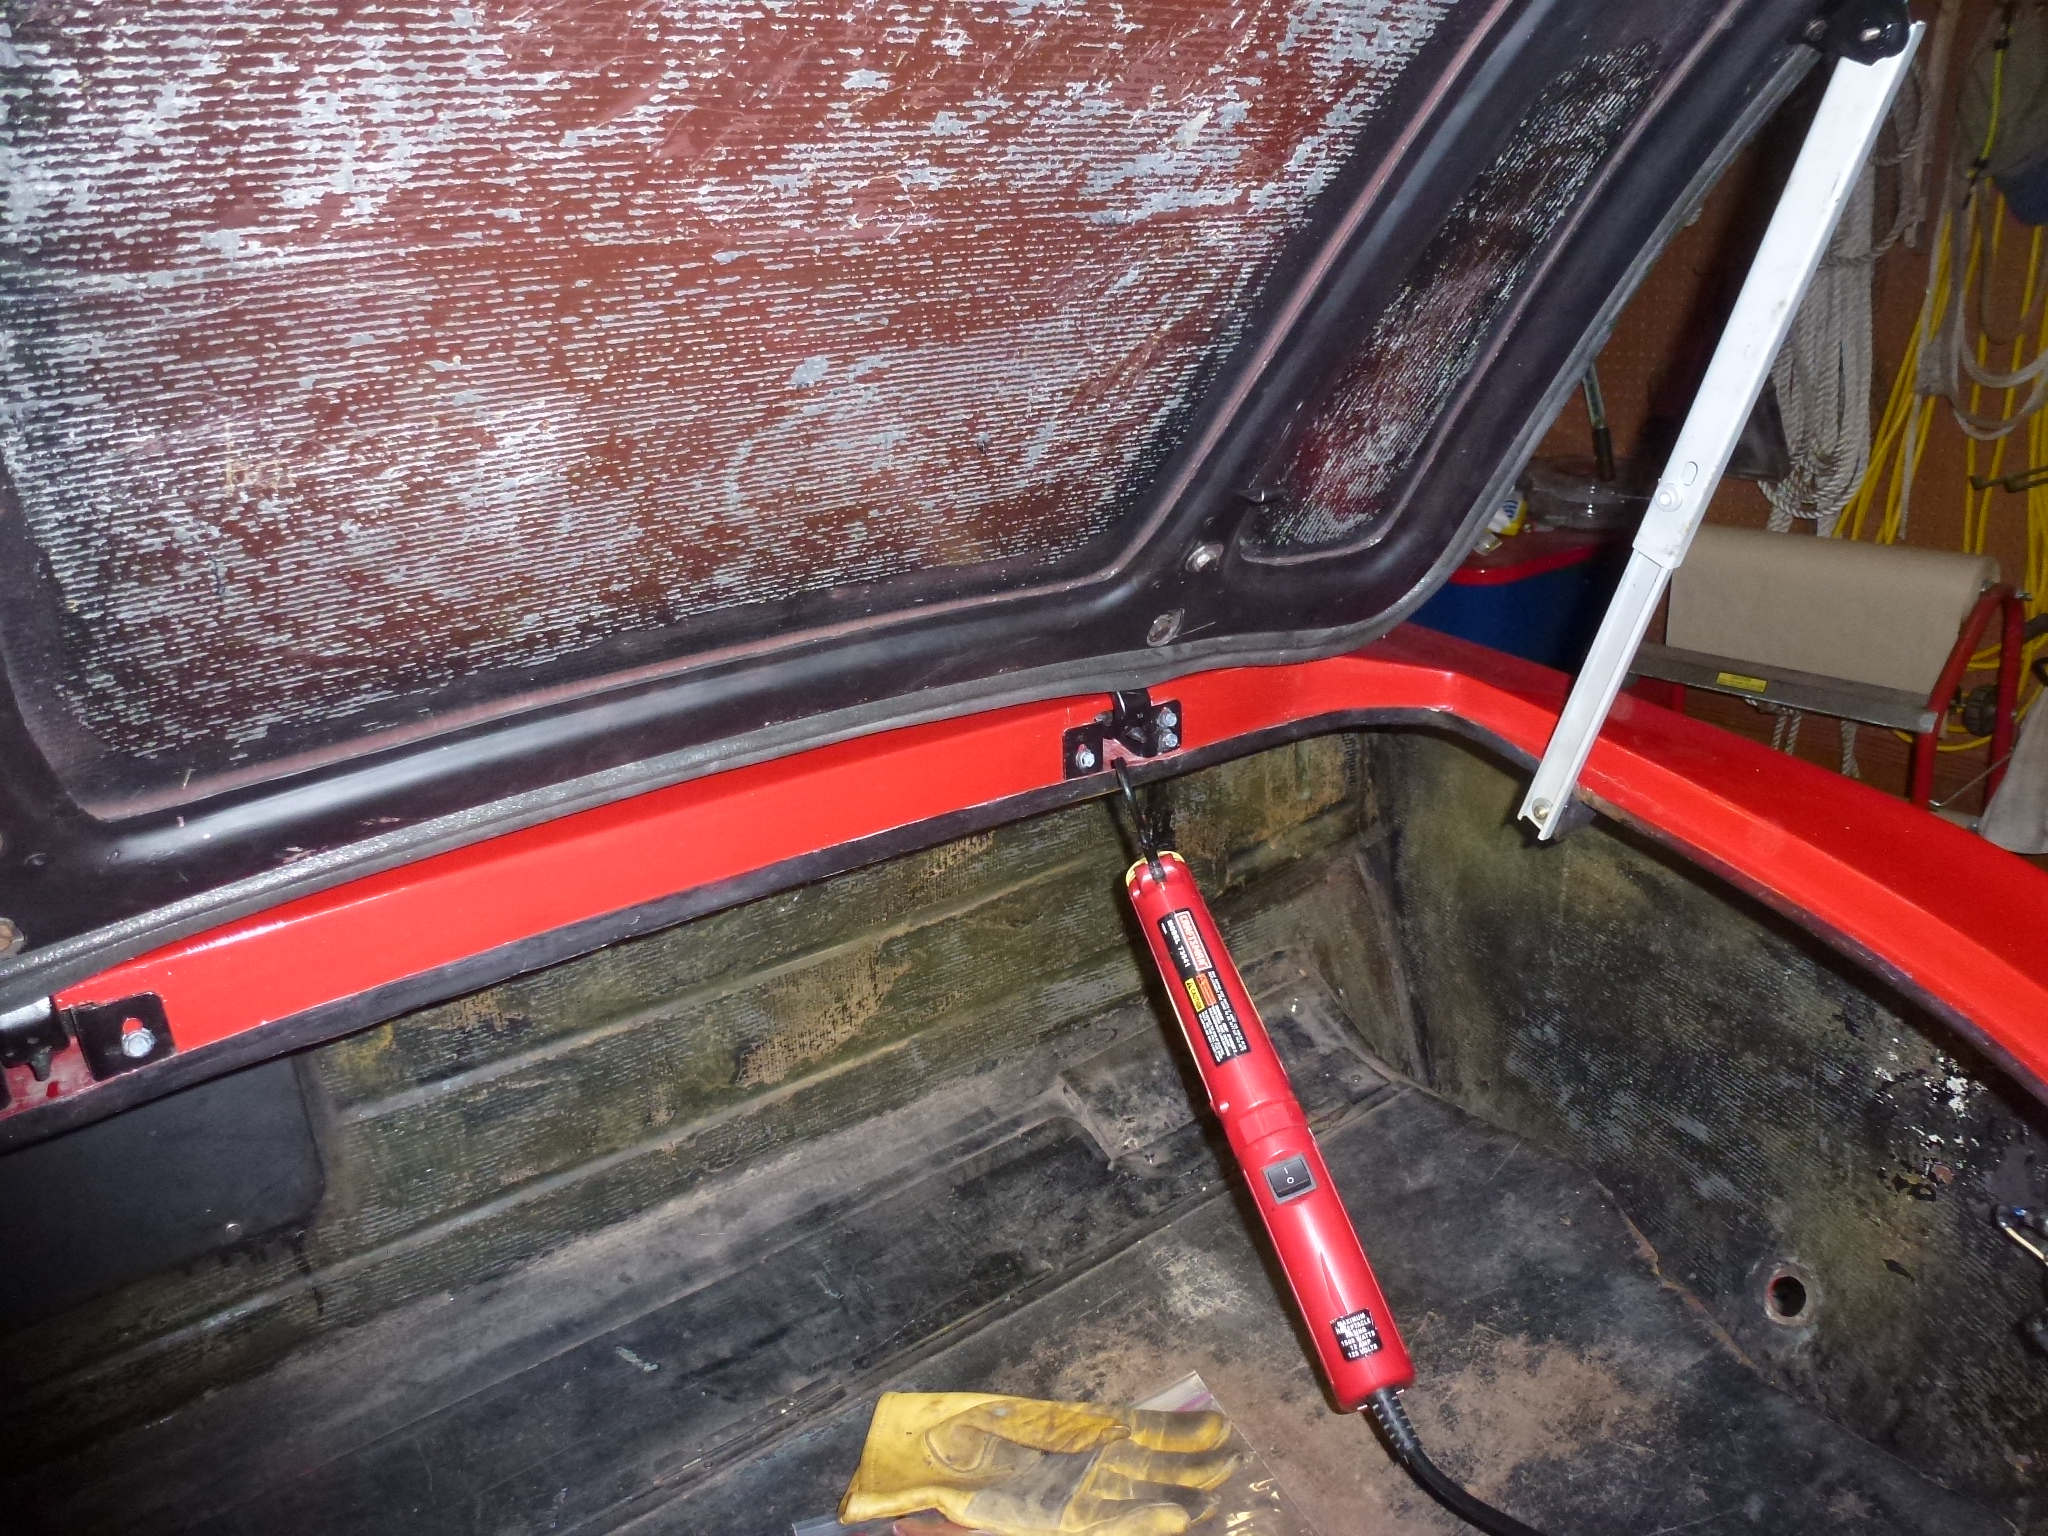
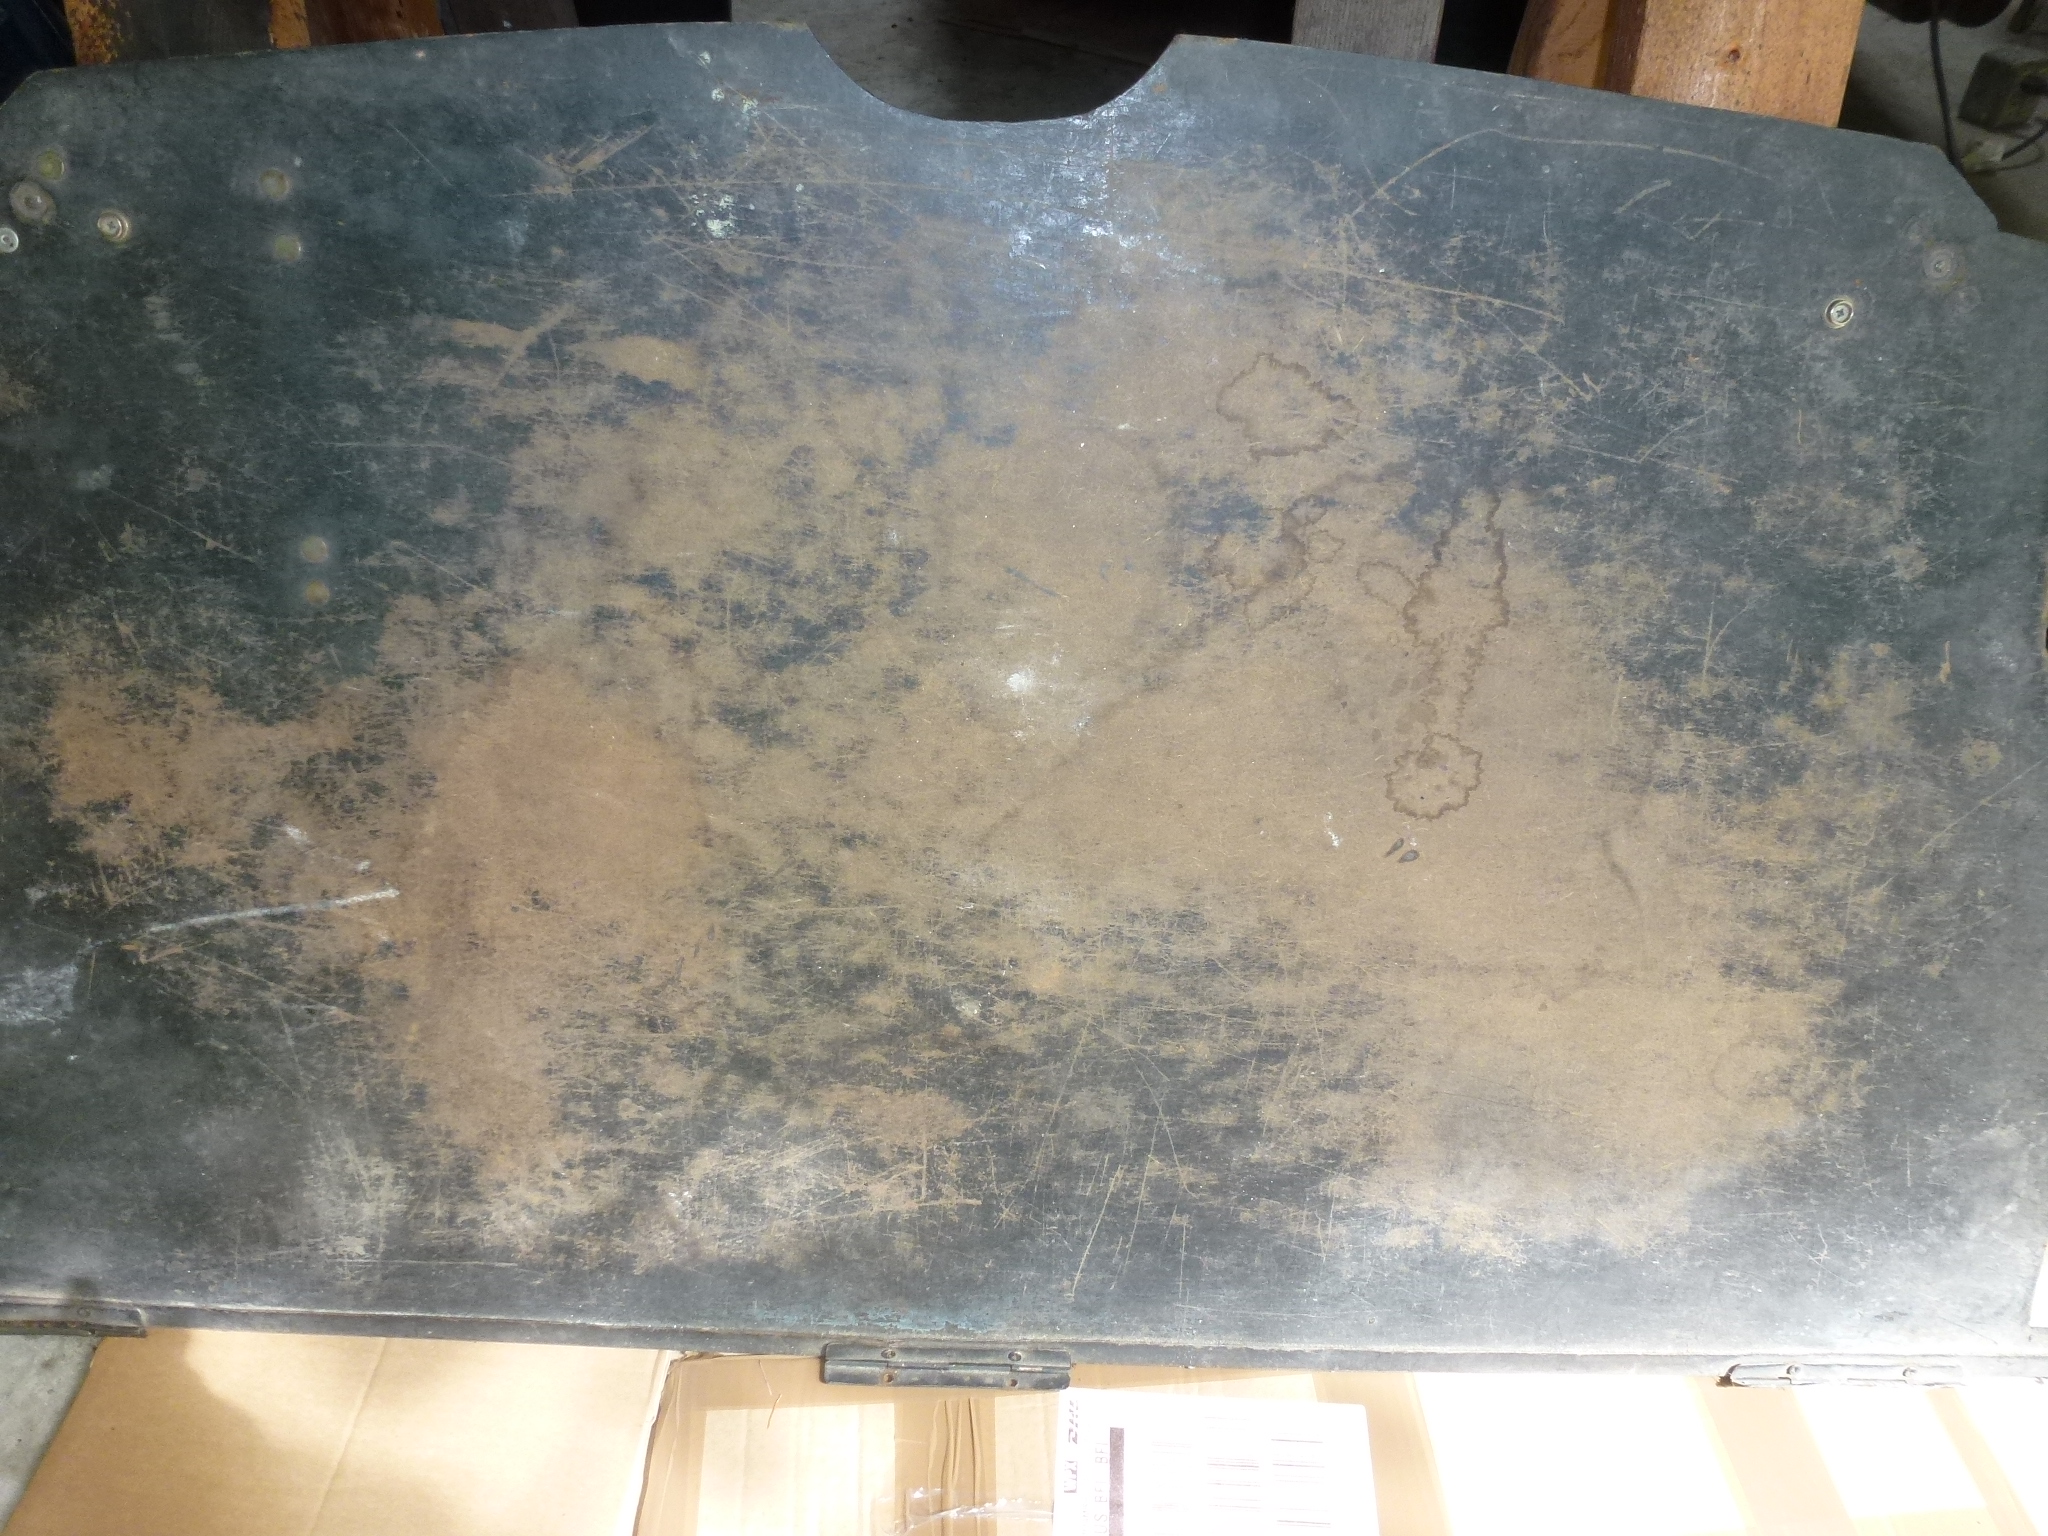
Next was the interior of the trunk. Without any carpeting, it made cleaning and painting the interior easy.
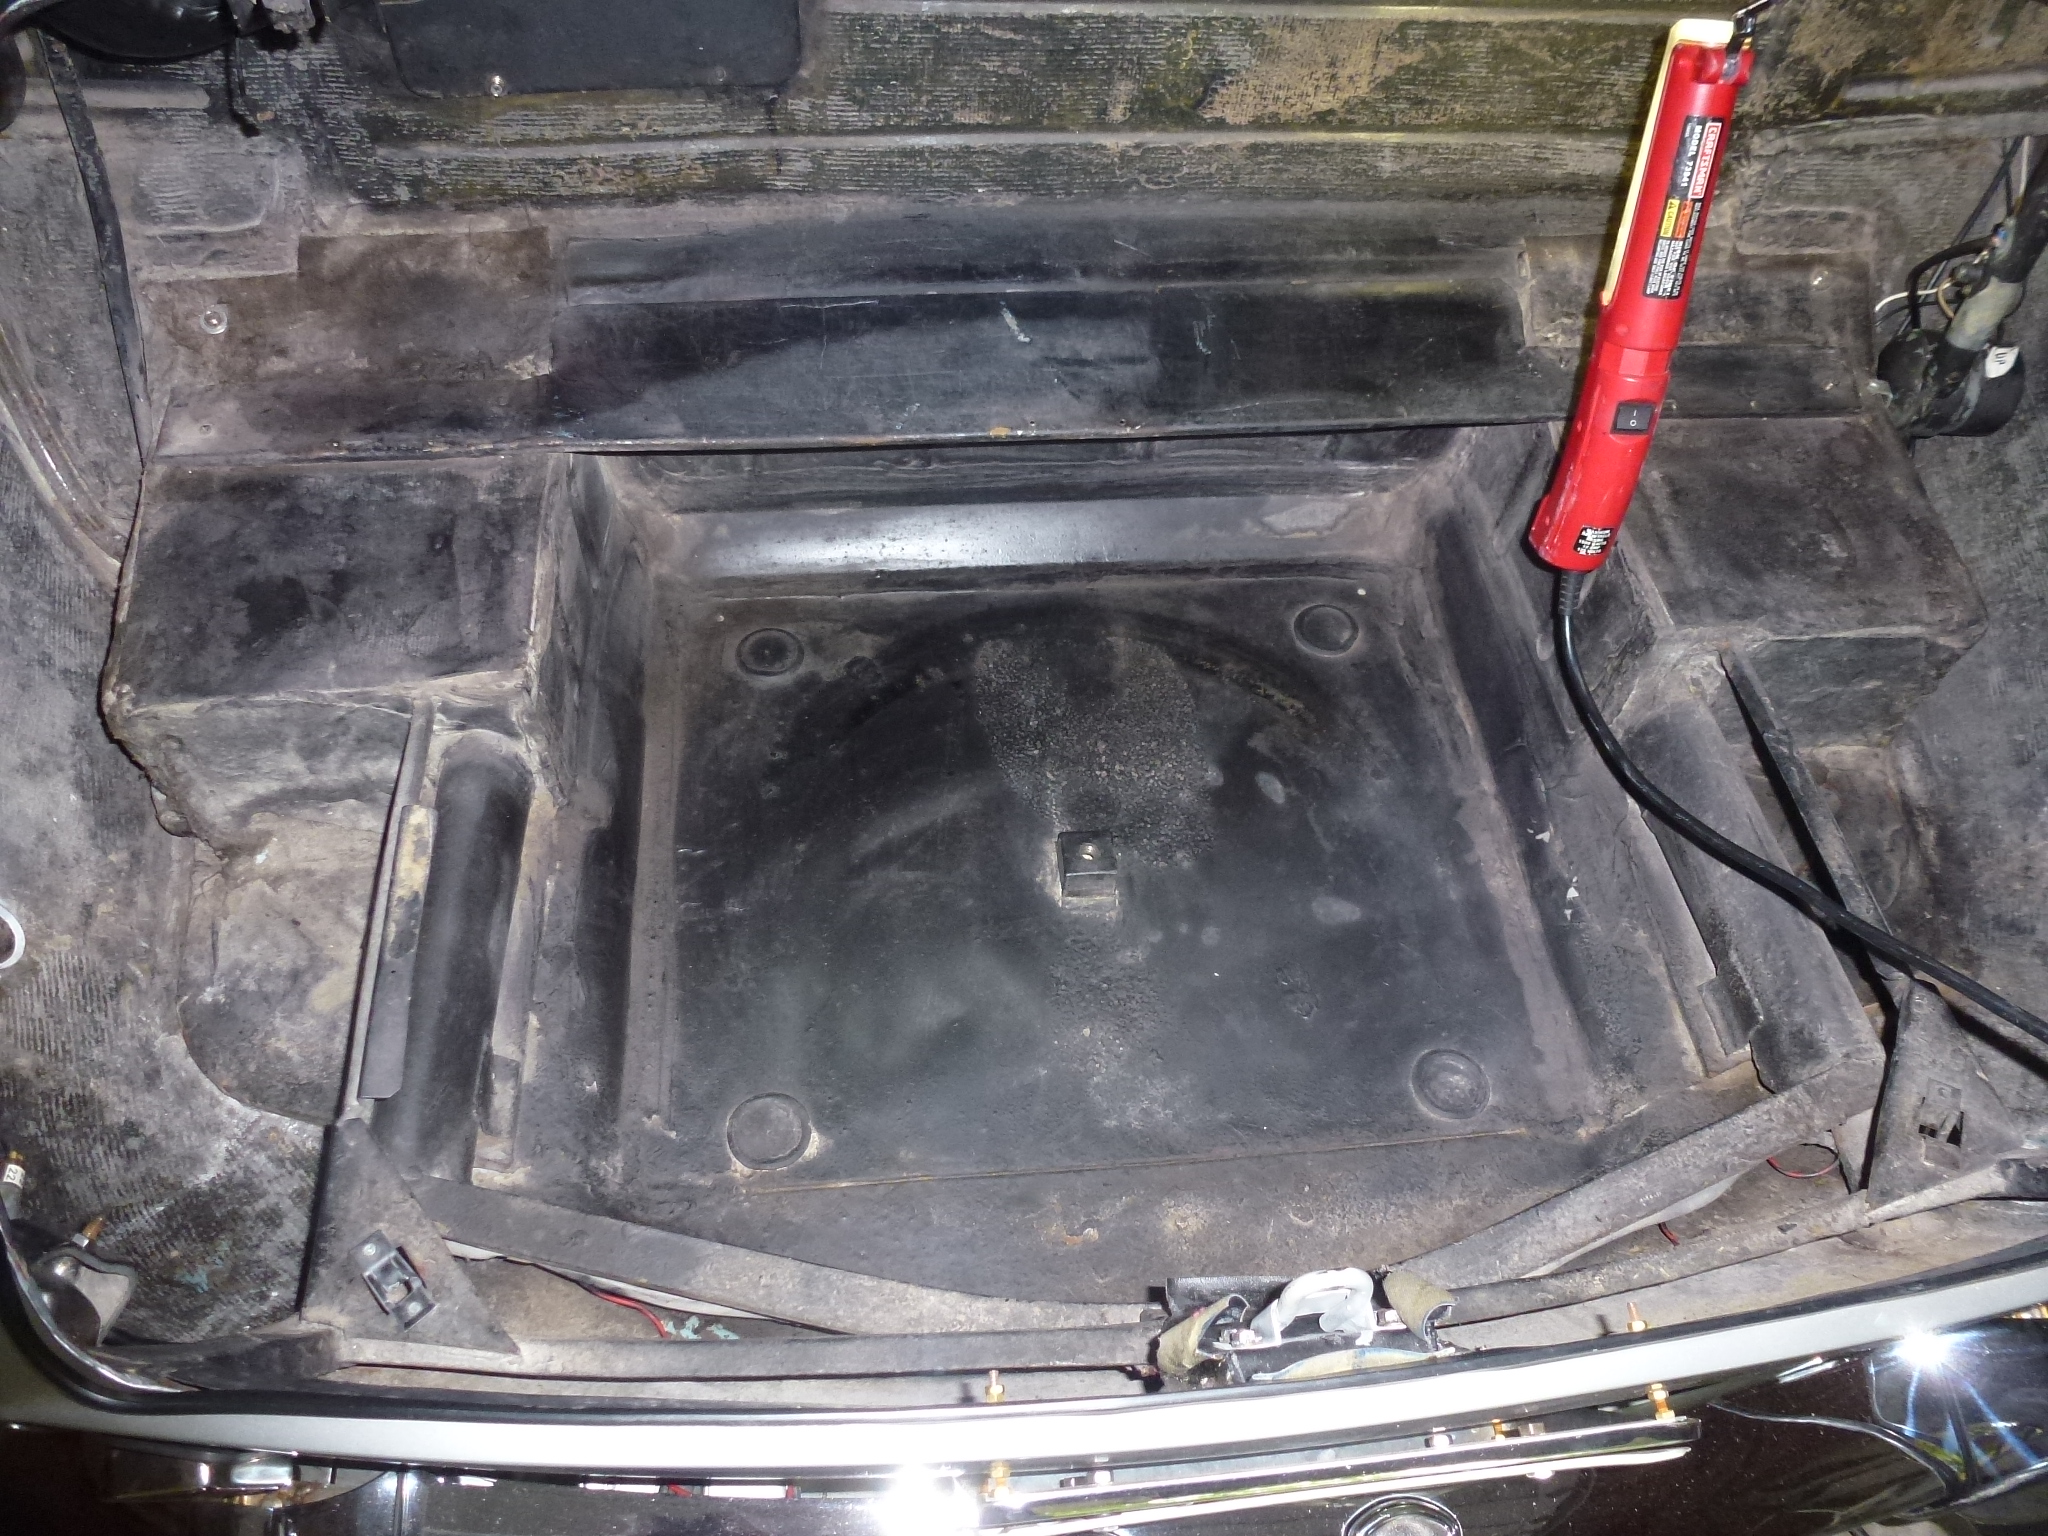
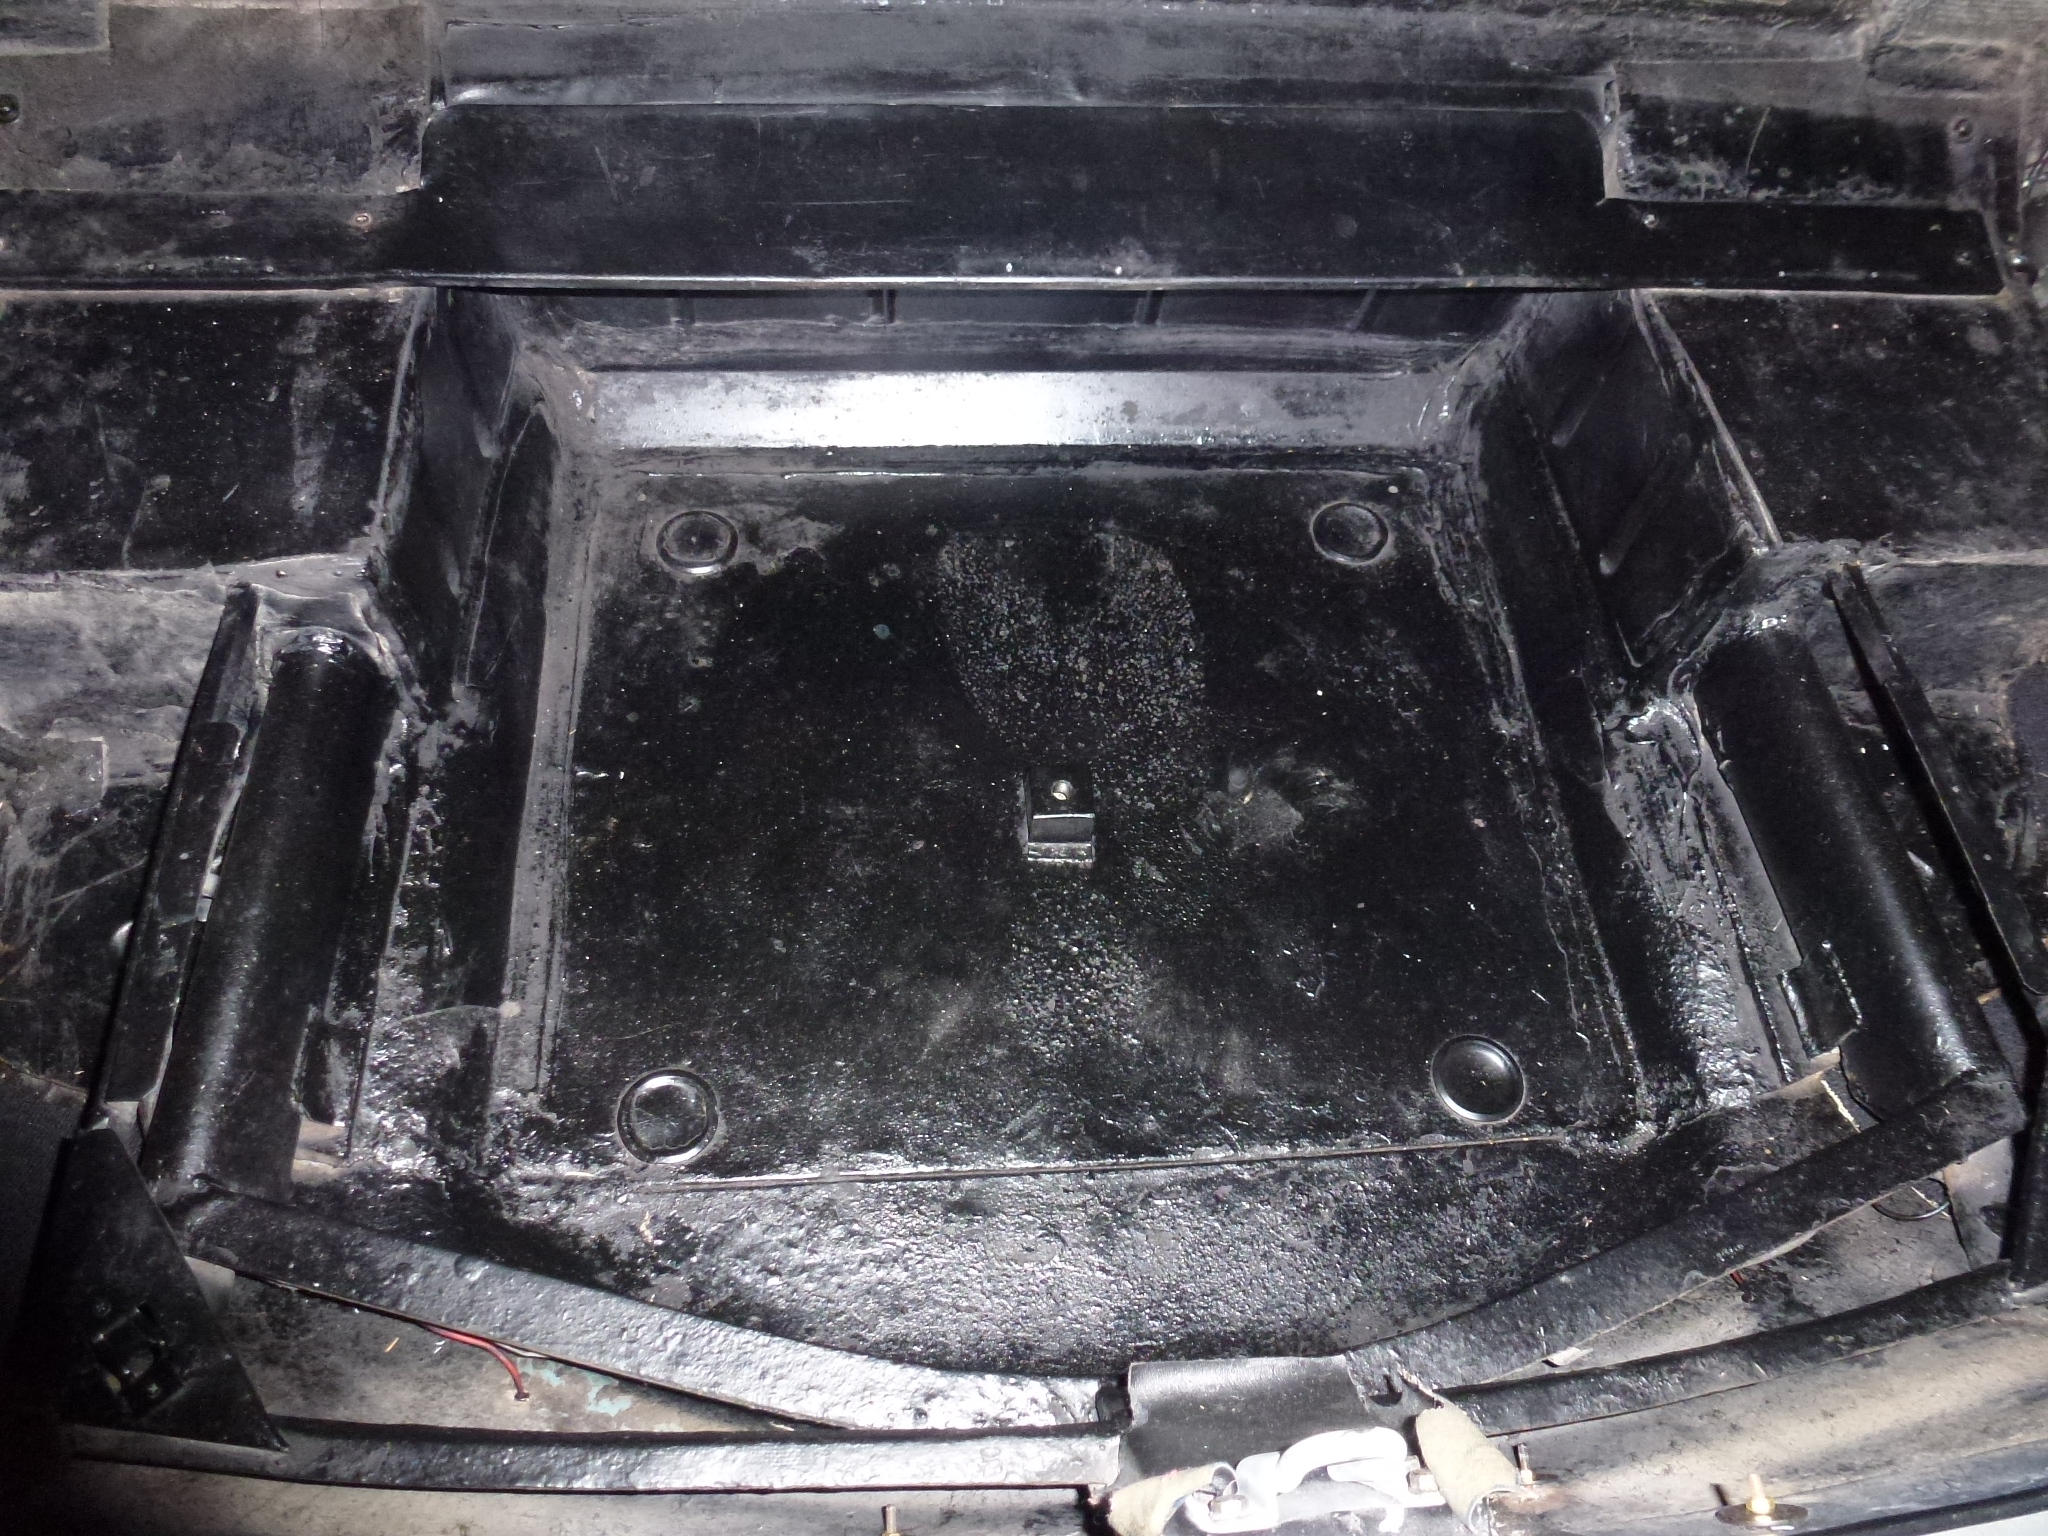
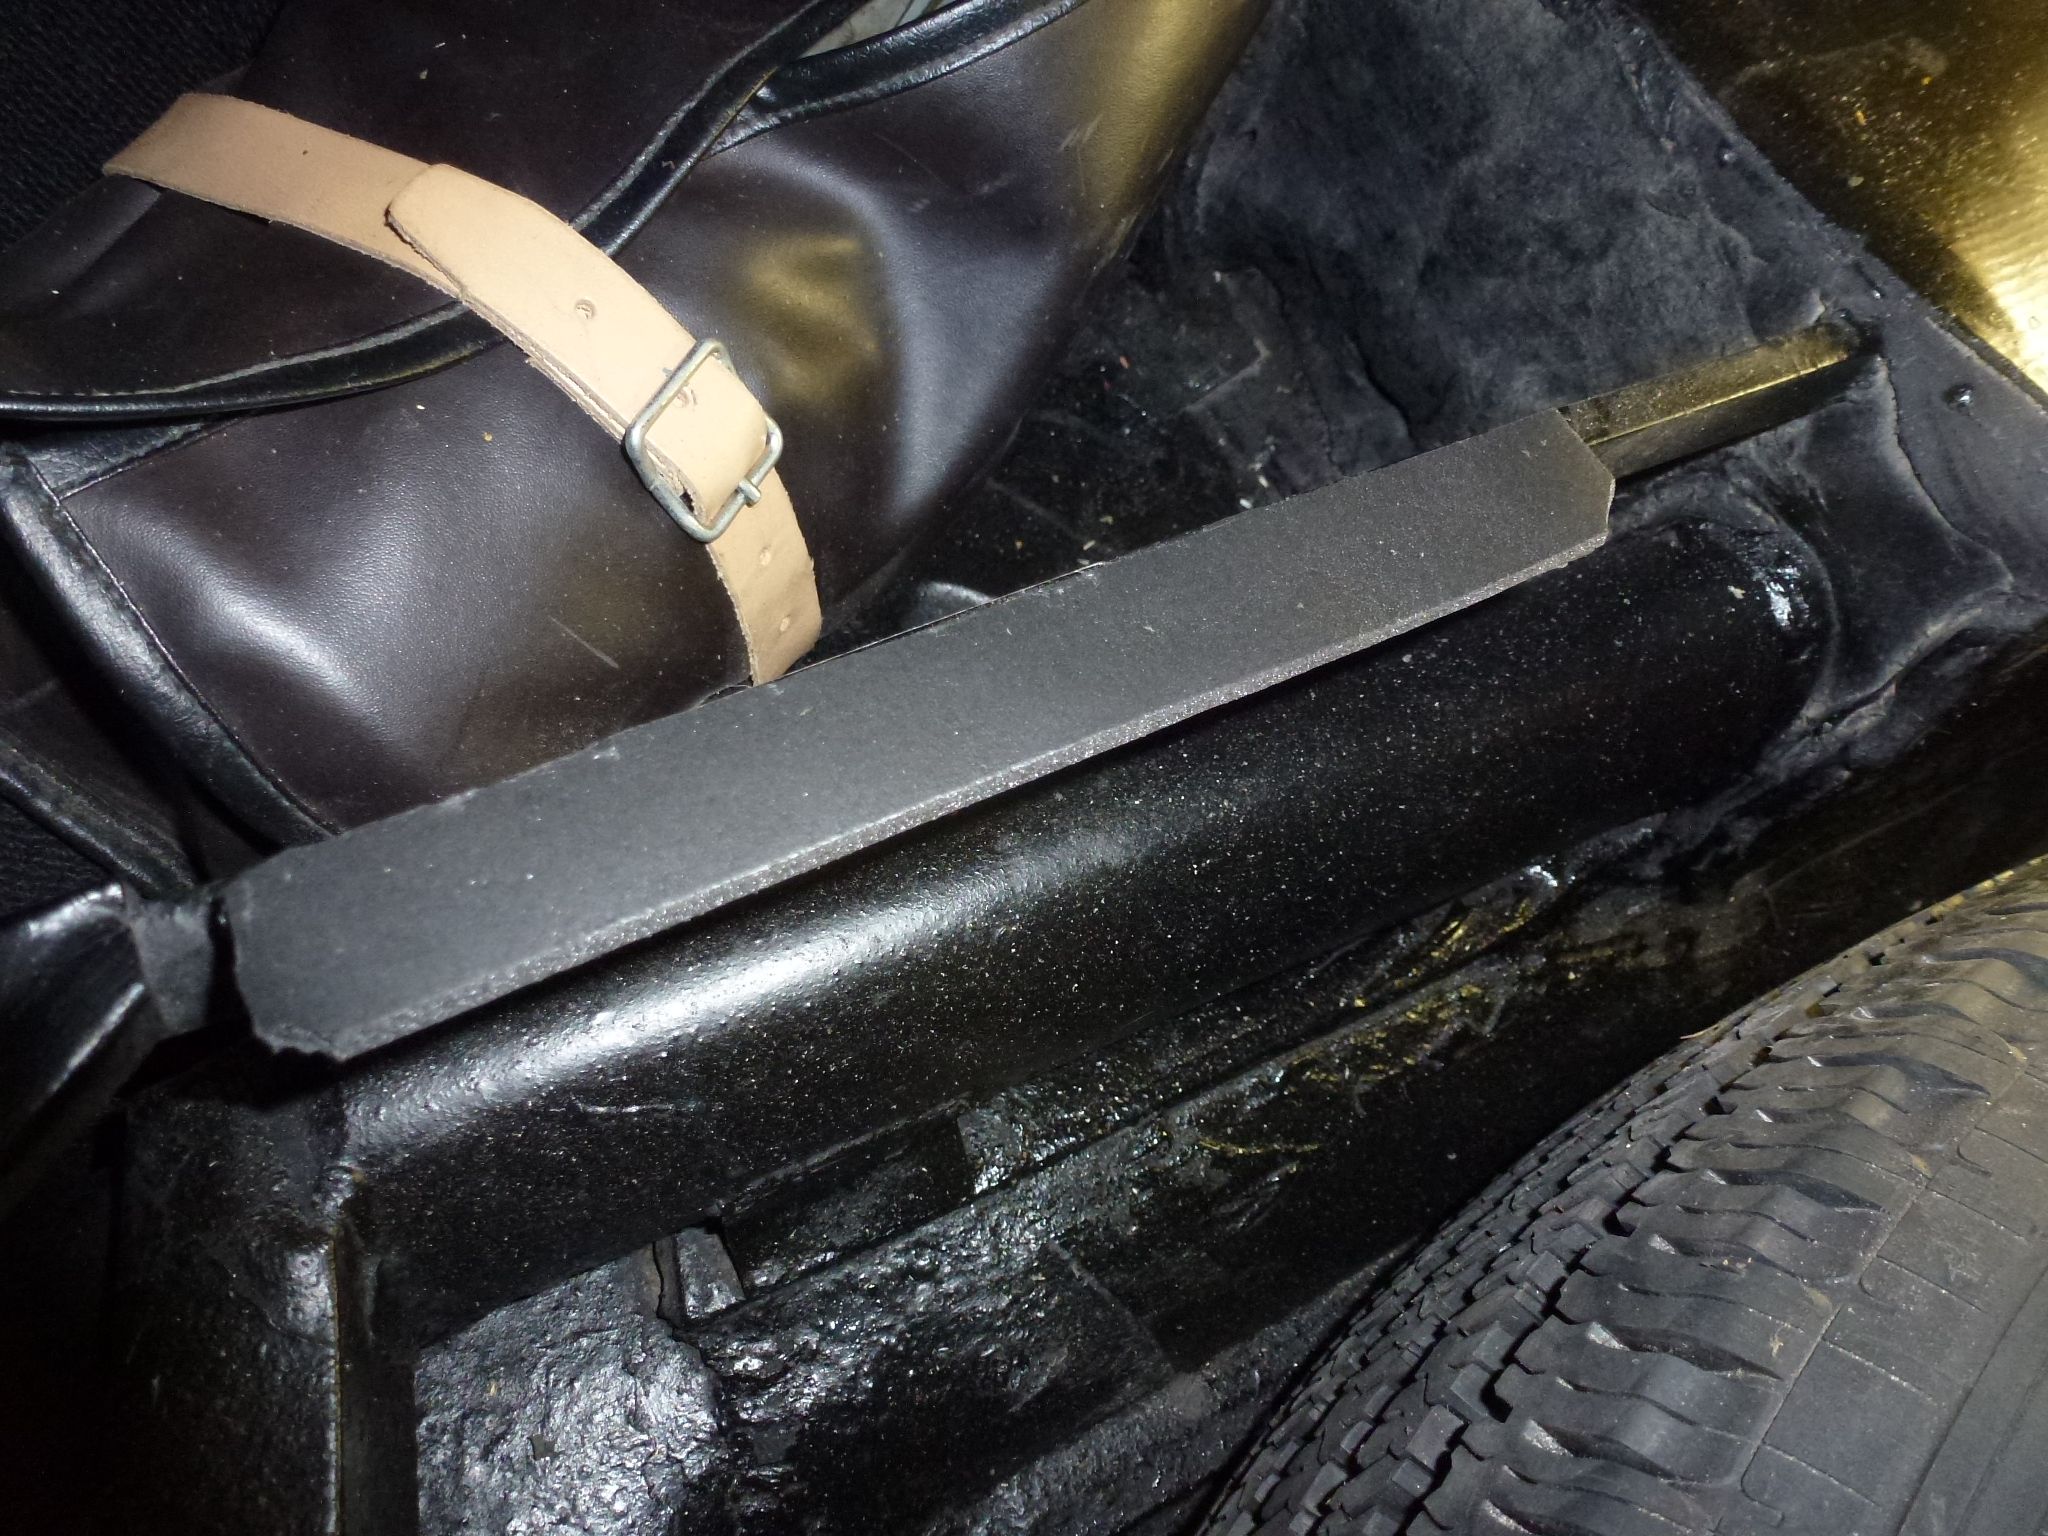
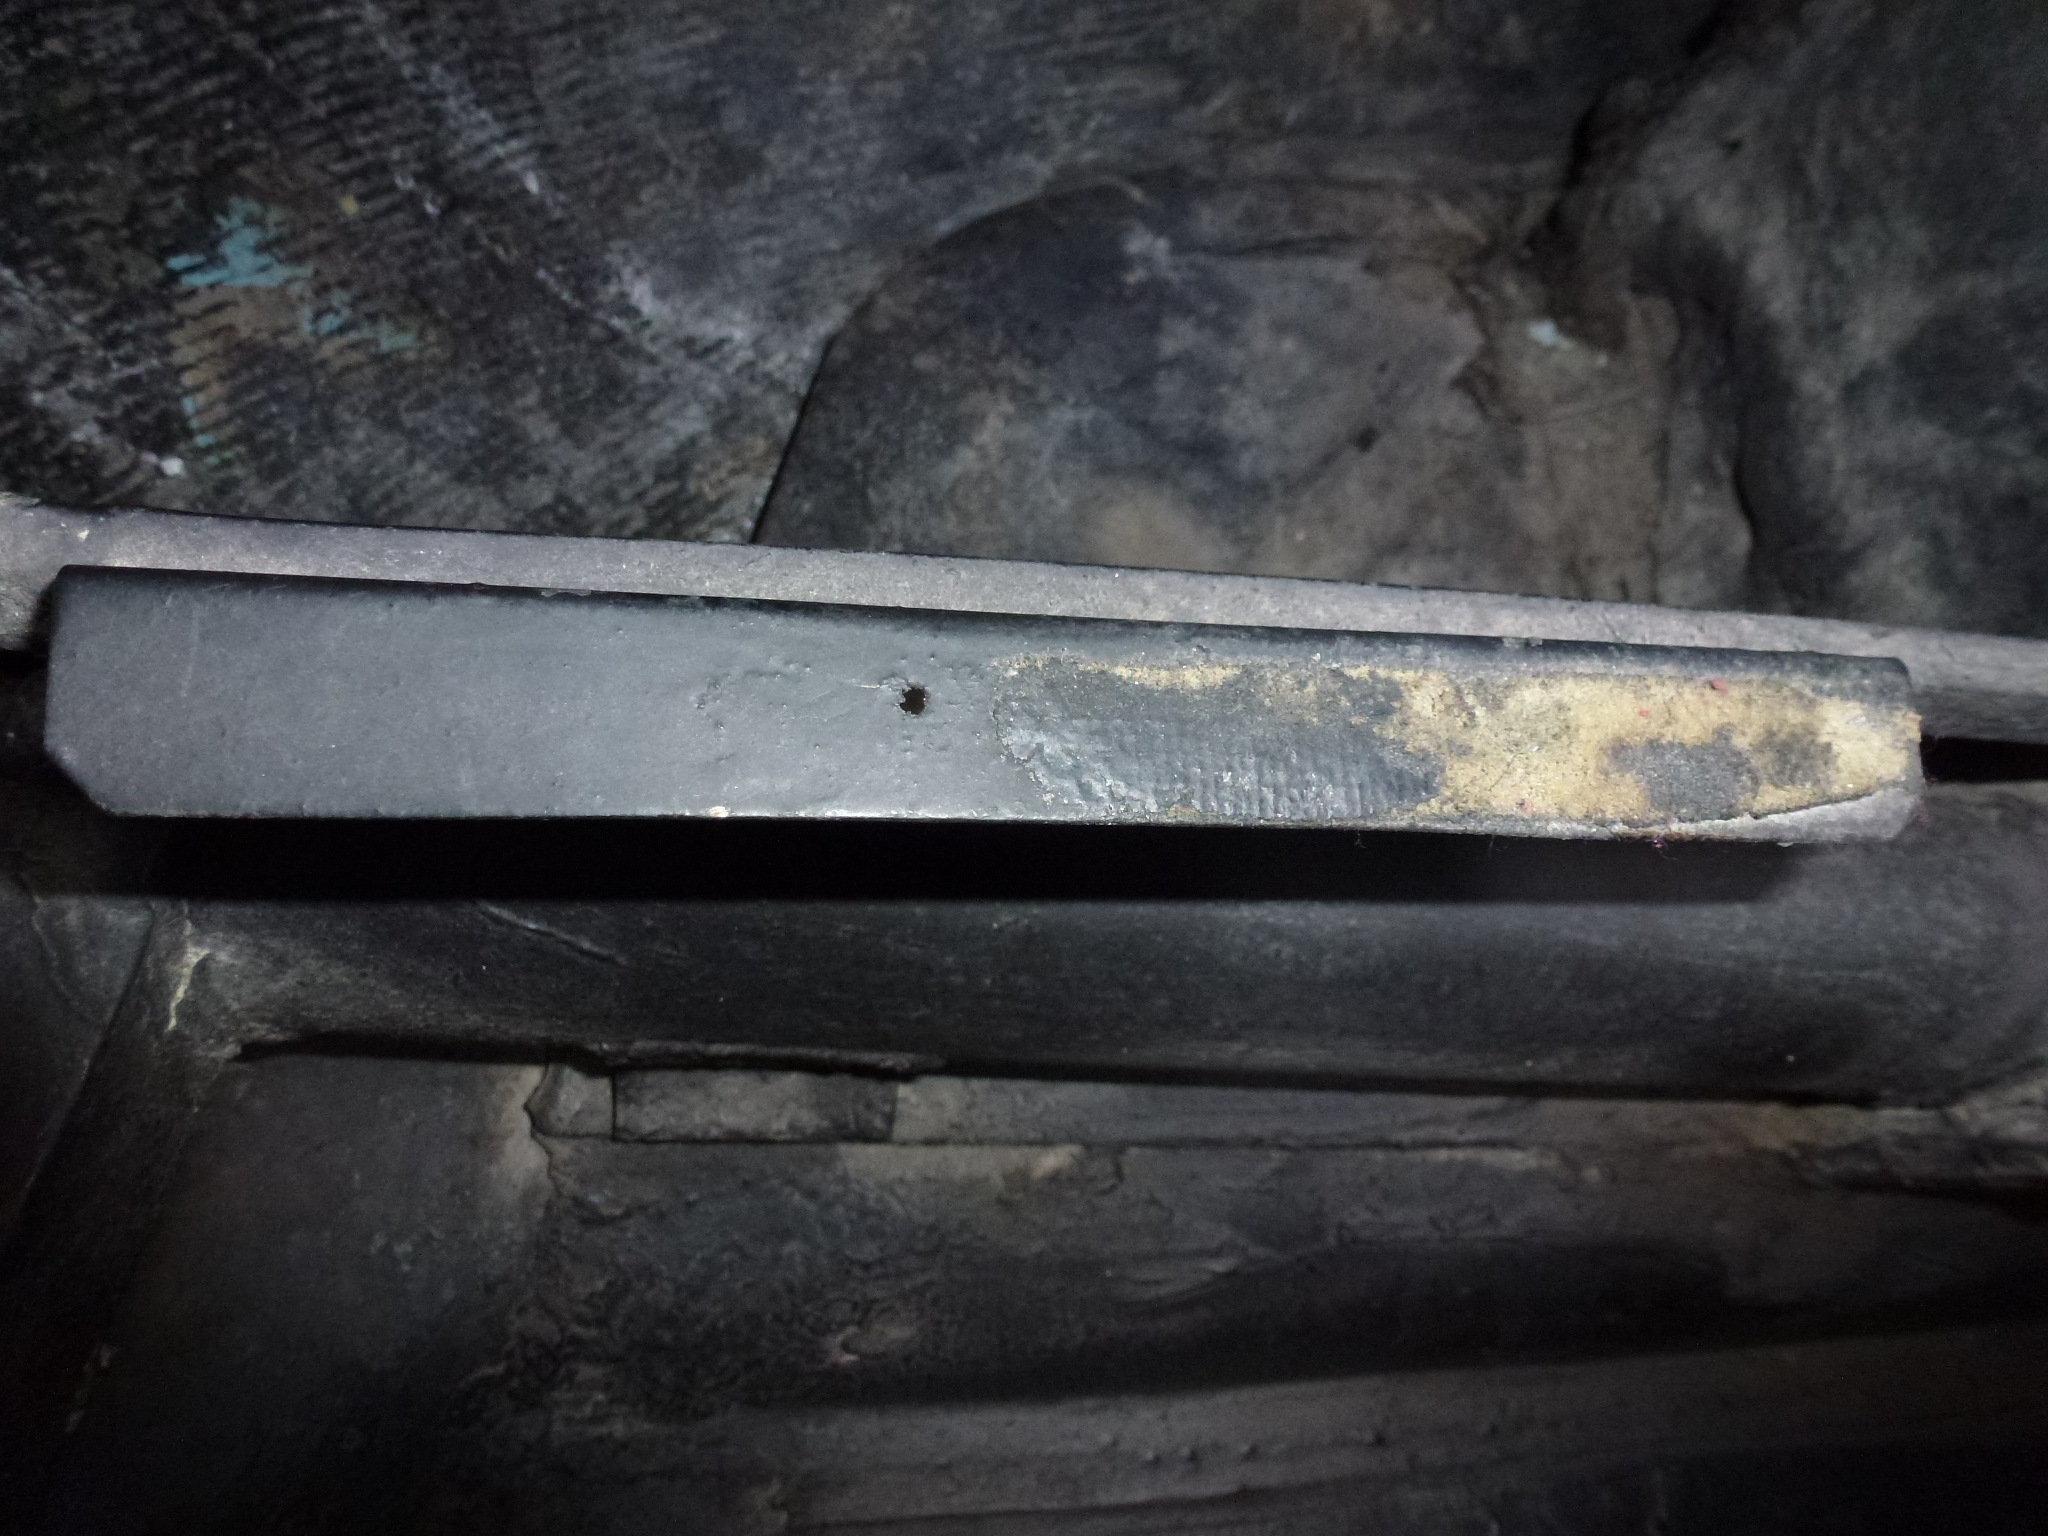
In the process of cleaning, I noticed the remnants of foam rubber on the brackets that the spare tire cover rests on.
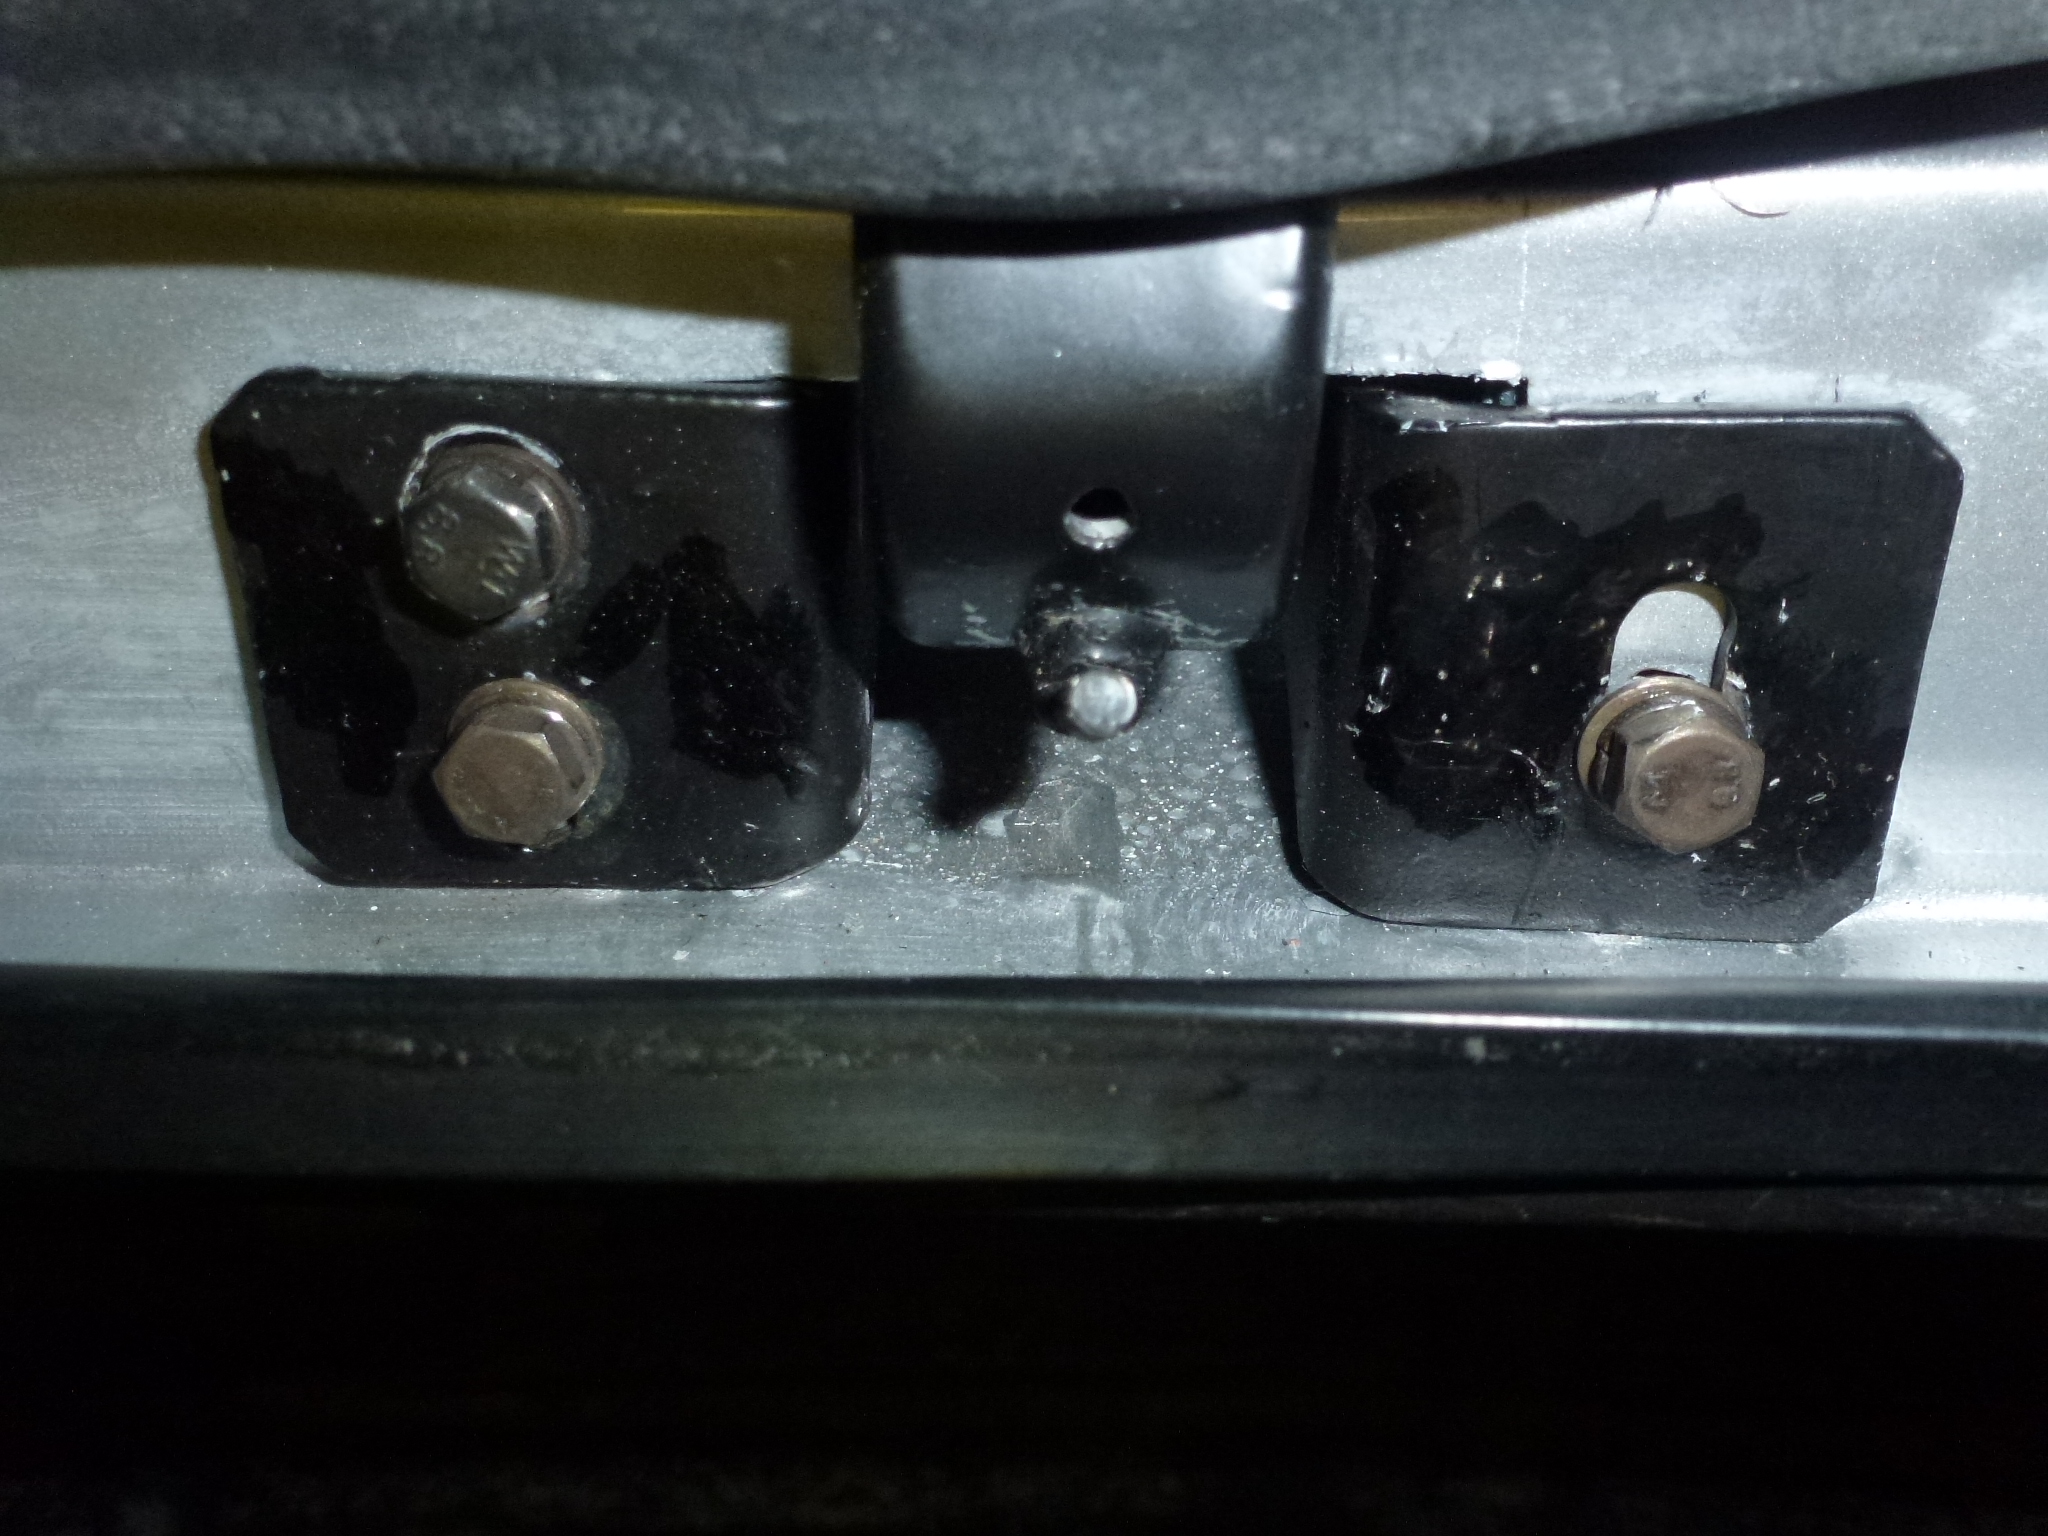
When I took off the spare tire cover, I noticed that most of the screws holding the hinges to the metal piece in the trunk were loose. The holes were stripped out. Instead of using larger screws which would stick up in the hinges, I used some JB Weld to glue some gussets on the underside. Then I drilled new holes and could use the correct size screws.
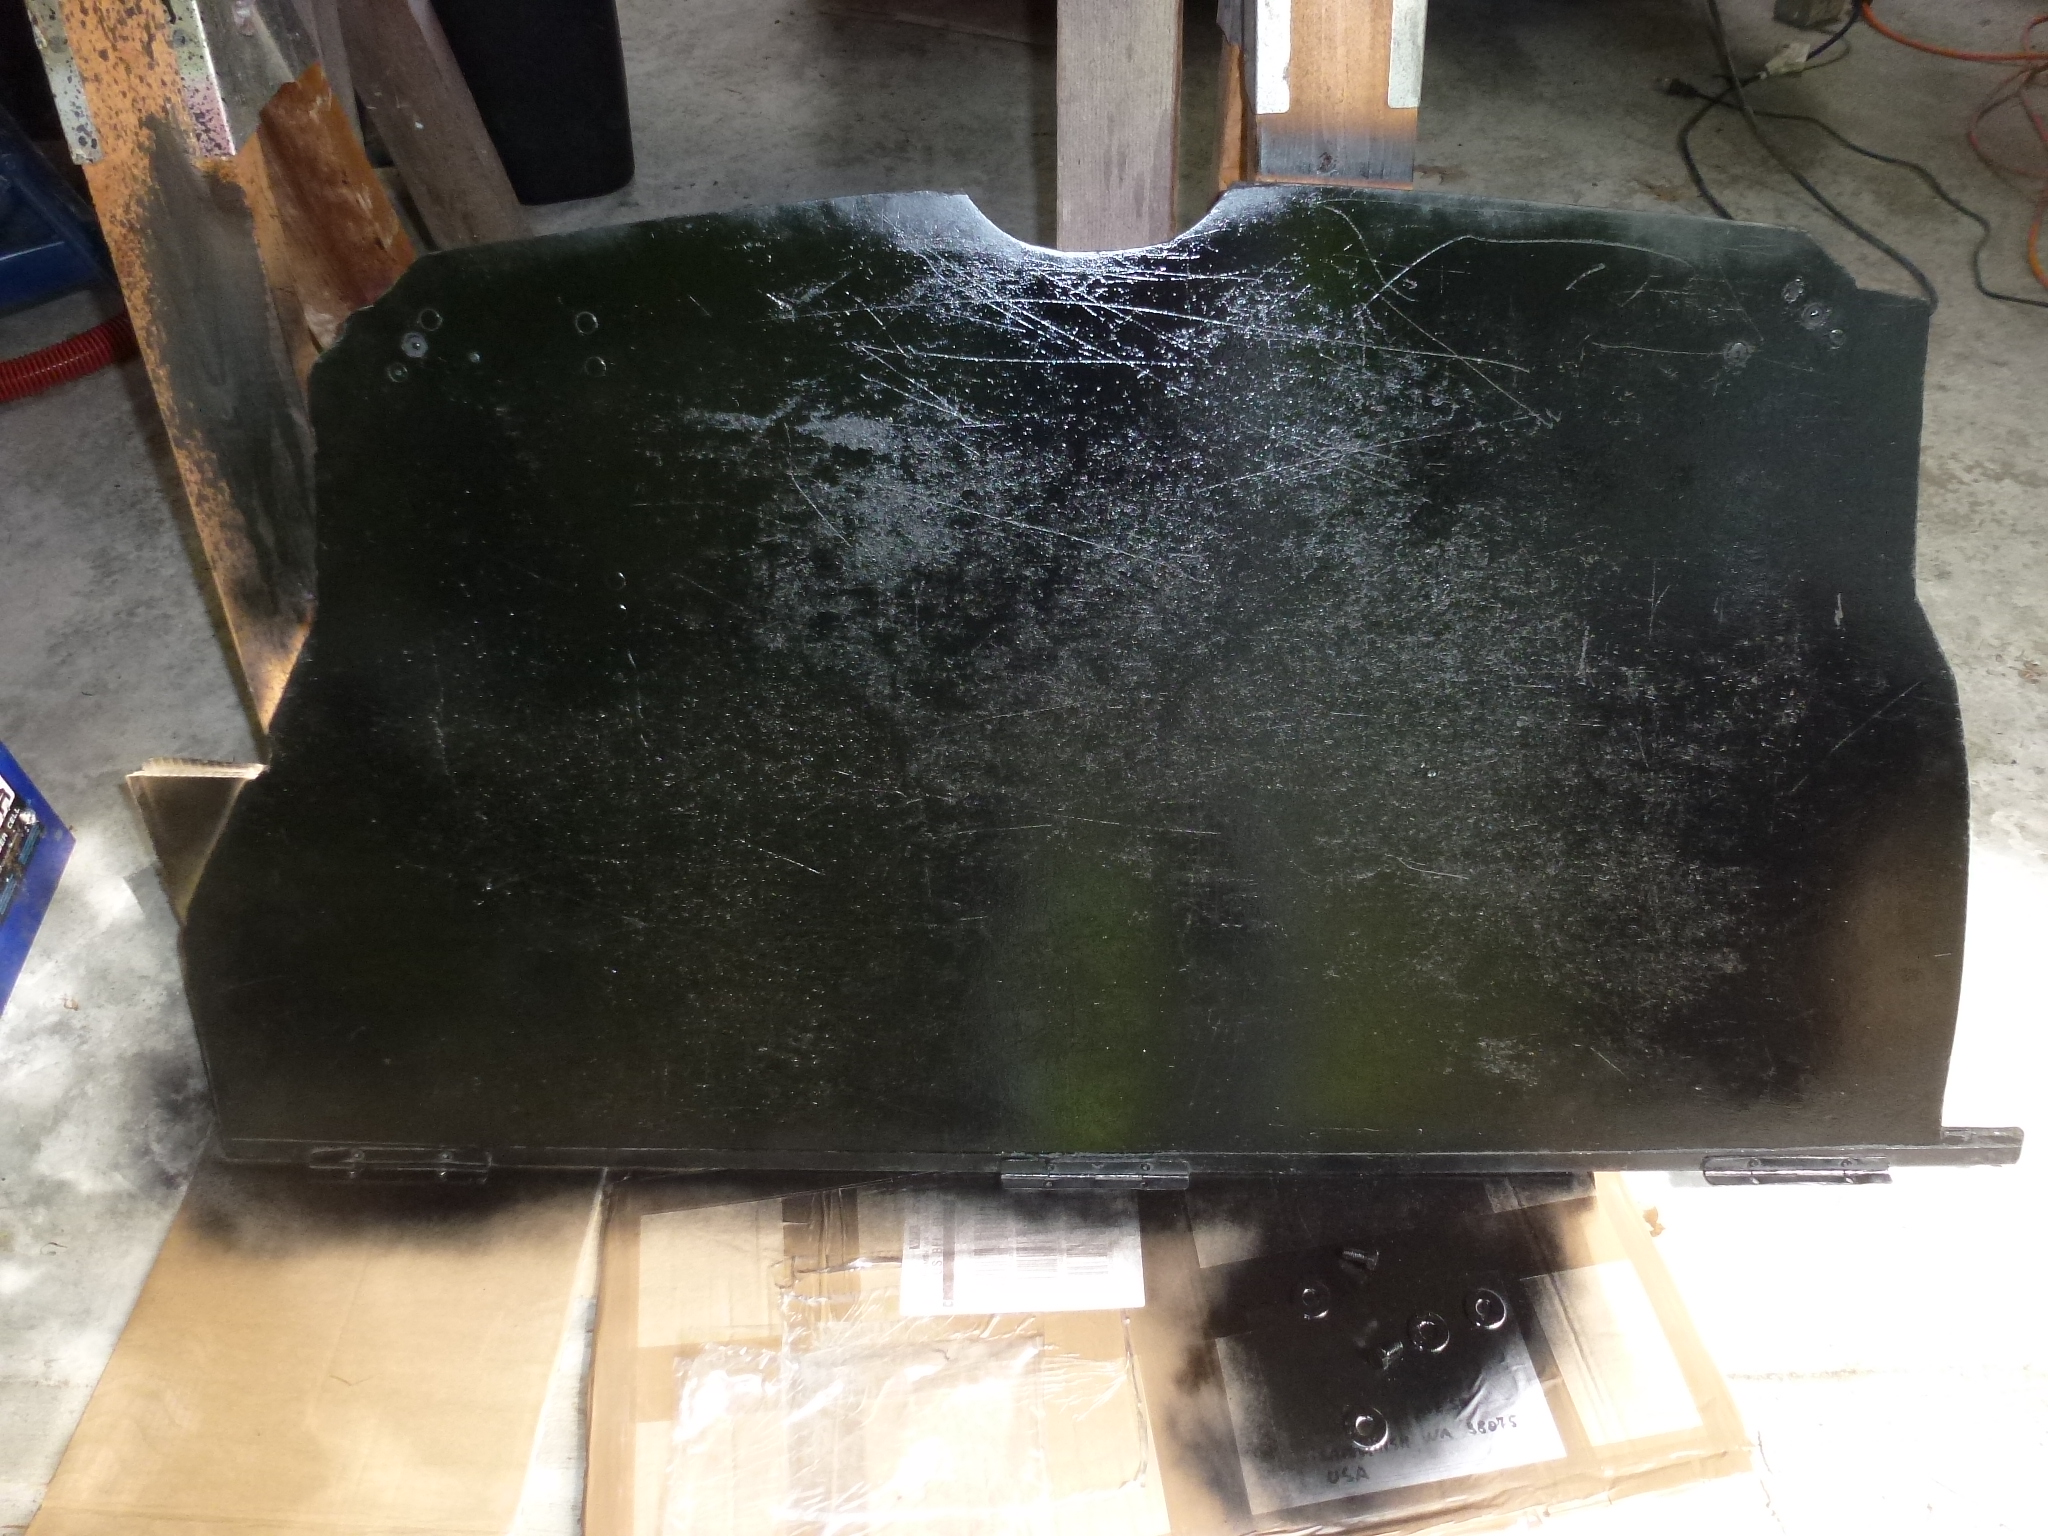
The spare tire cover needed some refurbishing, so I cleaned it up and painted it.
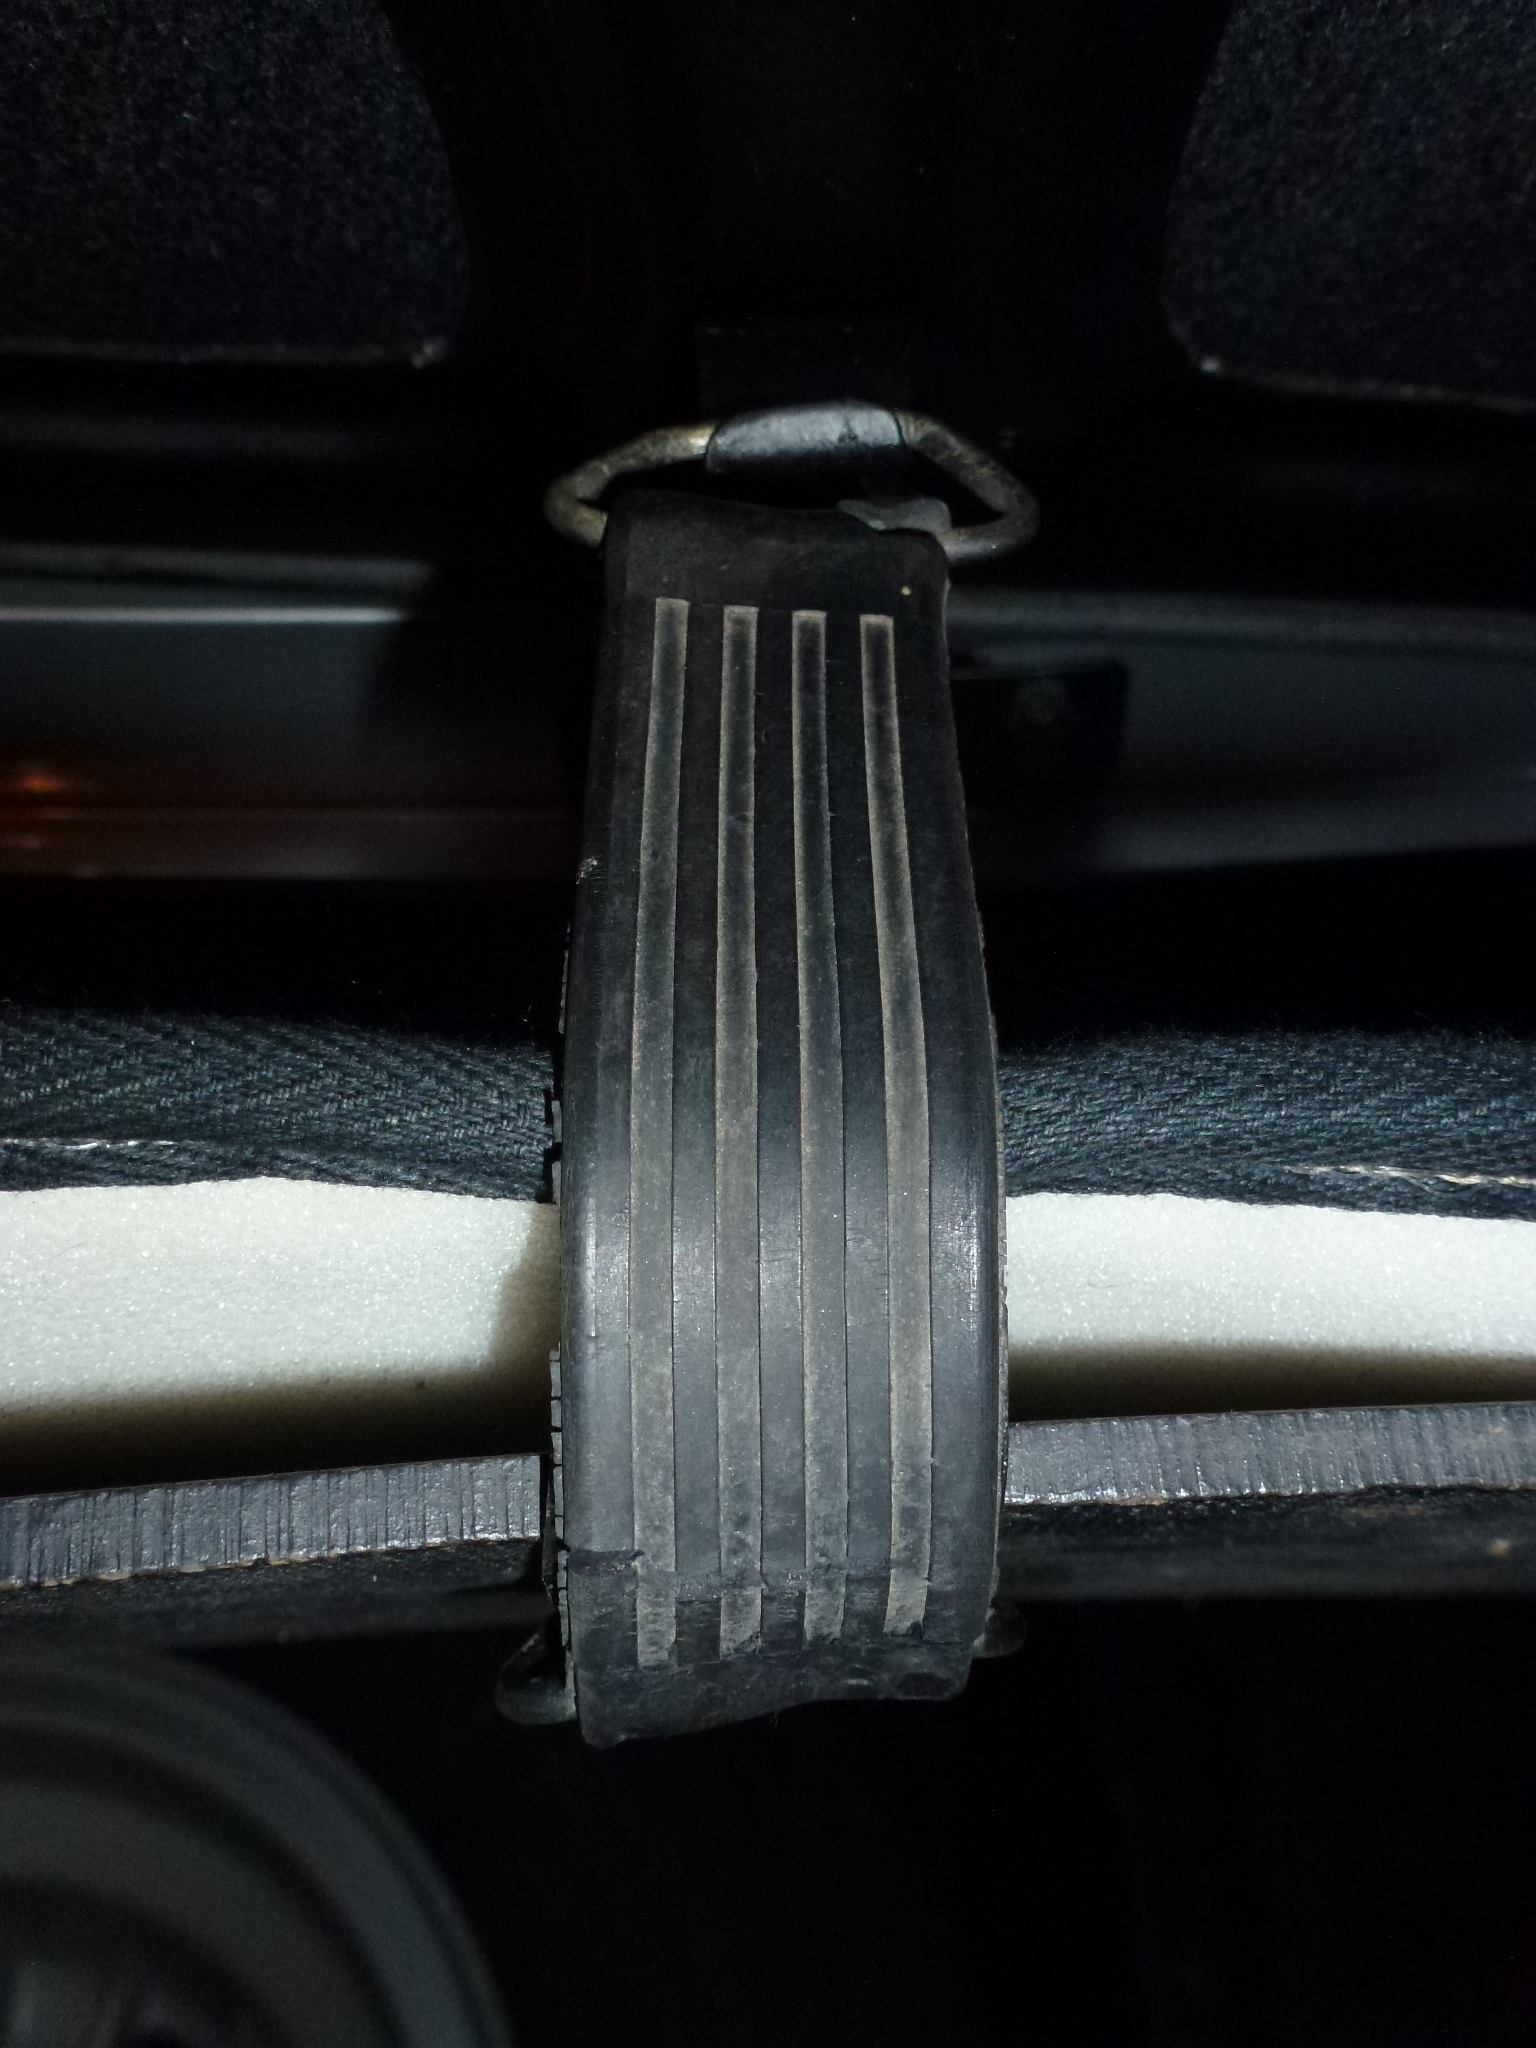
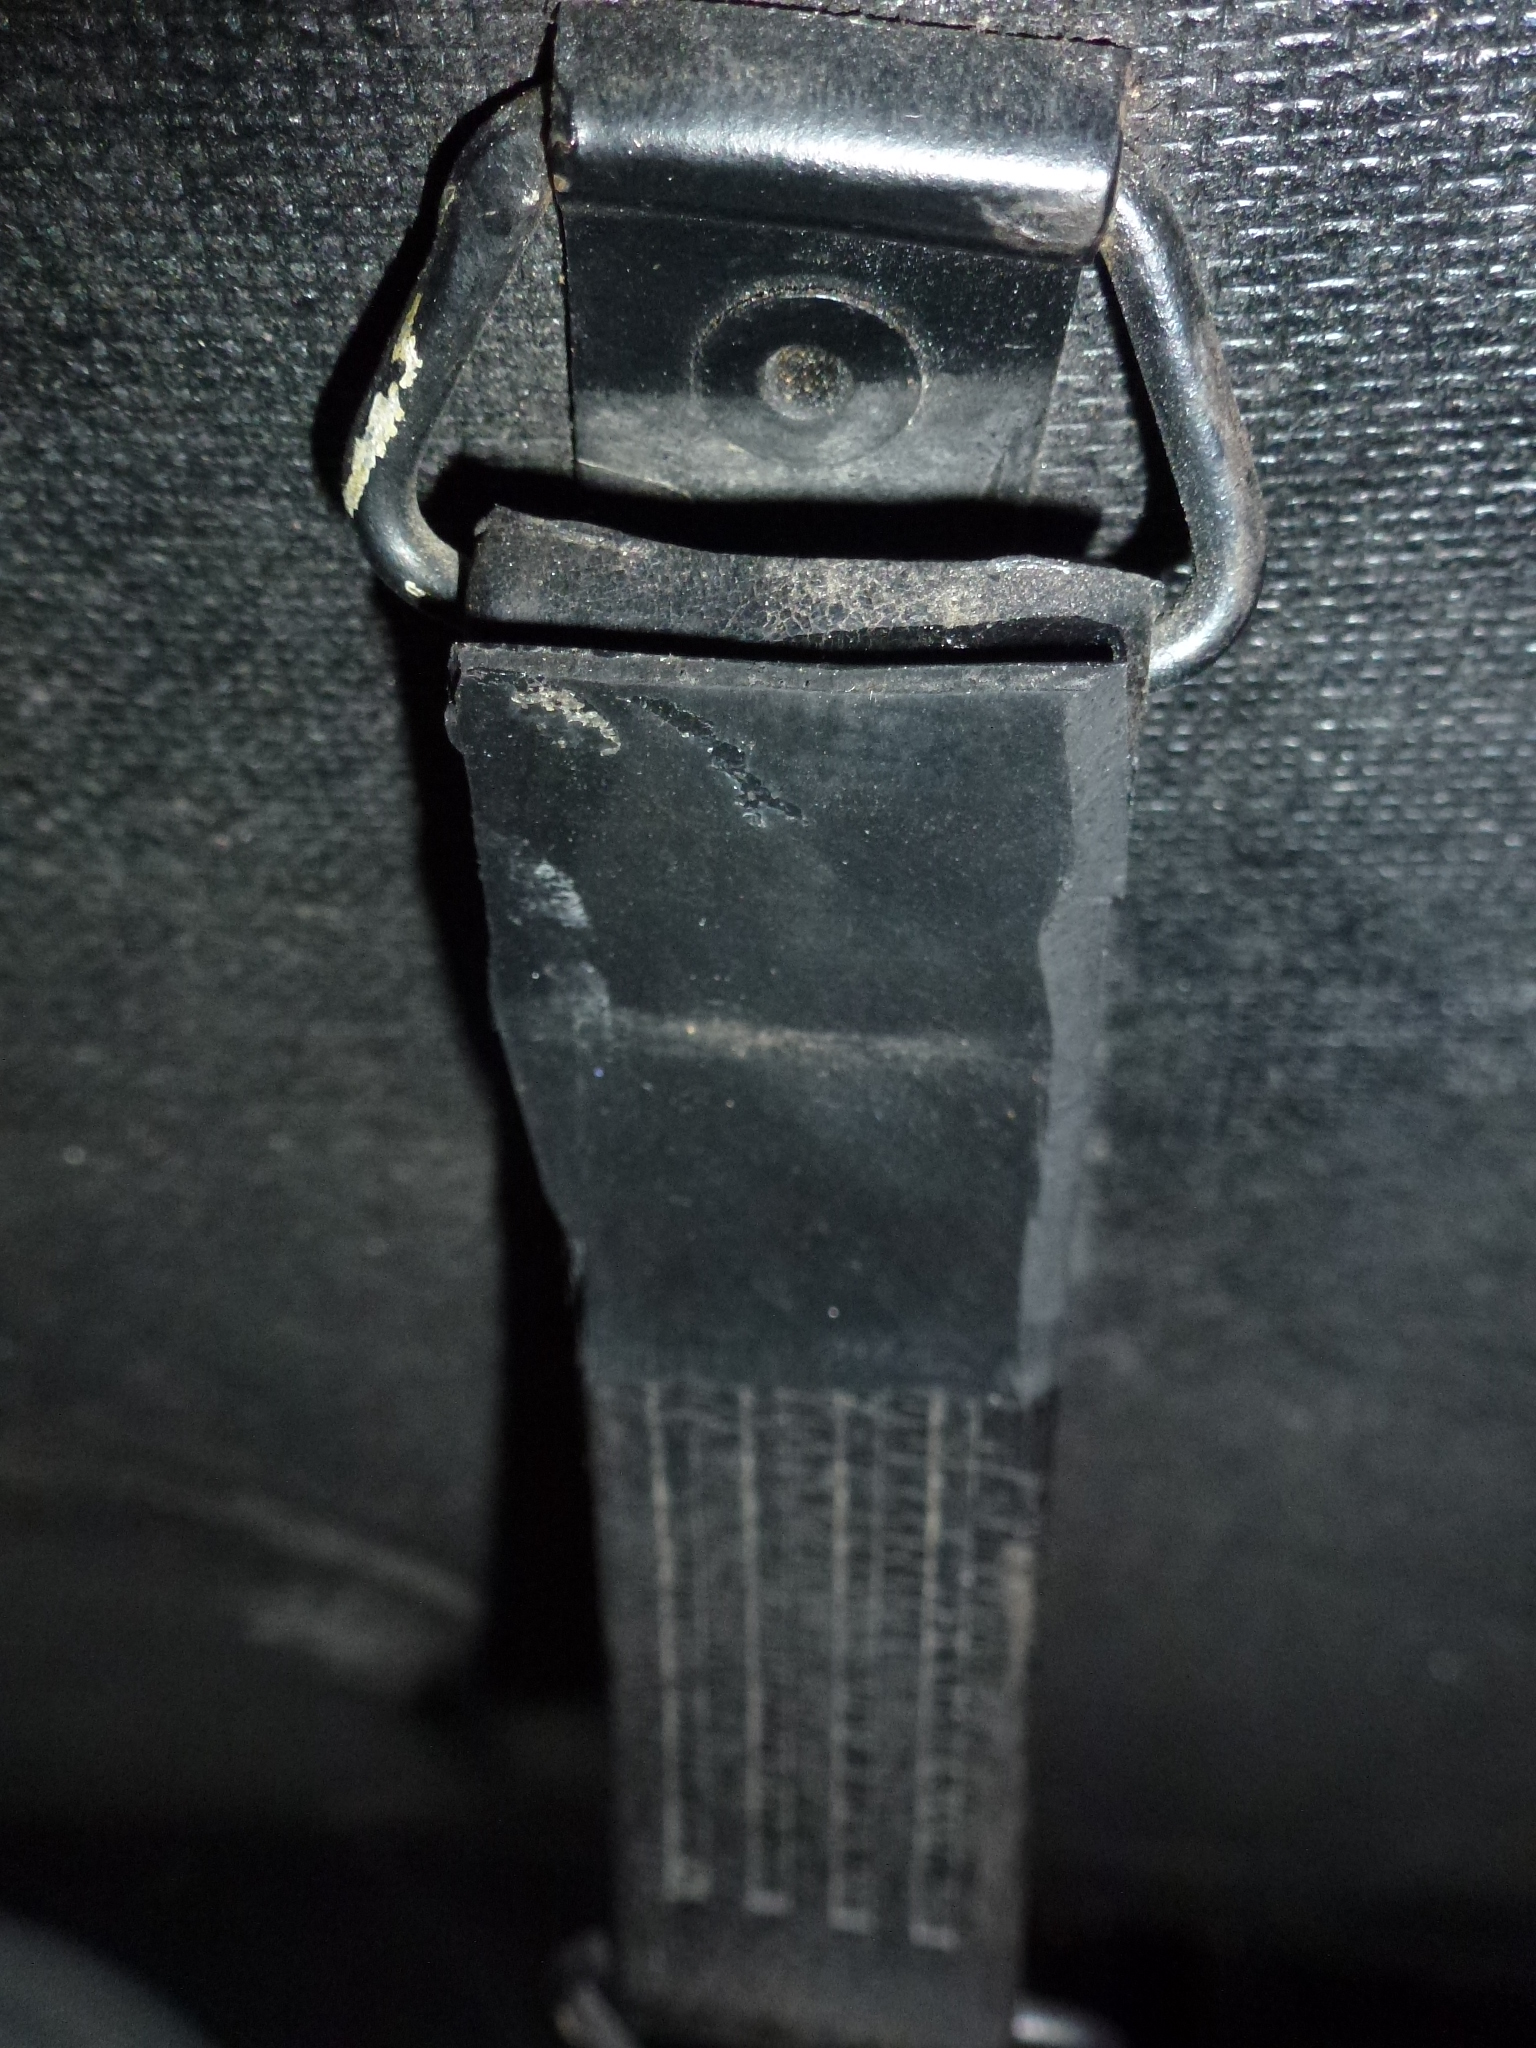
As I was working on the spare tire cover, the rubber strap that holds it up broke. Of course, being very old rubber, not surprising and of course, NLA. Cyanoacrylate (instant) glue is excellent at bonding hard rubber. So I carefully cleaned each of the broken ends with acetone and bonded them back together. In addition, I bonded a thin sheet of rubber to help relieve the strain. A word to the wise, use the strap sparingly and carefully.
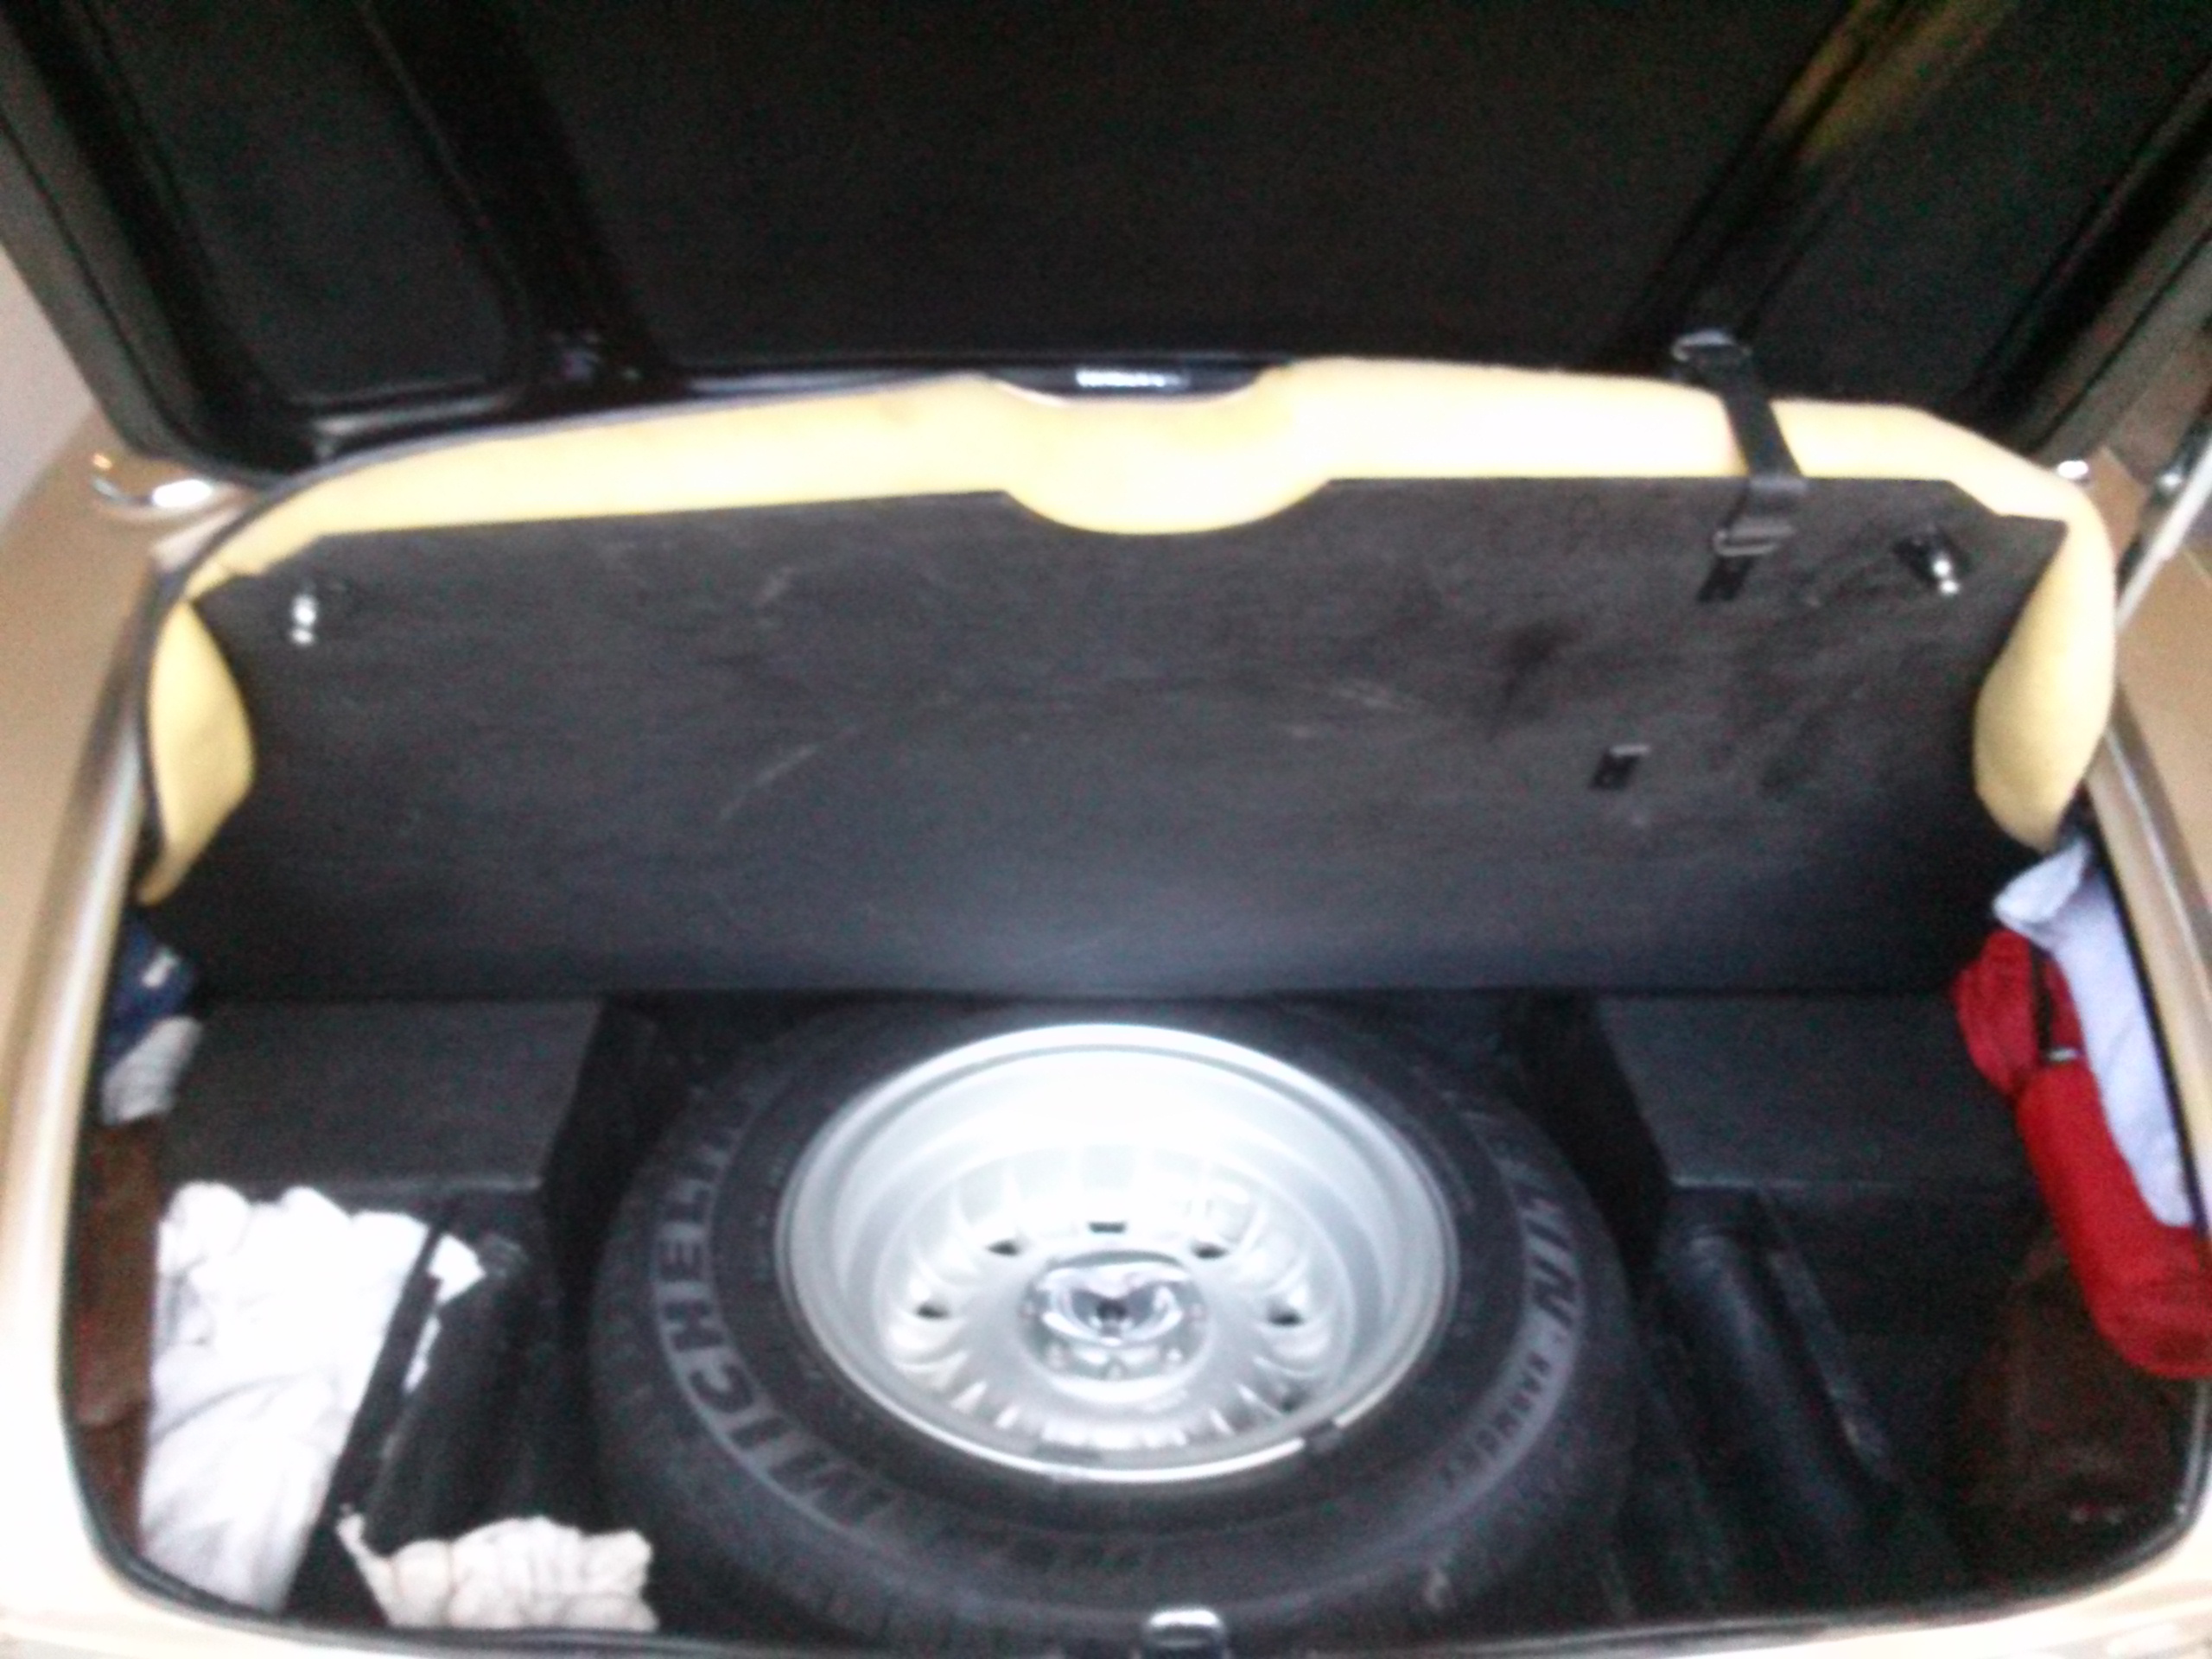
One interesting thing that you might notice in the right picture above is that the left side of the panel is cut off by about 2" as you can see the hinge sticking out on the right. I don't know quite why, but perhaps since the antenna was on that side before I moved it, perhaps it was to make additional room for access. Anyway, I queried a couple of other owners to see what their panel looked like. Lowell Brown's (8855) on the left has more curved side cuts, while Buddy Obara's (9667) is cut like mine (less the side being cut off).
.jpg)
Once I get the trunk carpet done and finish a couple of minor items, the trunk will be done.
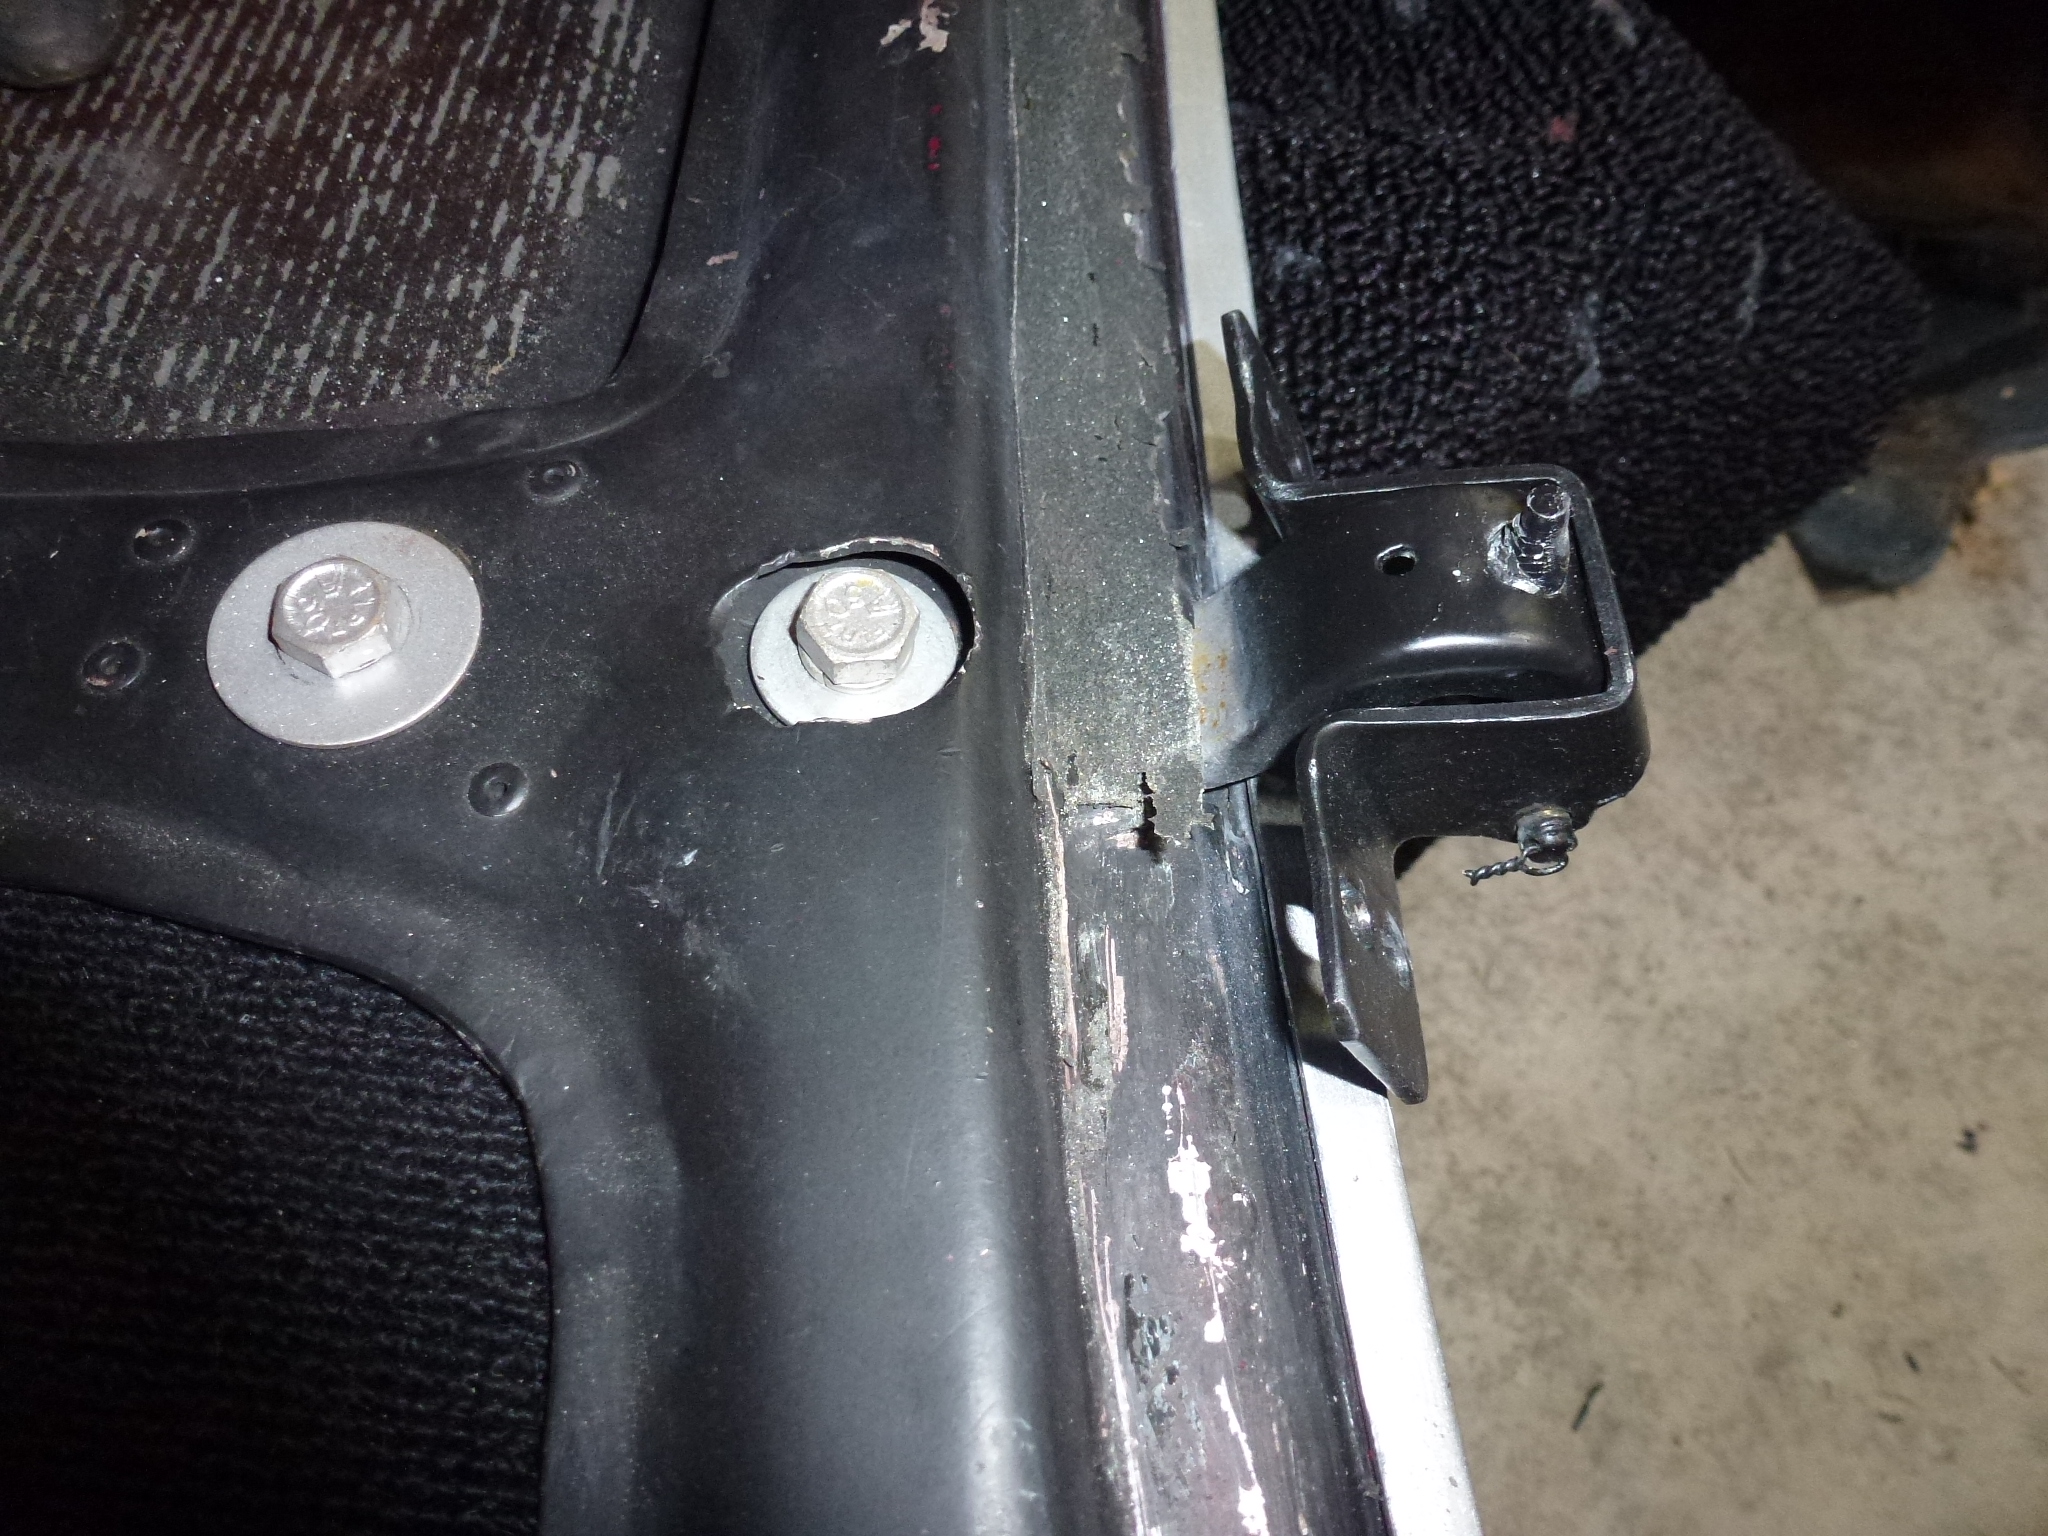
The painters had the trunk lid off the car when they painted, but they screwed the bolts into the hinge captured nuts so the threads wouldn't get painted. Great idea, except that those bolts had been black oxide processed, so they ended up silver. I had to glass bead off the paint and dip them in the black oxide solution to get them black again. Once they were dry, I put them back in place.
Another thing I notice was that the foam rubber under the fuel tank access plate was toast. I bought some foam weather strip at a big box home improvement store that was ¼" thick. After trimming it to the right width, it stuck on nicely.
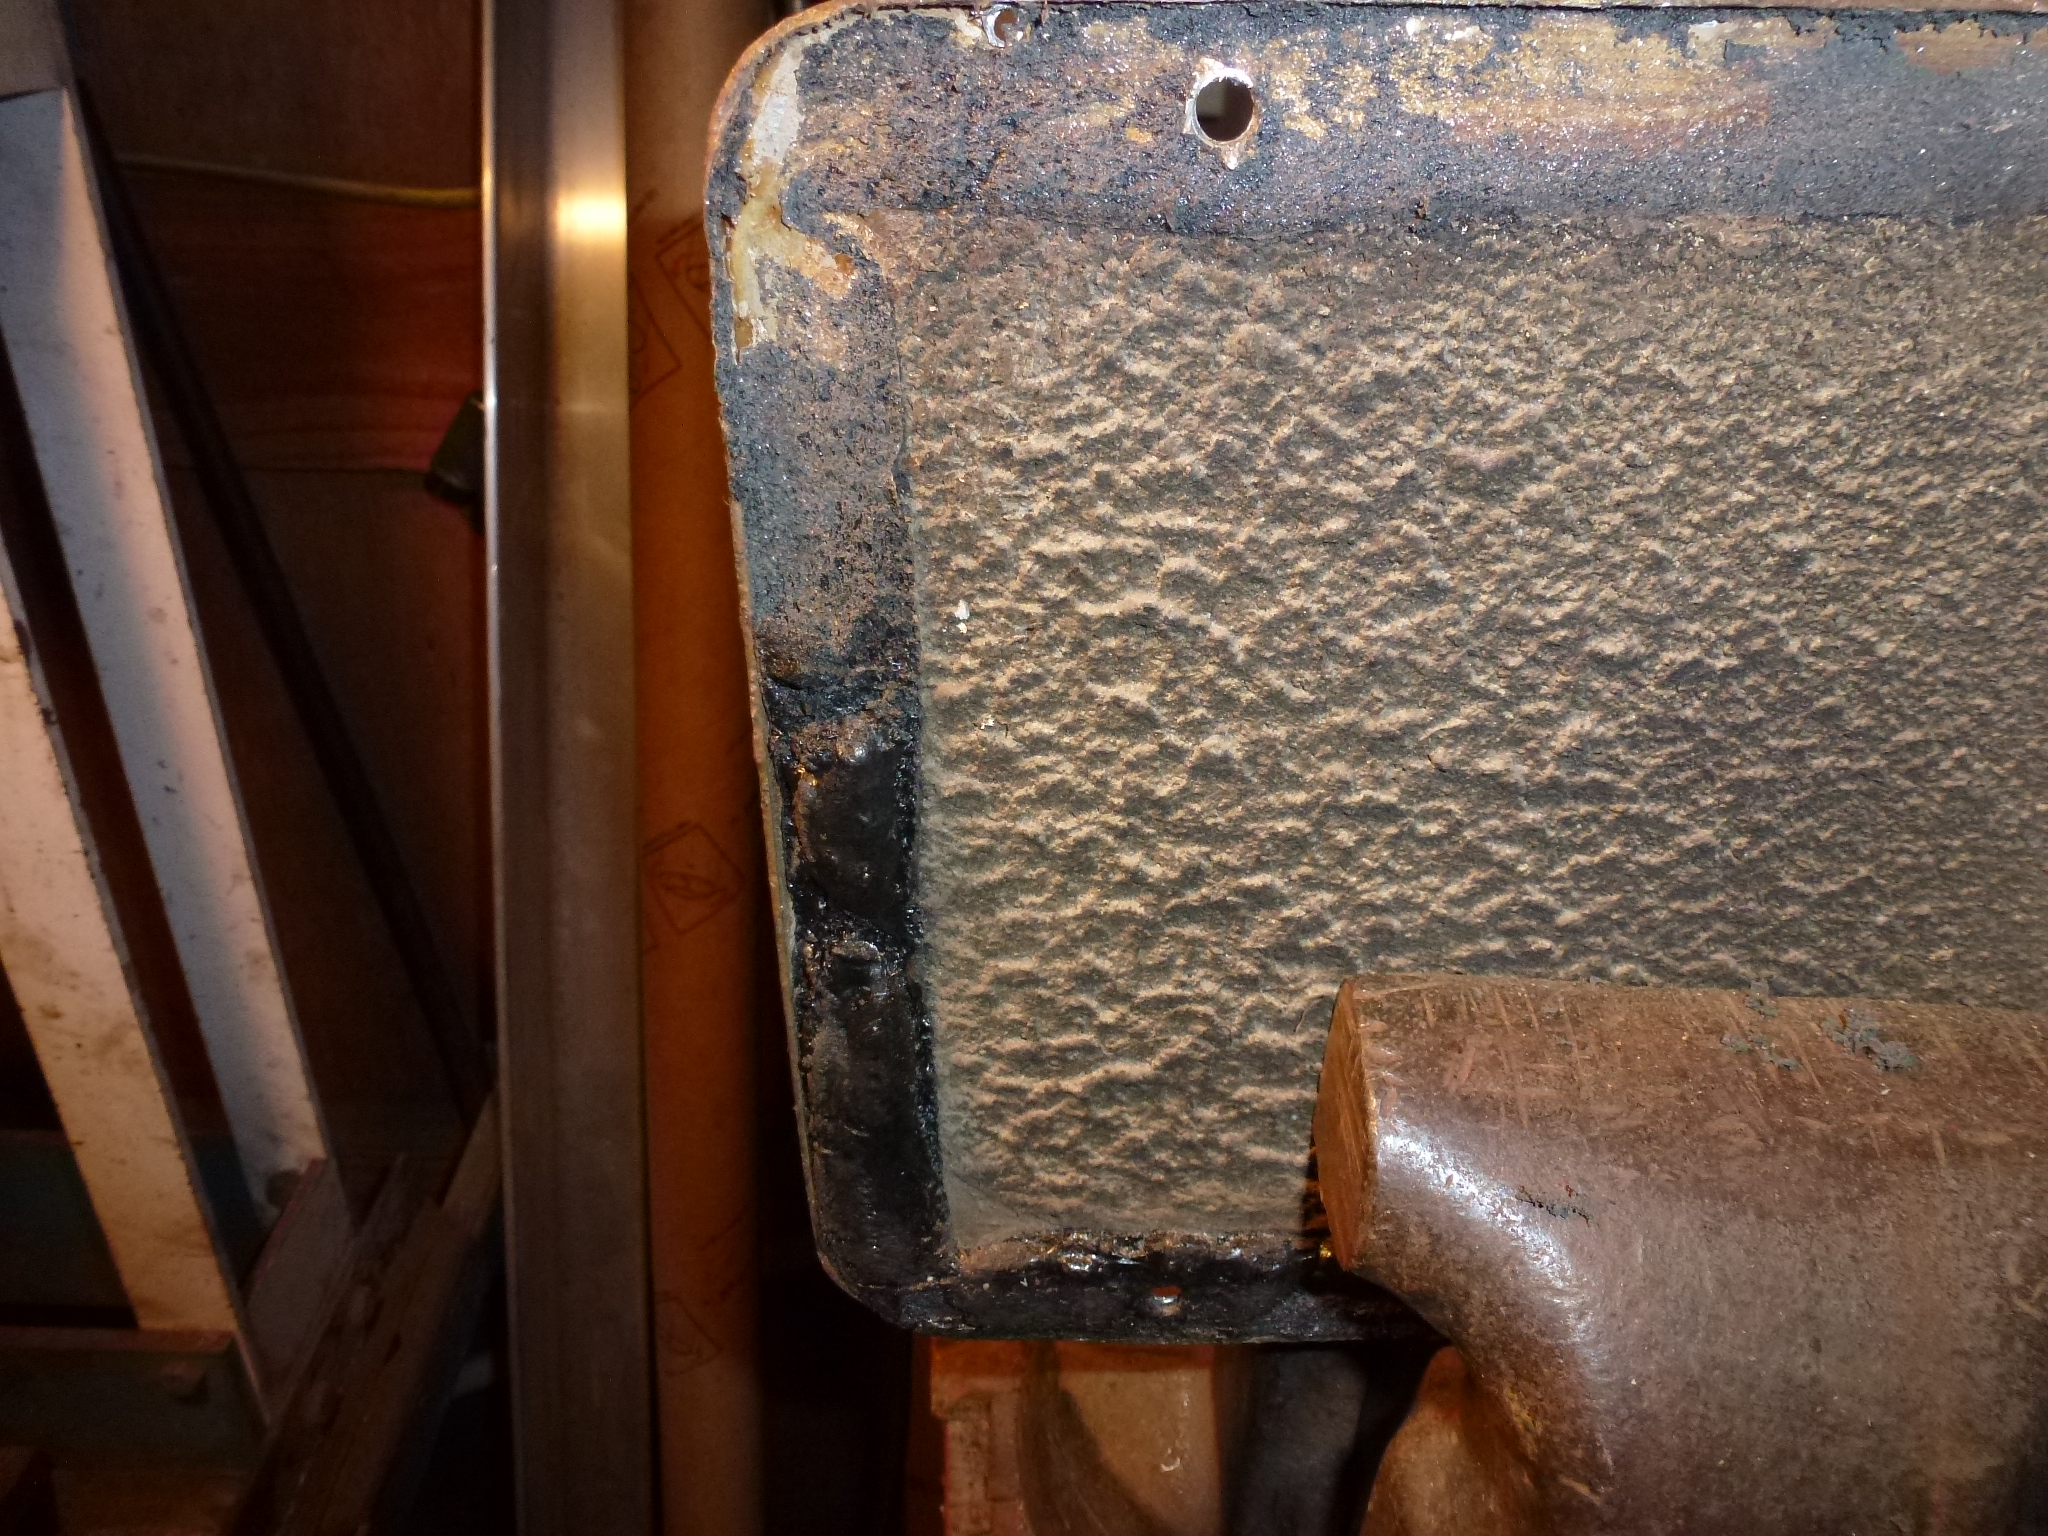
I also used the same weather strip to put on the brackets that the spare tire cover rests on.