Silver Paint
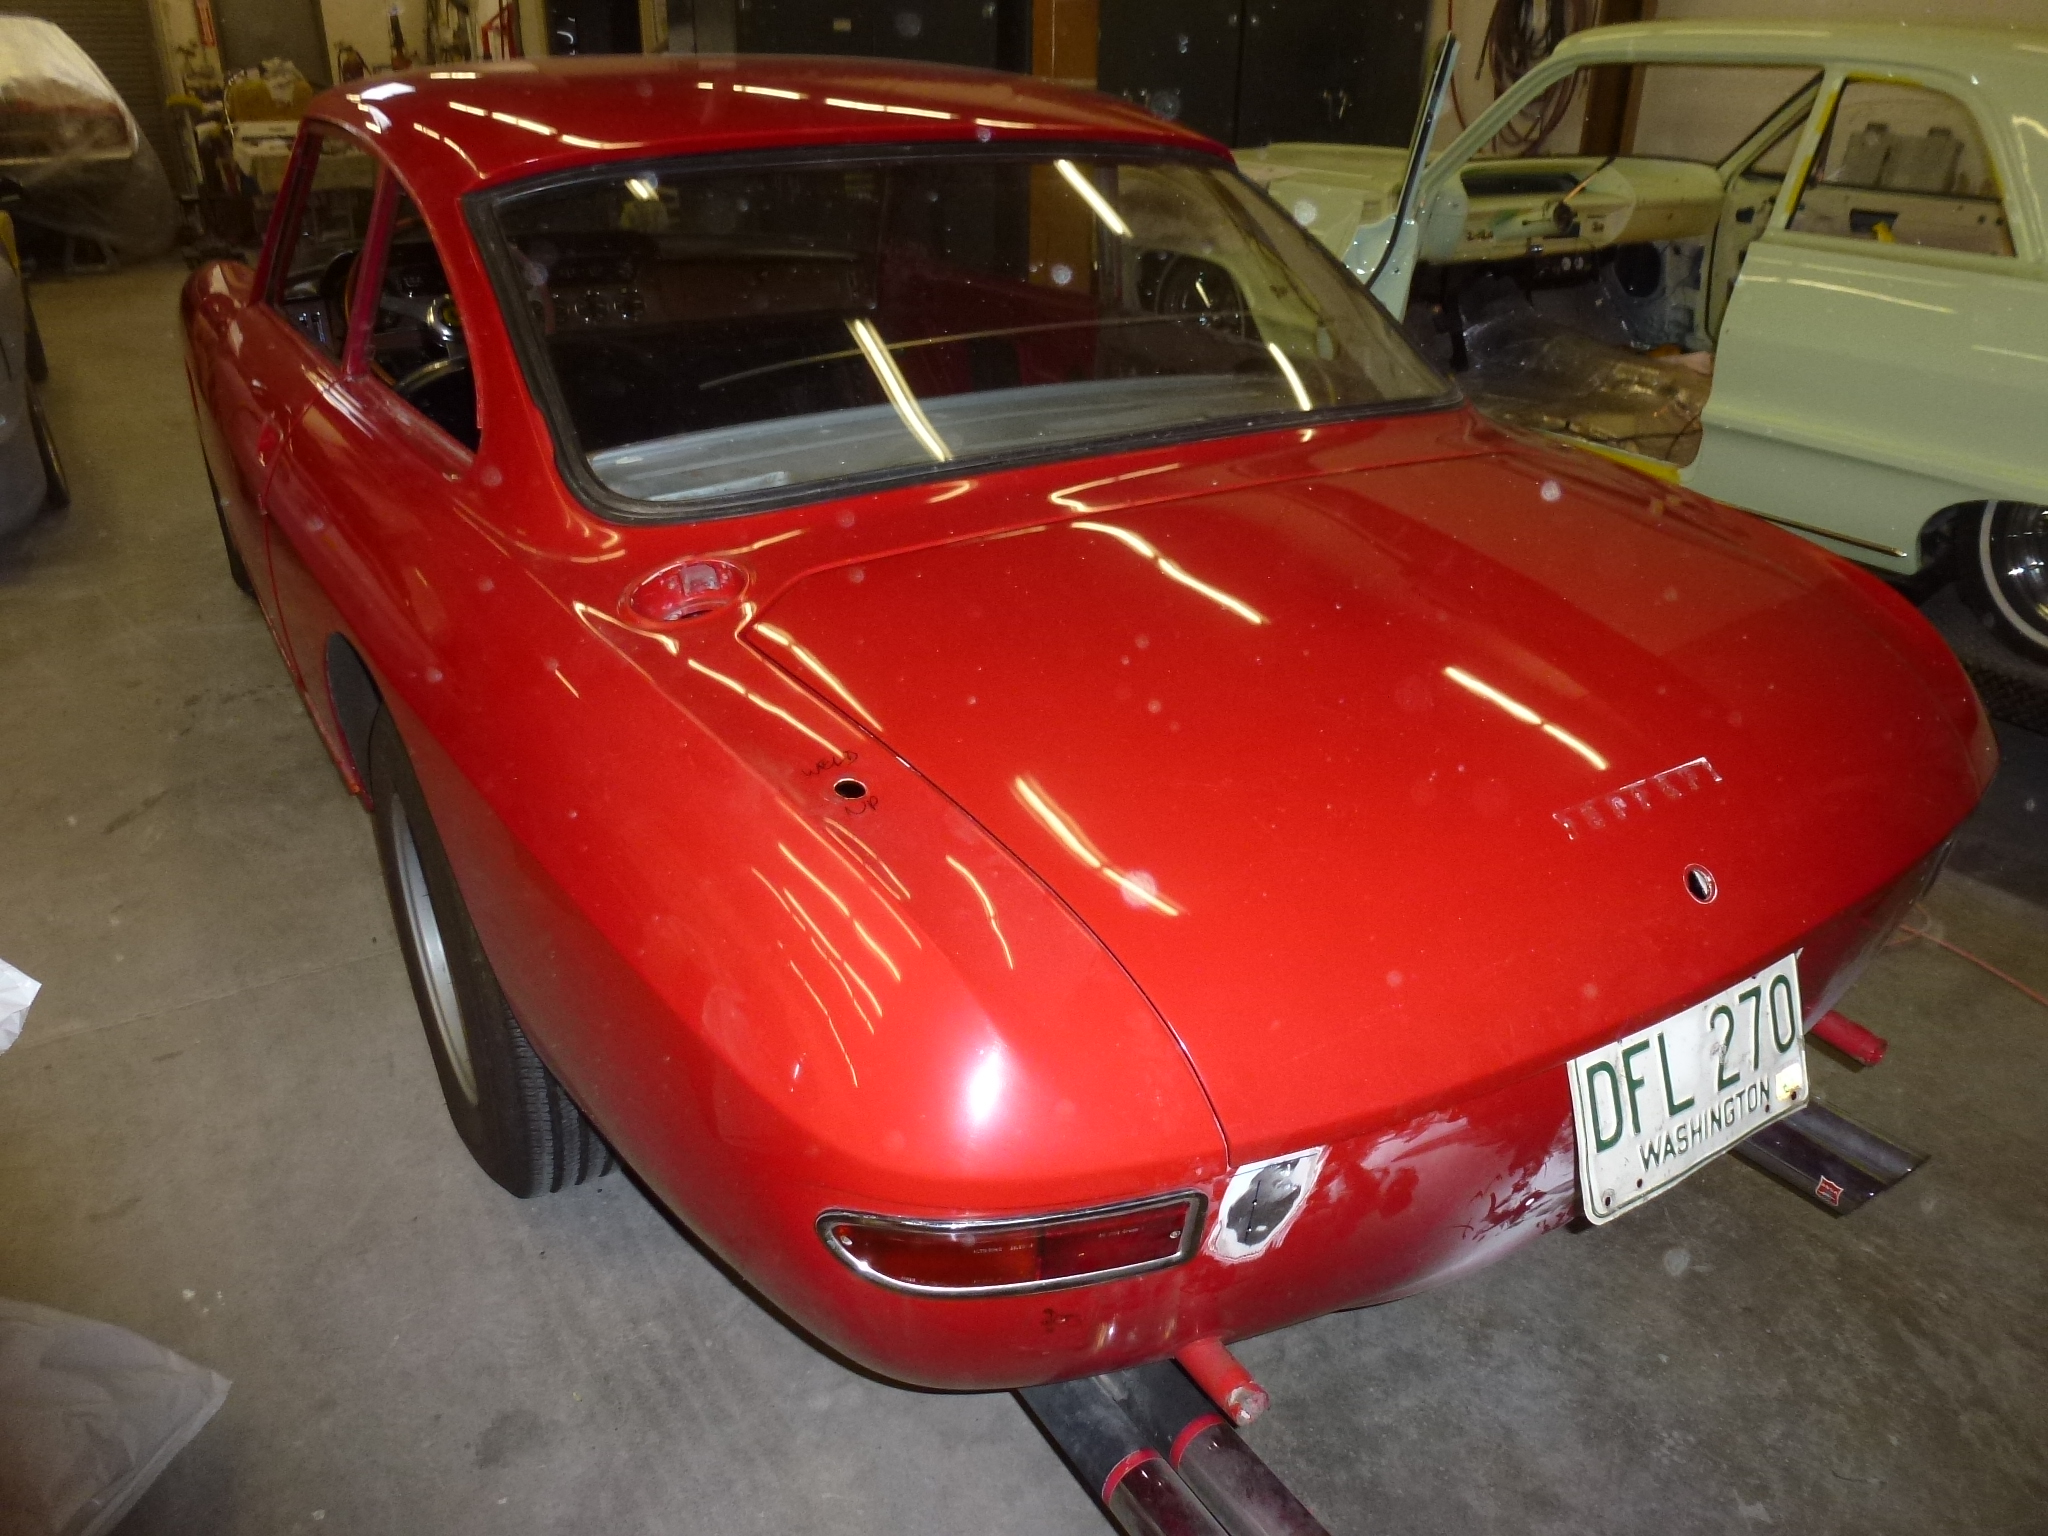
It's been 29 years since the car was fully painted. There are some flaws and garage rash that have occurred over the years.

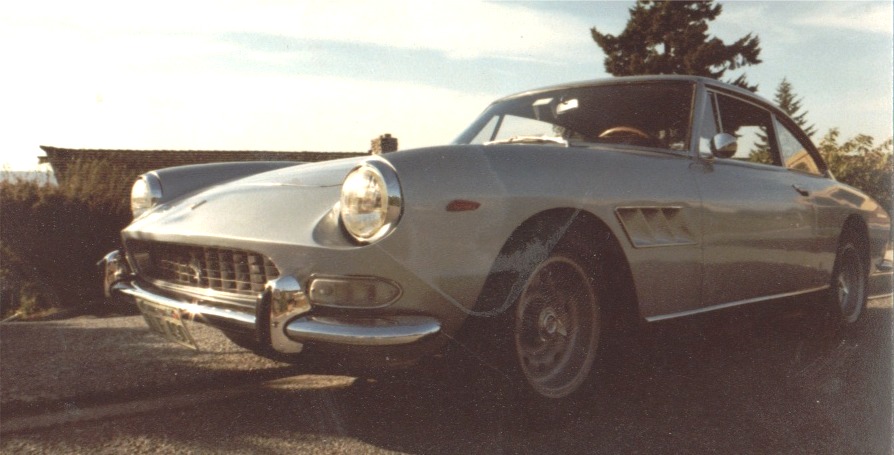
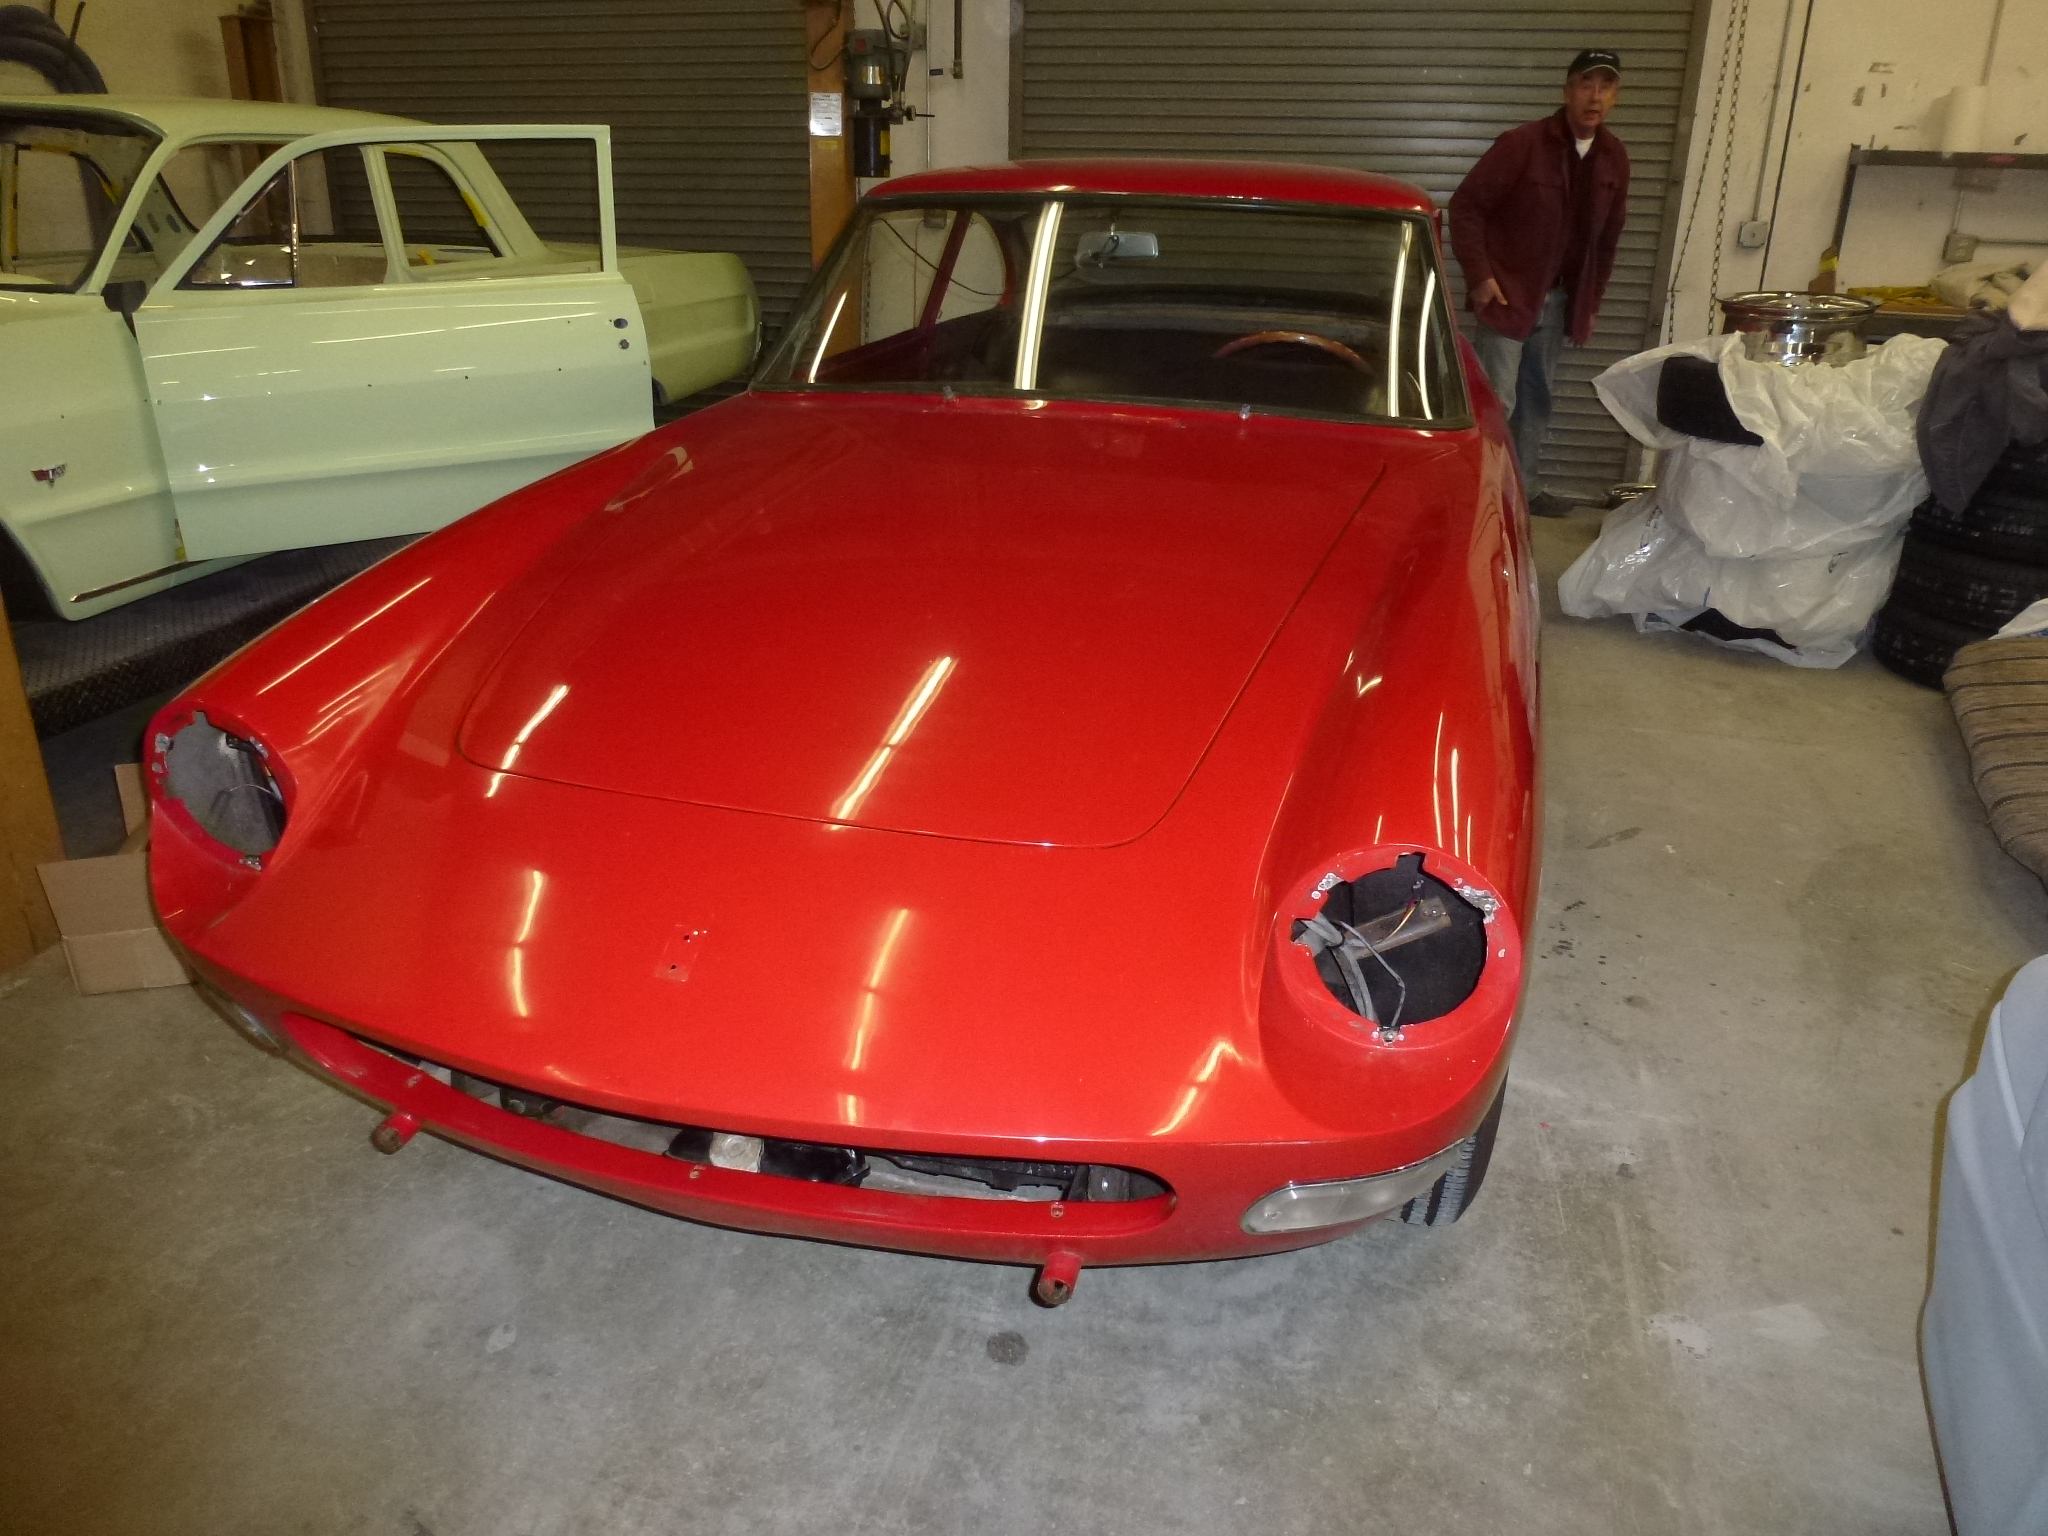
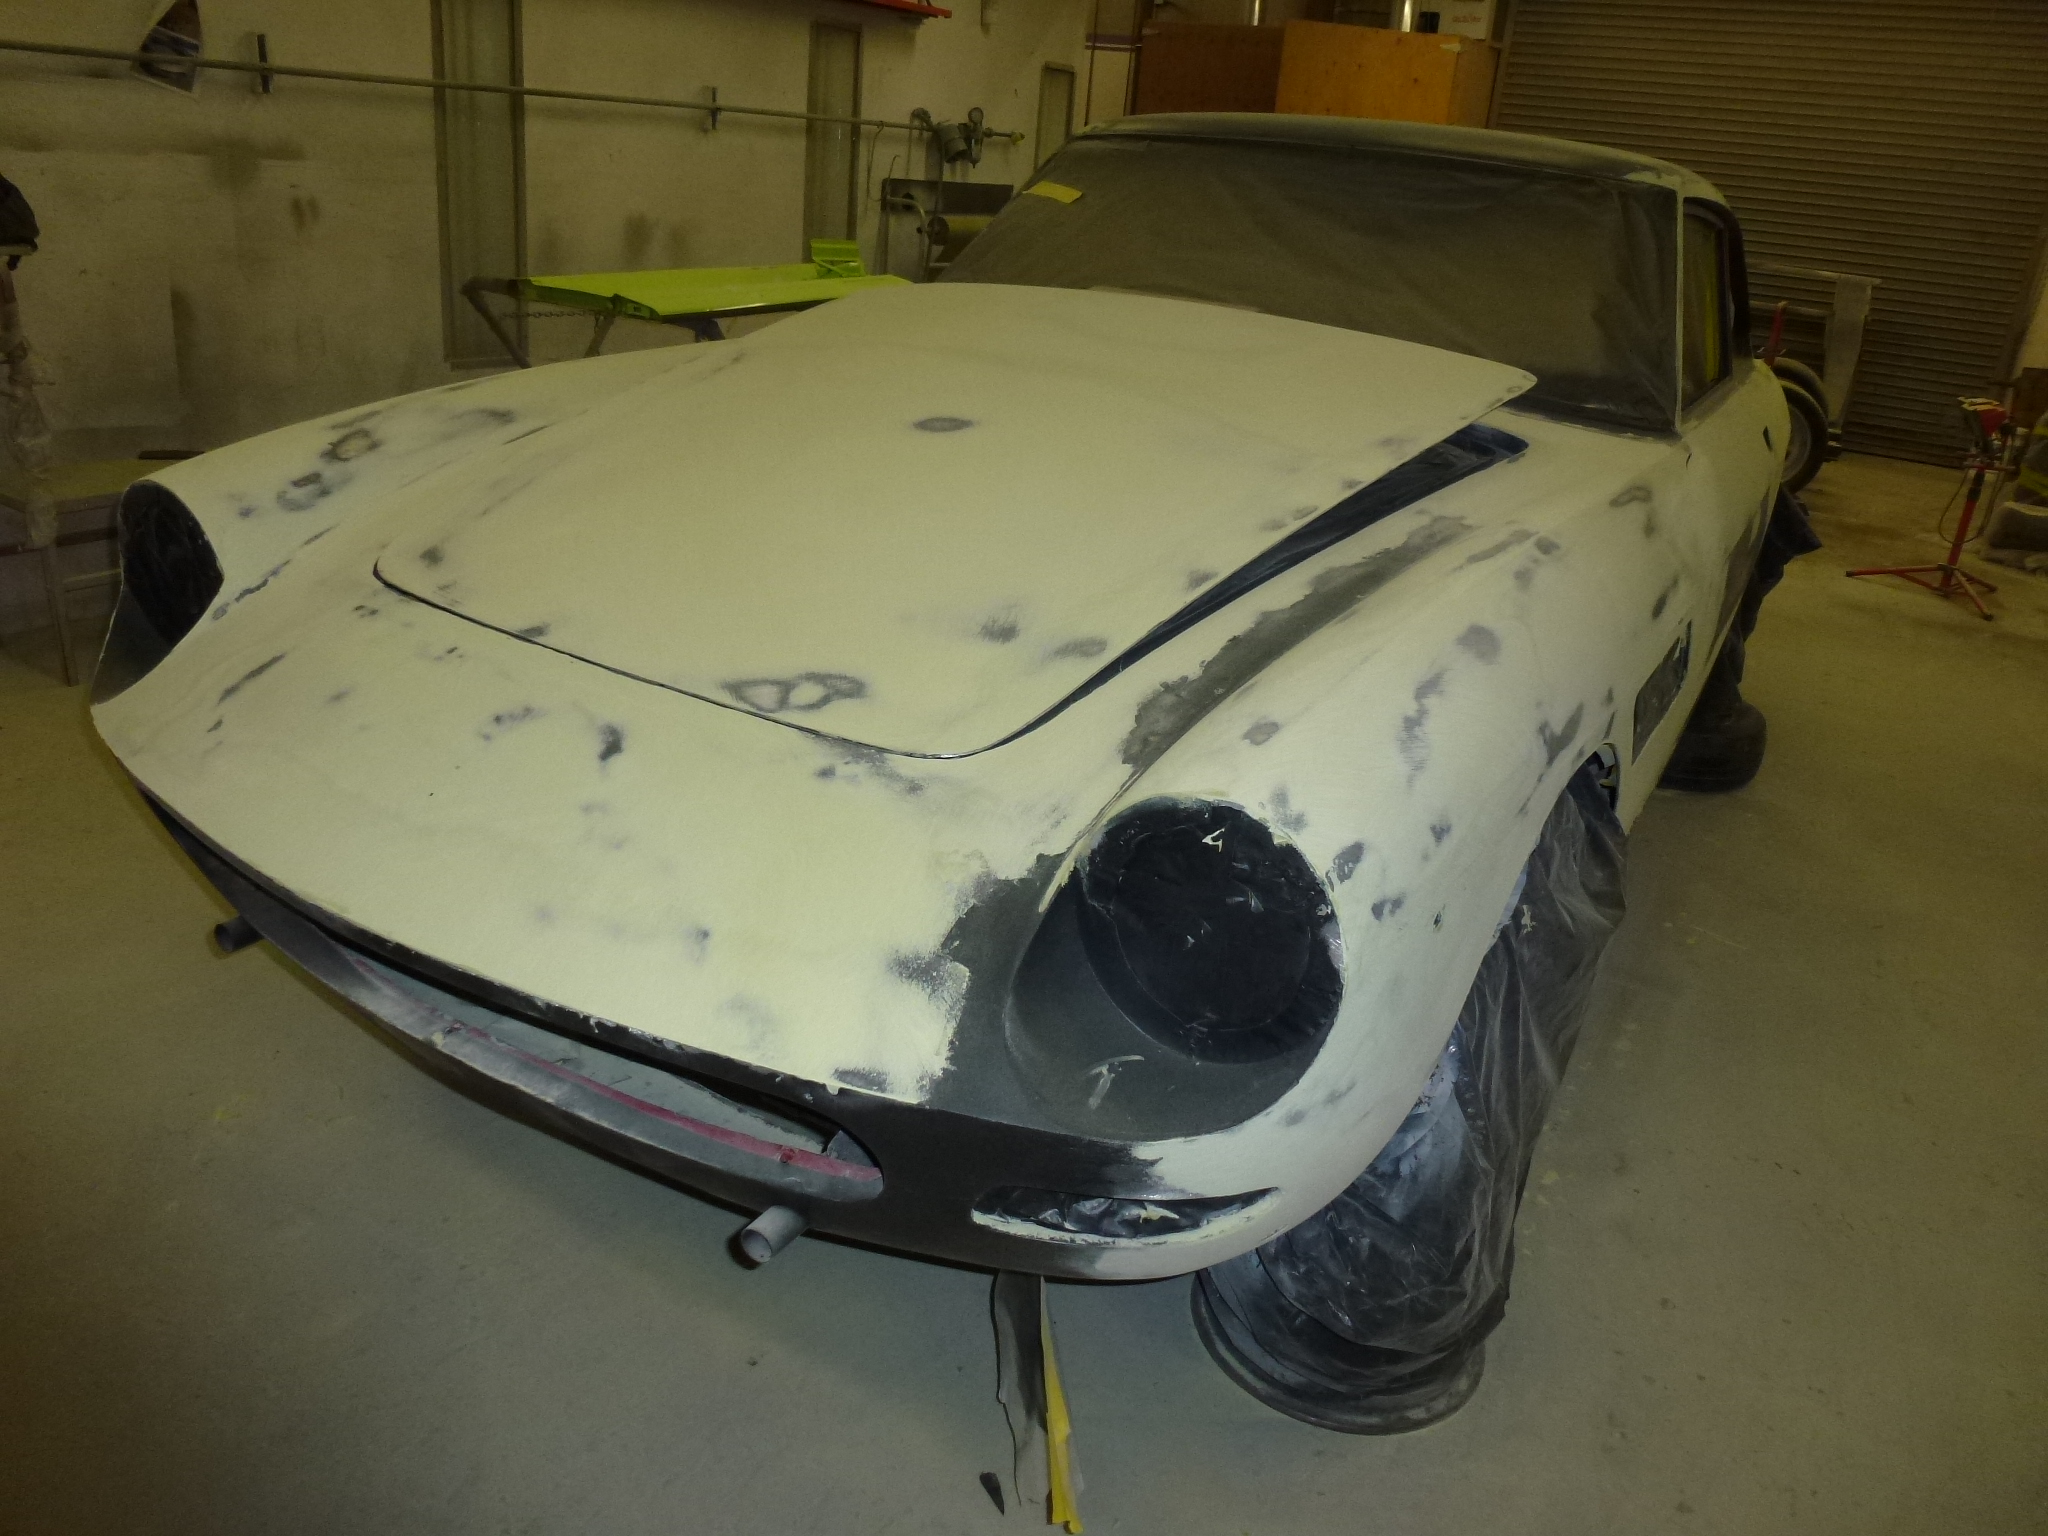
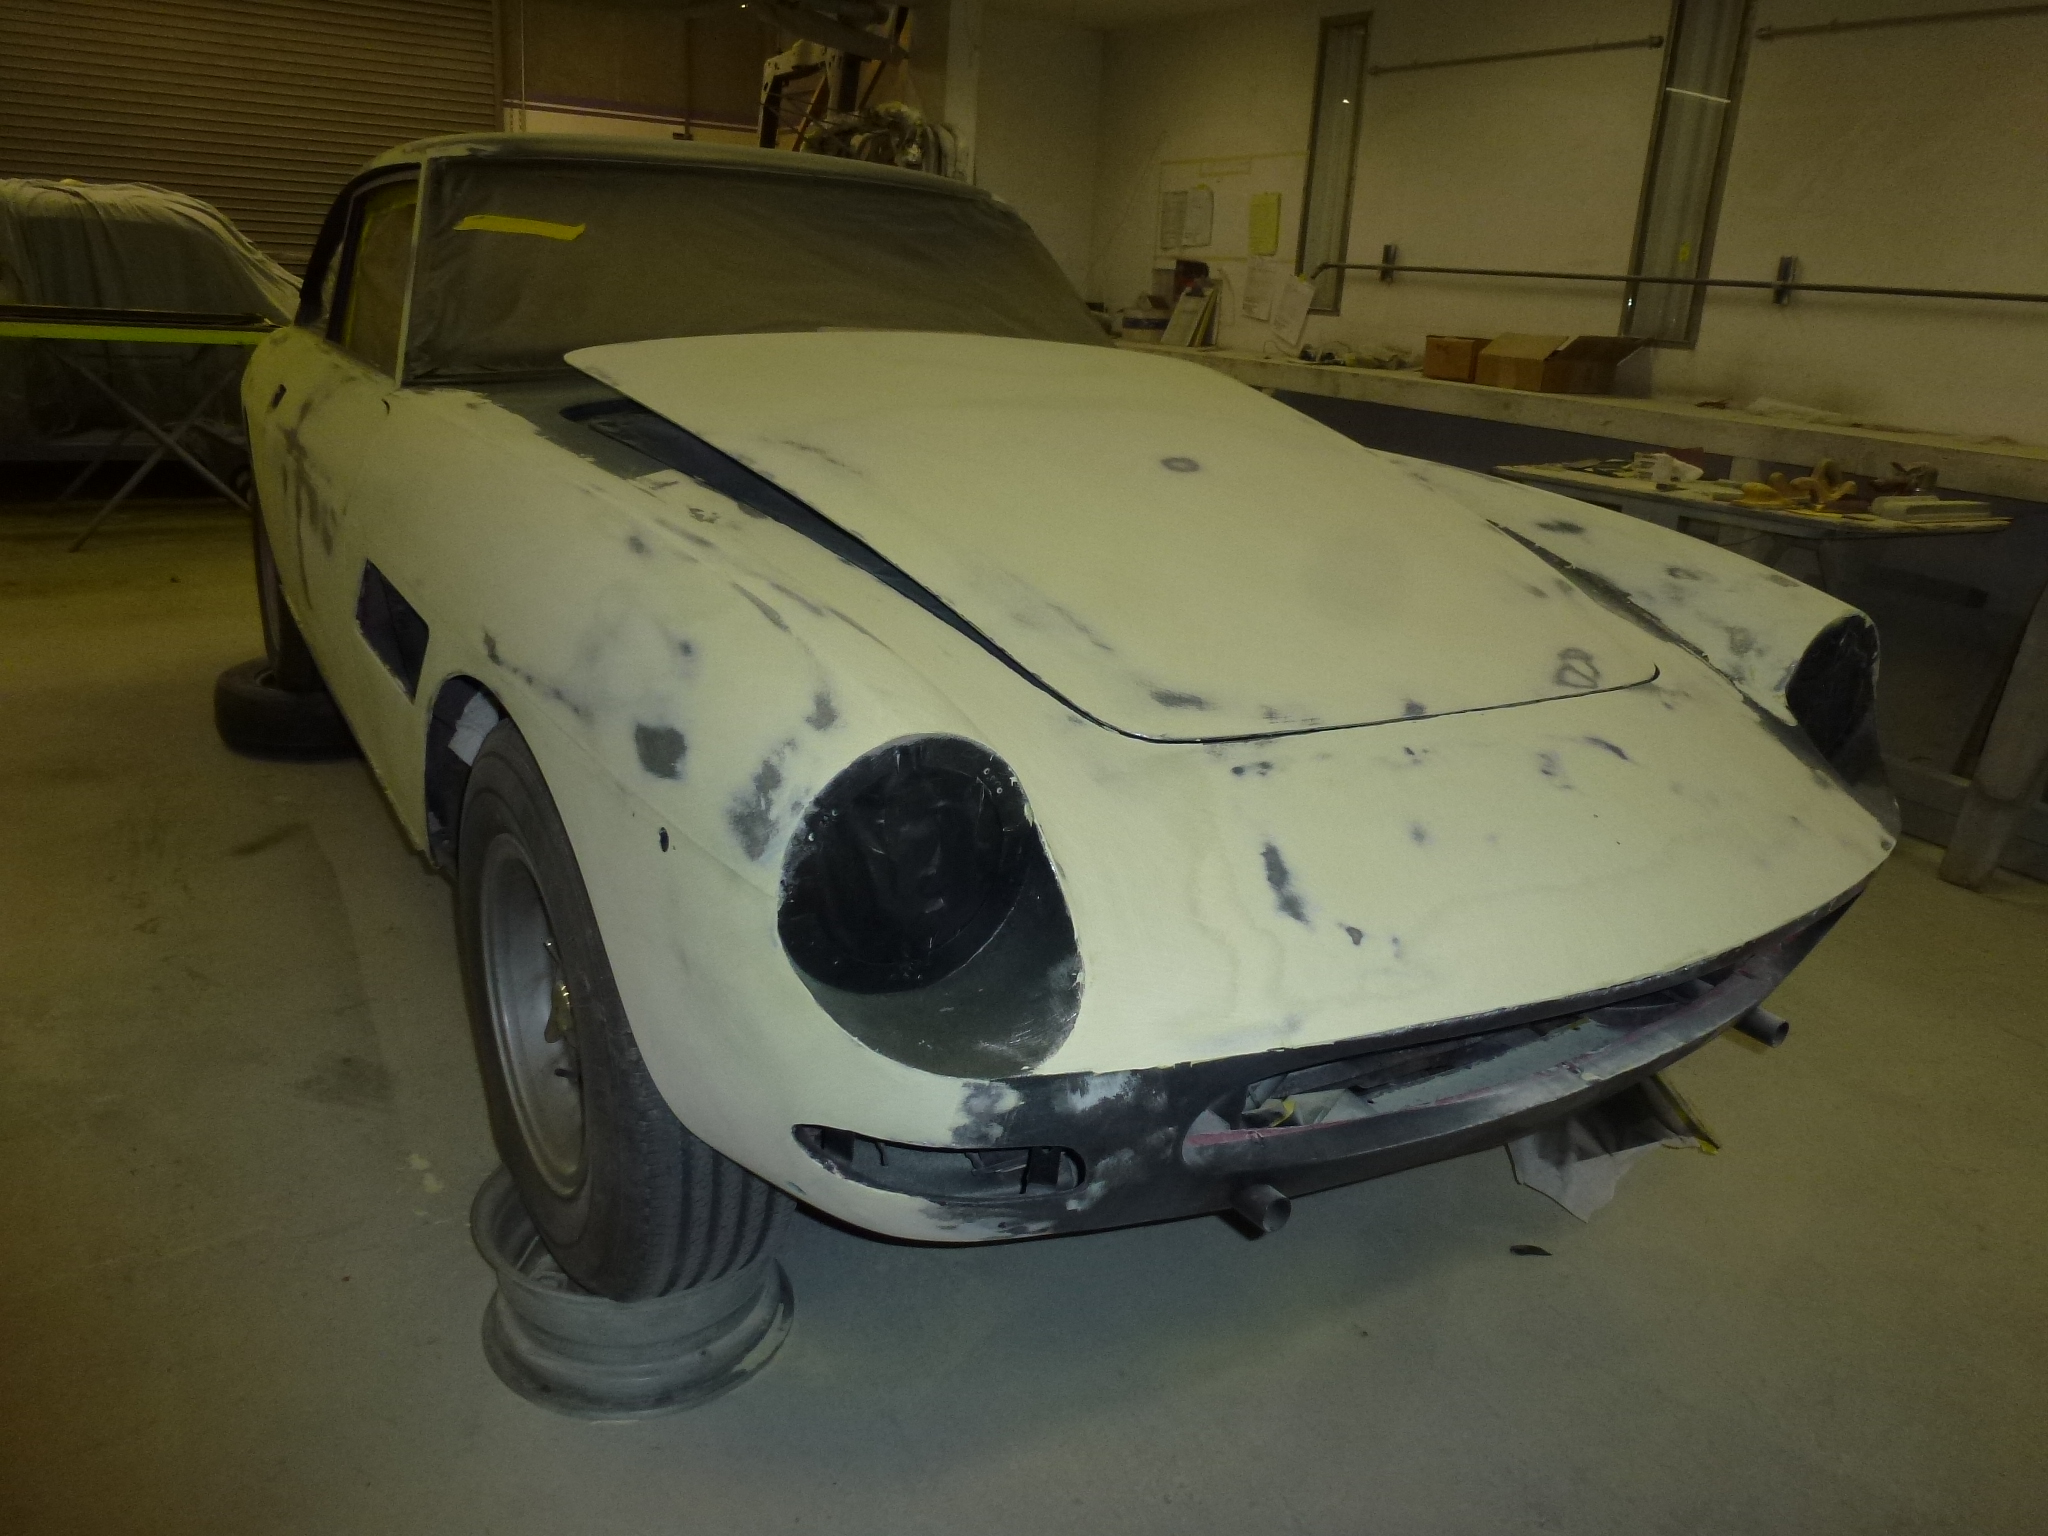
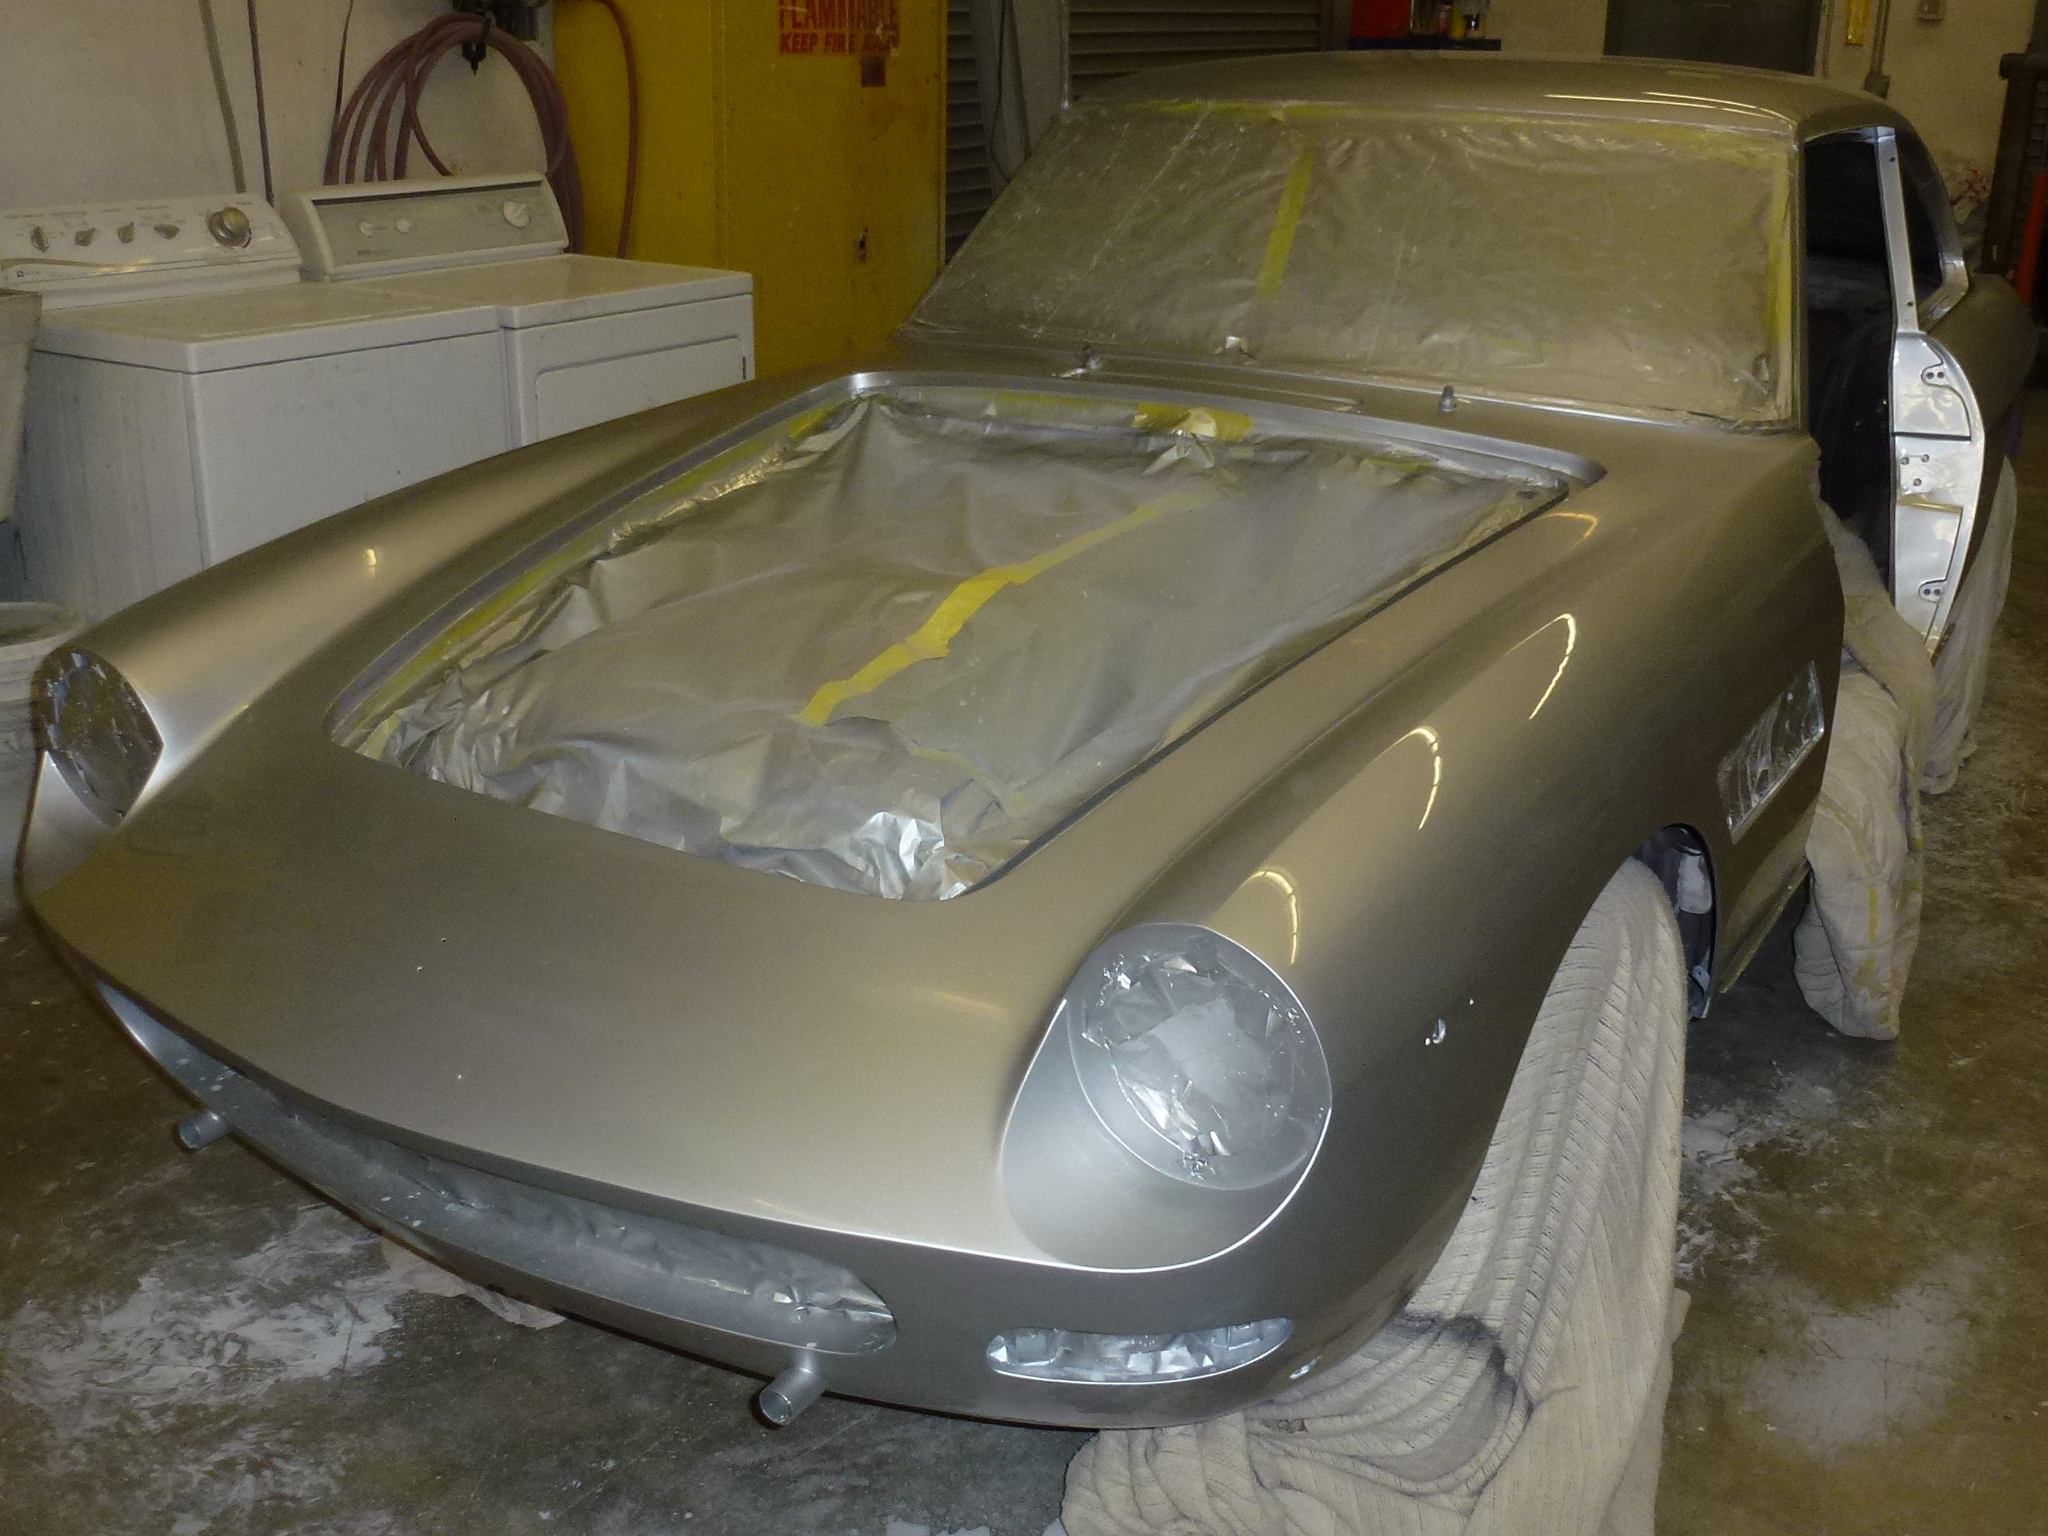
In addition, I now regret painting it red. The original color was silver, but when I bought the car, it was stripped to bare metal. It was my first Ferrari and Ferrari's are red, so I painted it red. So this winter, it is getting a bare metal professional paint job back to the original silver.
I'm taking off all of the various parts, trim, bumpers, door panels, locks, most of the interior, etc. before delivering the car to the paint shop. This way, I only have myself to blame if something gets broken or lost and it reduces the labor at the shop. I'm sure that I will have a couple of paint issues to be fixed after it is all together, but that can be handled by the shop.
As I take the various parts off of the car, I'll detail the steps necessary along with lots of pictures, both for the website and so I can remember how to put it back together six months from now.
I spent quite a bit of time talking to the shop owner about pricing, timing and how they work. The shop has done five Pebble Beach cars, so they do good work. It is supposed to be finished and back to me by March (they'll get the car in mid-October). I stressed that this was not a car to be worked on as time is available. I expect work to be done on a daily basis unless they are waiting for some external process.
Since it did the original body work back in 1983, I pretty well know what to expect after the paint has been removed. There are a couple of small (less than 1") rust bubbles in each rocker panel near the rear jack hole. This is probably from water getting in through the hole where the rear of the triangular trim covering the pinch weld between the upper panels and rockers is screwed through the body. So that will be an unknown until the car is stripped.
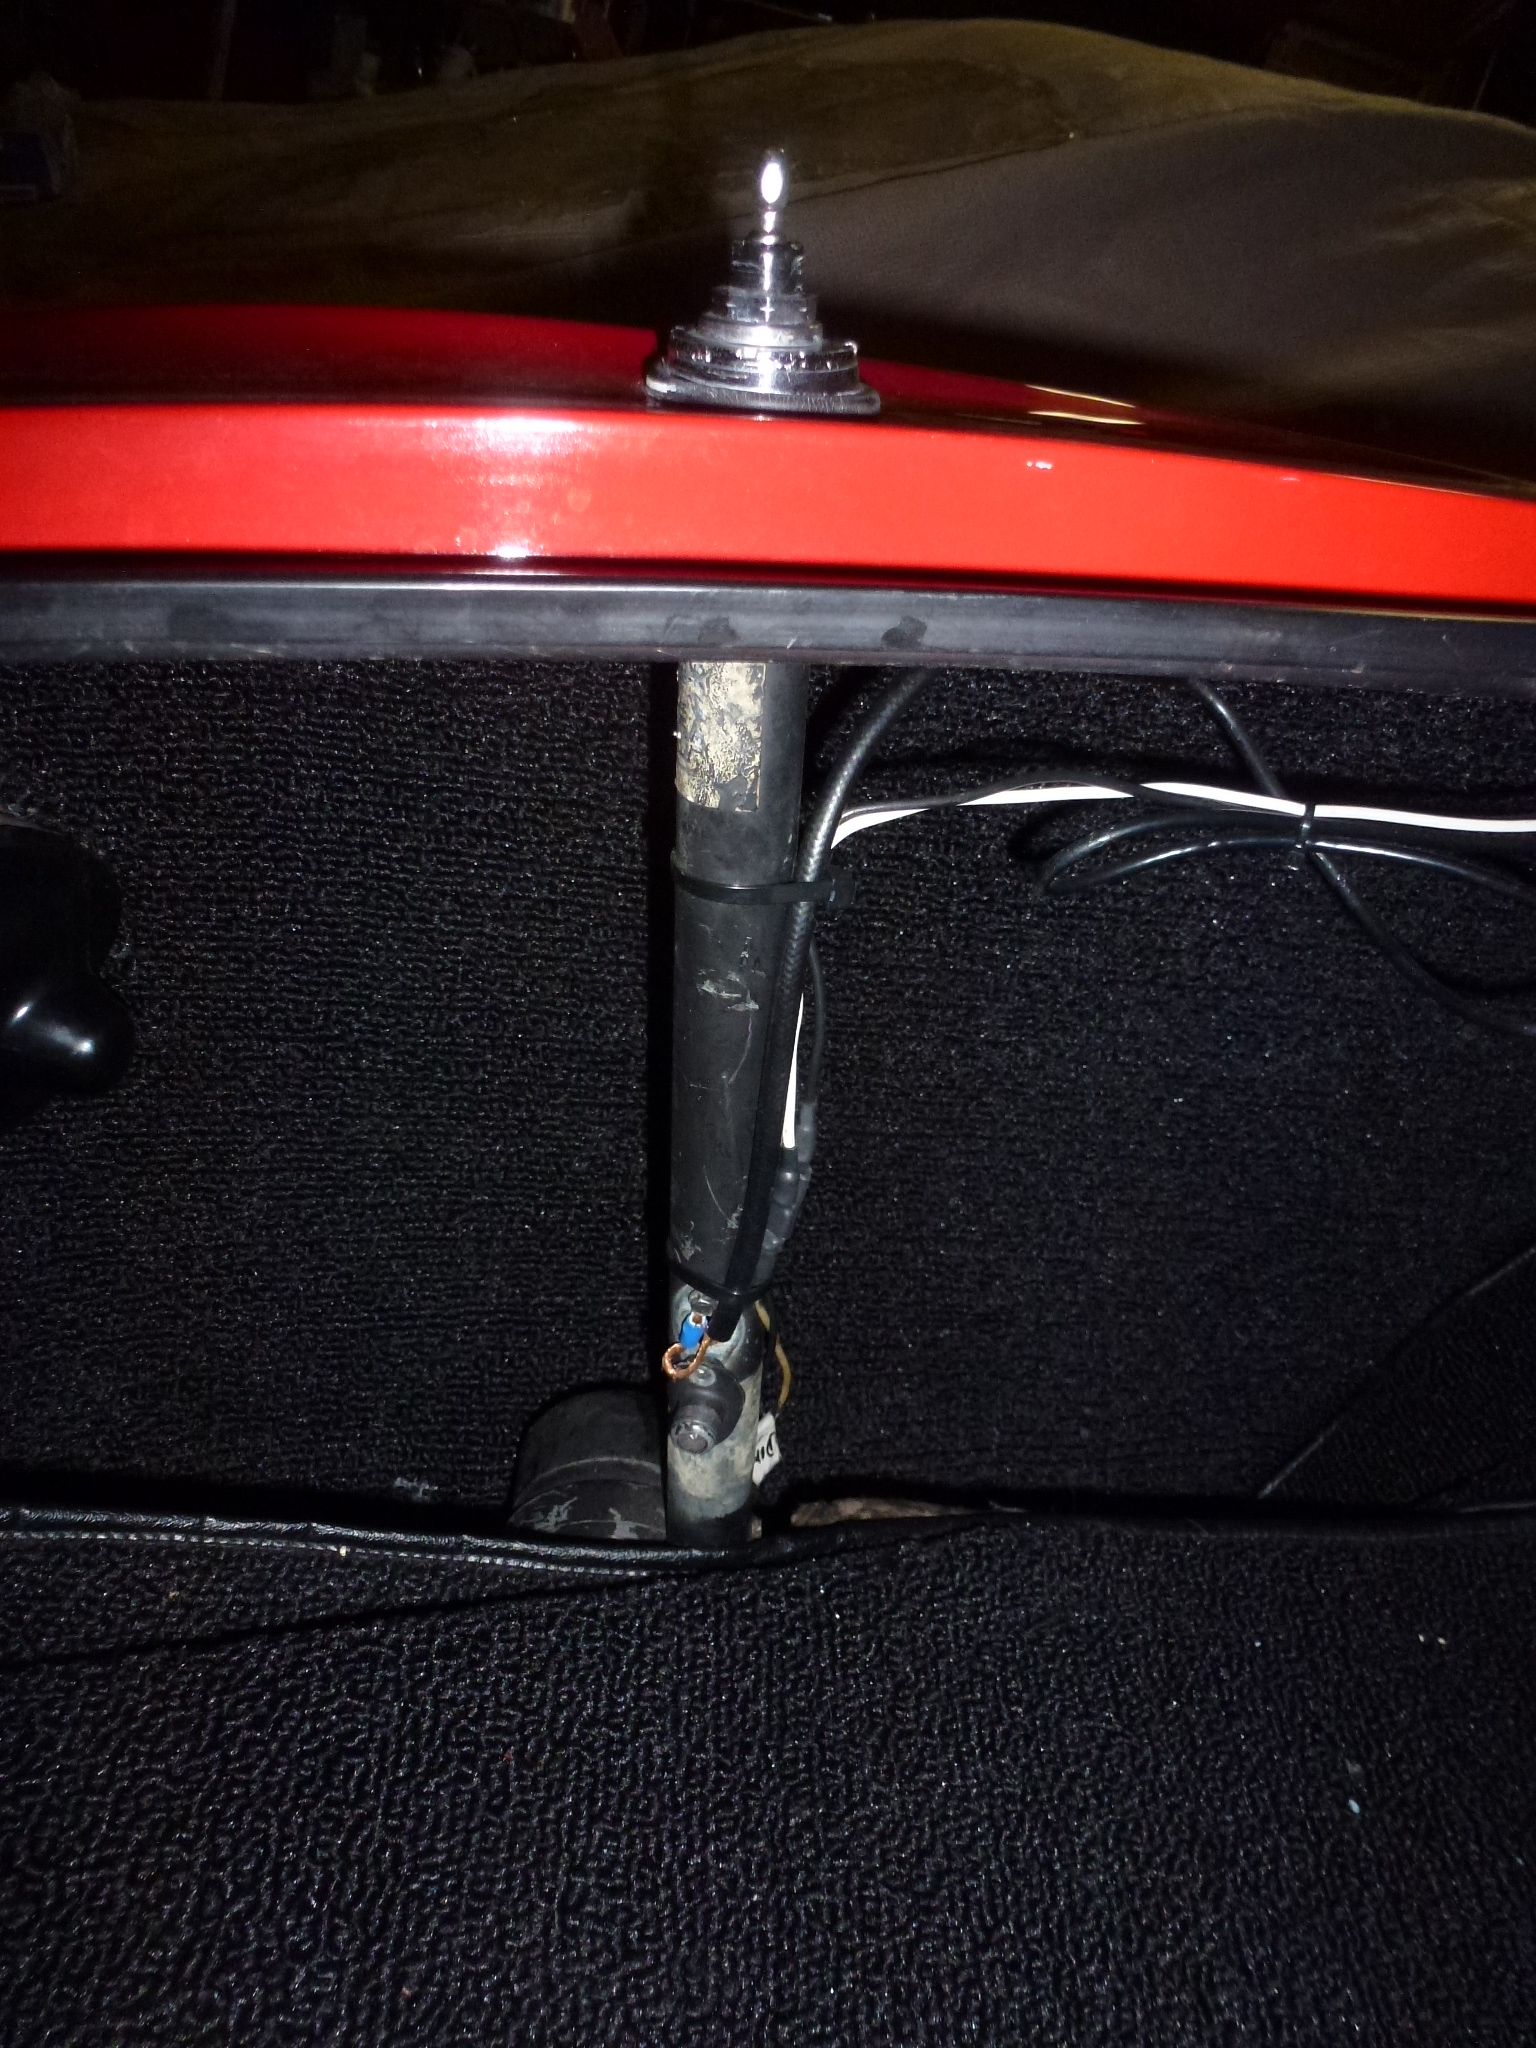
There are several other items that I'm going to address. The electric antenna is mounted on the left rear fender about half way back. This puts the antenna shaft and motor right in the way of using the left wheel well area. I'm going to move it to the right side, as far forward as possible to get the shaft and motor out of the way.
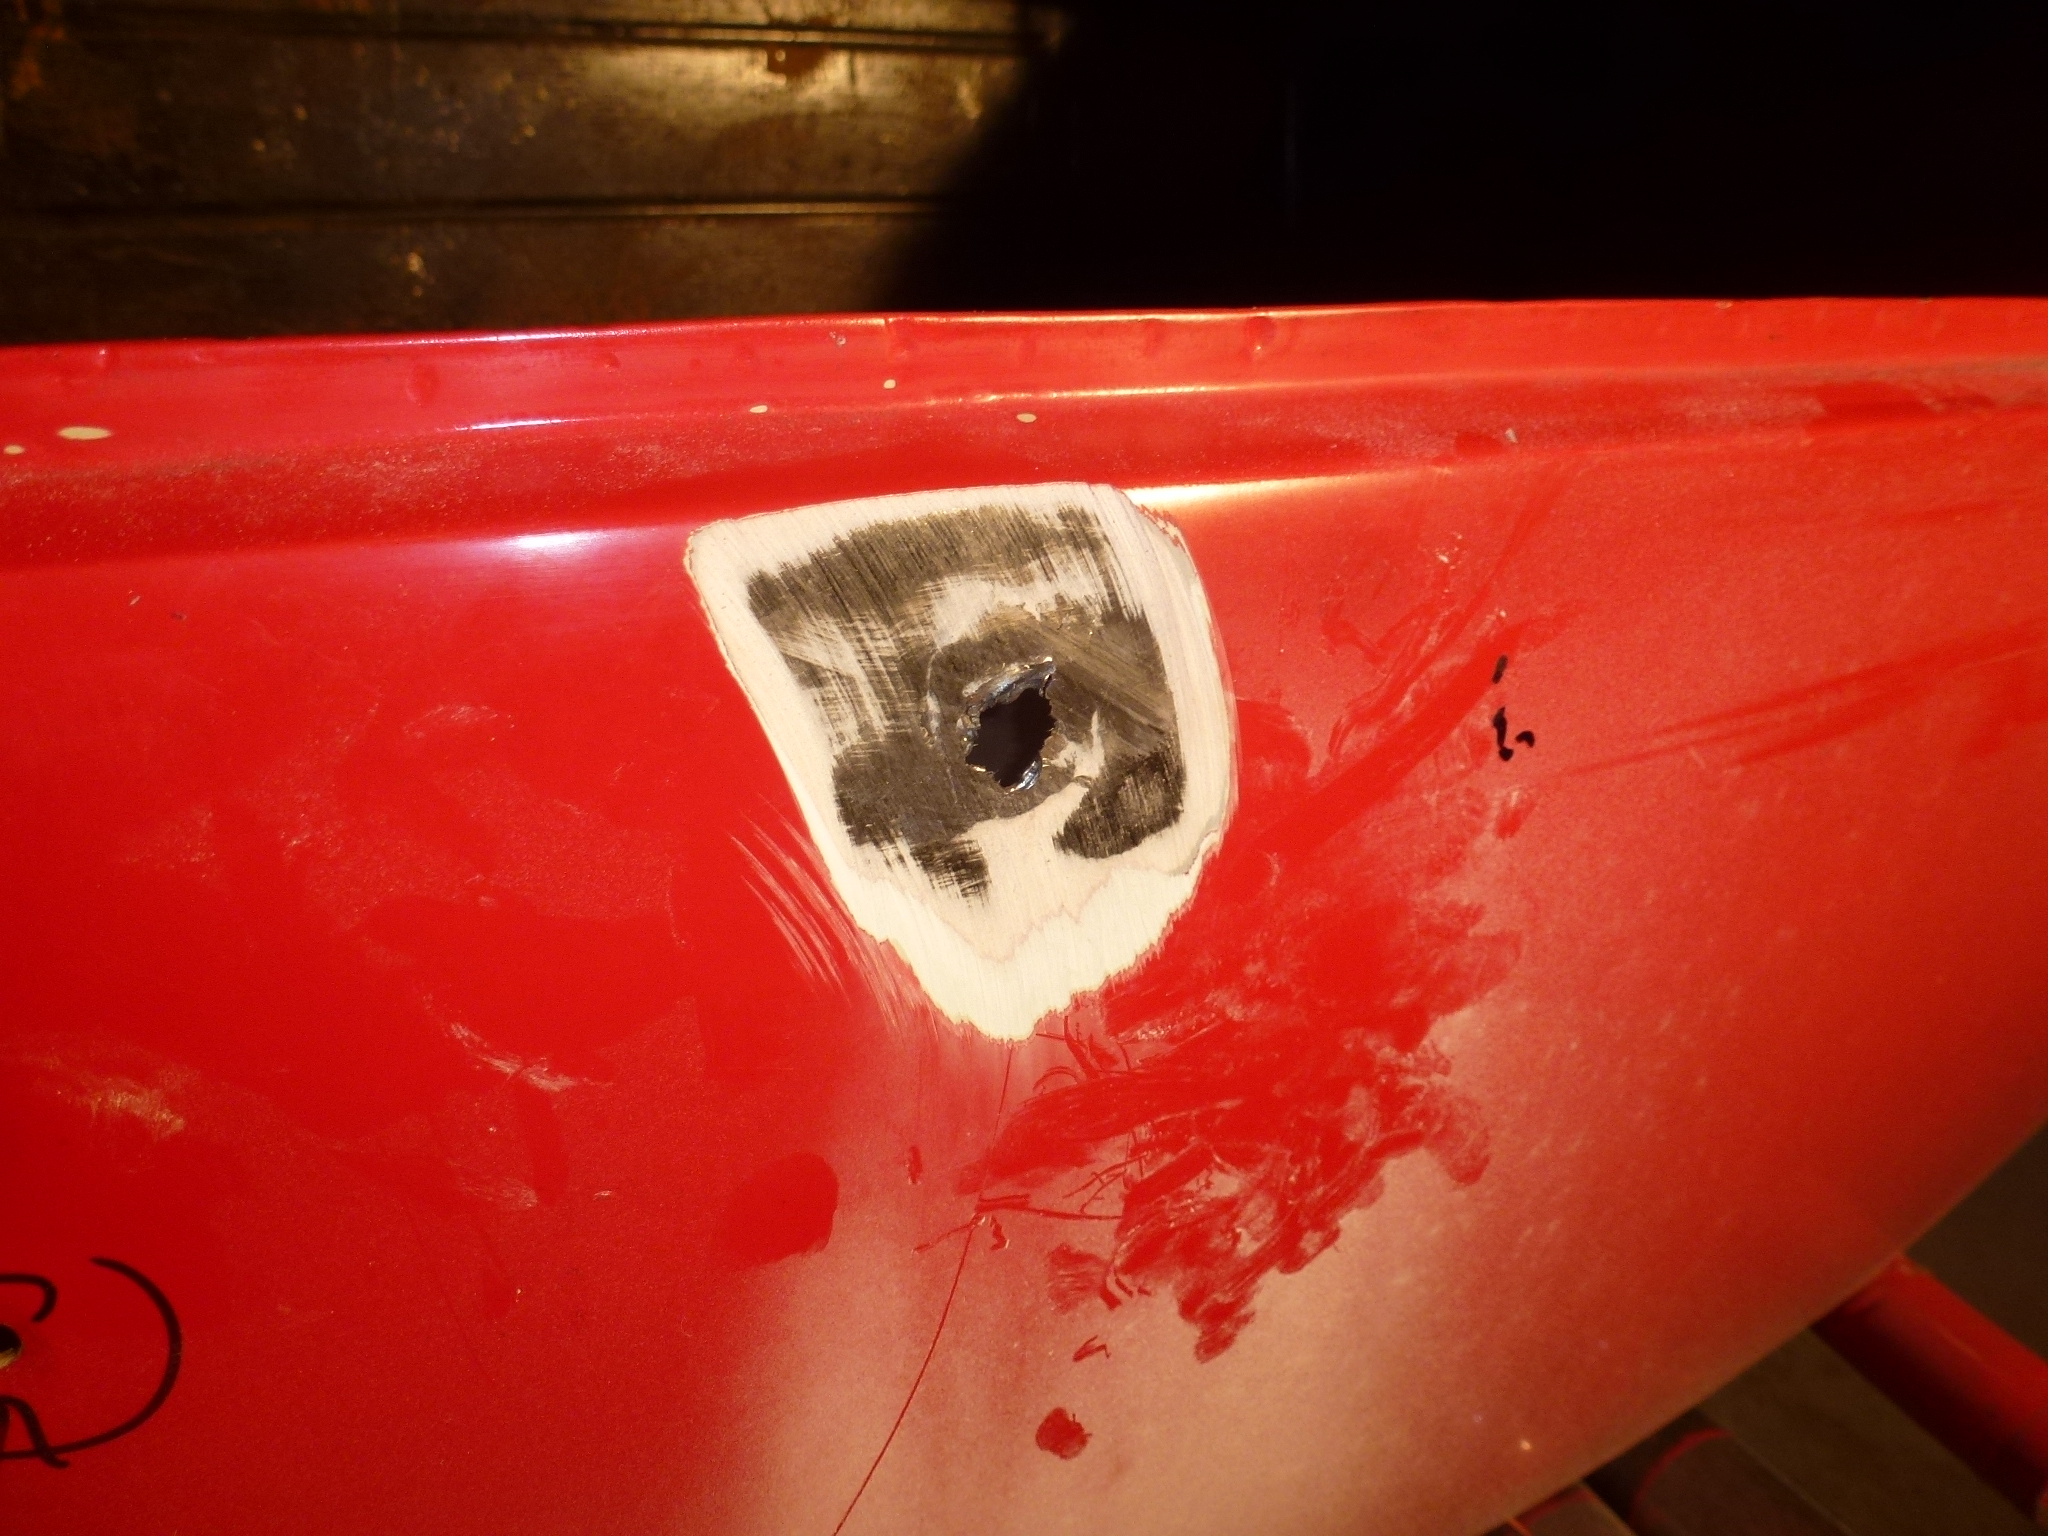
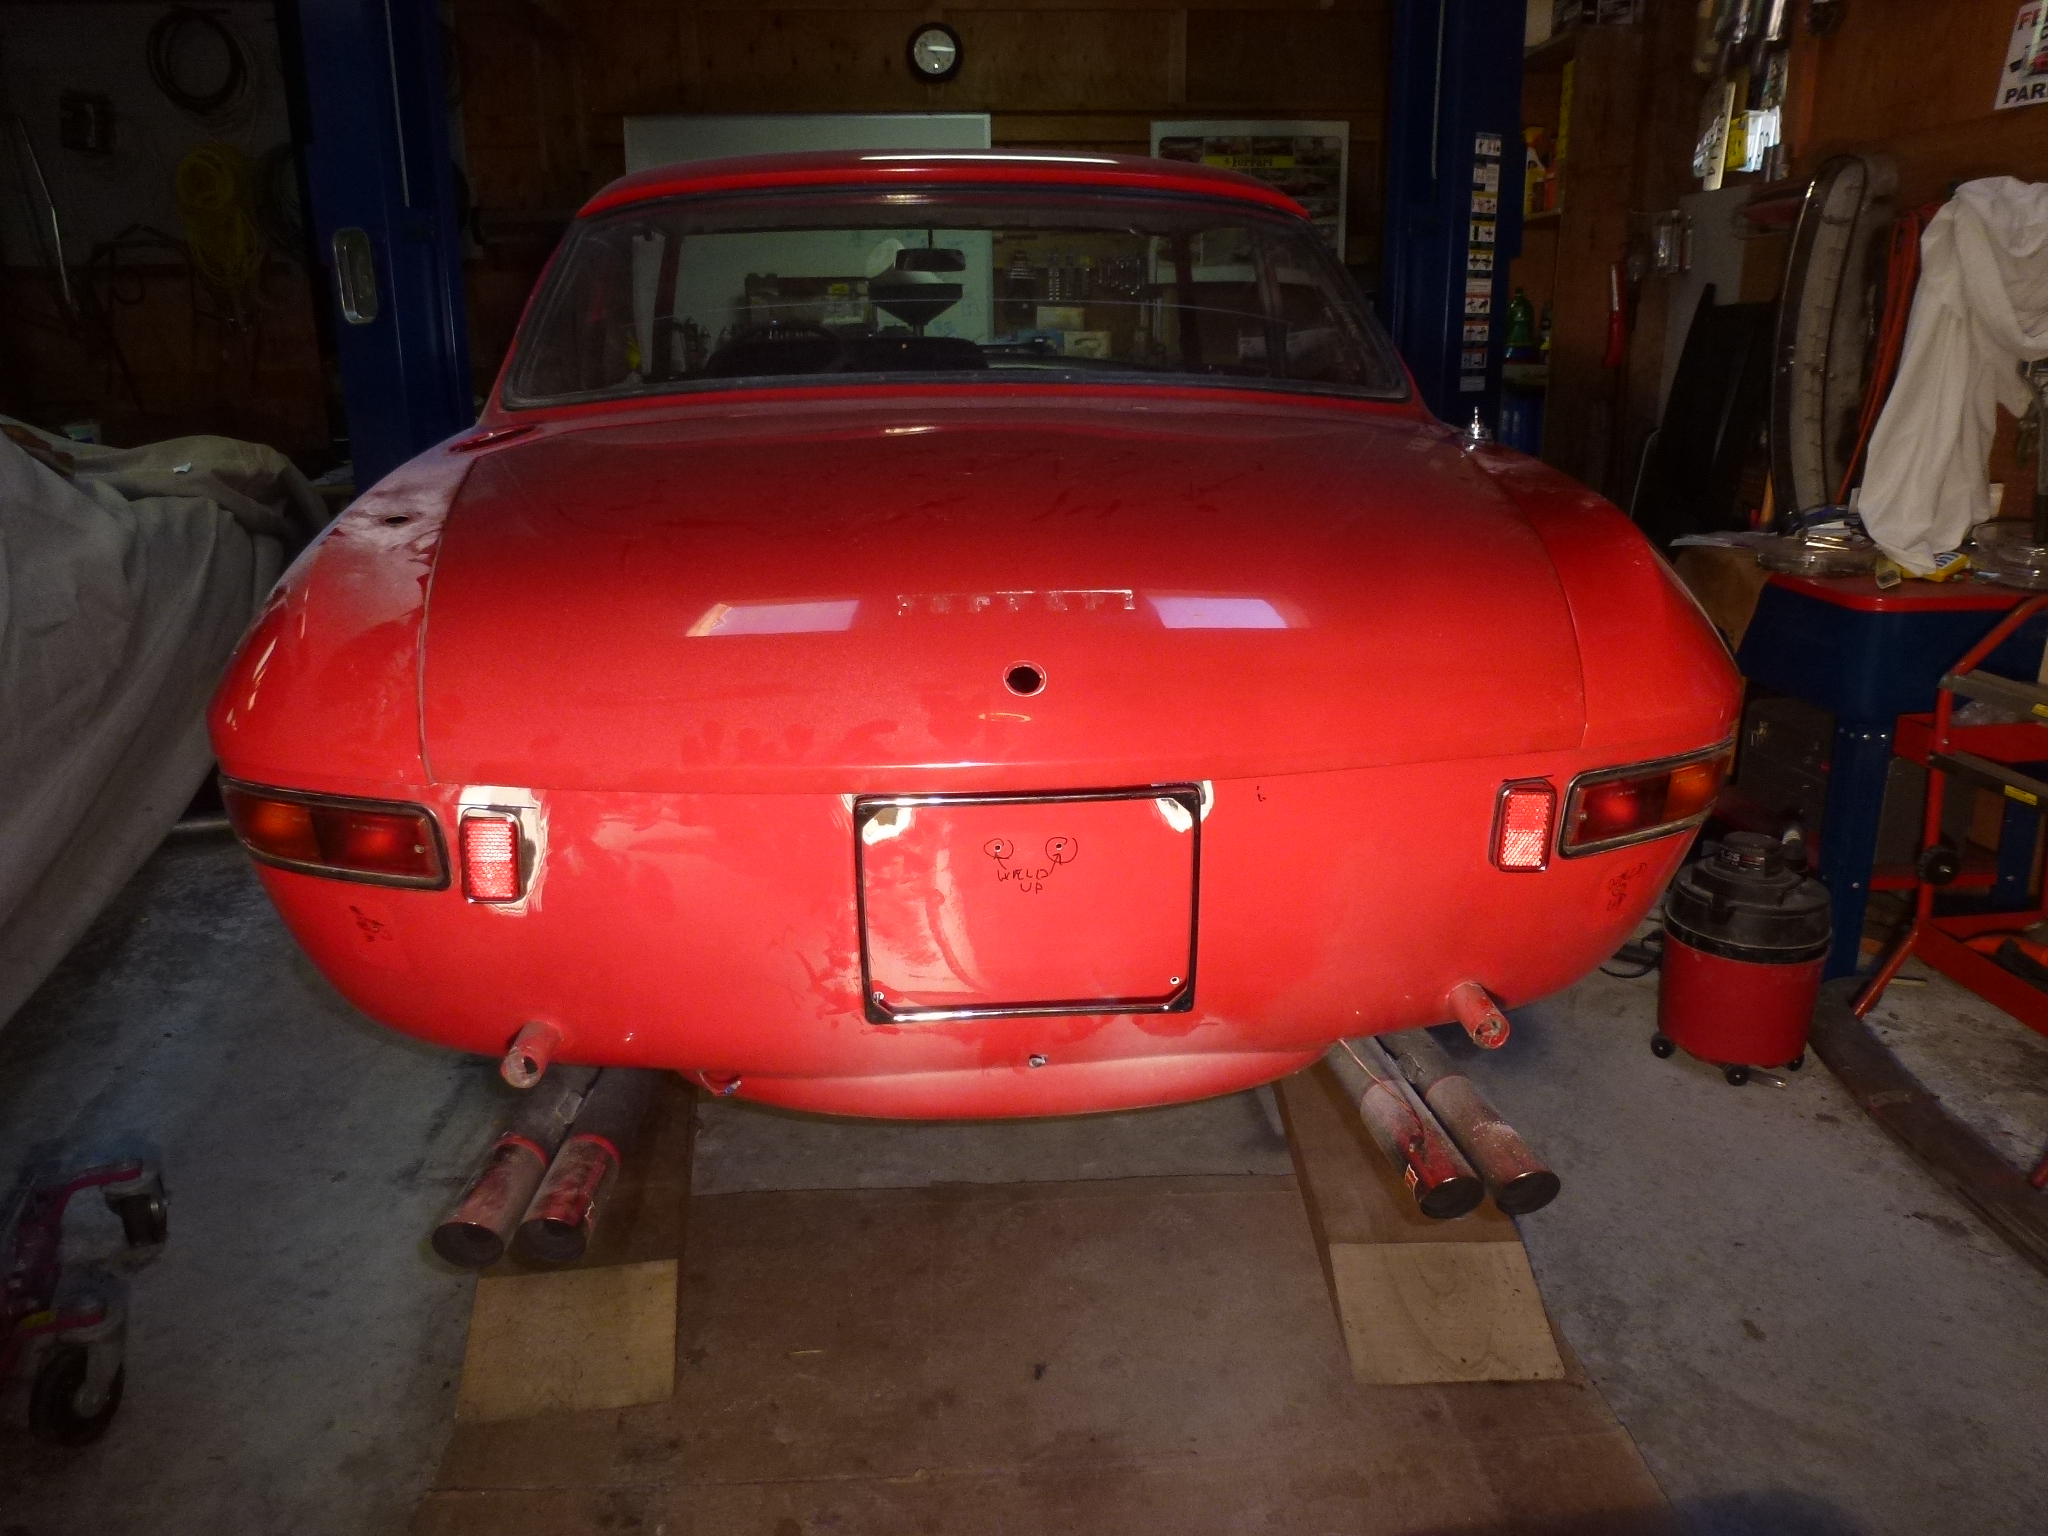
The rear reflectors are mounted in the wrong place, under the tail lights. They should be mounted to the inside of each tail light. So I'm going to remove the undercoating in the trunk, find the original hole locations and drill them out so the reflectors go back on in the correct place. Then the old holes will be welded over.

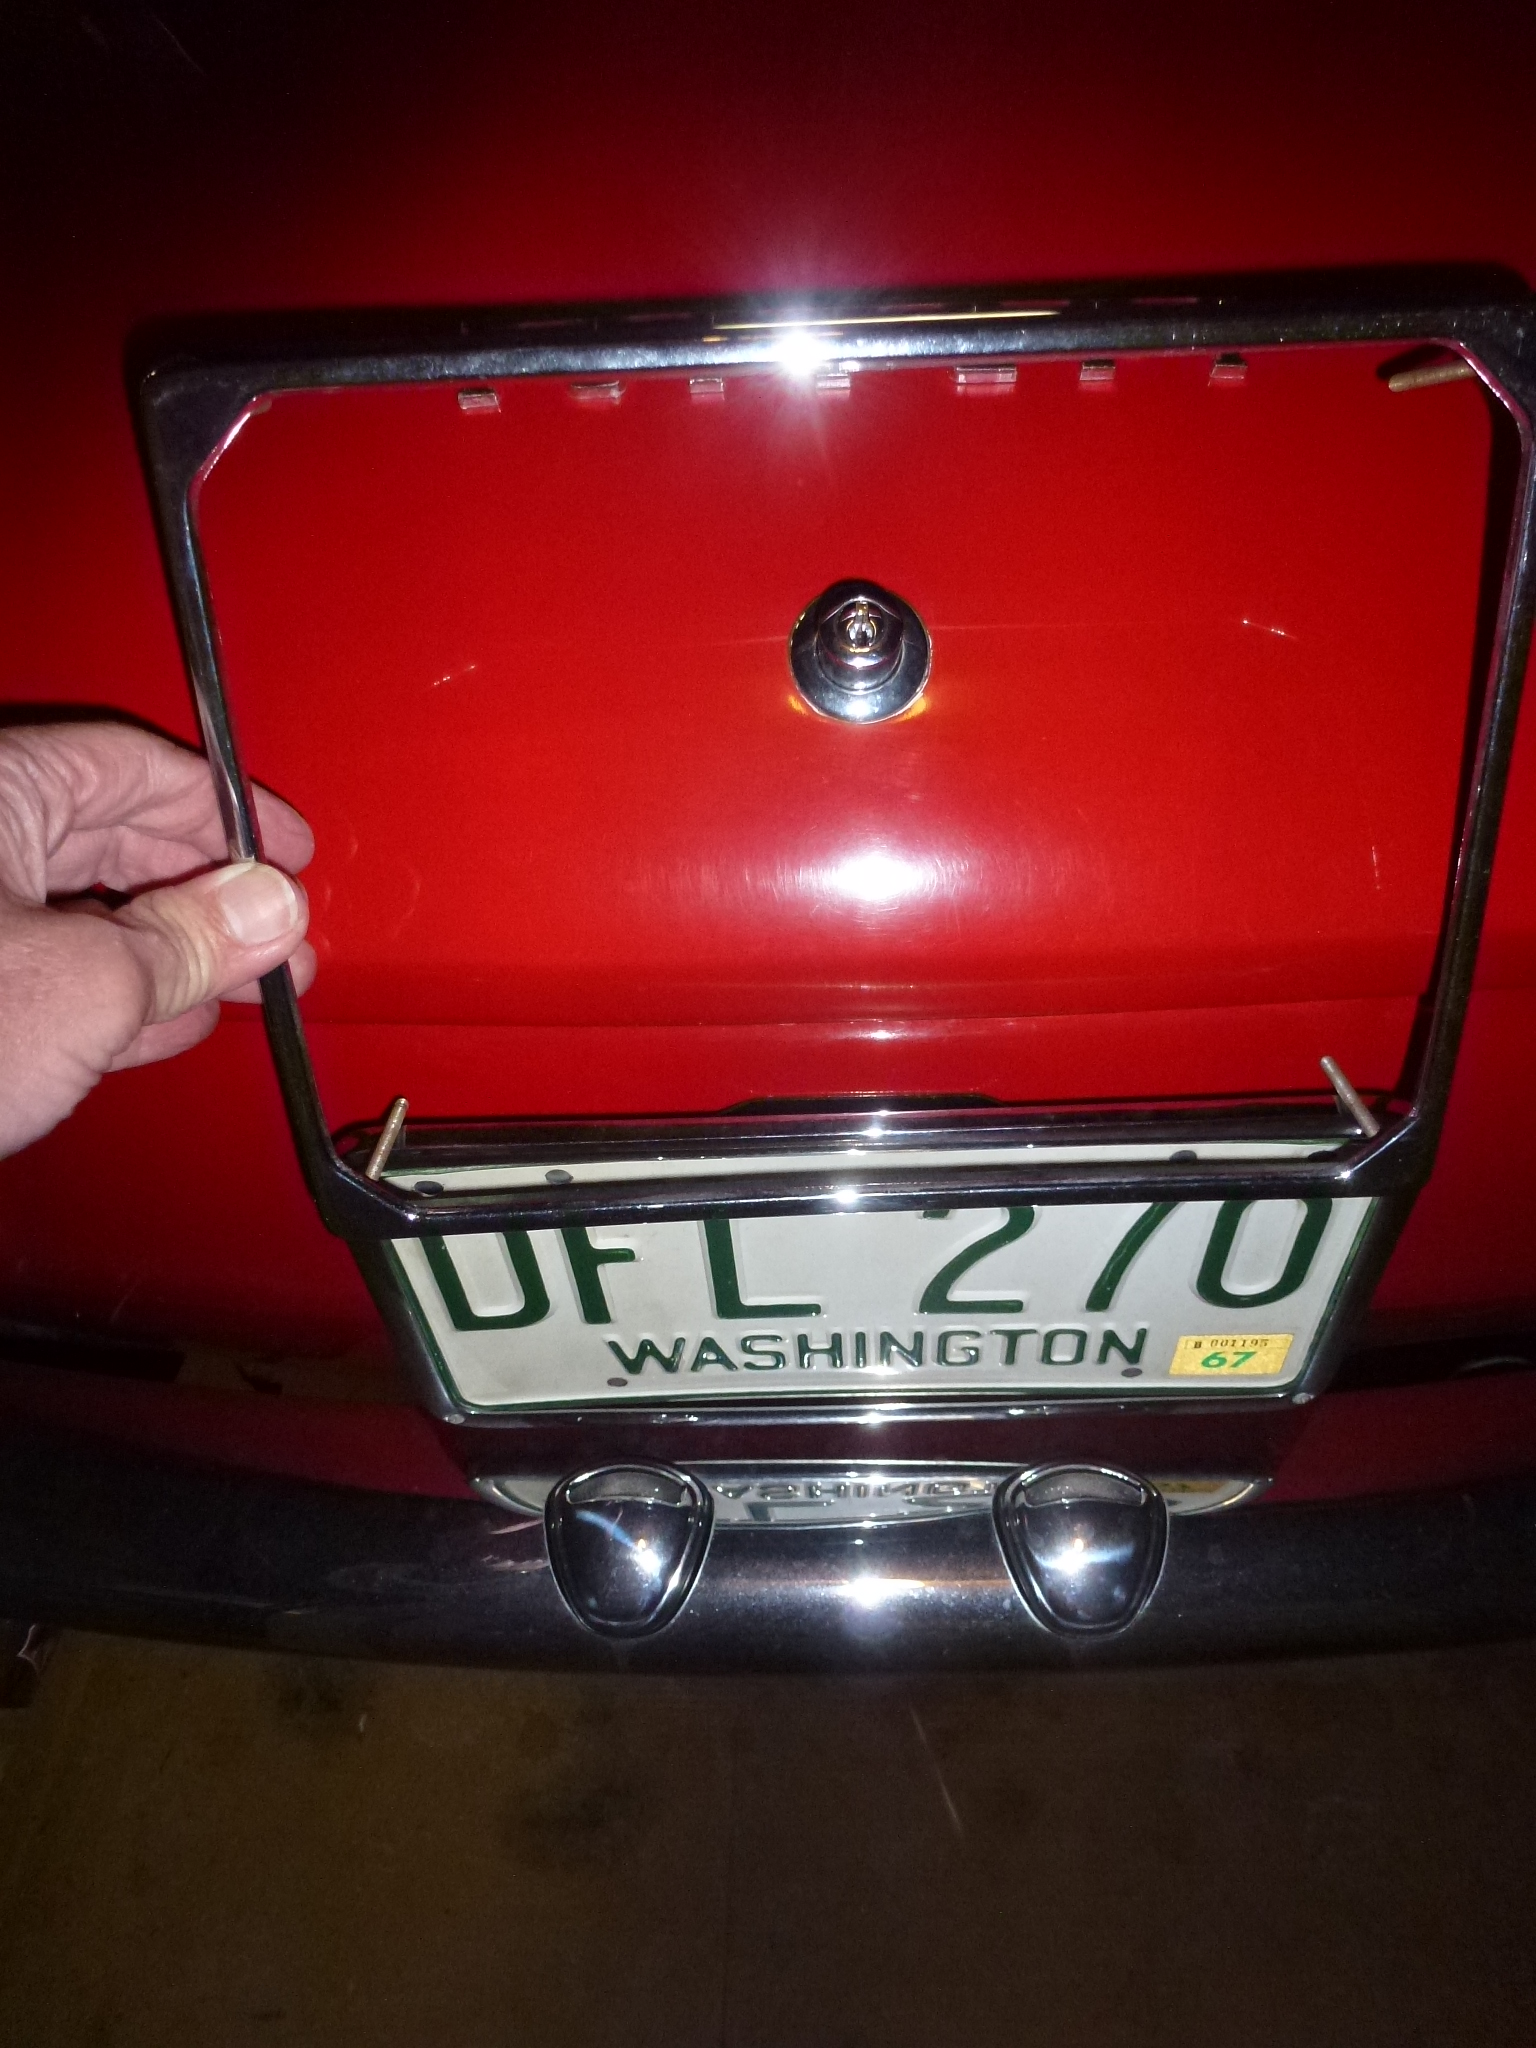
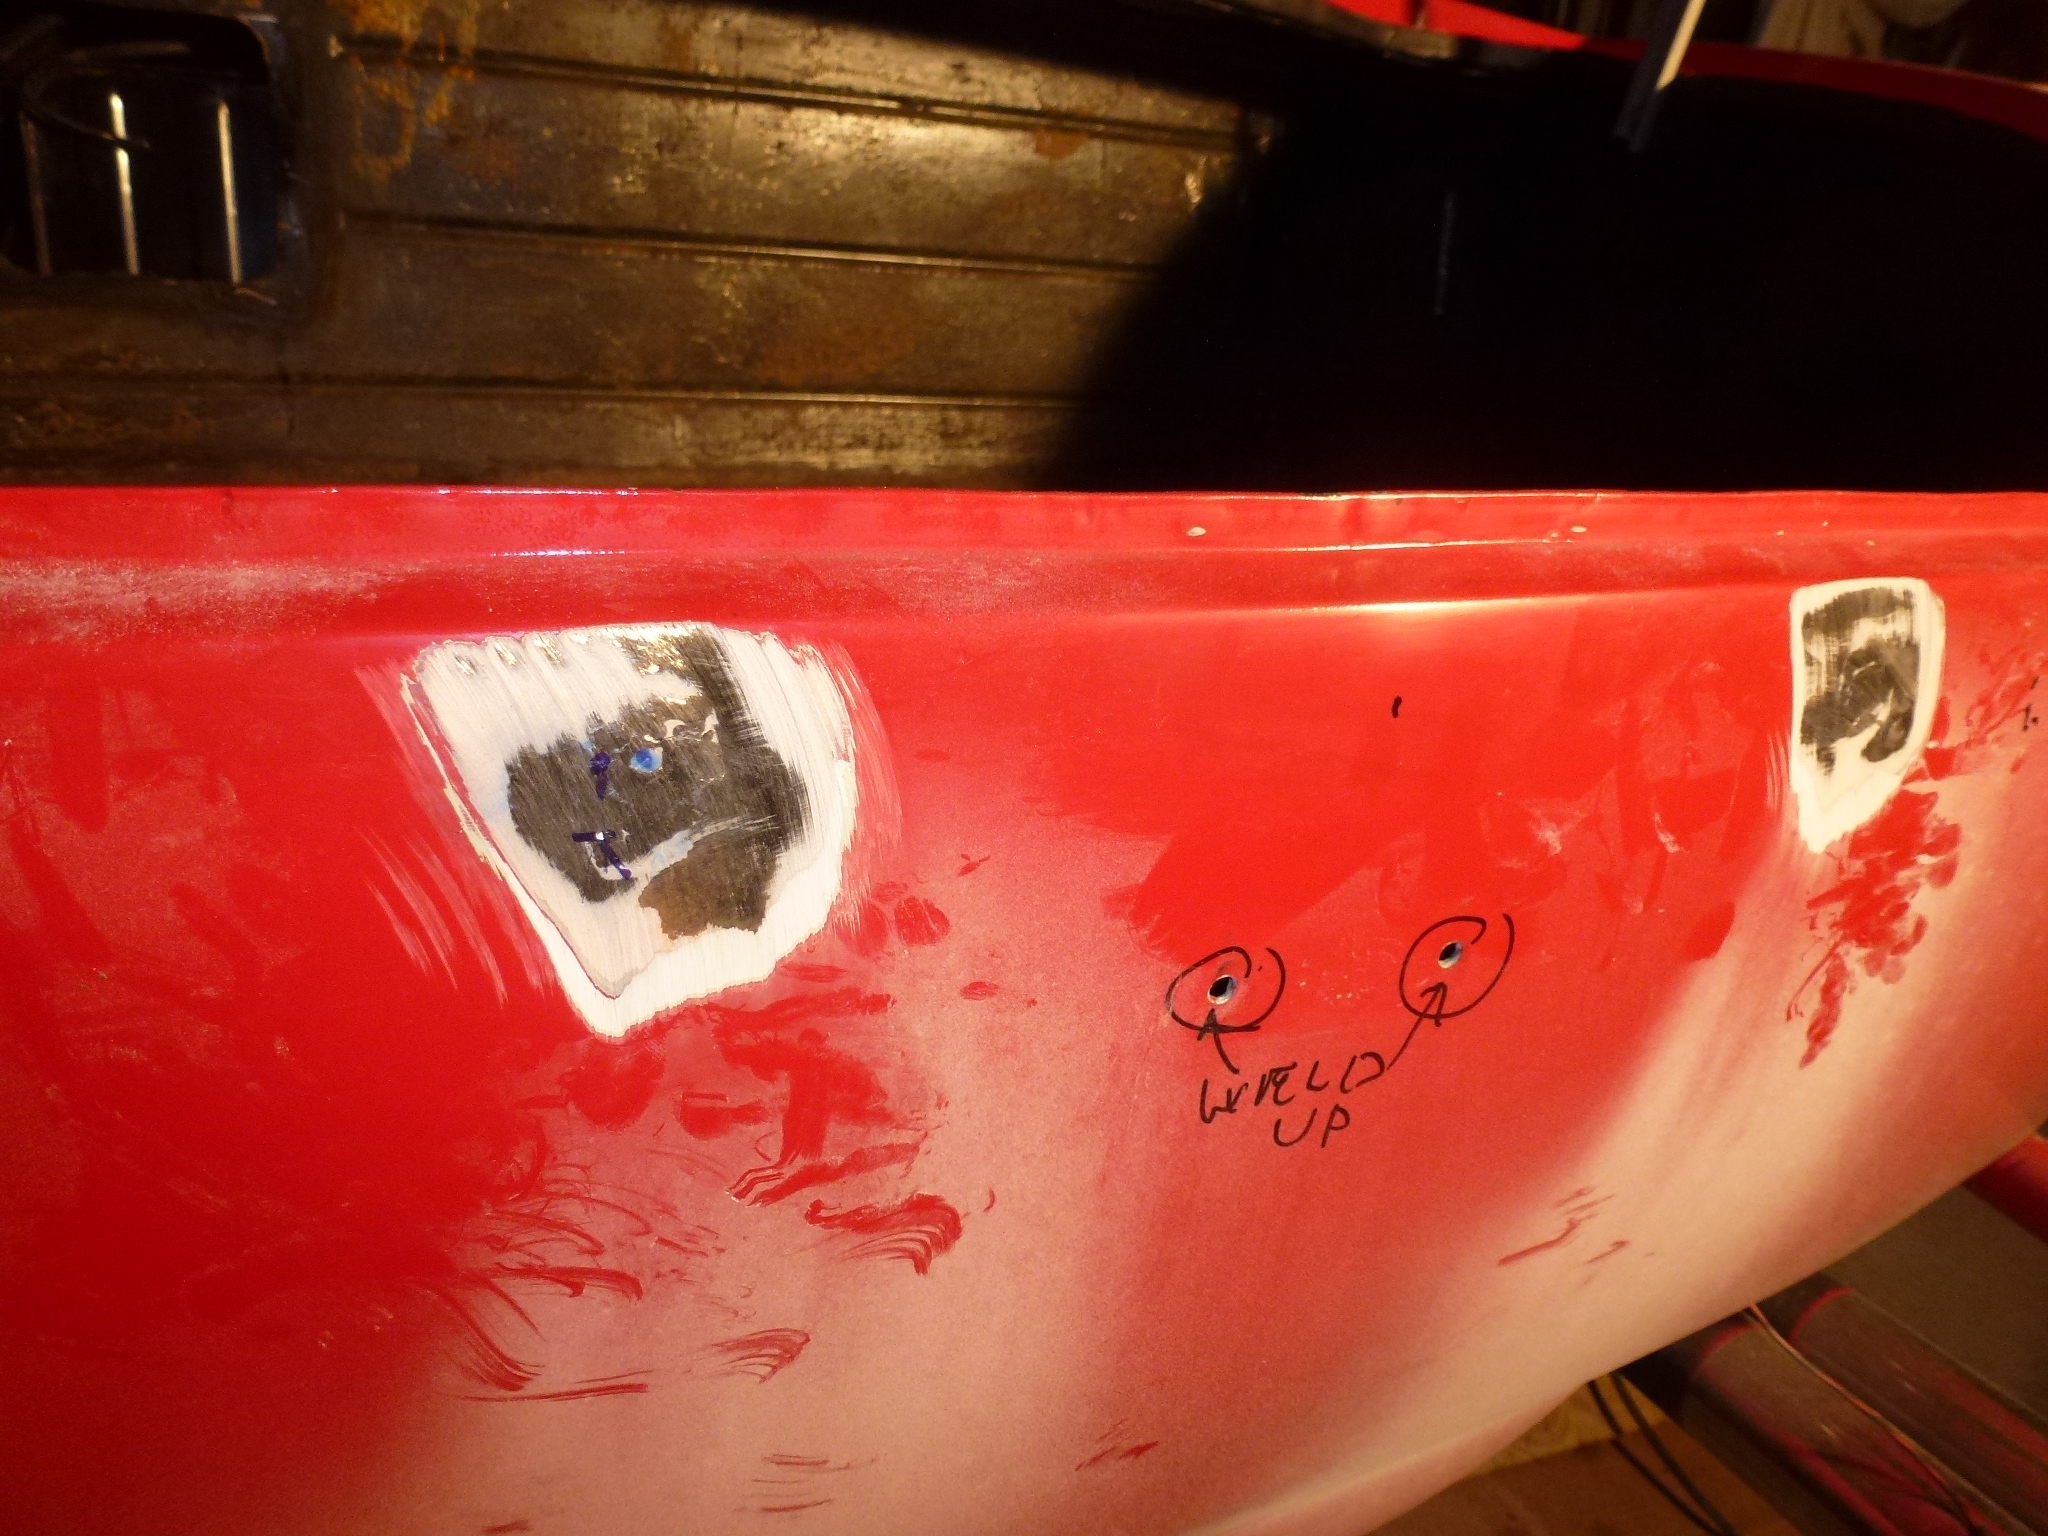
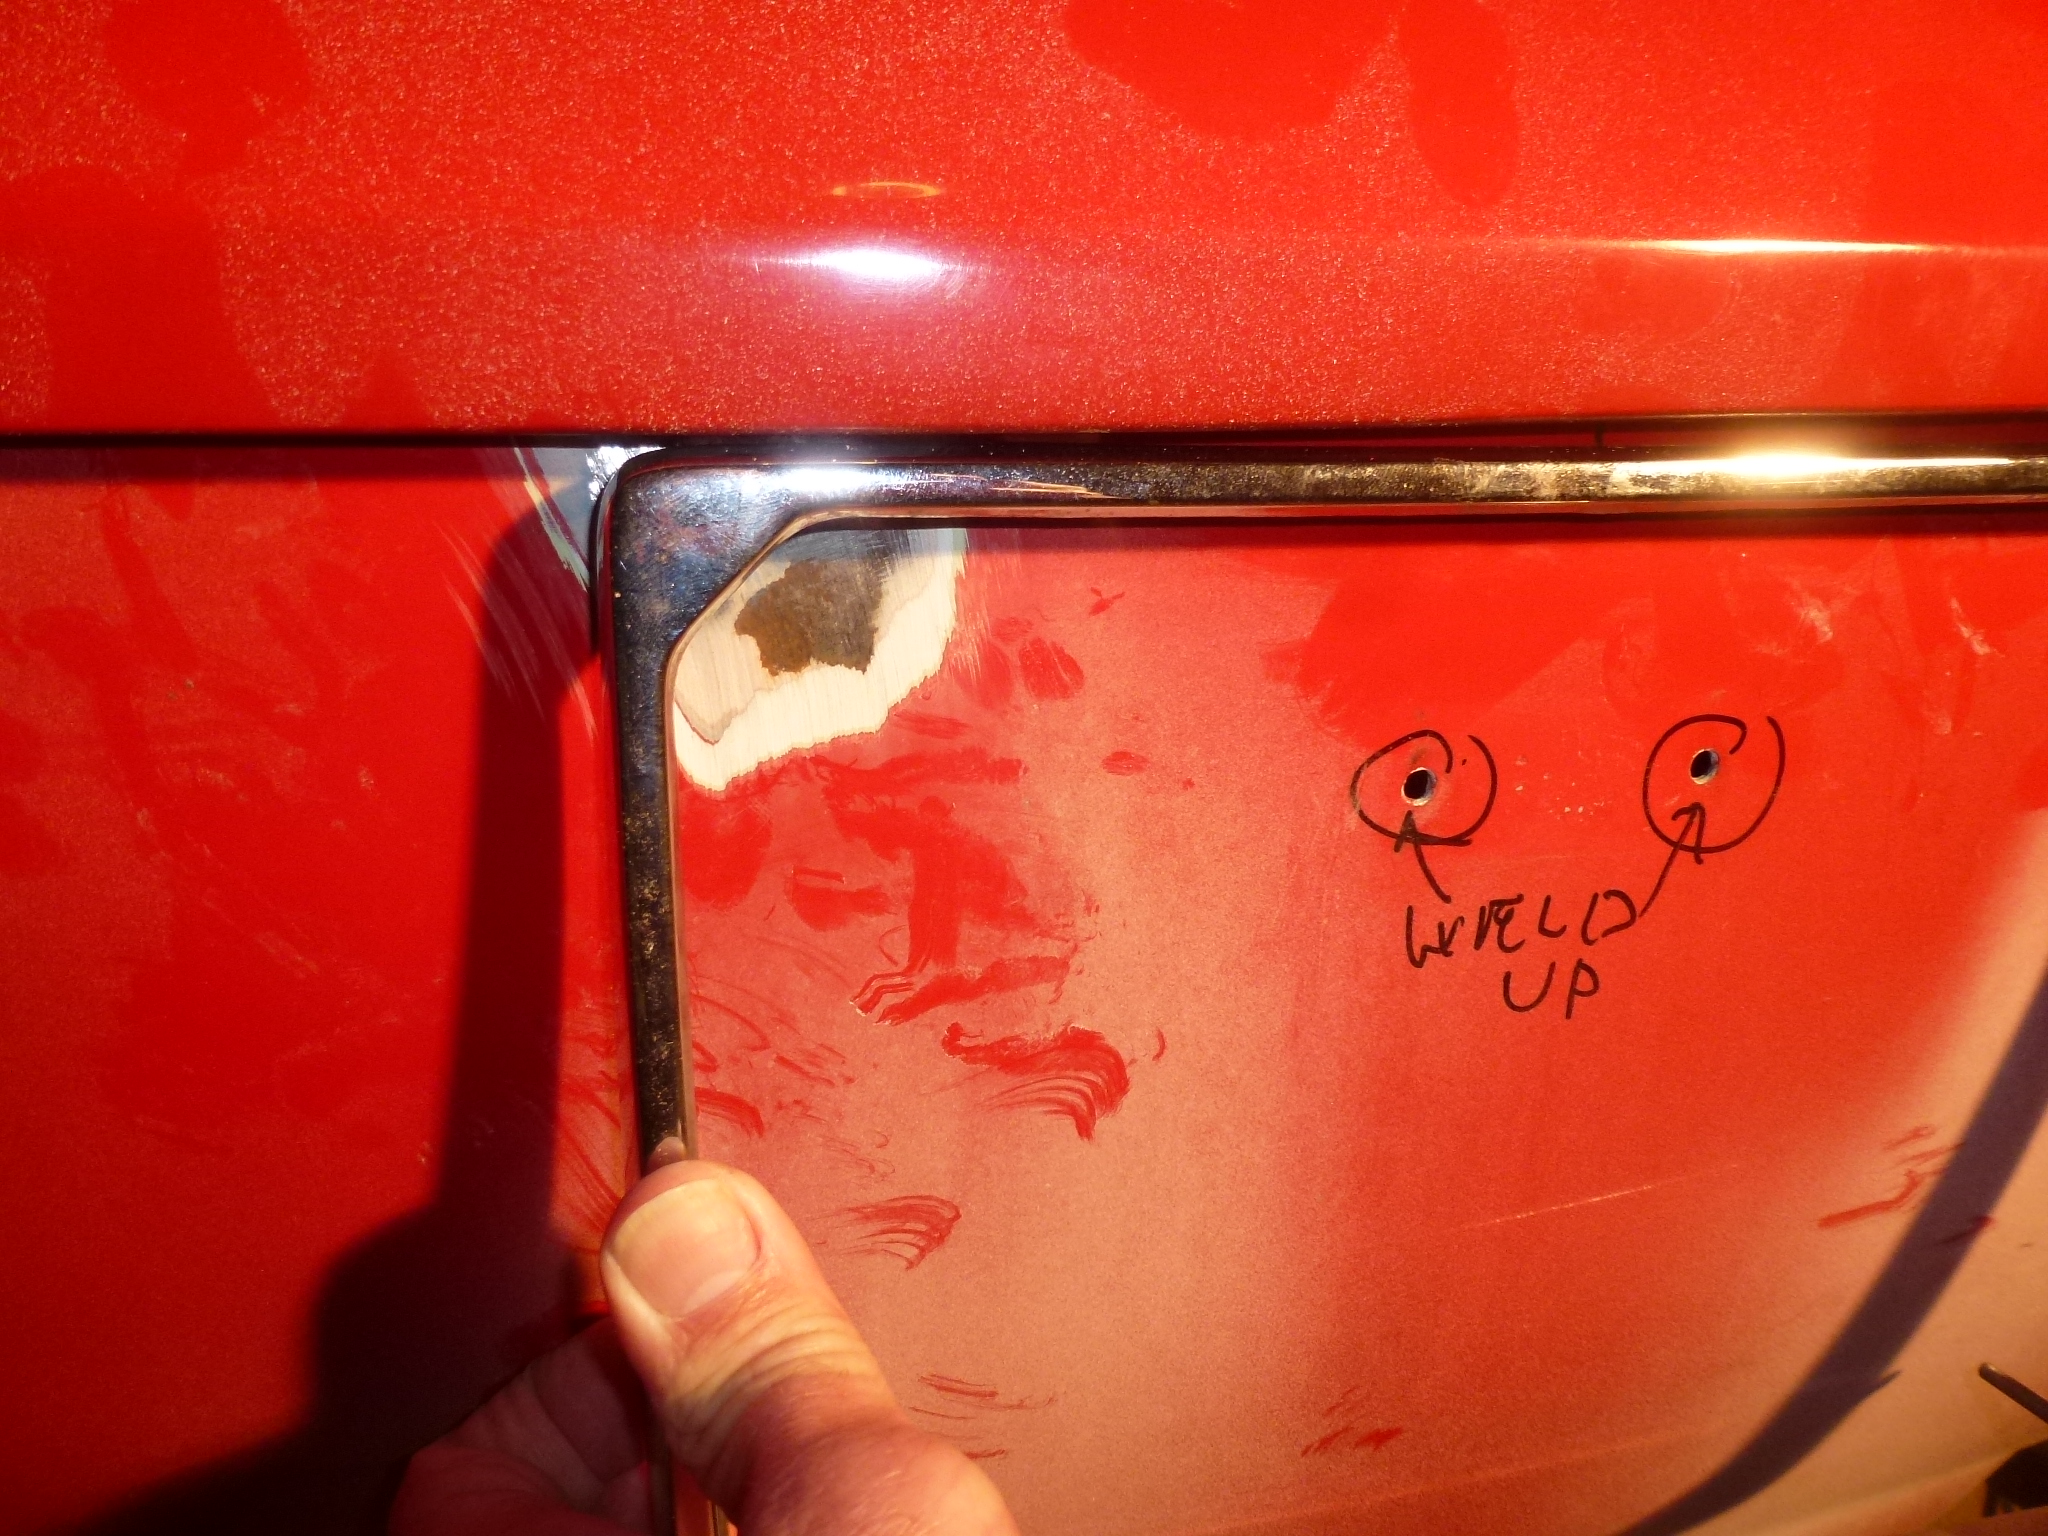
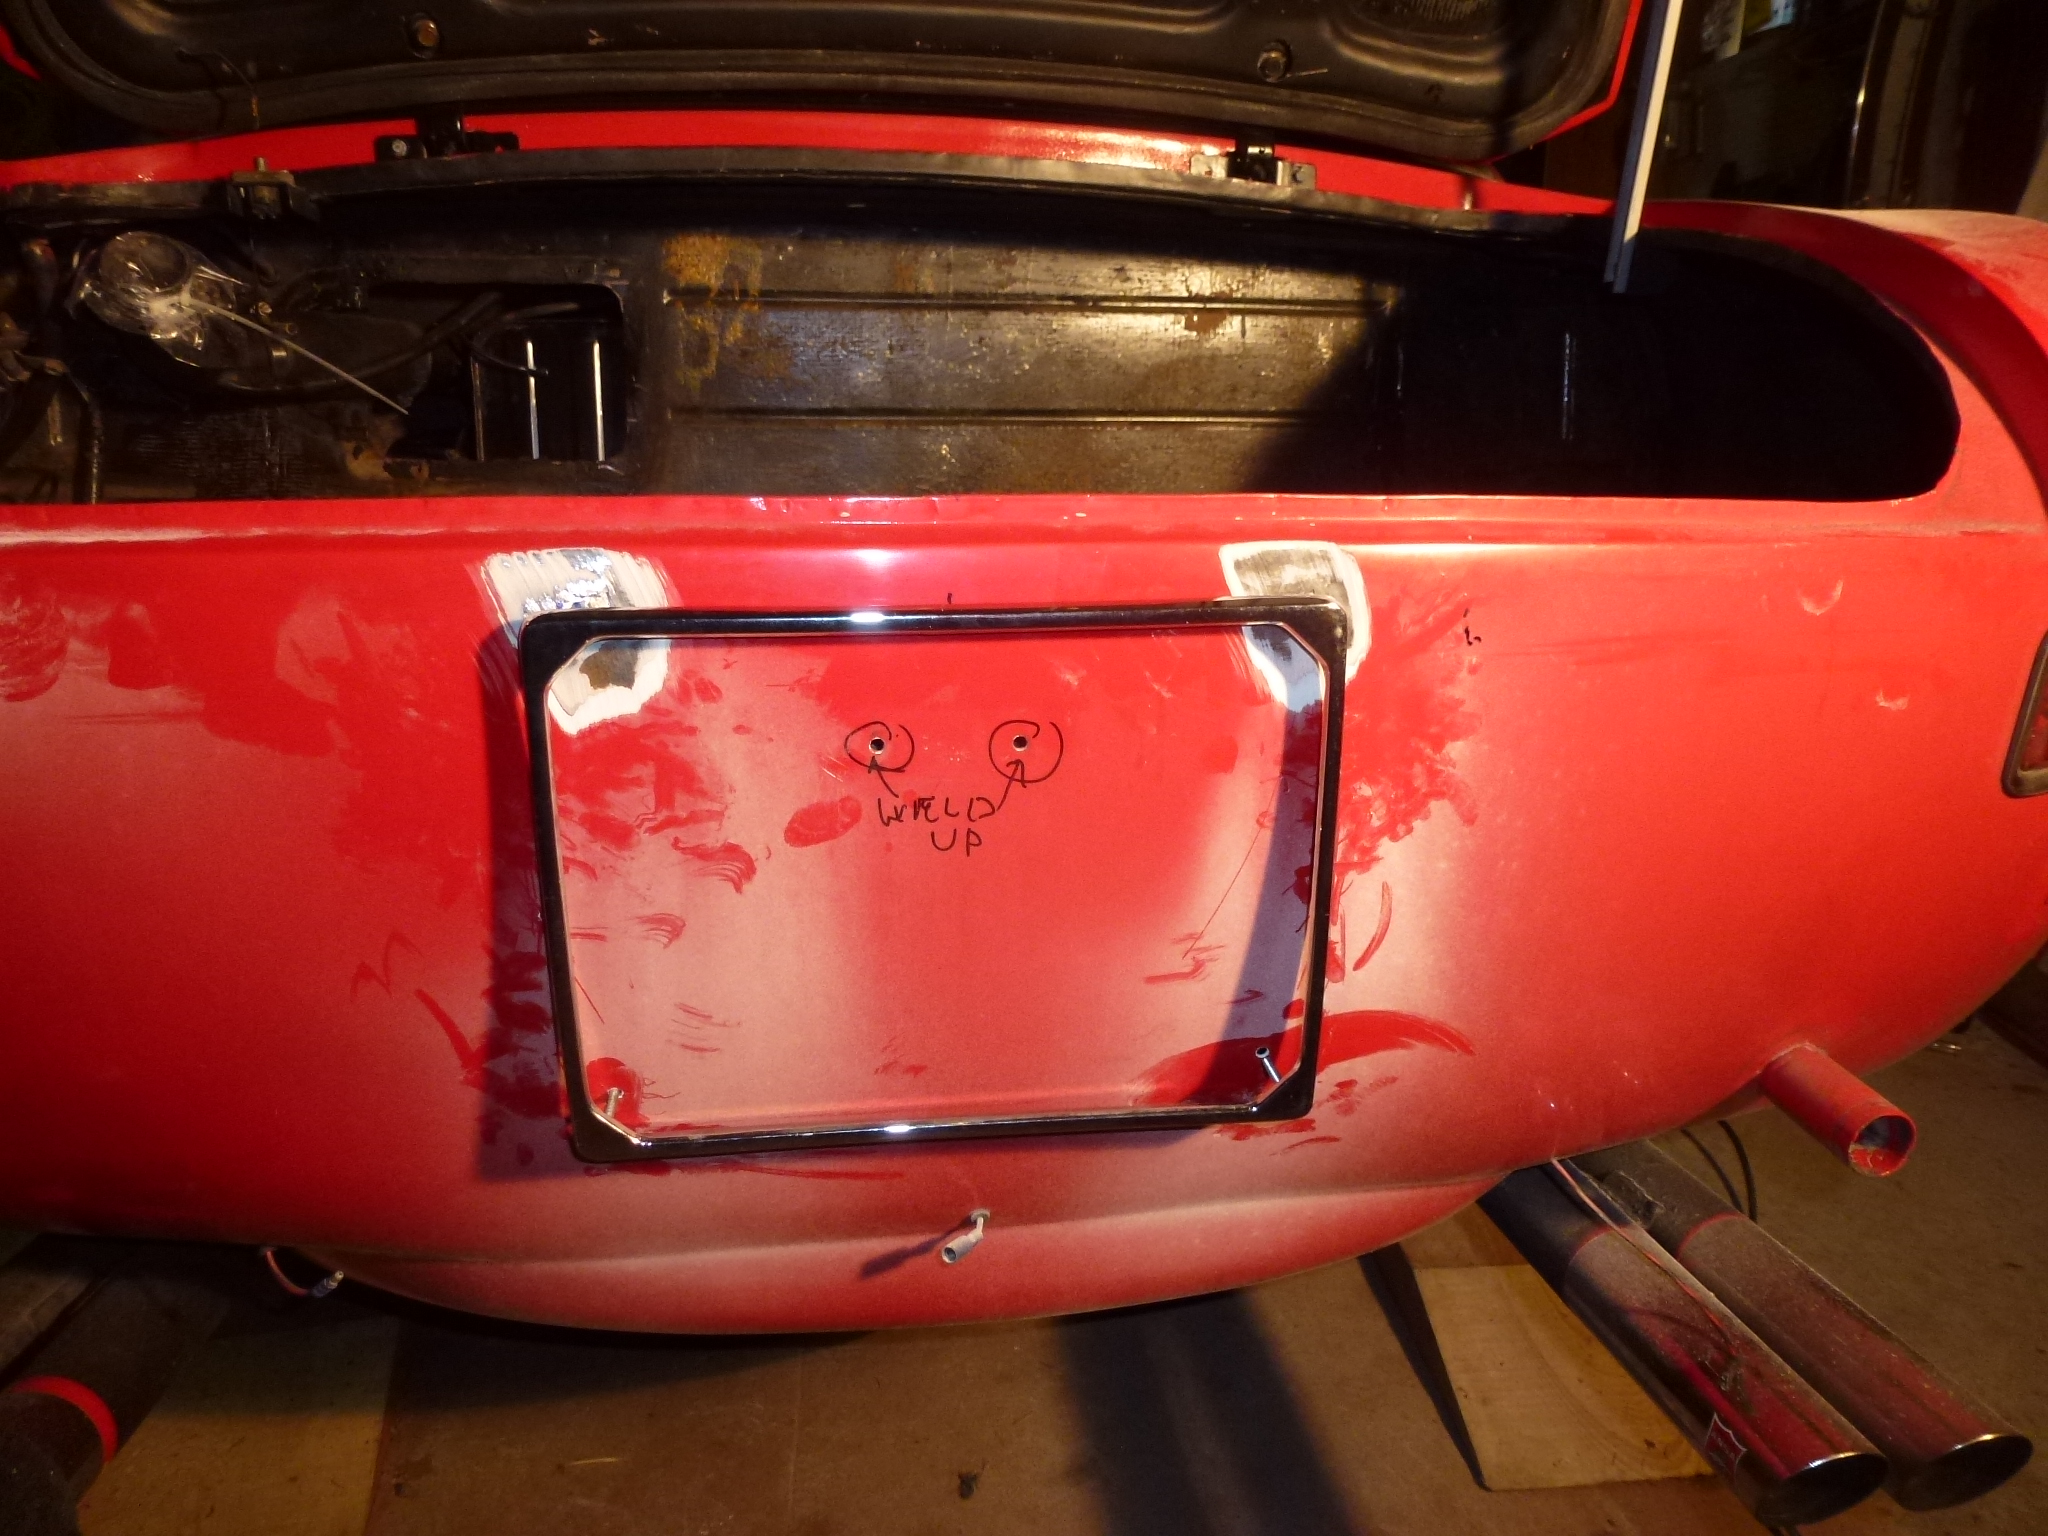
Since the car was originally delivered in Italy, I'm going to change the USA rear license frame to the original European one. This will mean finding those original hole locations and drill them out too. Of course, there are two old holes to be welded up.
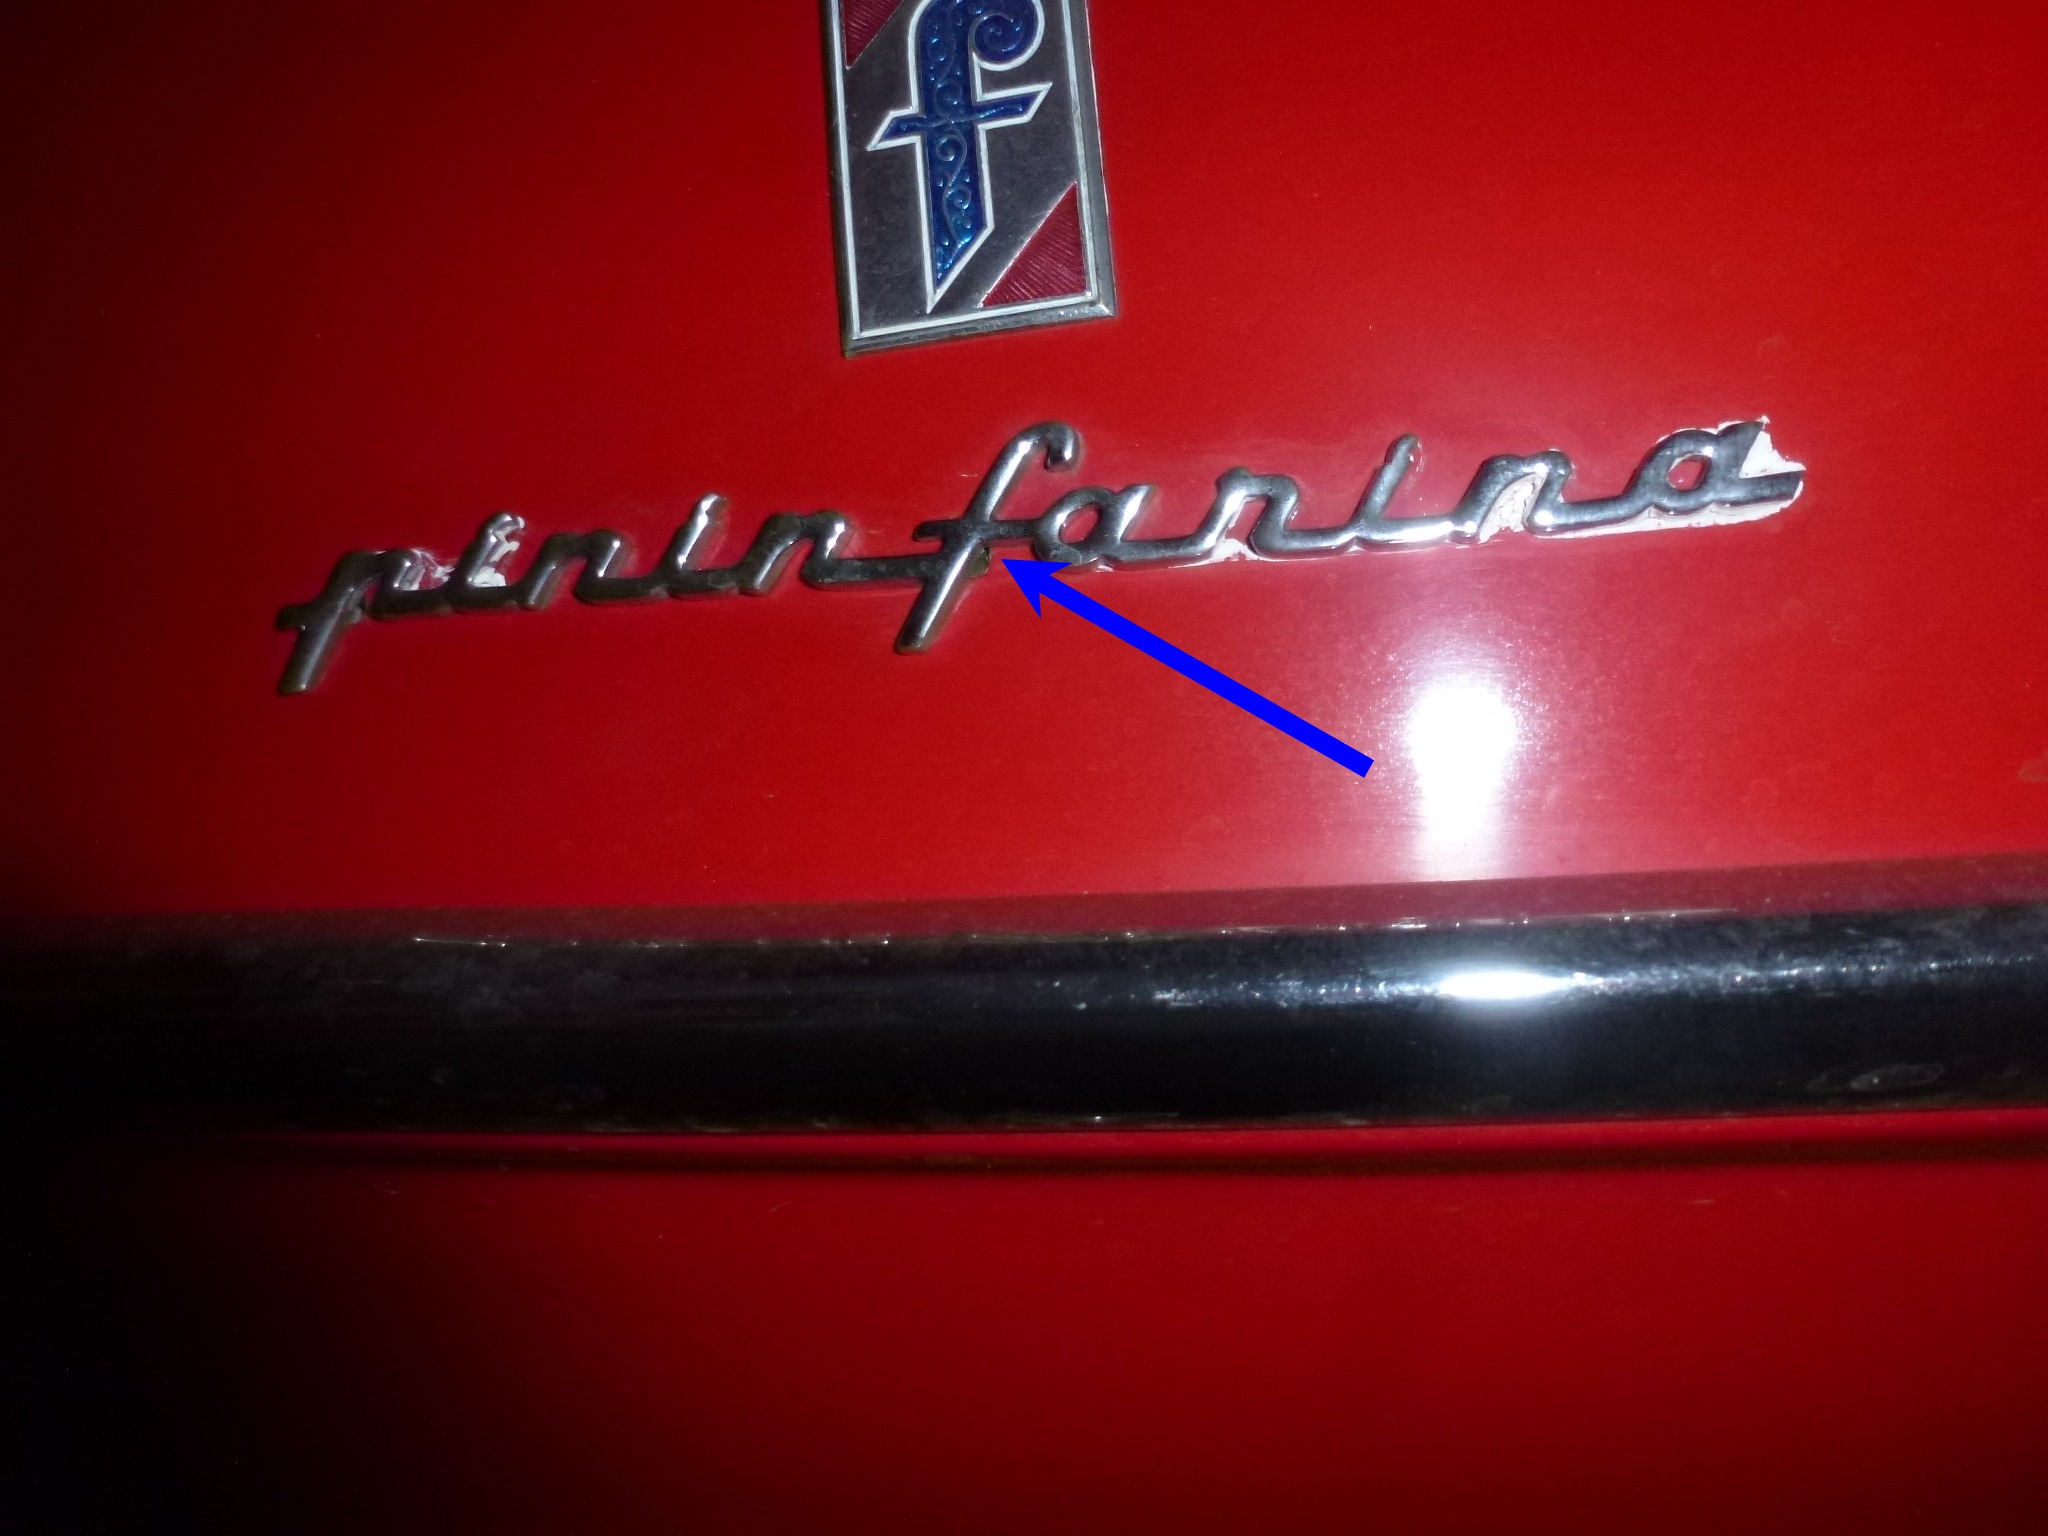
The Pininfarina script center hole is elongated. At some point, an owner replaced the PF script with Ferrari ones (like on the trunk). When I bought the car, I got some reproduction PF script, but they were not cast like the originals, but cut from aluminum. Eventually I got some original cast script, but the center stud was not quite in the same place, so I had to elongate the hole to install them. This is visible if you know to look. So this is another hole to fill and re-drill in the proper place.
I am not removing the engine, transmission or any running gear. I plan on driving the car to the body shop and driving it home, with just a minimum of parts left on the car, like the front turn signals and tail lights.
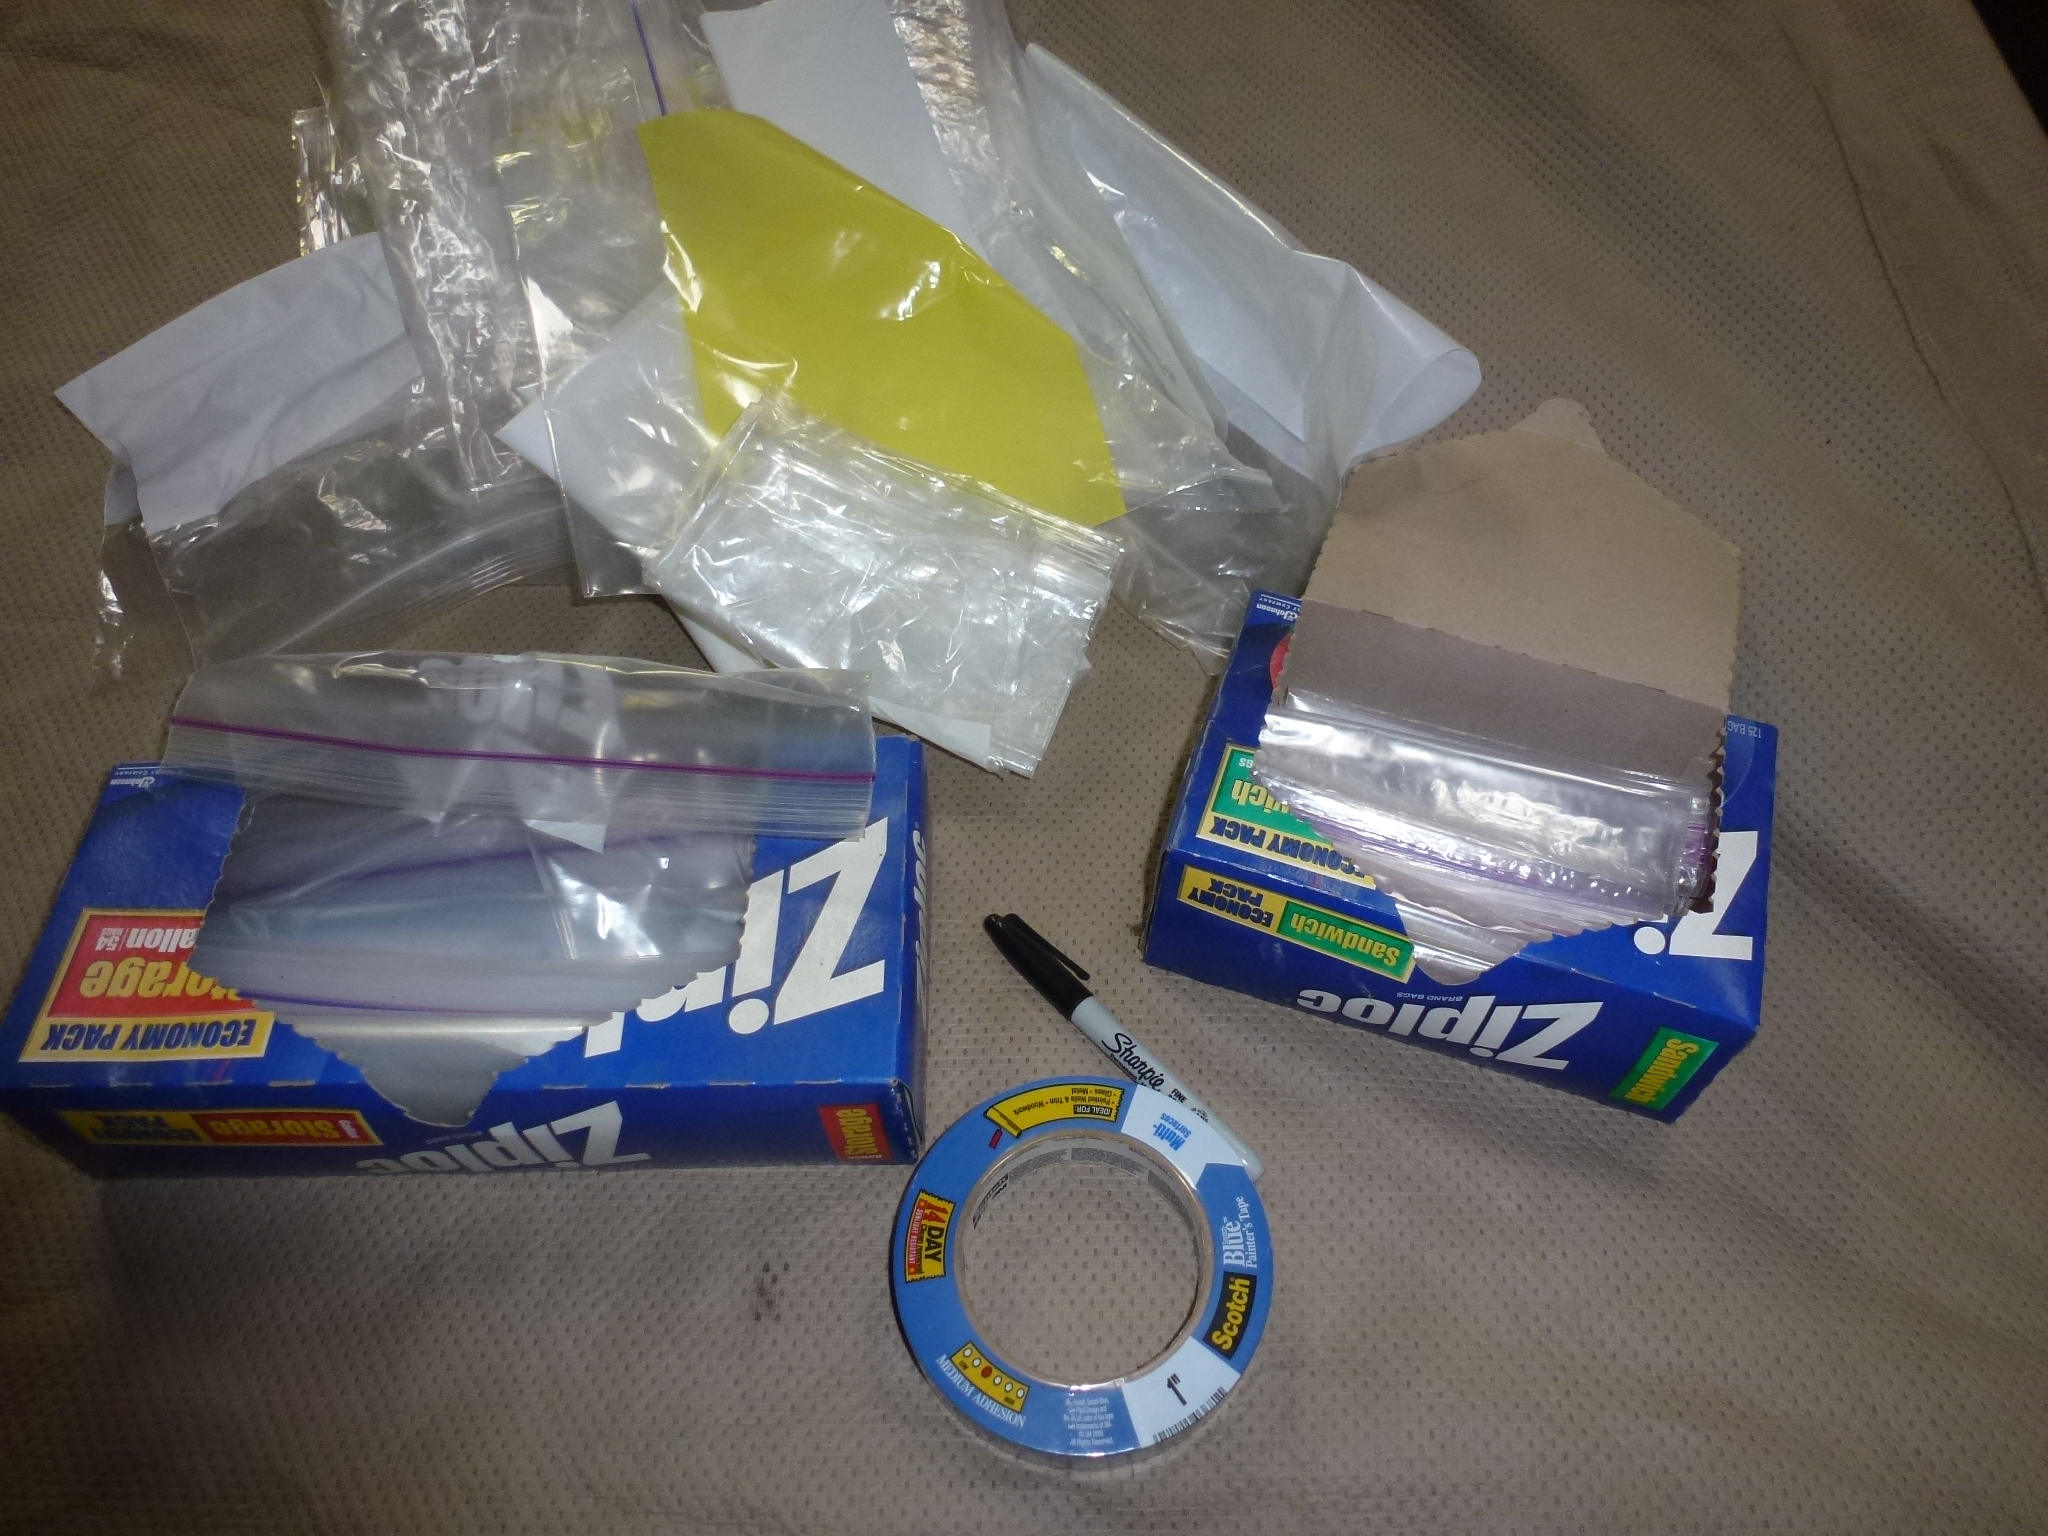
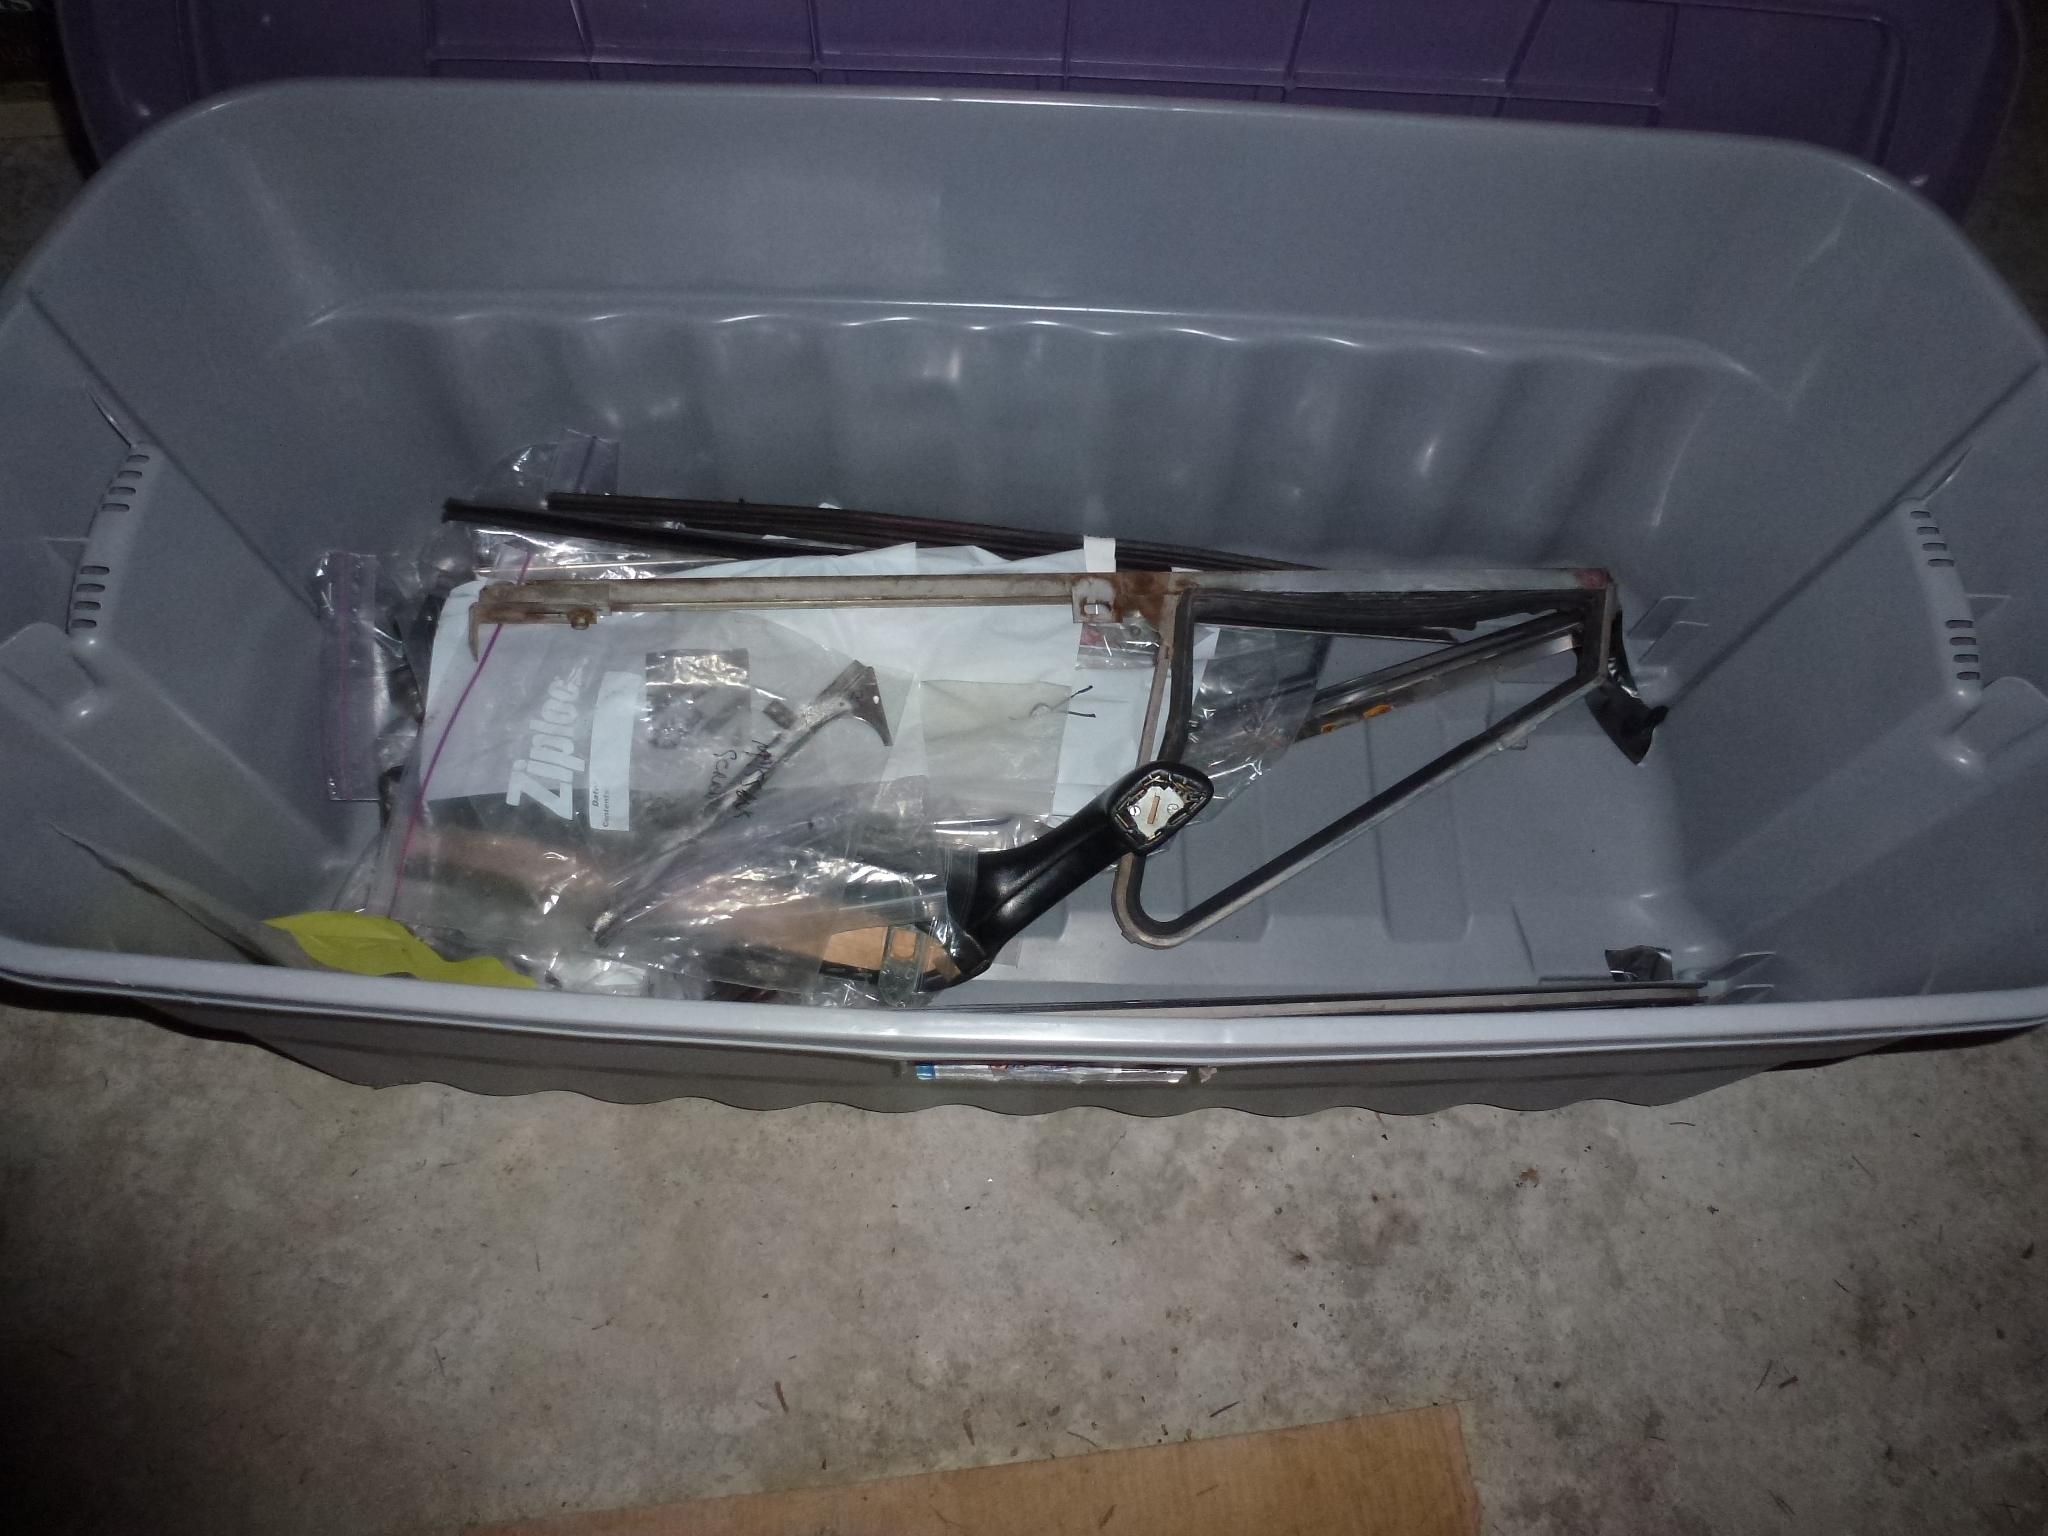
One thing when taking lots of parts off a car is to properly store and label everything. To that end, I use lots of baggies, tape and a Sharpie for the marking. Then everything for that section (door, etc.) goes into a labeled bin. Anything missing or wrong is marked and a list of needed parts is made. I also take lots of pictures, both for these pages and to refresh my failing memory when it goes back together.
As I remove and re-install the various parts, I'll fill in the links below.
Disassembly:
After taking everything off, I had several items to take care of prior to the car going to the autobody shop.
I drilled the holes for the European rear registration plate frame. First I tried to locate the original holes that were welded up. All I found was a large welded up area, no distinct hole locations. So I started measuring and using pointed studs screwed into the frame, located where I needed to drill the holes. This worked fine until a rusty chunk of bad weld just tore out. So more stuff to weld up.
Eventually I got everything located and the holes drilled.

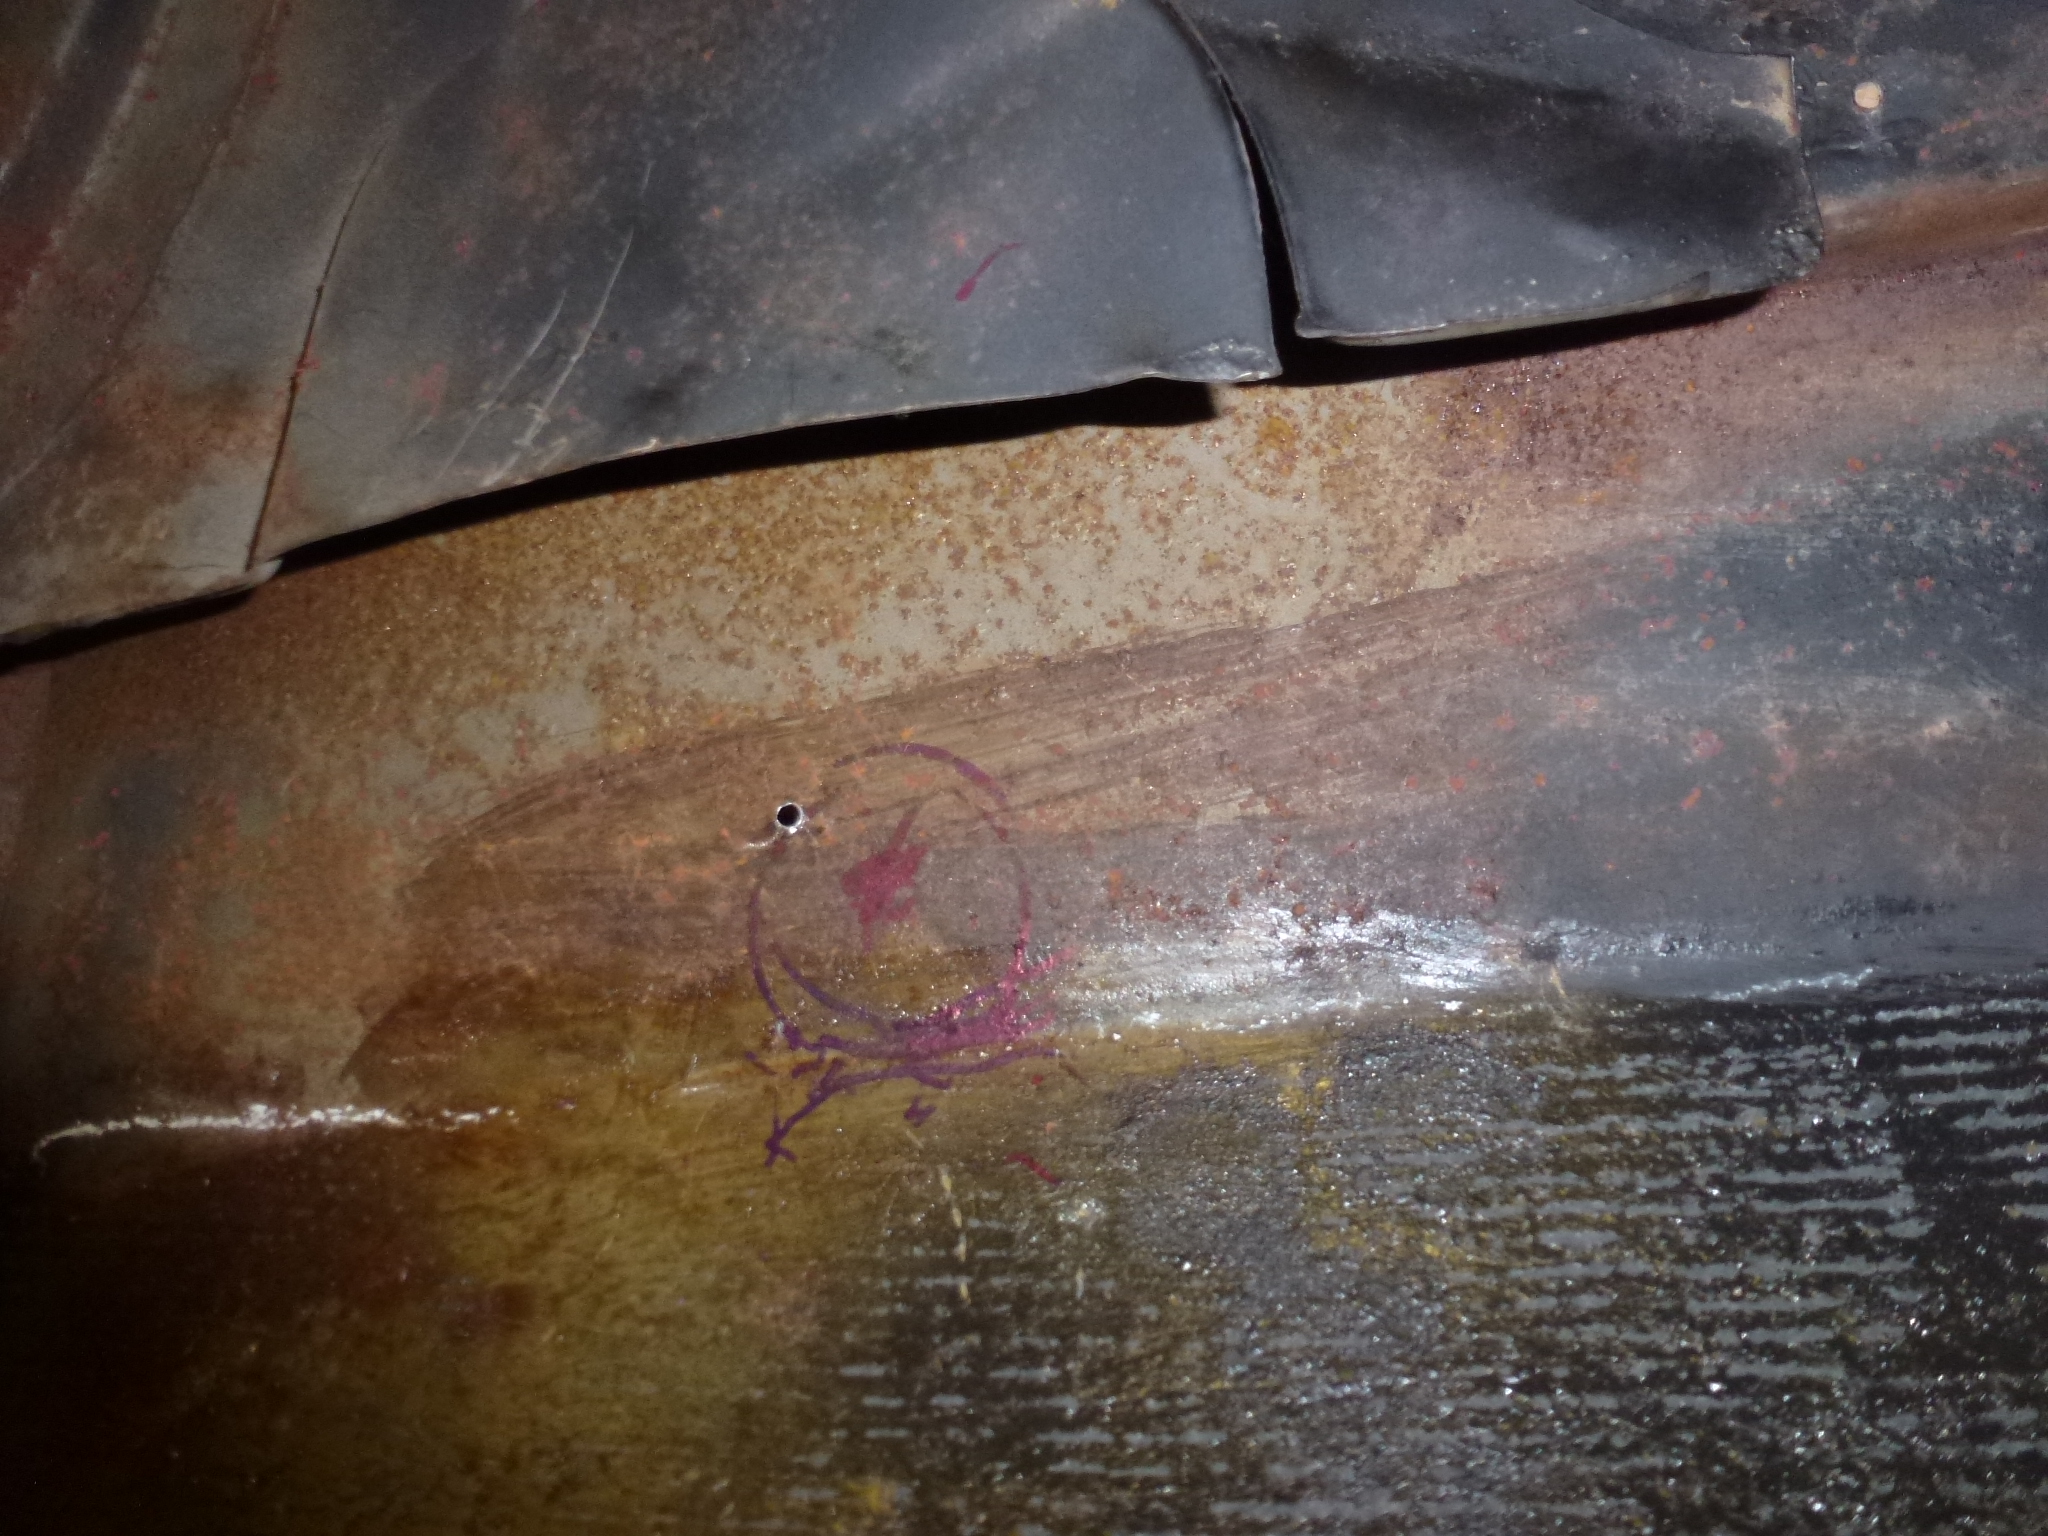
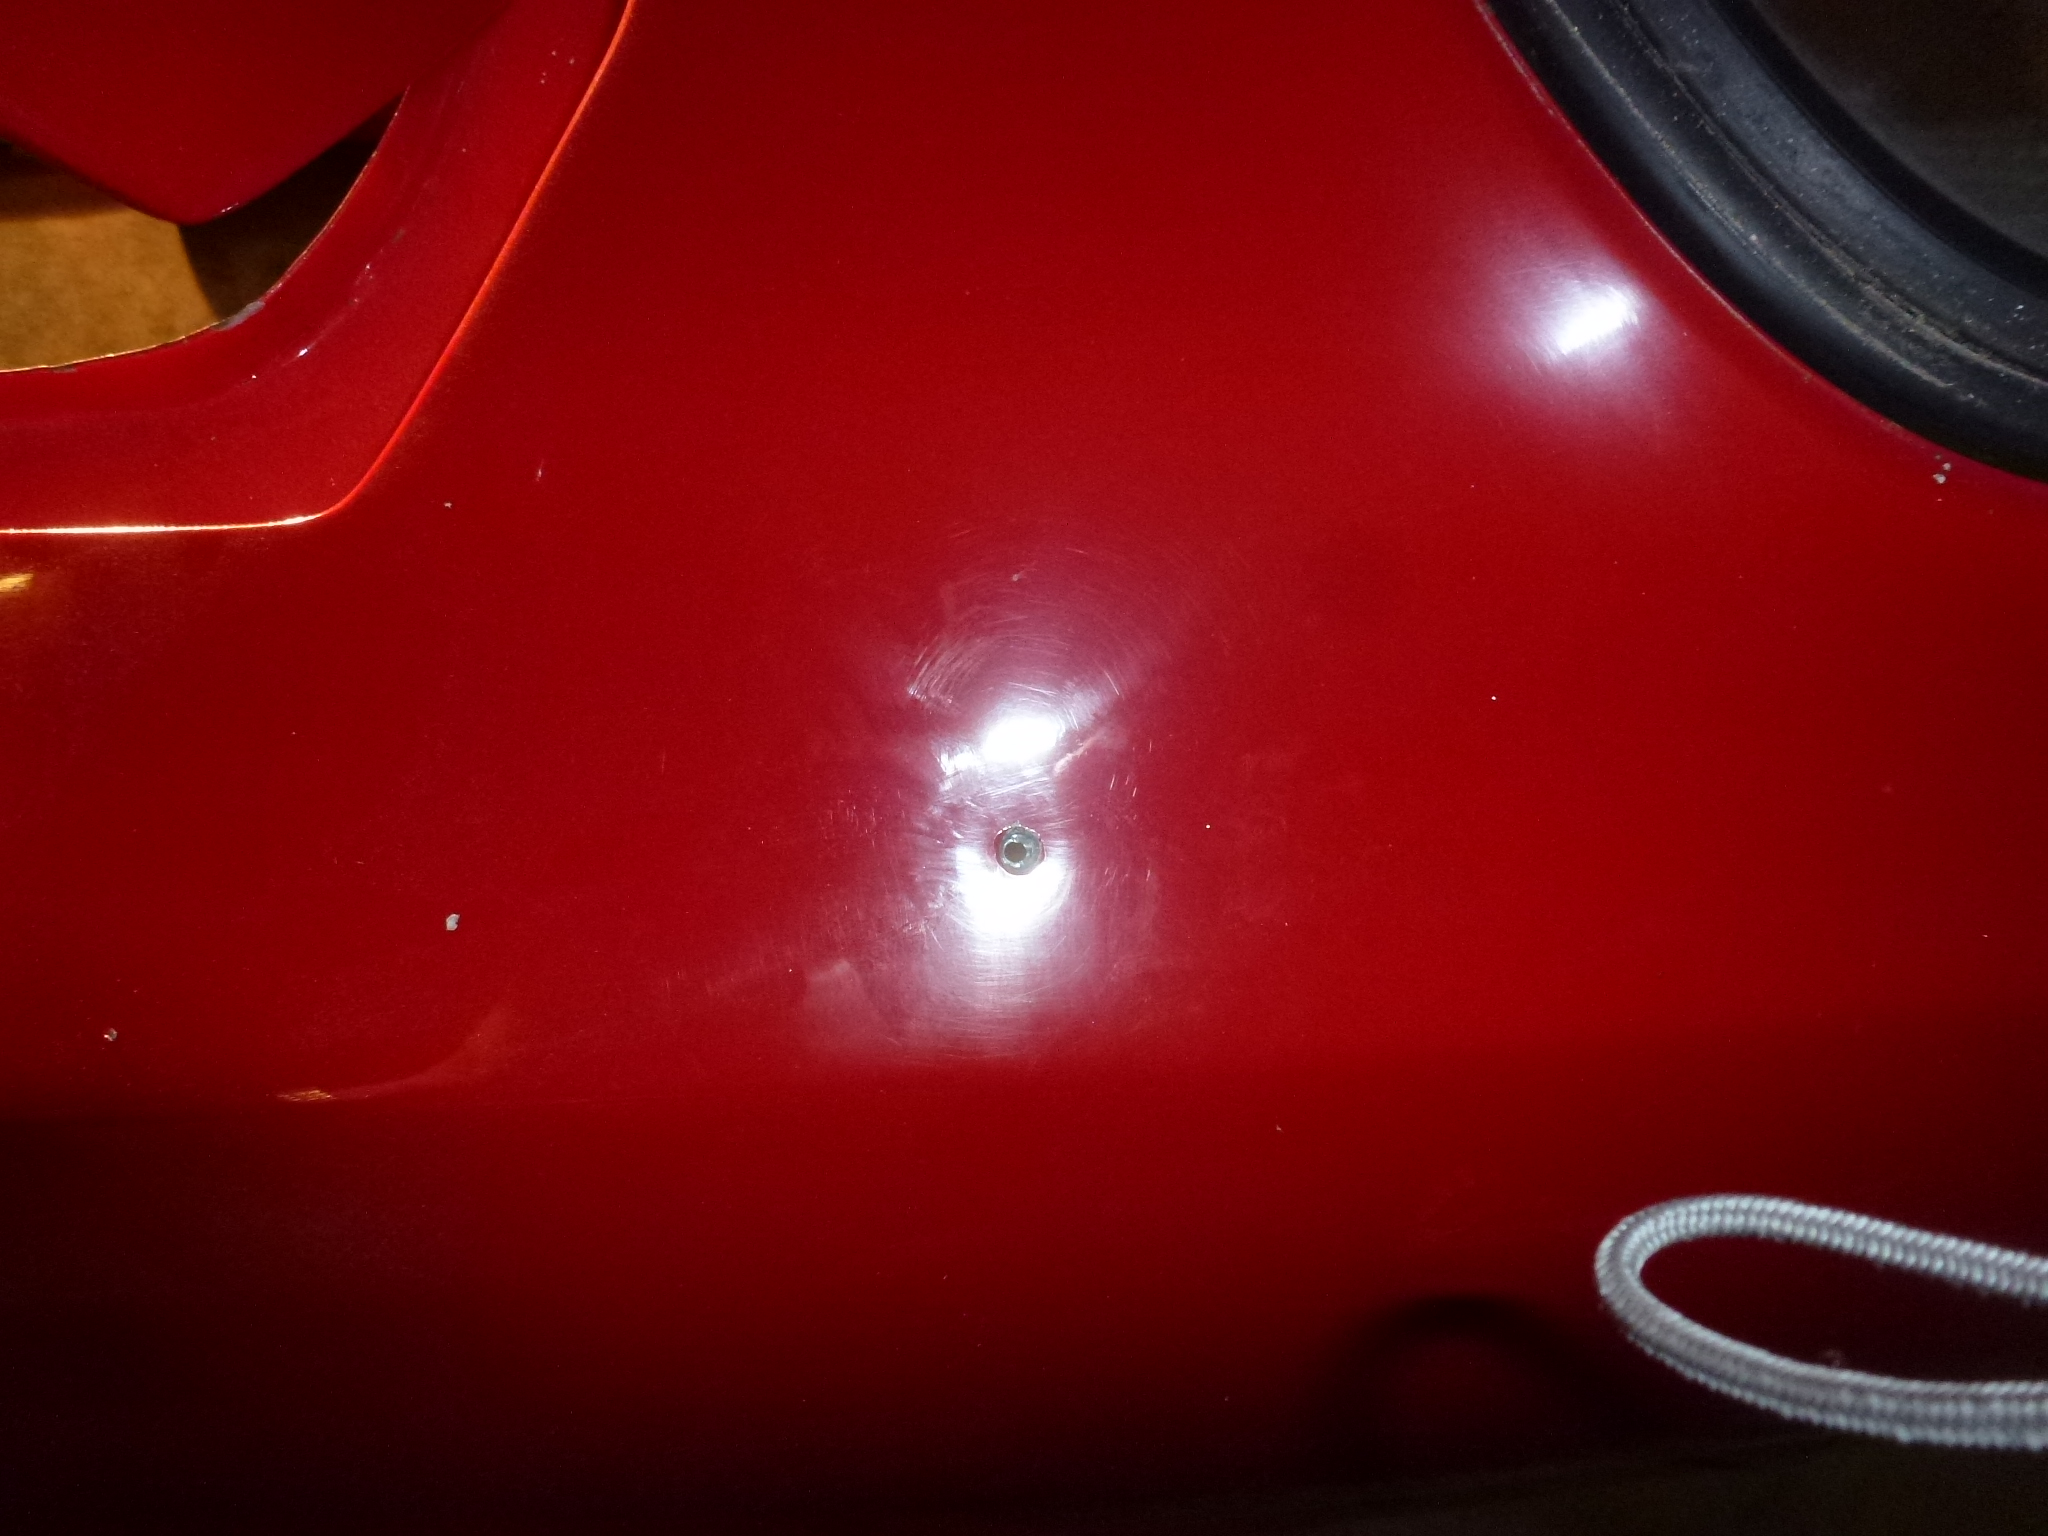
The next project was to relocate the radio antenna in the right wheel well as far forward as possible. I held it in place while drawing circles about where I though it should go. Then I drilled a small hole to check where it was exactly on the outside. The angle to the body ended up being more than the adjustment in the base of the antenna, so I'll have to make a slanting rubber pad to go under the existing pad. But at least it is out of the way now.
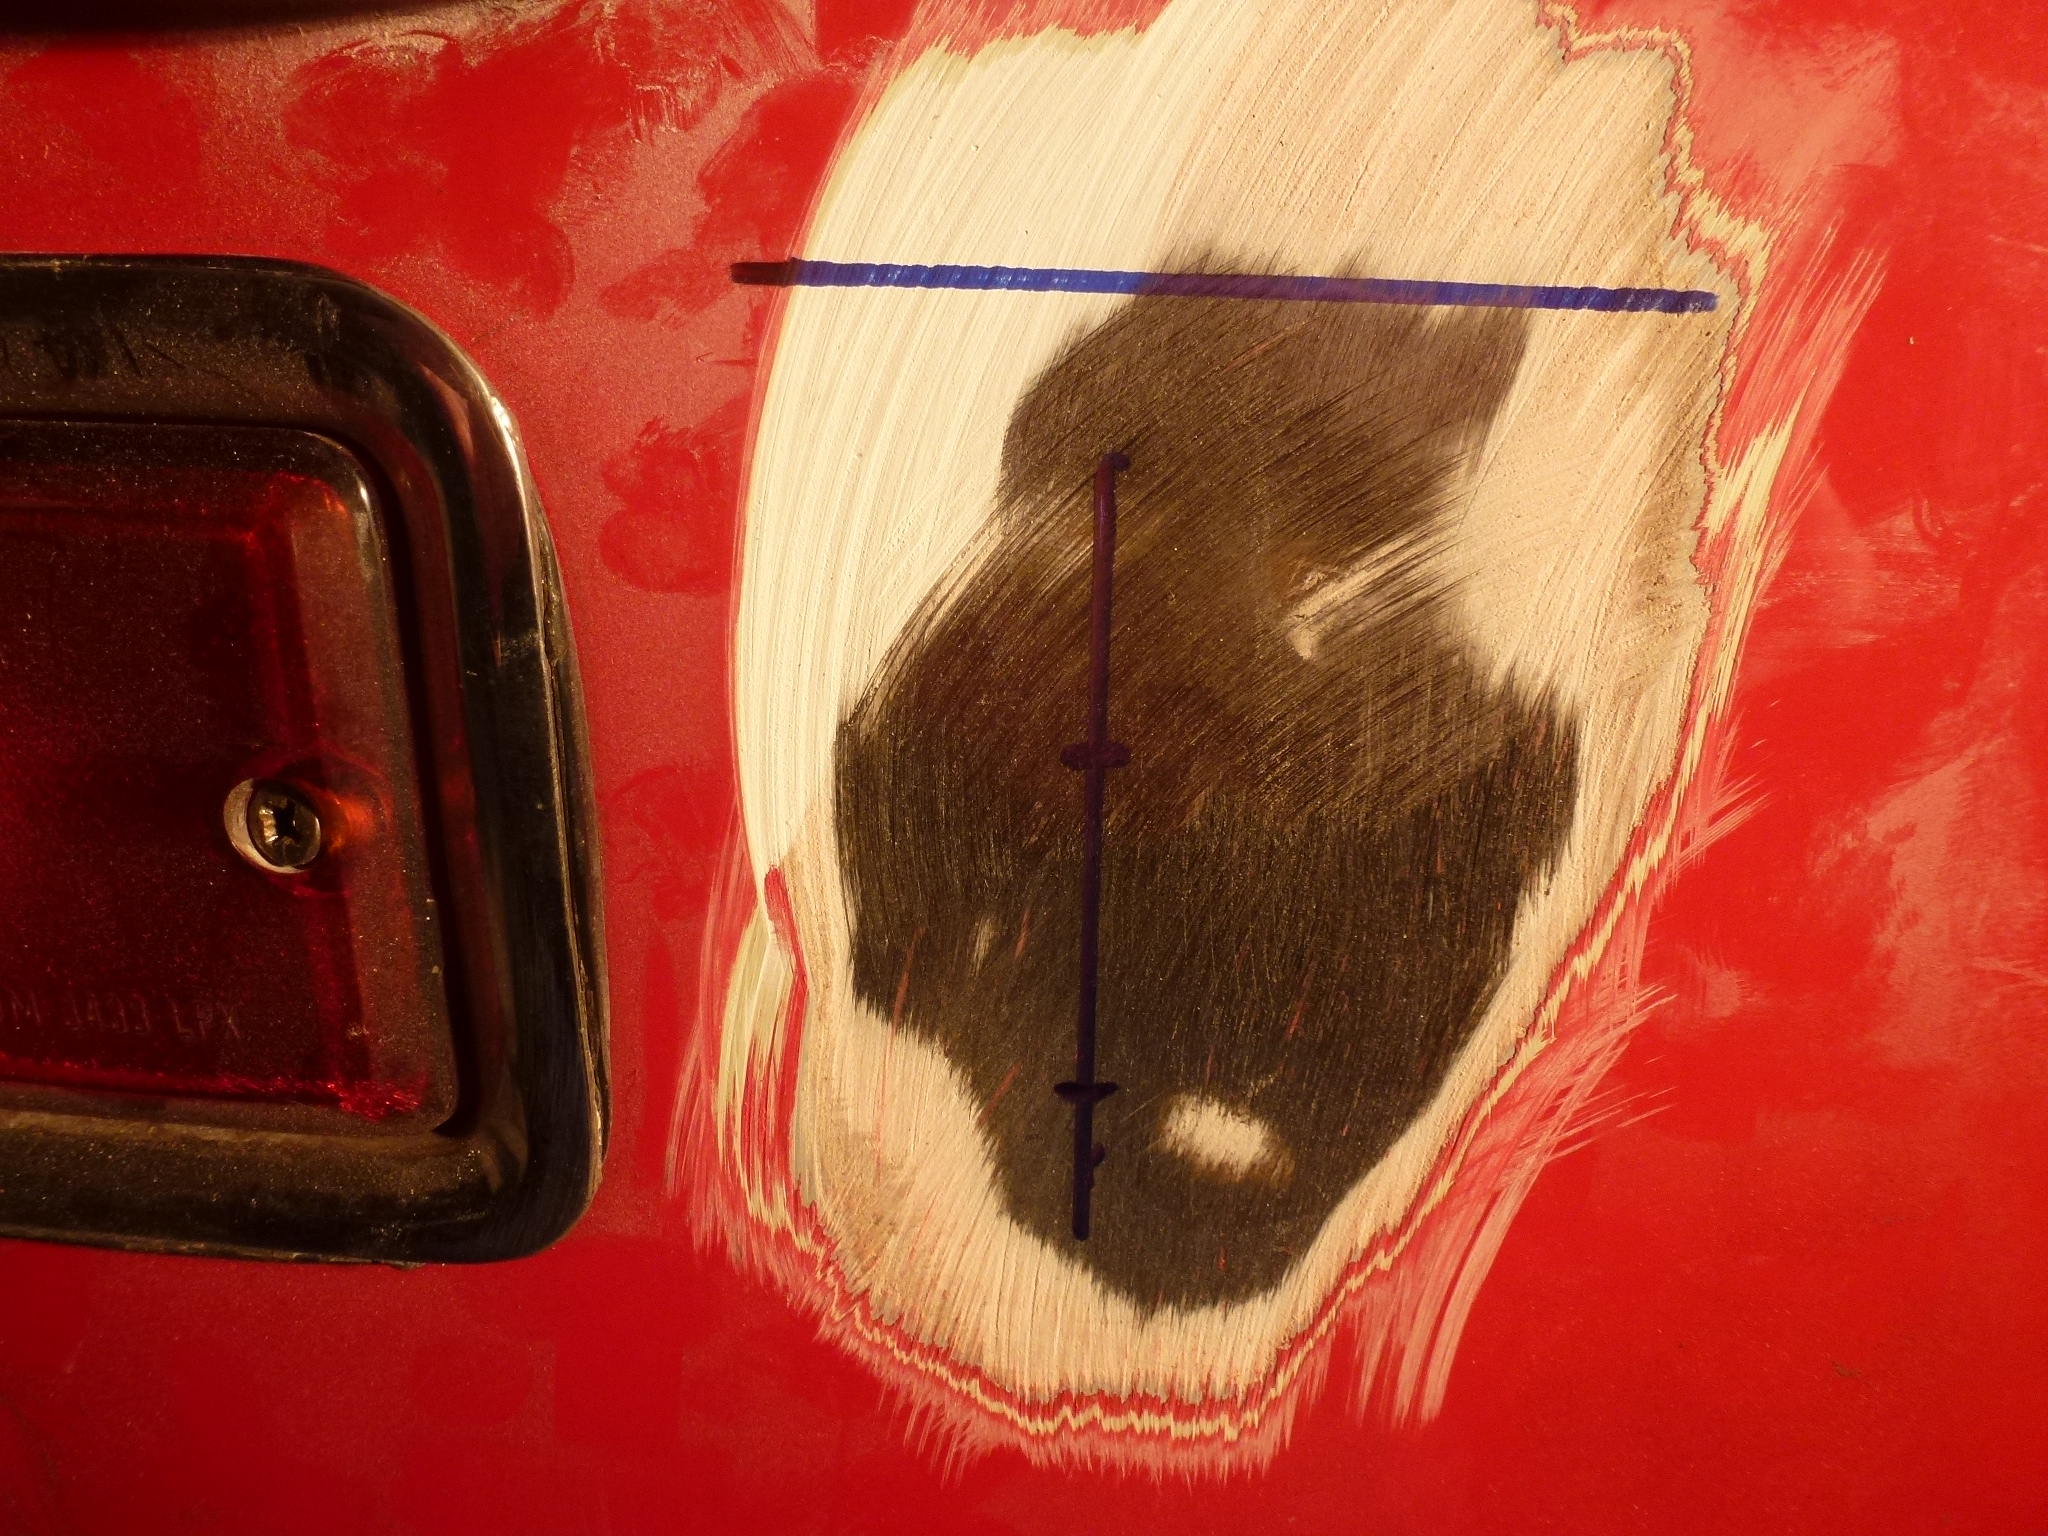
I also relocated the rear reflectors to their proper location. I expected this to take about half an hour. First I sanded off the paint and filler to look for the original holes. I also scraped off the undercoating in the trunk. Couldn't find any welded up holes or any sign that the reflectors were ever mounted in the correct place. So now I had to locate where they belonged. I asked Lowell Brown to measure the ones on his car. One side was .780" from the taillight and the other side was .810", almost 1/4" difference. Vertically, one was aligned with the taillight while the other was an 1/8" lower. So I'll just make them even so they look good.
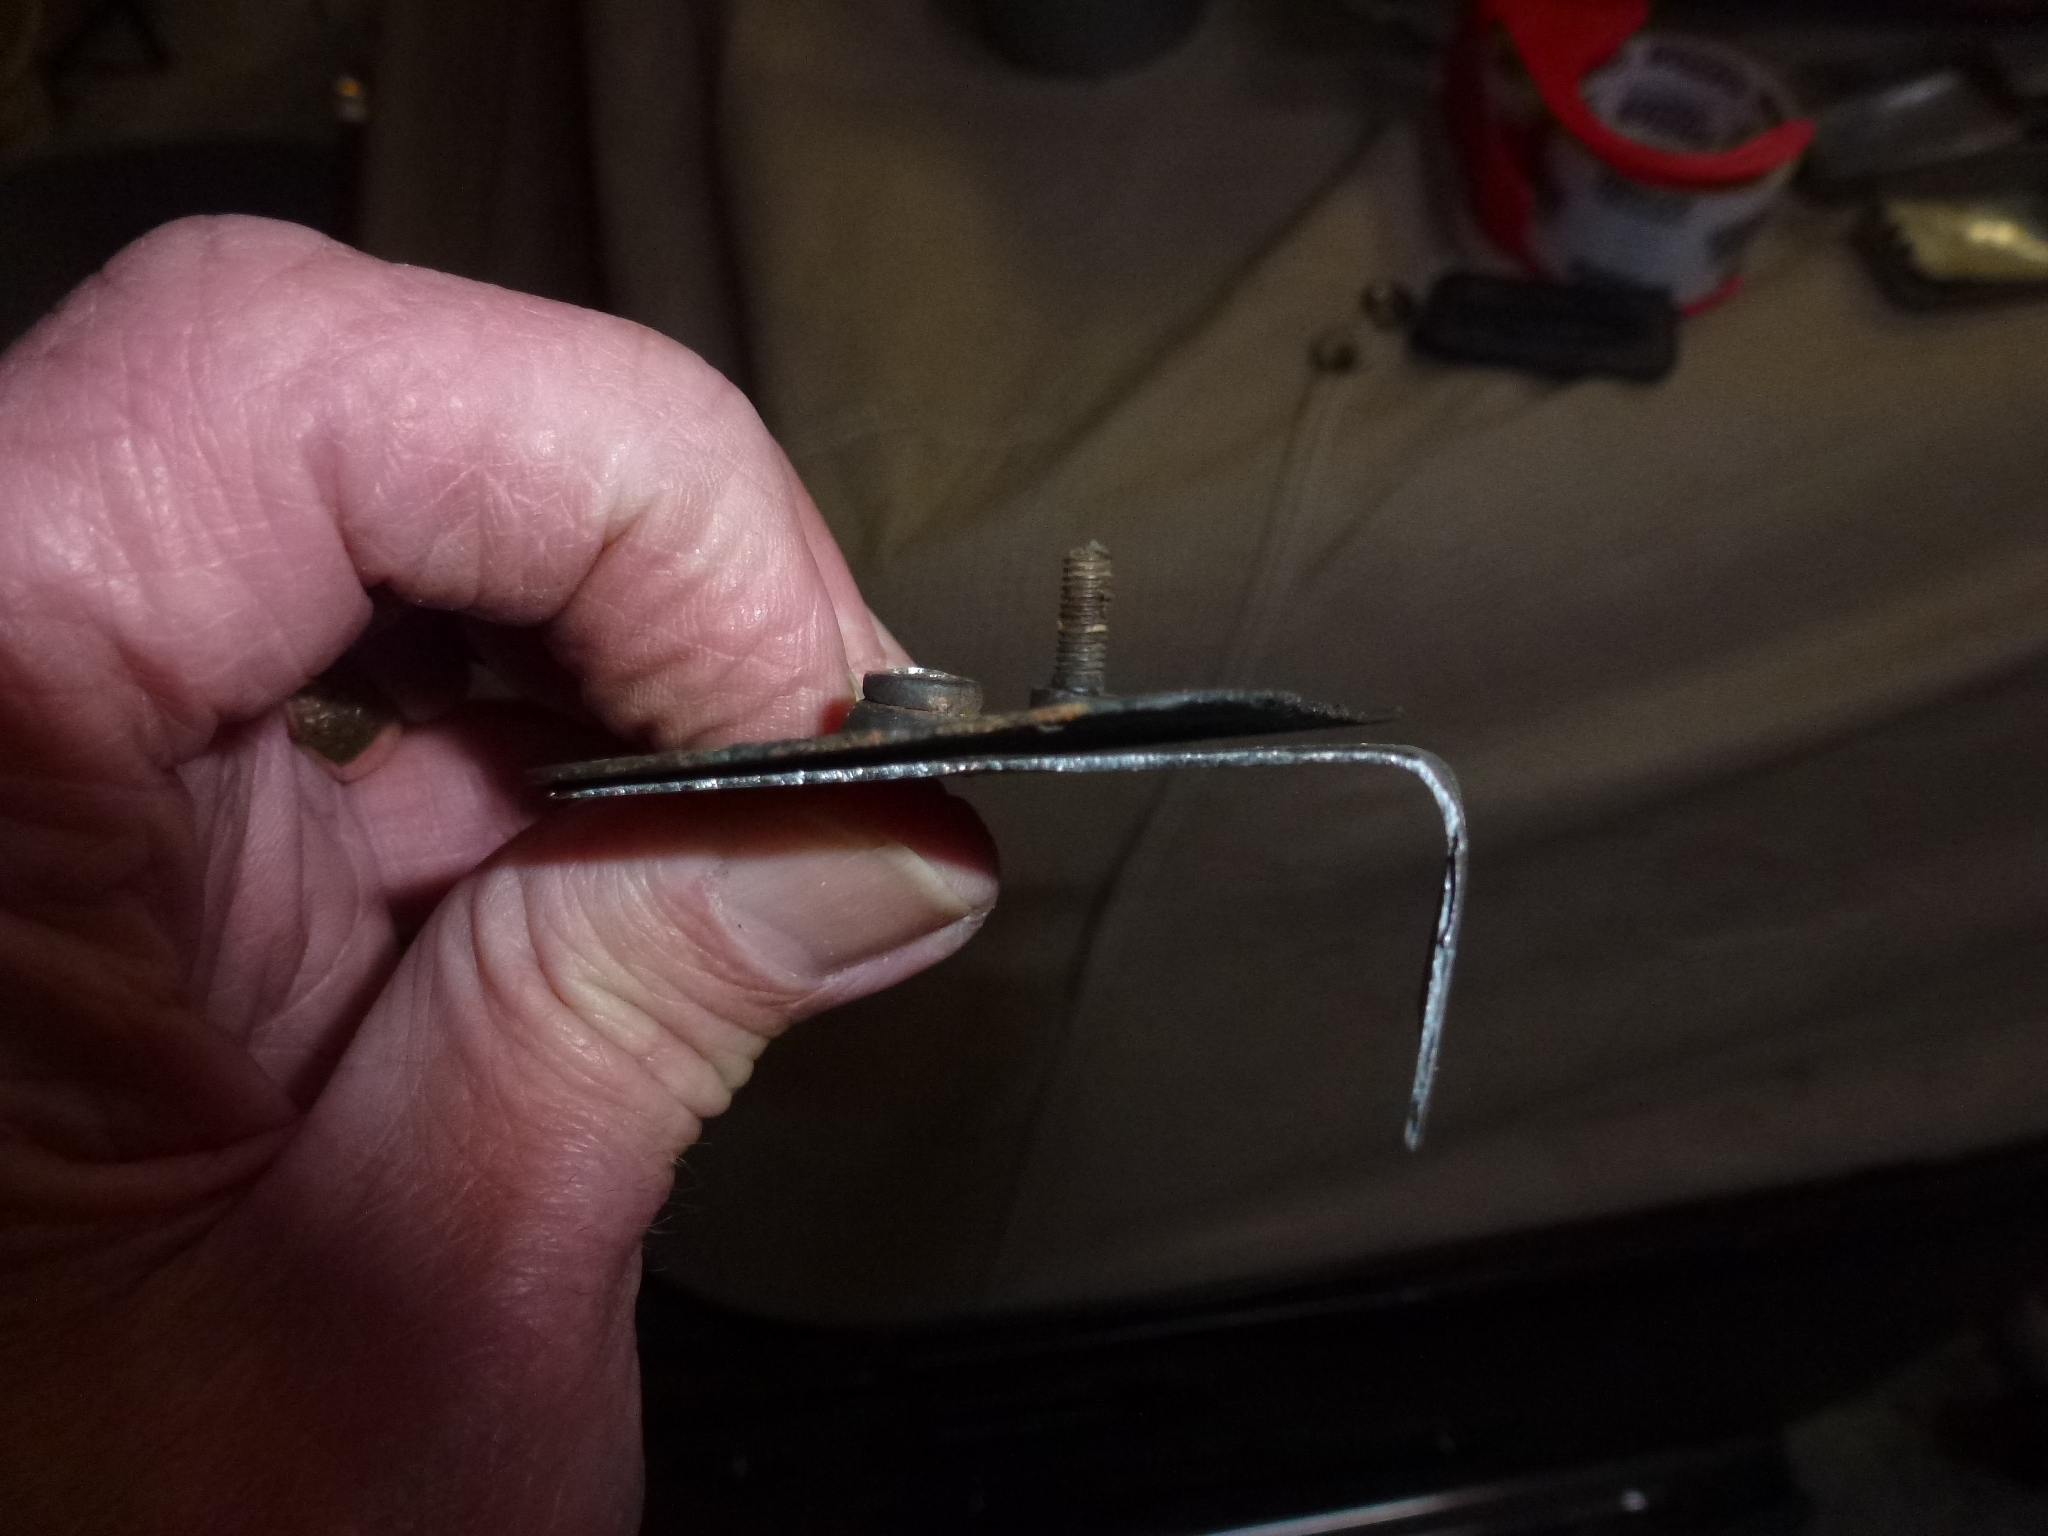
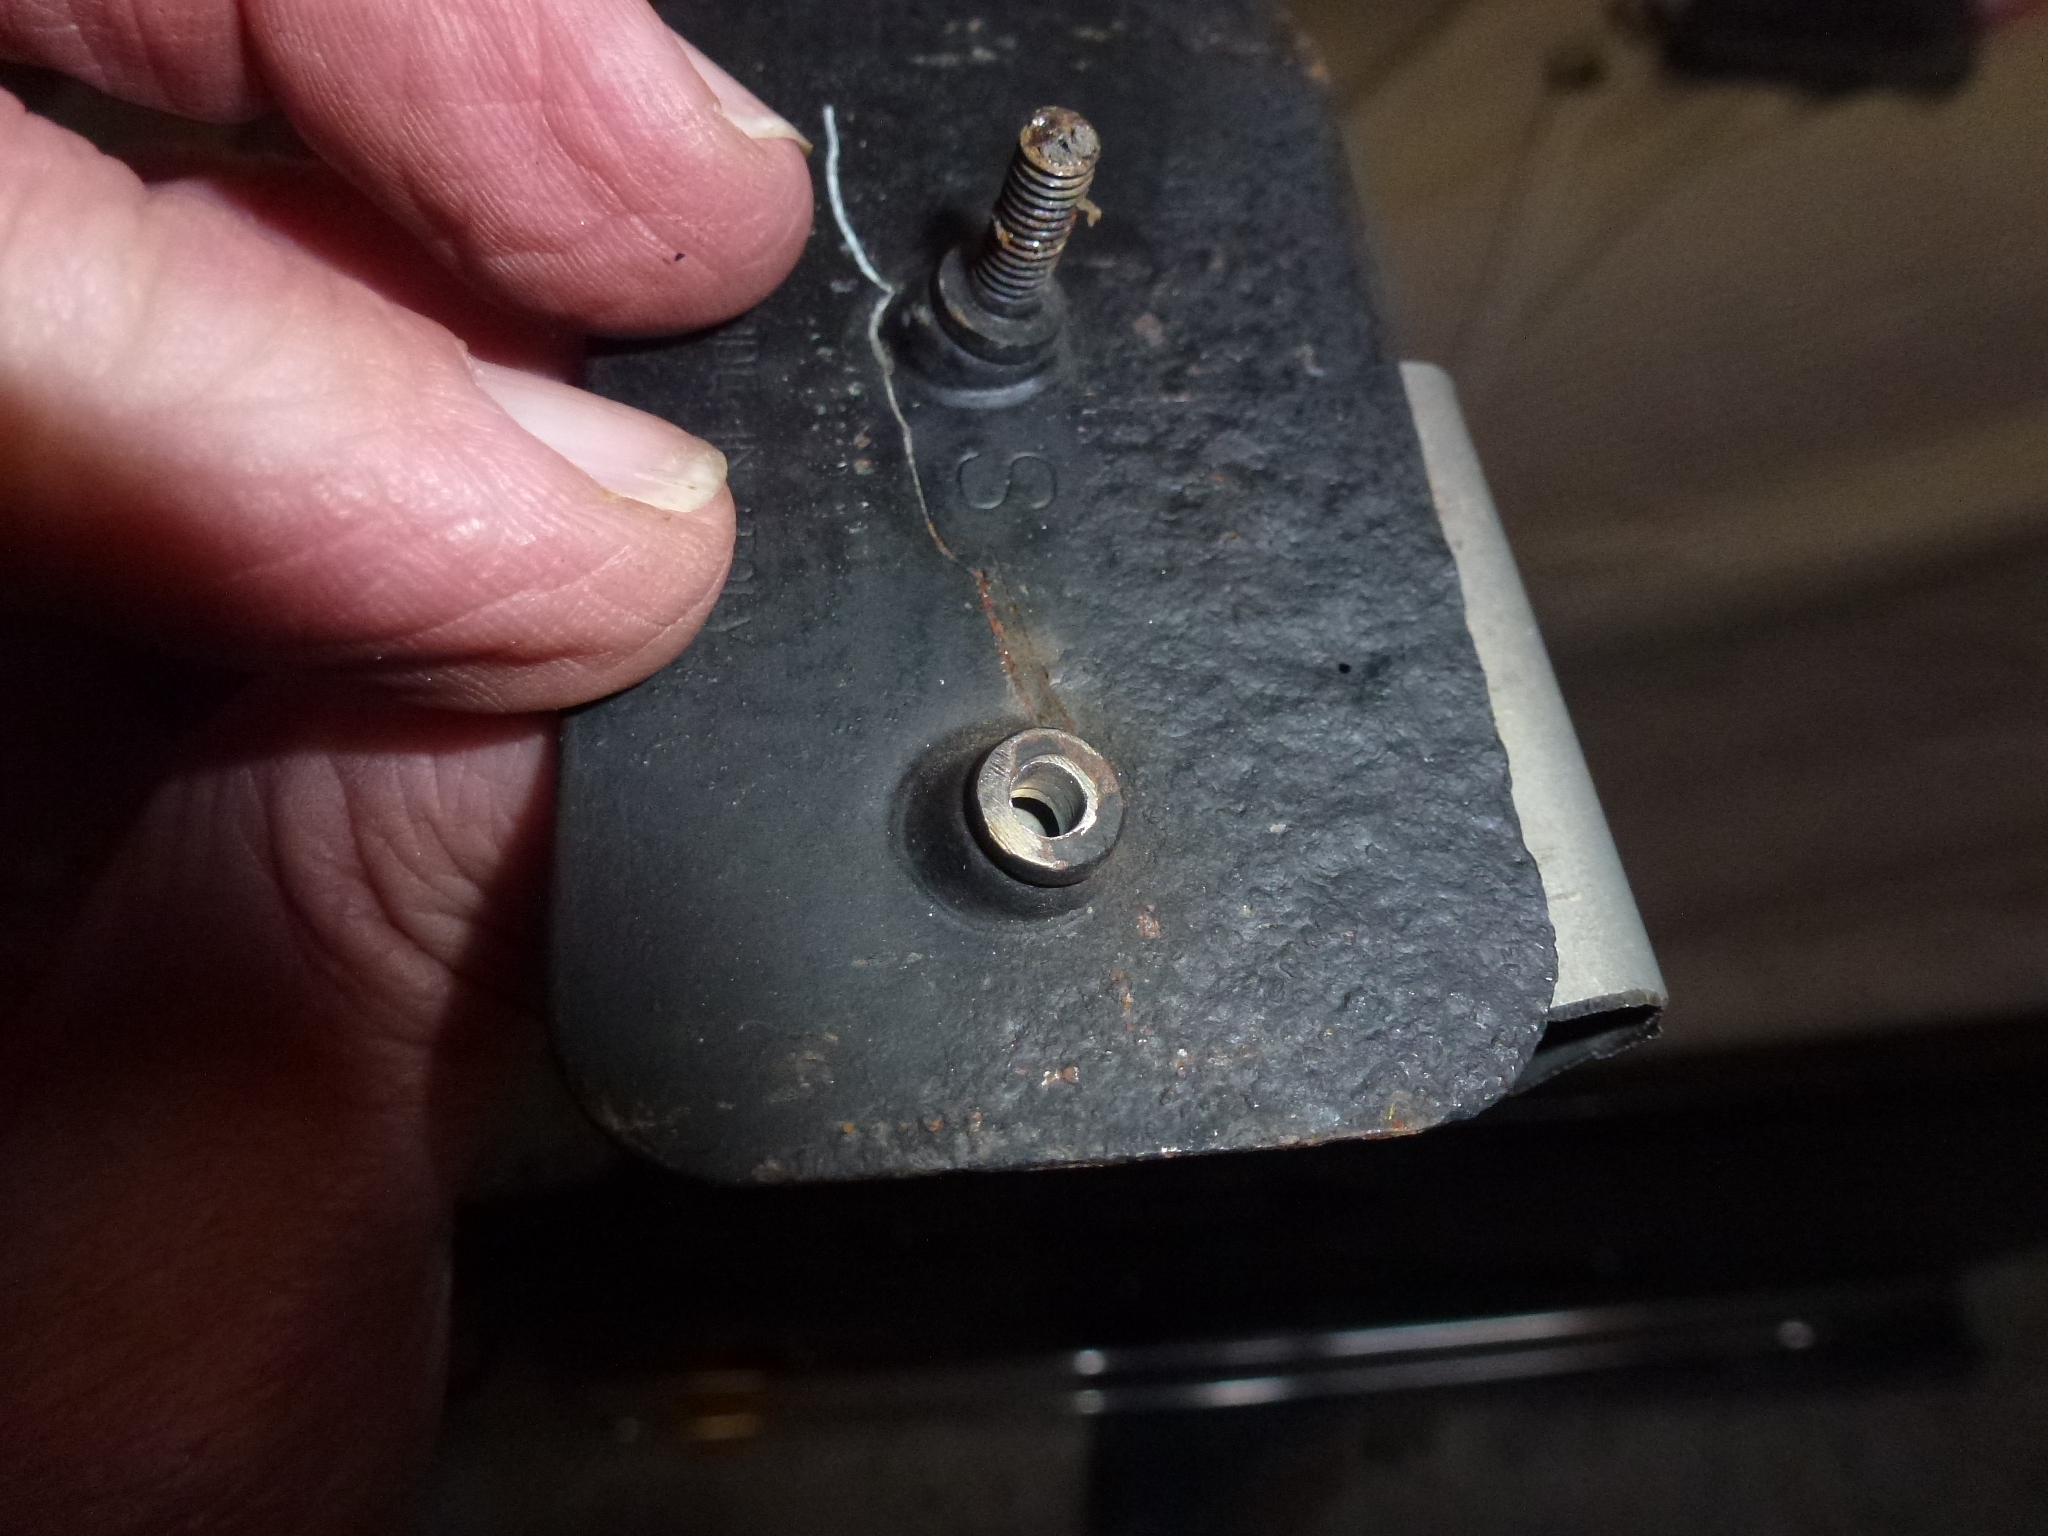
Then I took off the pads and noticed that one of the studs was broken off on each reflector. No wonder mine would twist around and need to be straightened every once in a while.
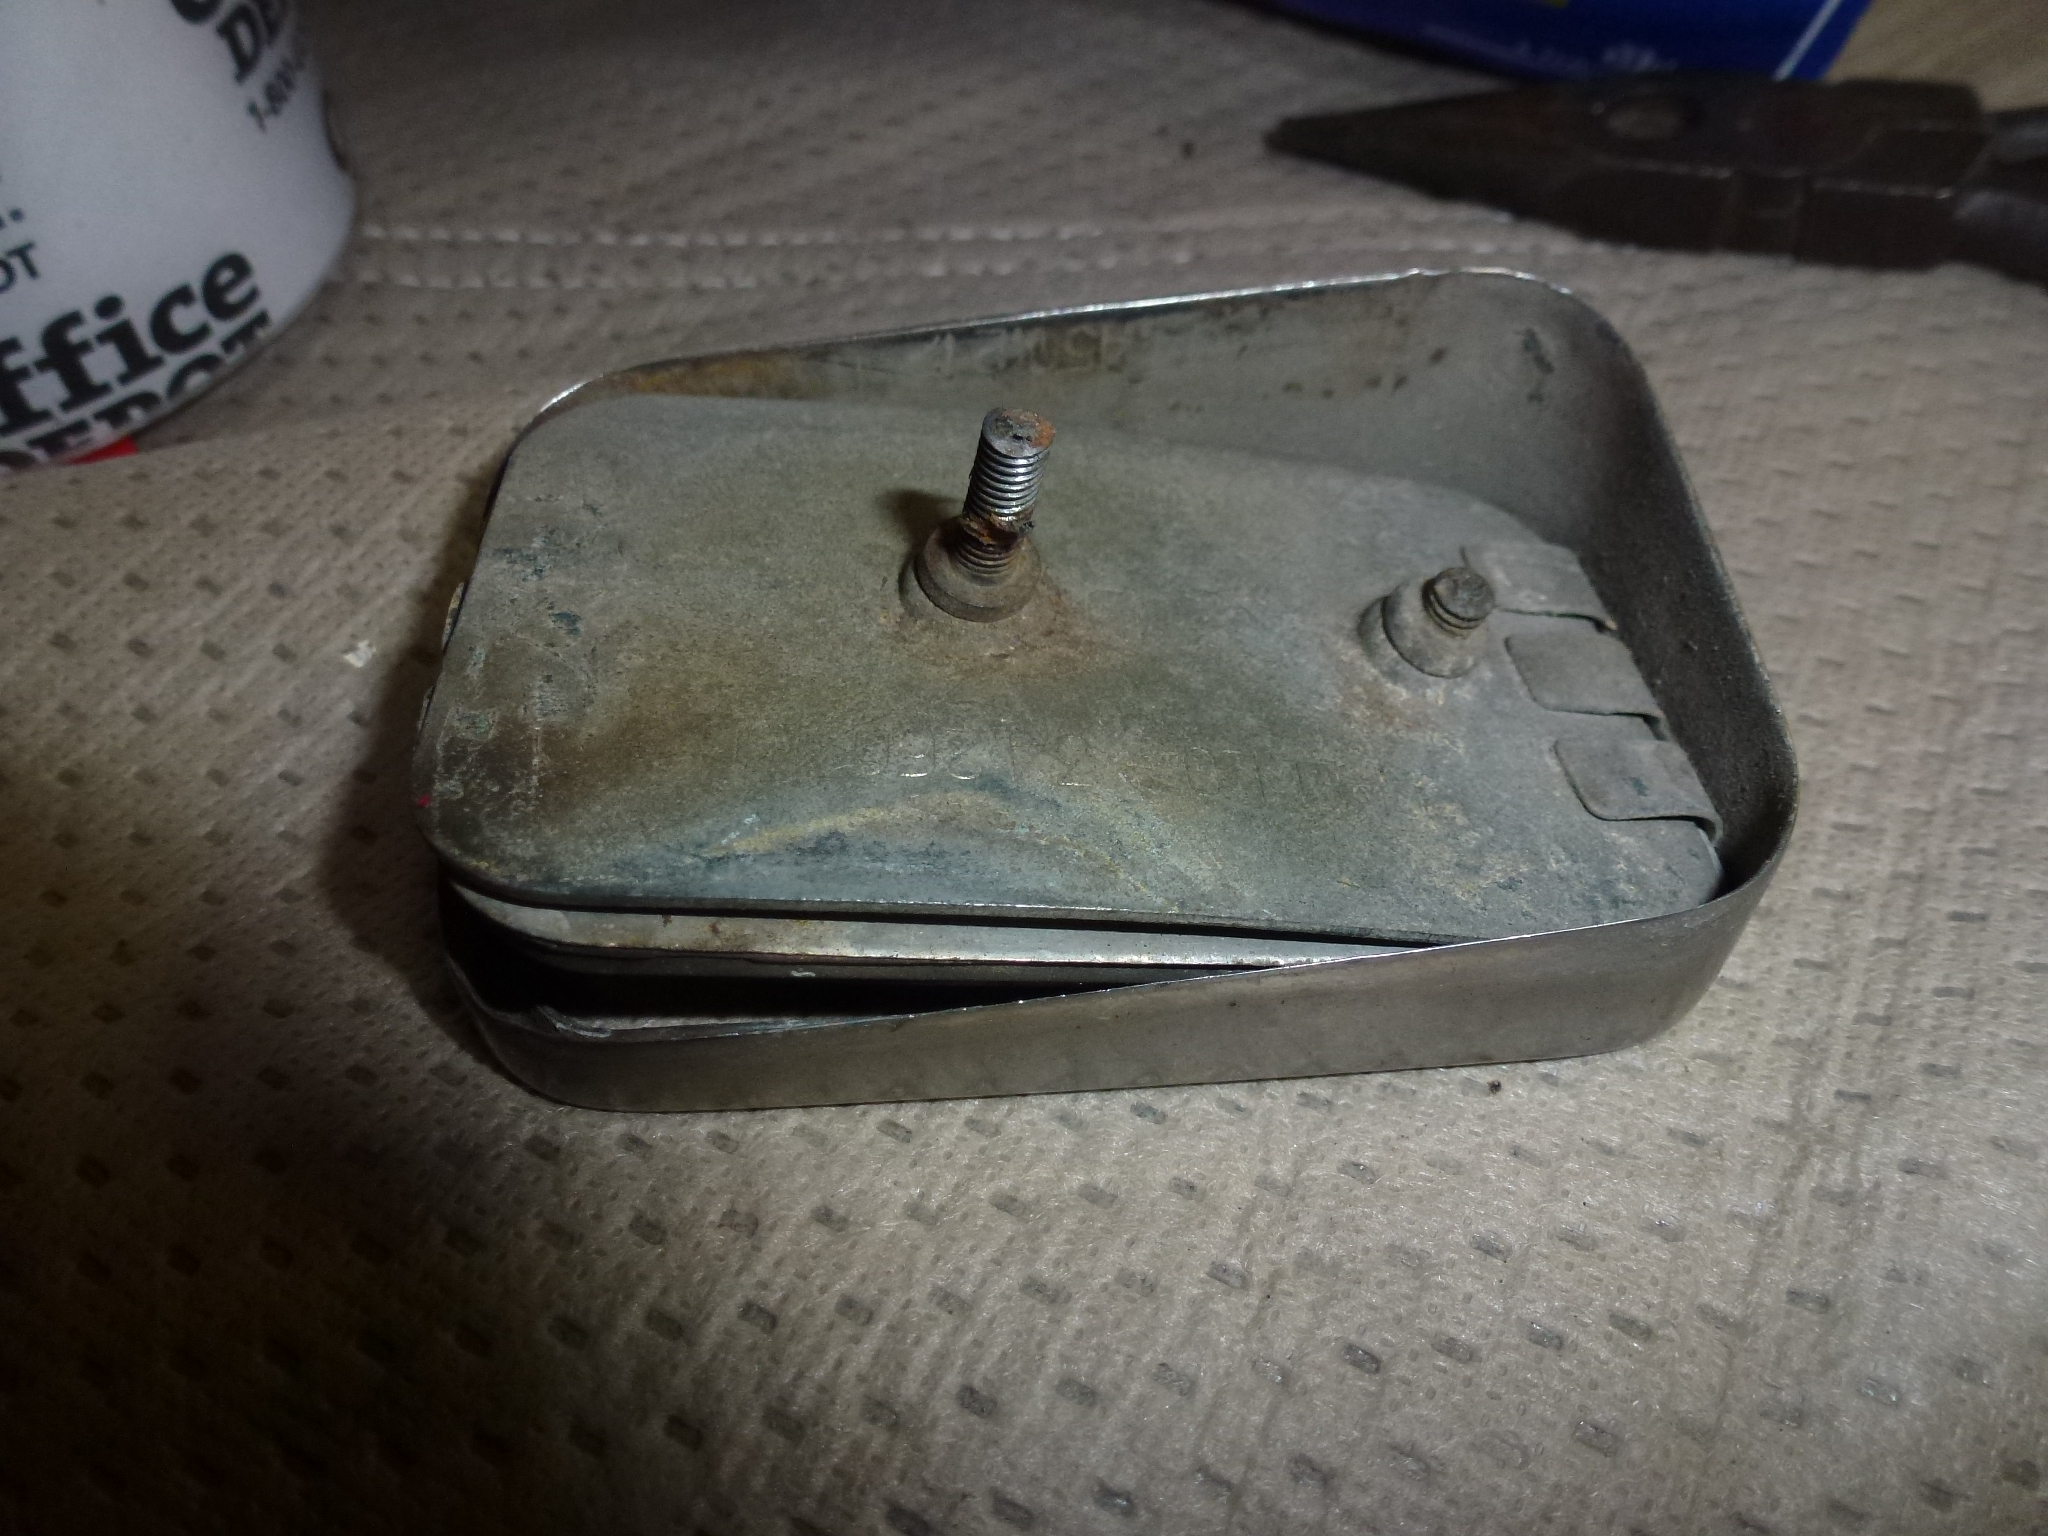
Since the stud is not perpendicular to the base since the body is curved, I had to make a jig to hold the base so it could be drilled in a drill press. With it clamped to the jig, holes were drilled and tapped. Then I used Philips flat head screws from the inside to make the studs on the outside. I used some epoxy to lock the screws into the the new threads.
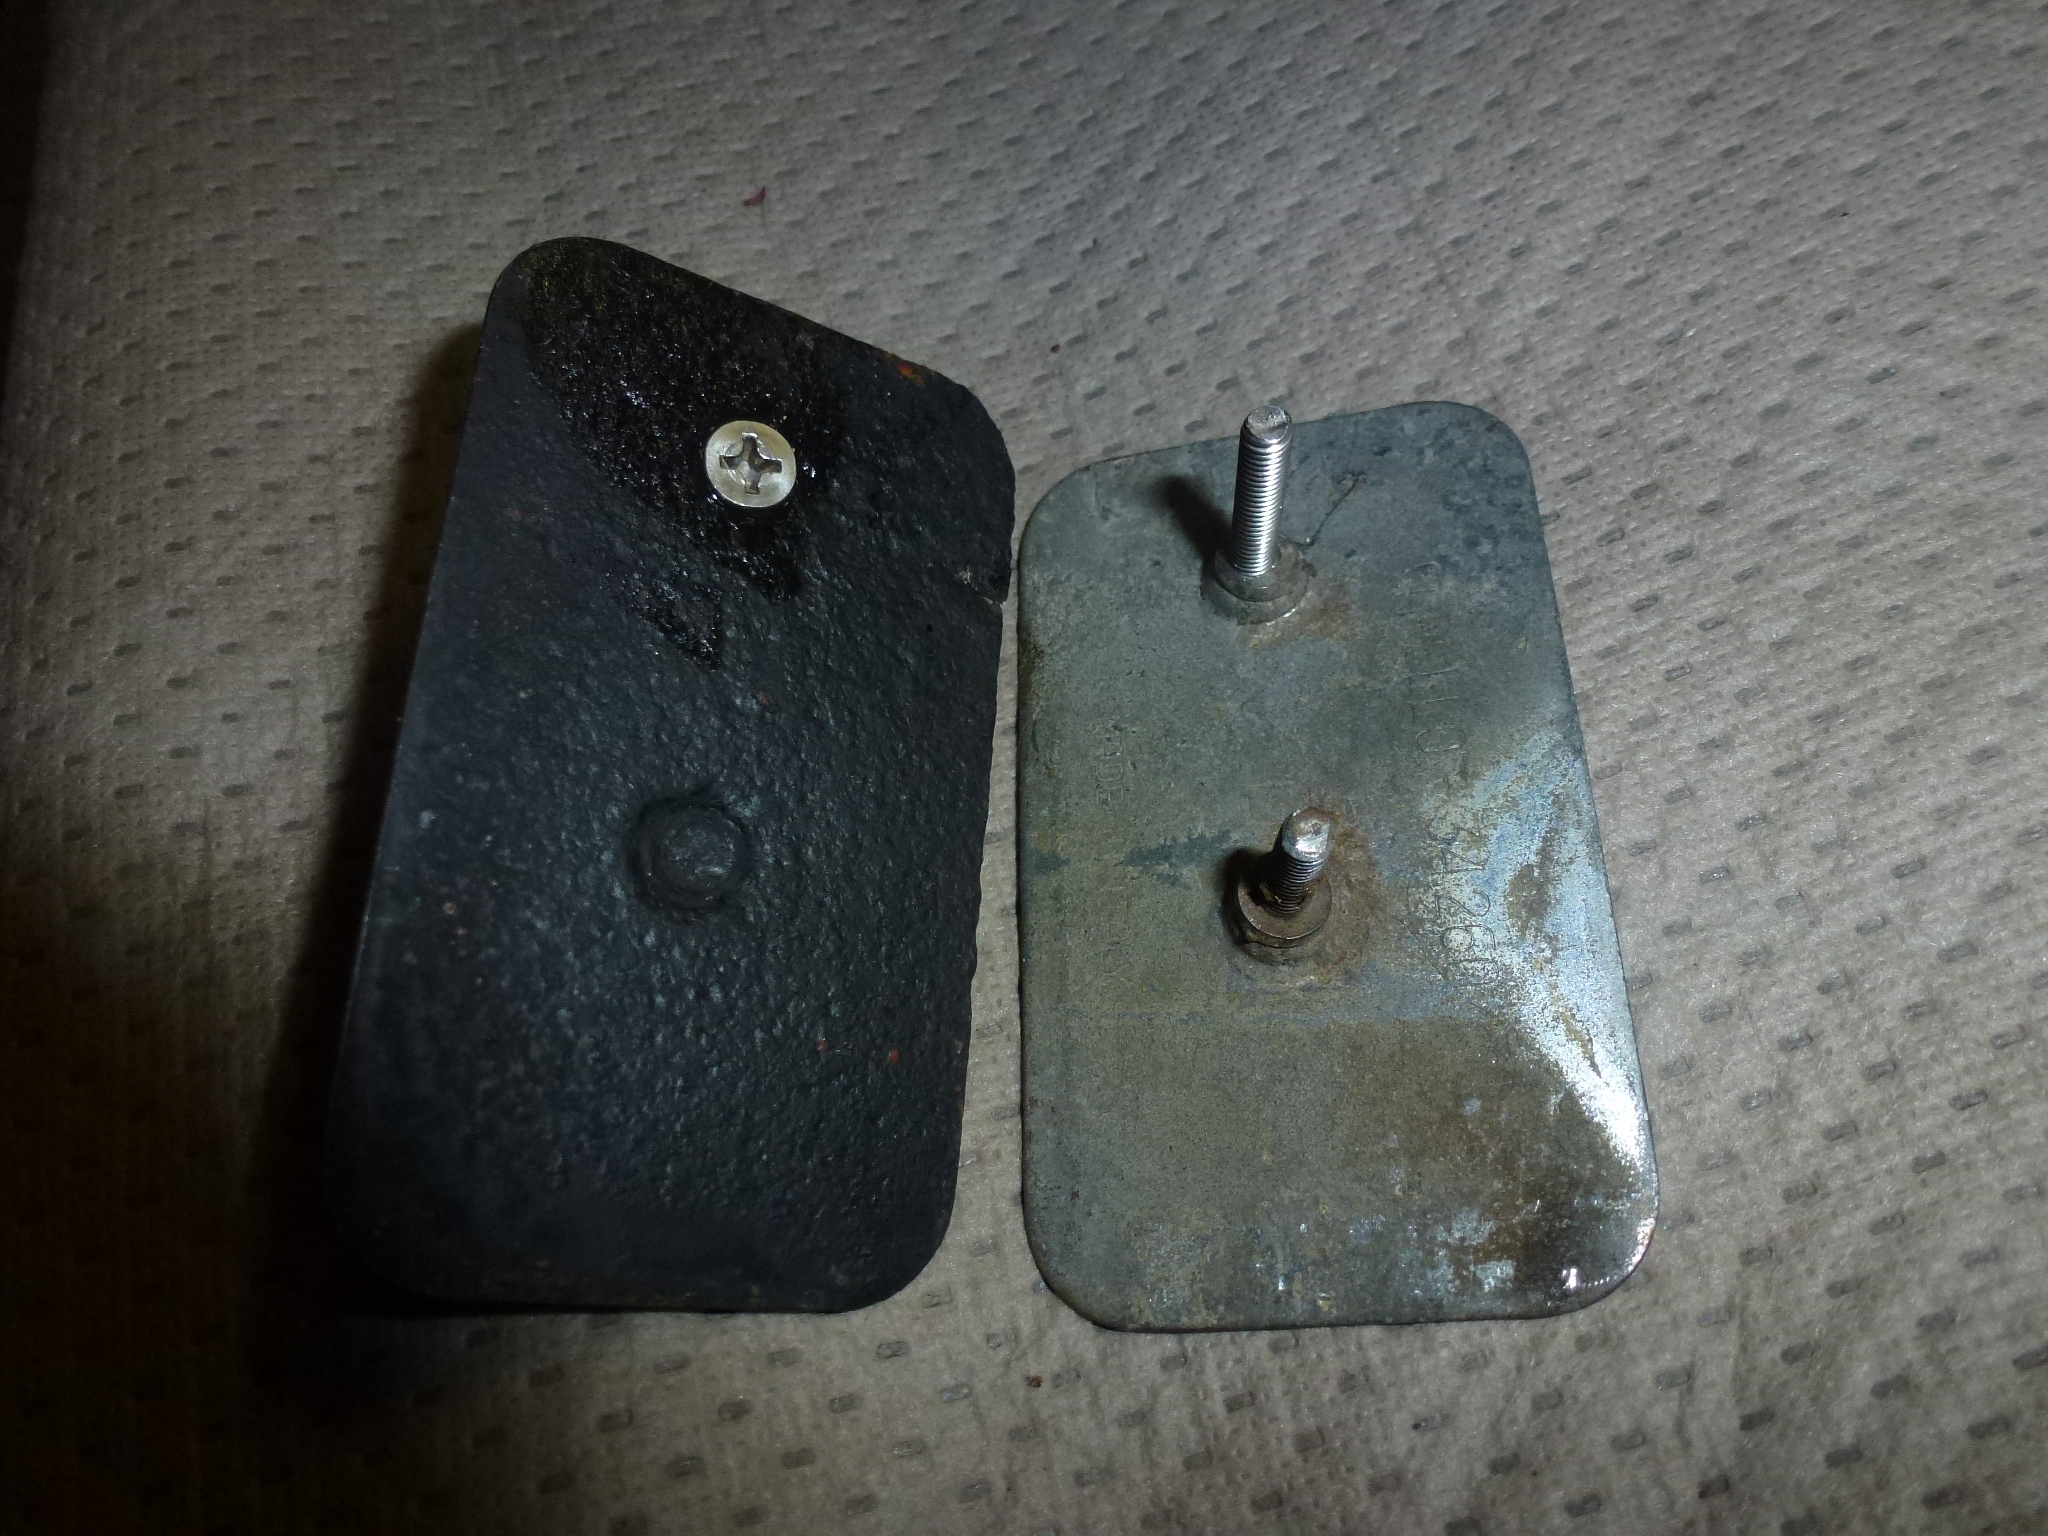
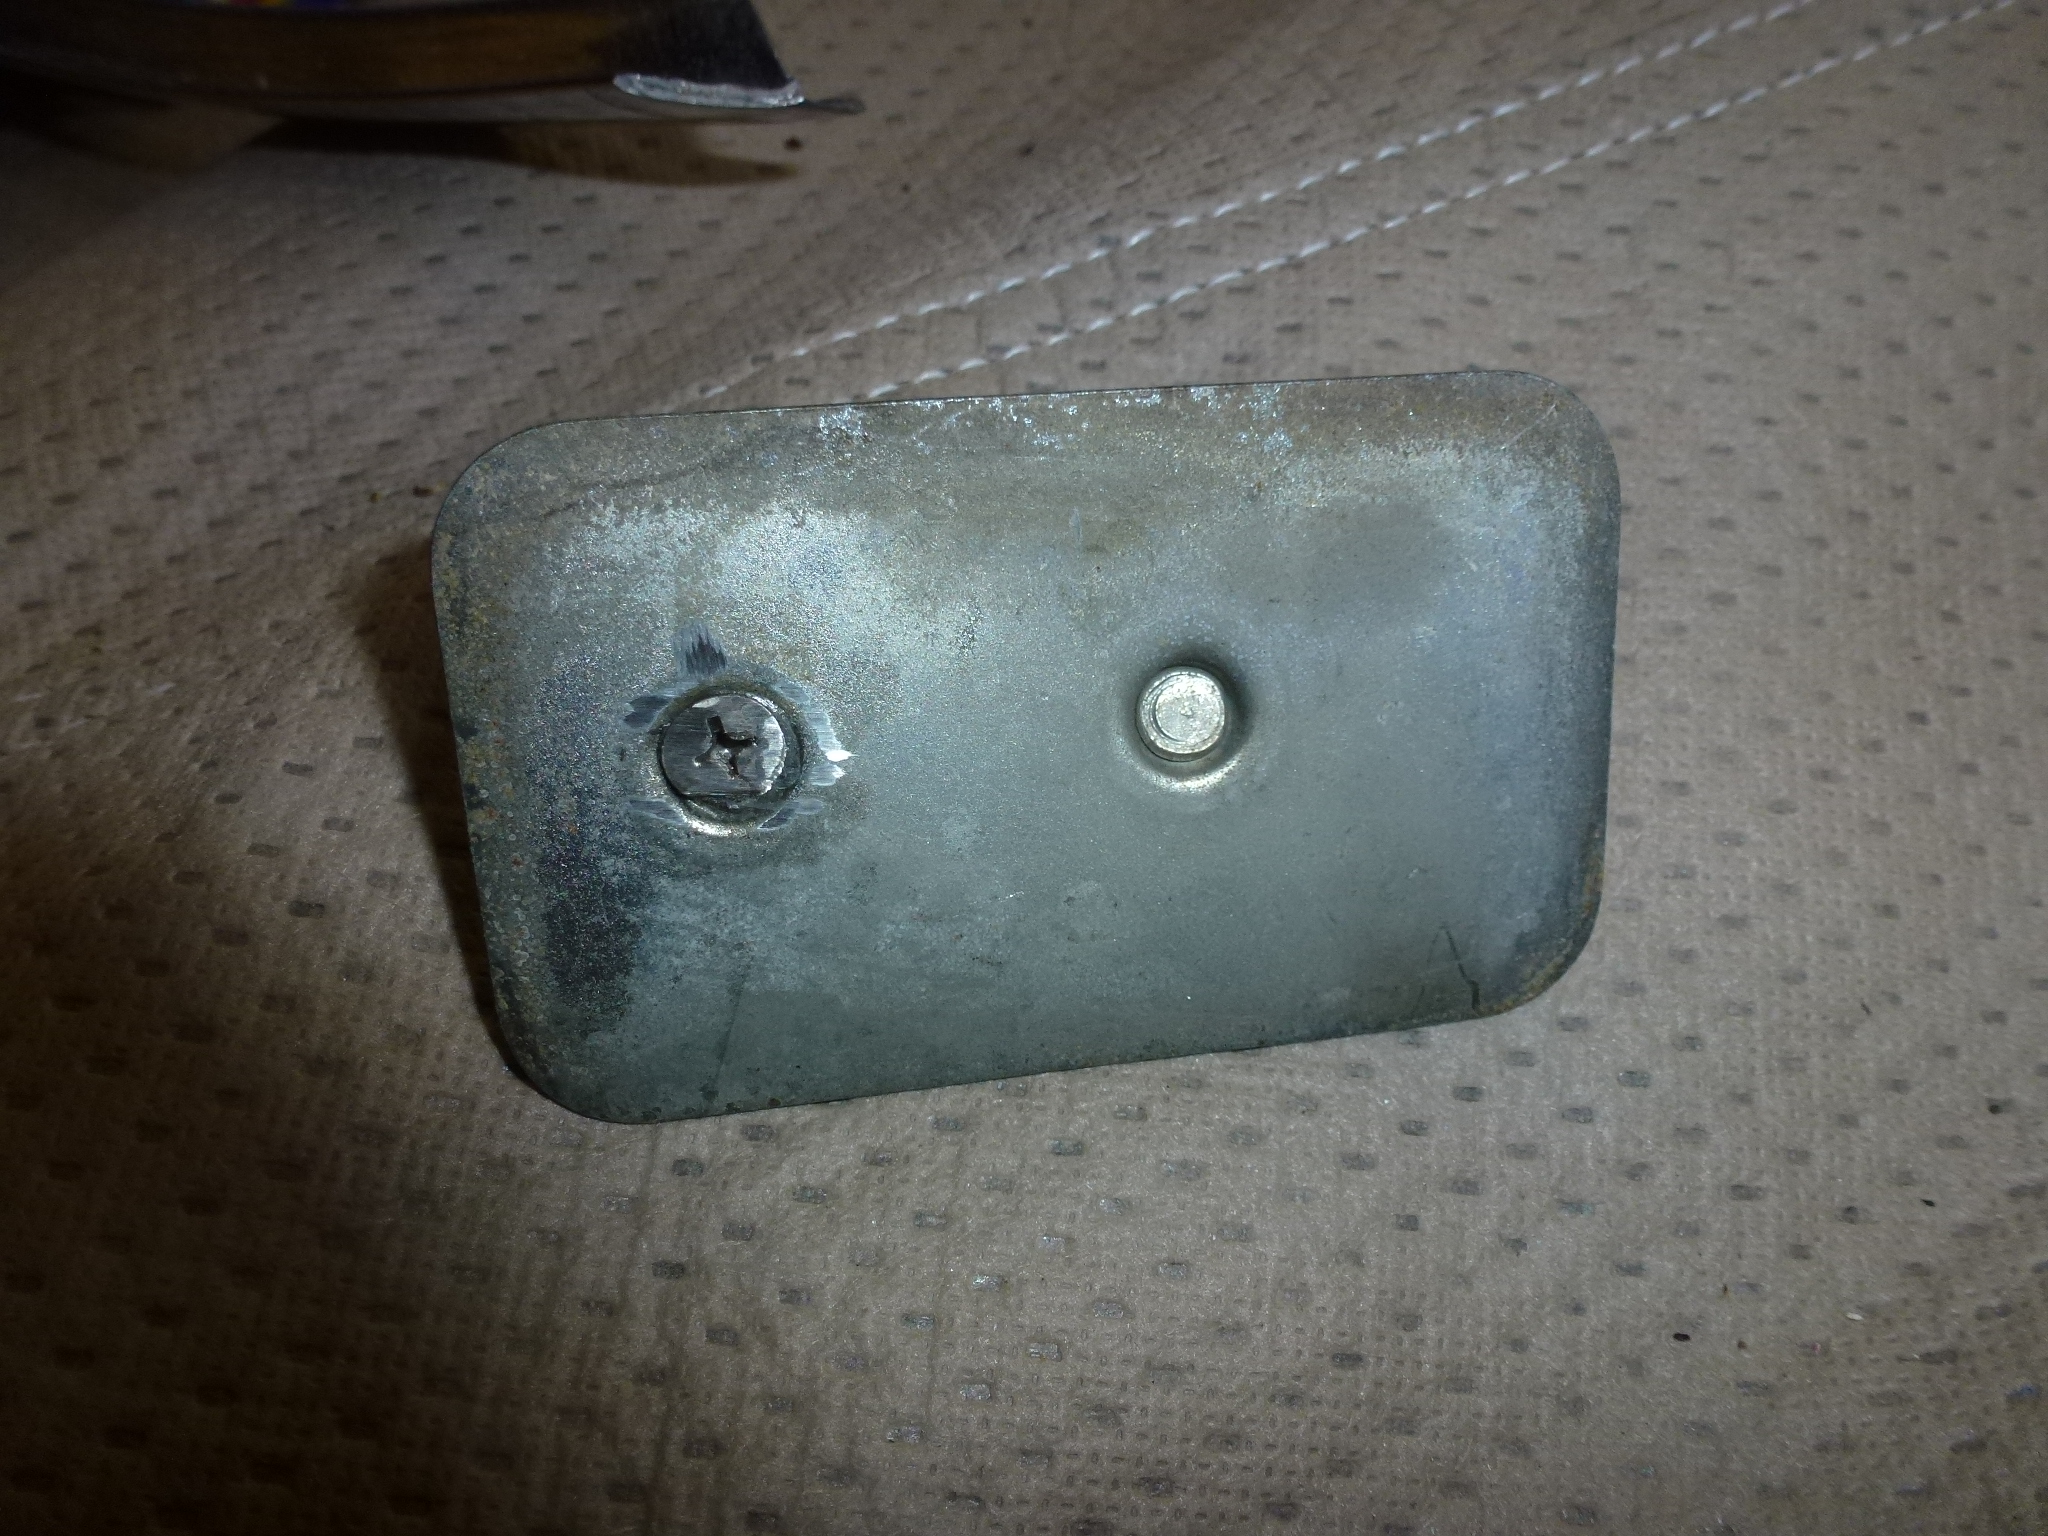
Once the epoxy had cured, I ground off the excess head of the screws to make them flush with the inside of the plate. I also cut the new studs to length. What I didn't realize was the the new studs are at the thickest end and I cut them to the same length at the existing ones. So they ended up too short. I also polished the stainless steel outside. By the time I figured out about the studs, I was tired of screwing around with these. Another thing for this winter.
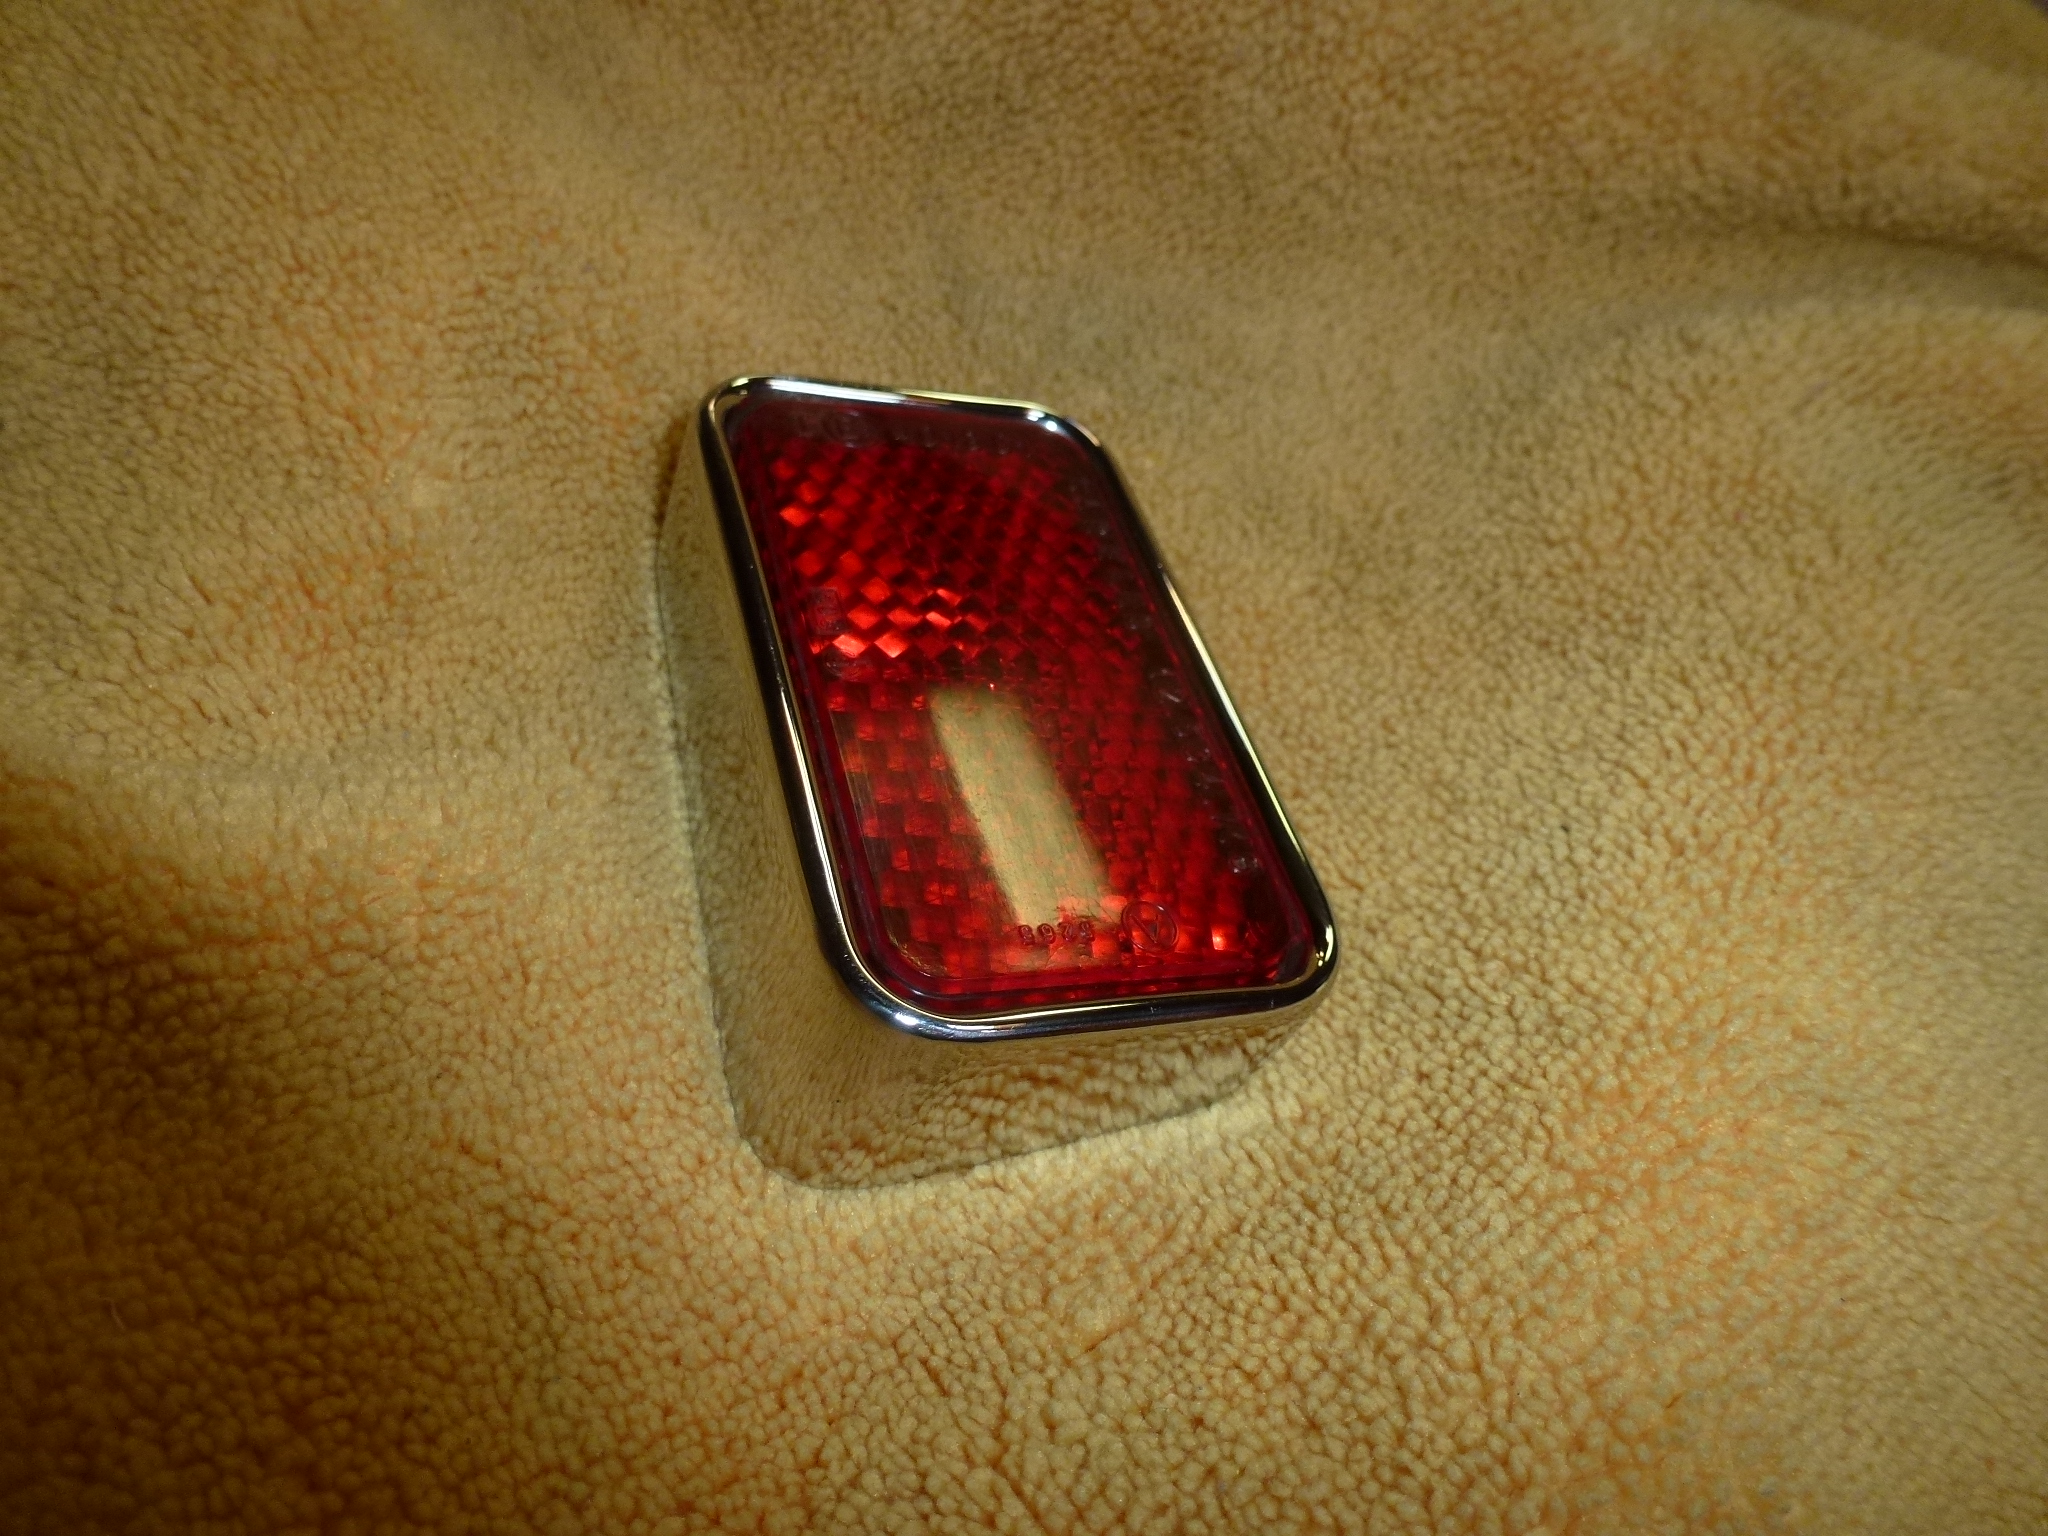
Here's the rear with the reflectors, Euro rear plate and antenna mounted where I want them to be.
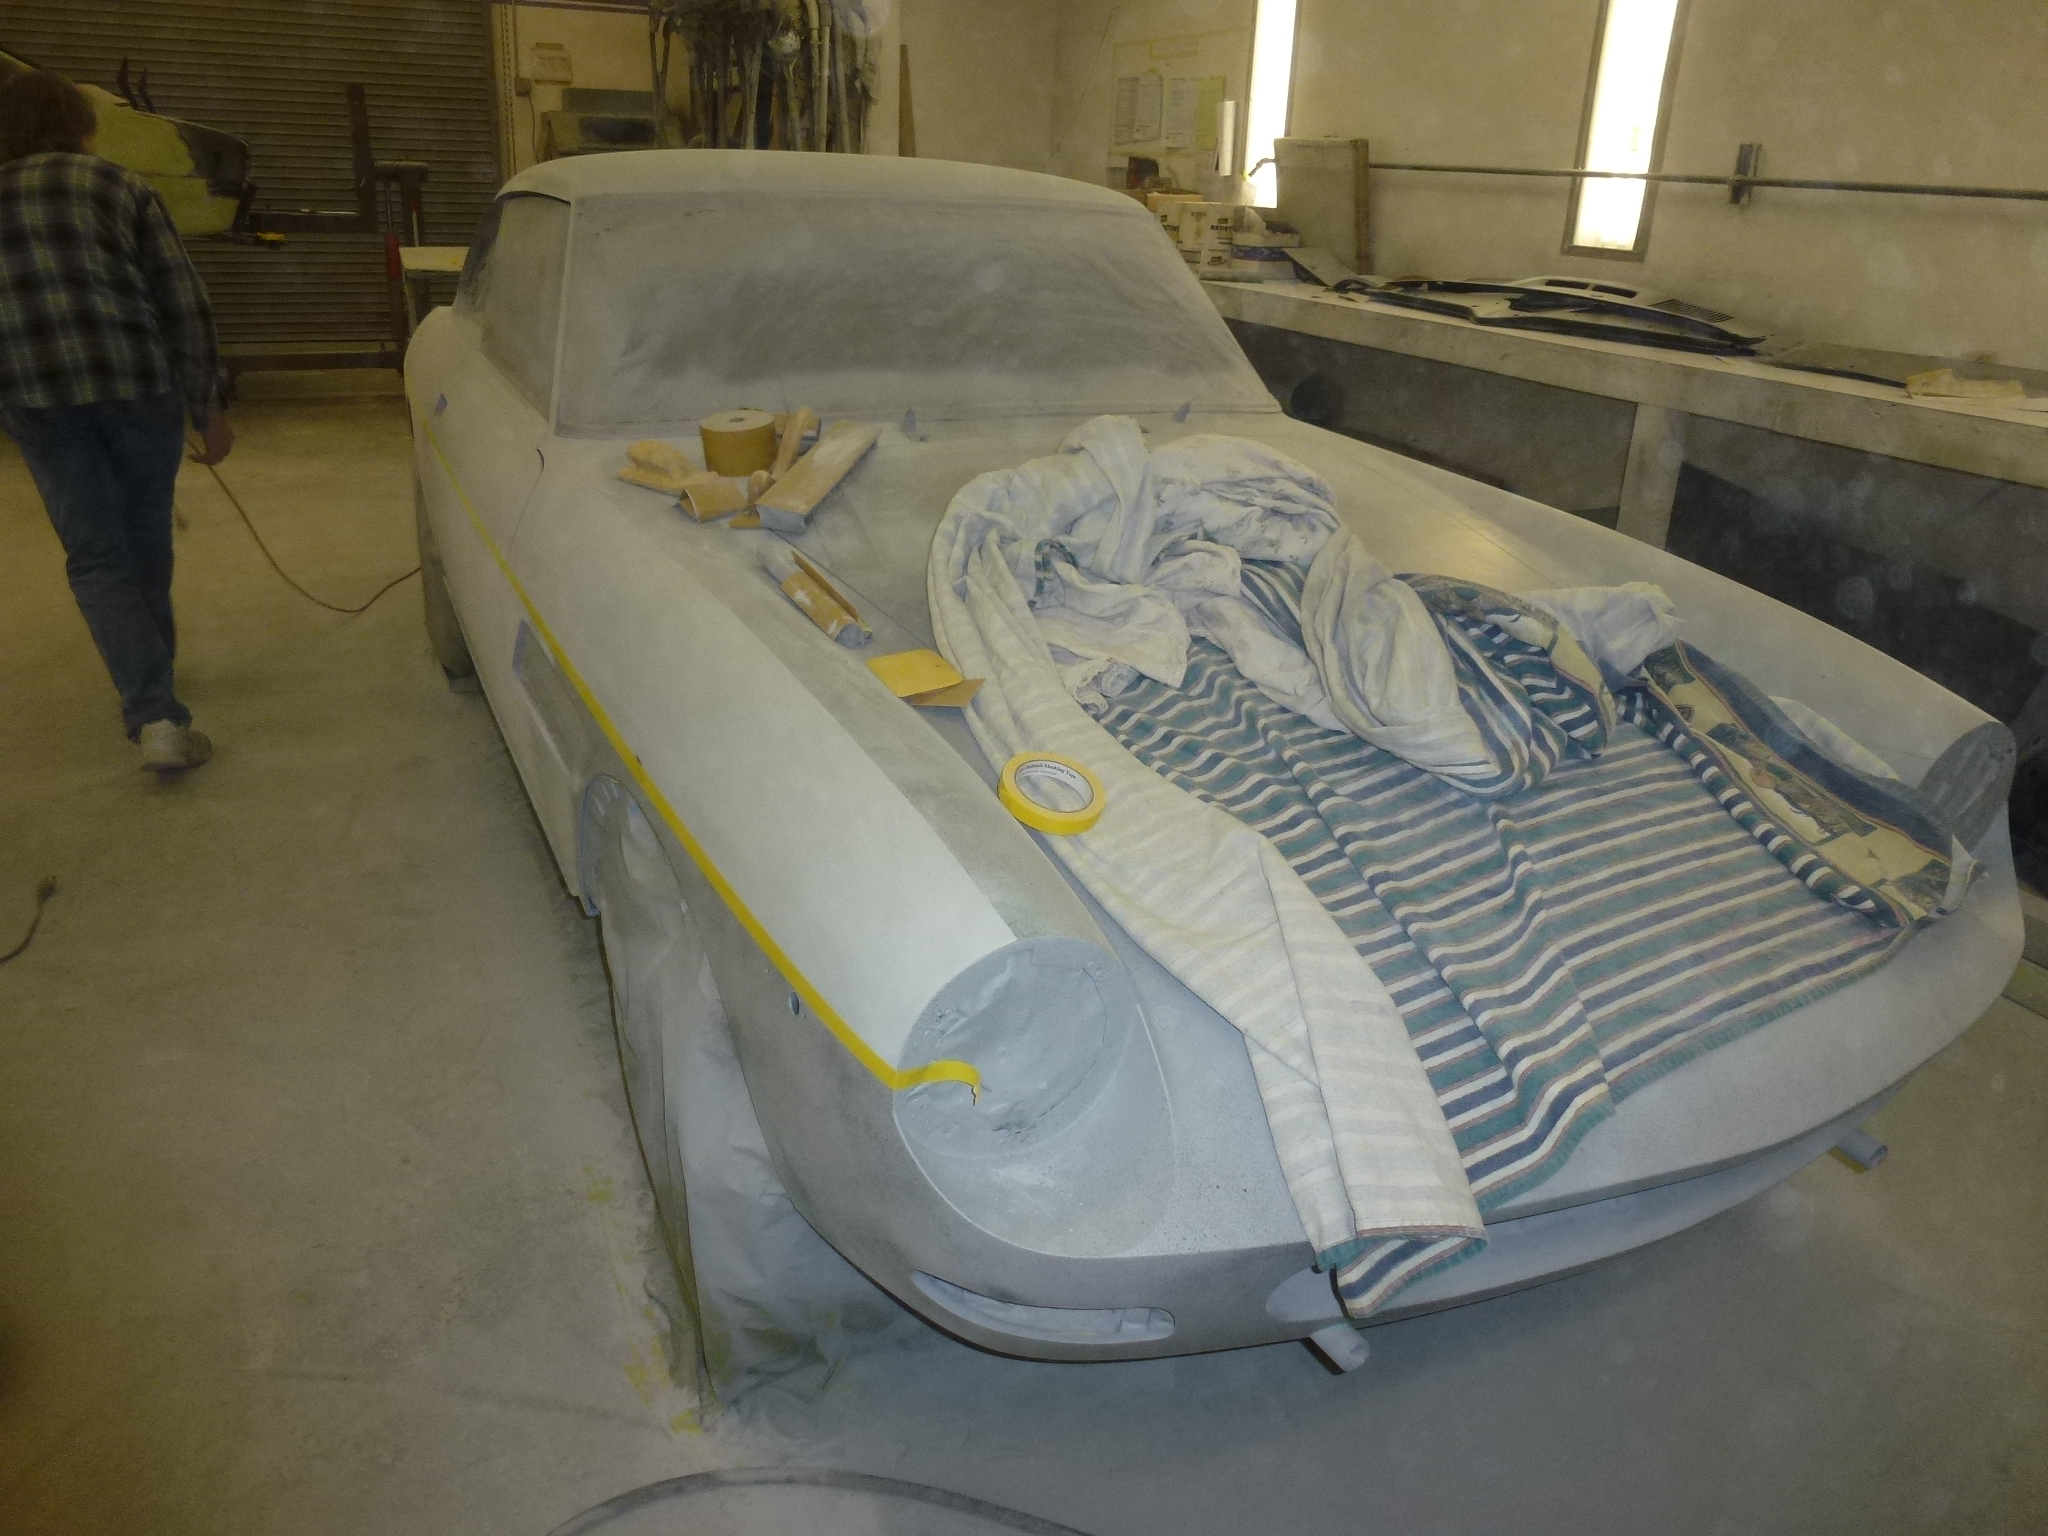
I took off the battery hold down so I could get it powder coated this winter. This required removal of the battery cables. I just put them back on by hand and the car wouldn't start. It took three passes of cleaning and finally had to wrench tighten the positive lead to get the starter to work. Then I drove the car to the auto body shop this morning. A cold and foggy day, very chilly drive with no side windows. I went via the back roads to minimize the risk of having a cop stop me for no everything except front turn signals and taillights. Of course, I went by two of them, but they didn't stop me. So the car is tucked away, first getting plastic bead blasted to bare metal. Then we'll take a look at what metal work is needed and go from there. This is mid October and the plan is to have it back in my hands by the first of March.
I stopped the shop to see the car after the media blasting. I also removed the driver's seat so I can get the pleats in the seat cushion re-stitched as the thread has worn through in several places.
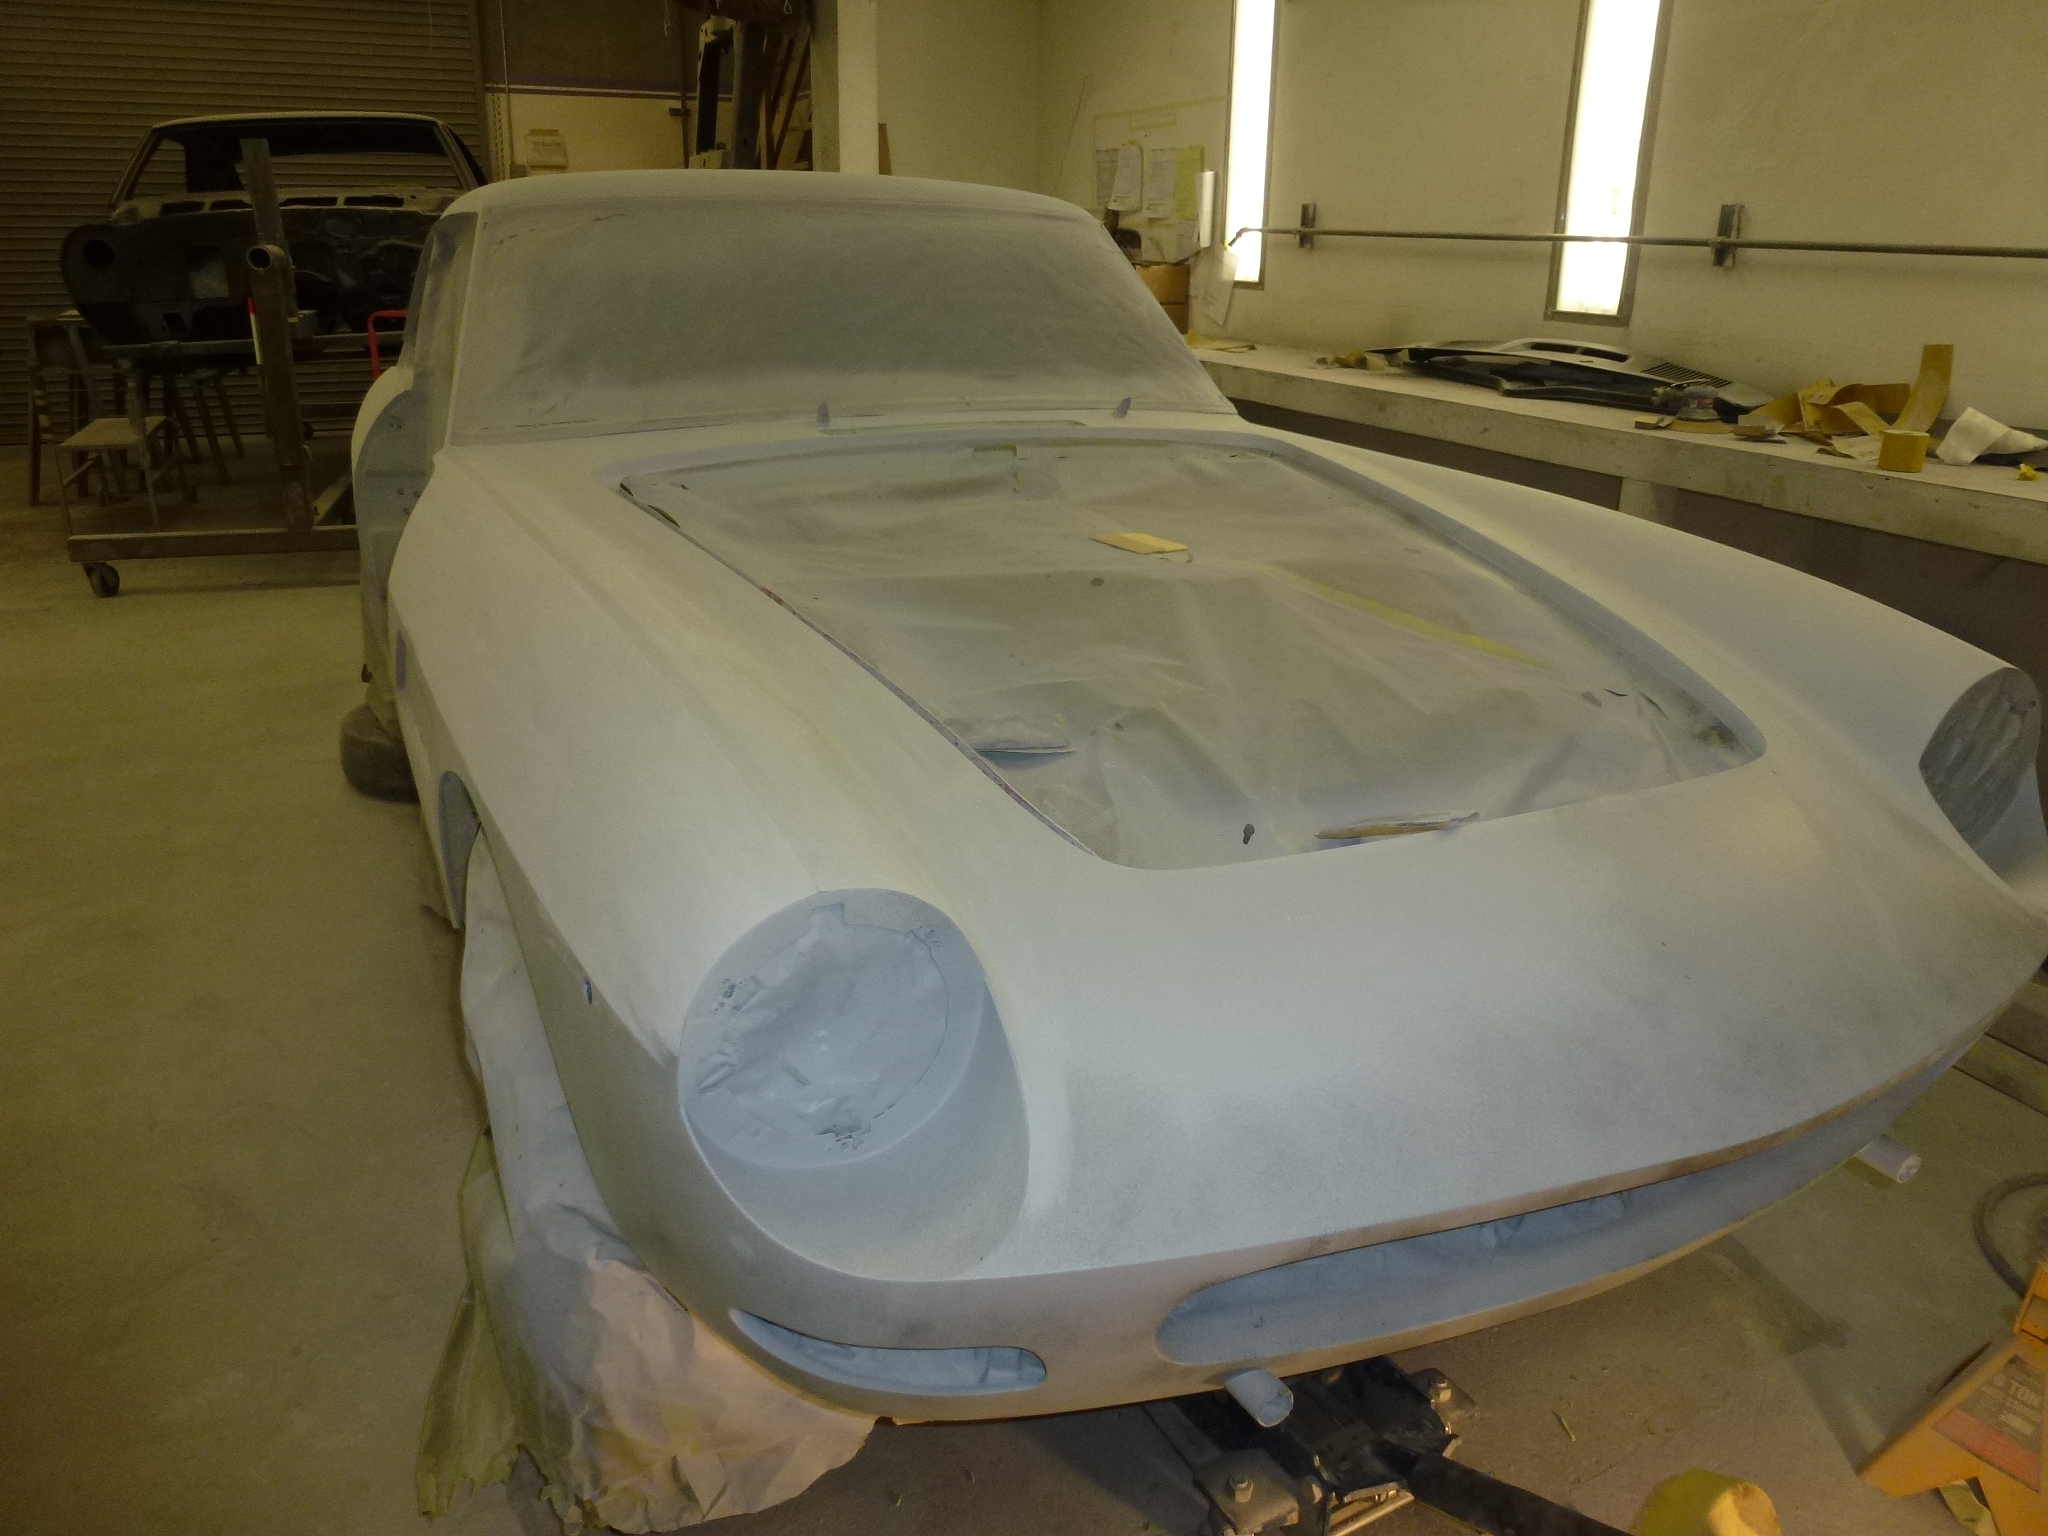
I stopped by the shop to see the progress. Here is the trunk lid with some primer to see how much work will be needed.
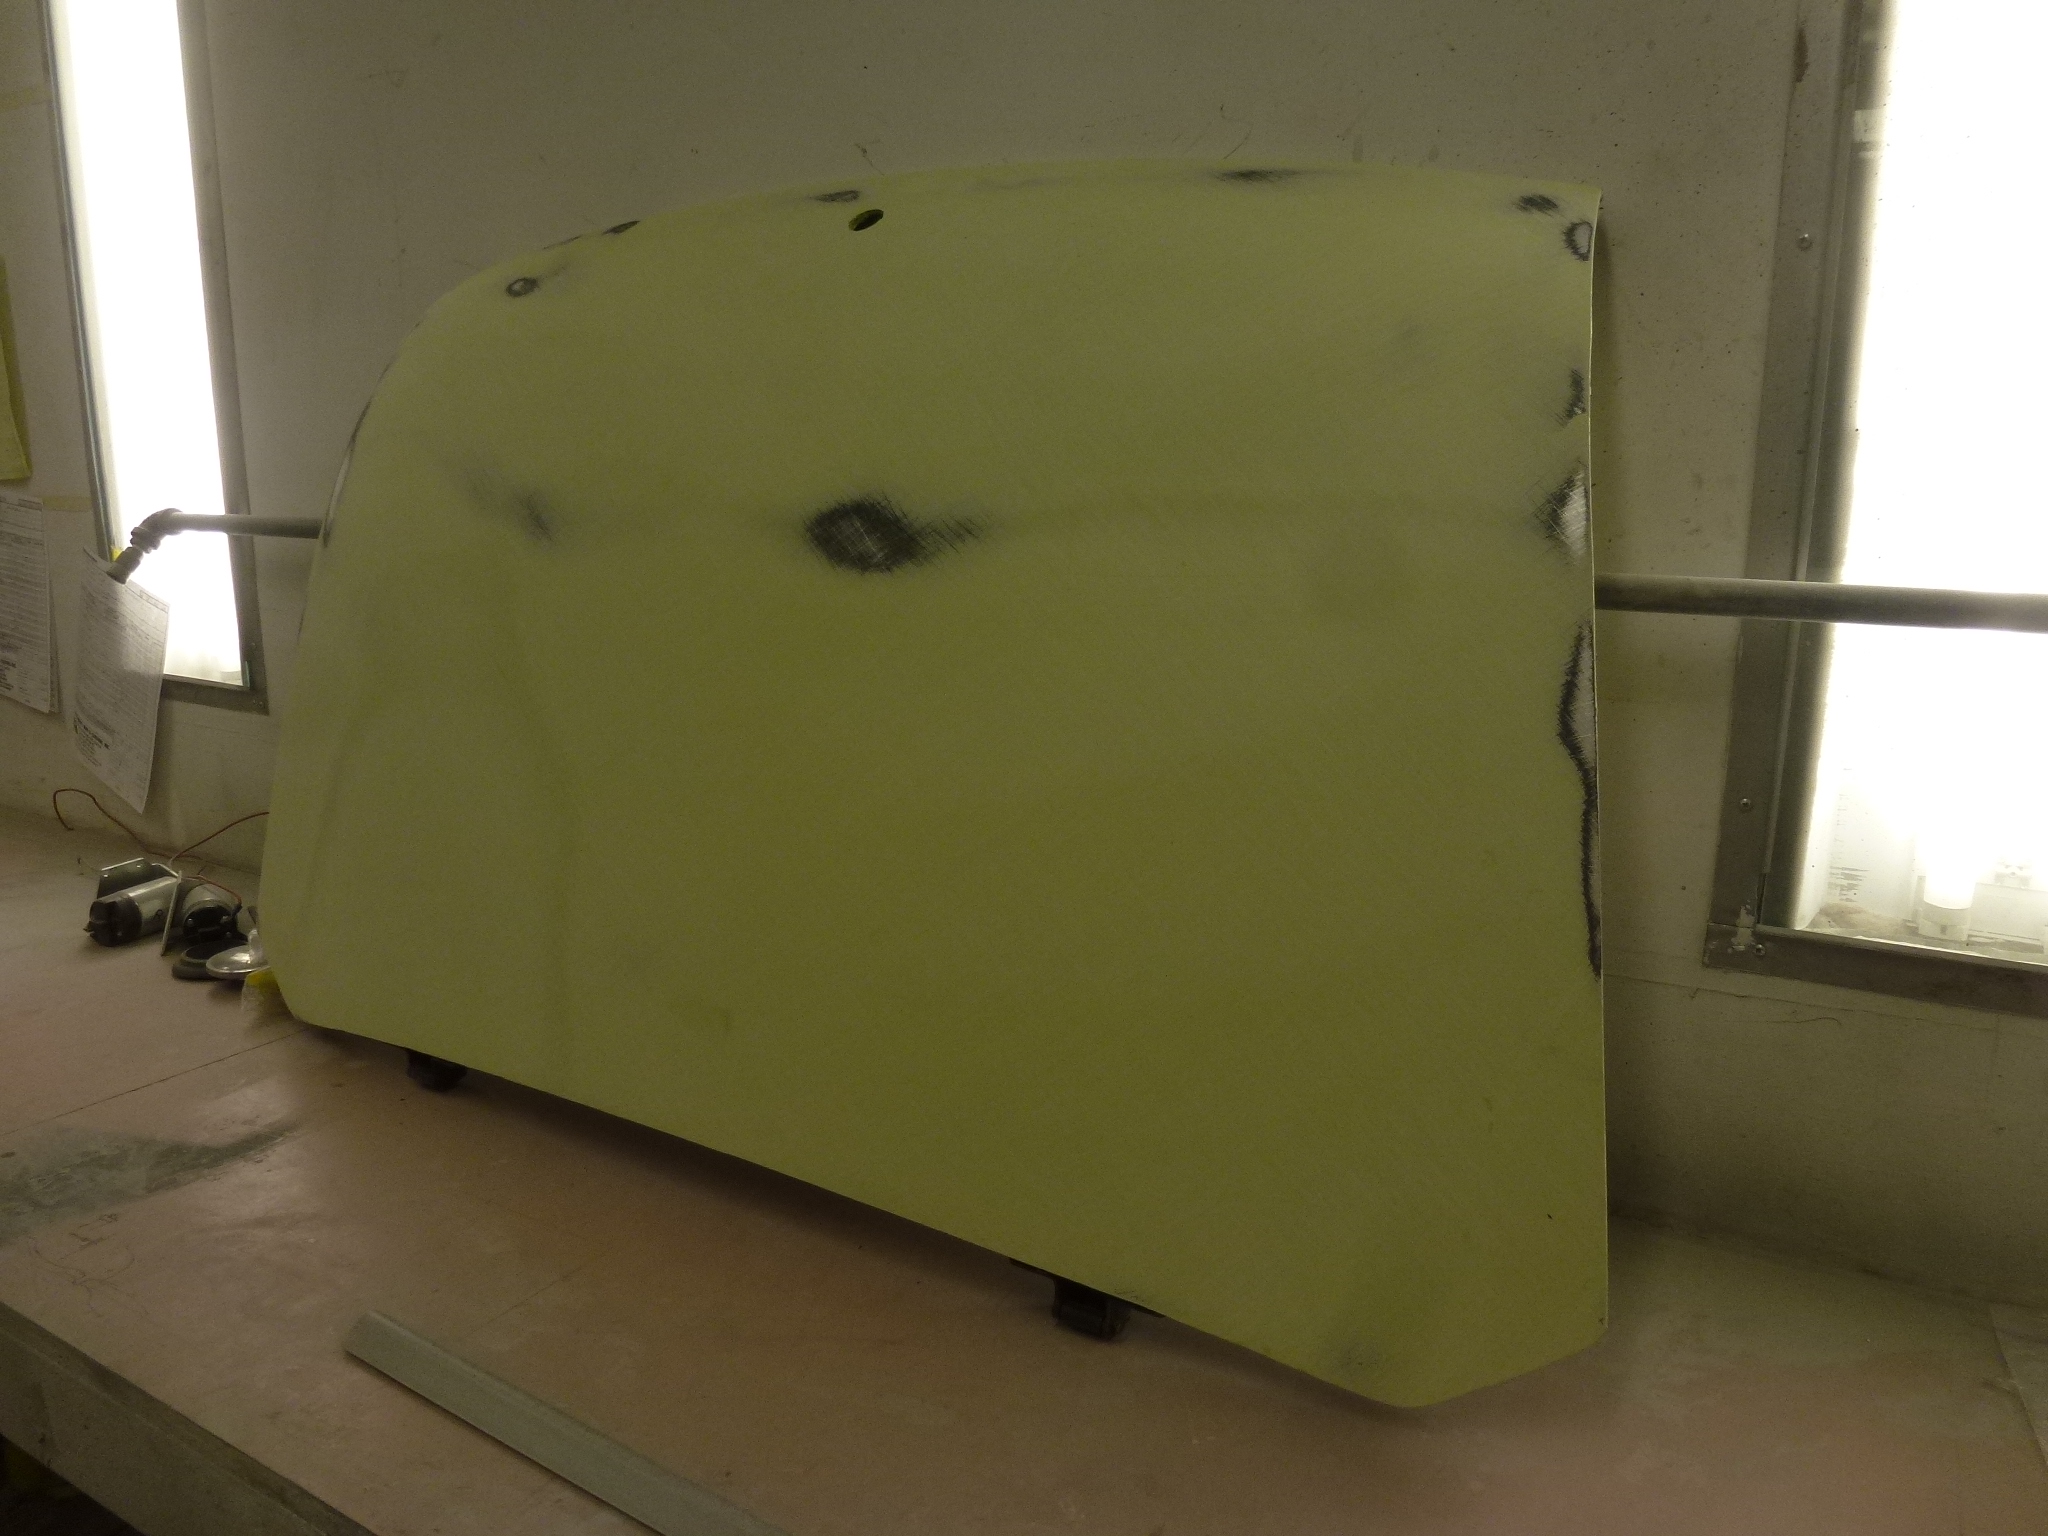
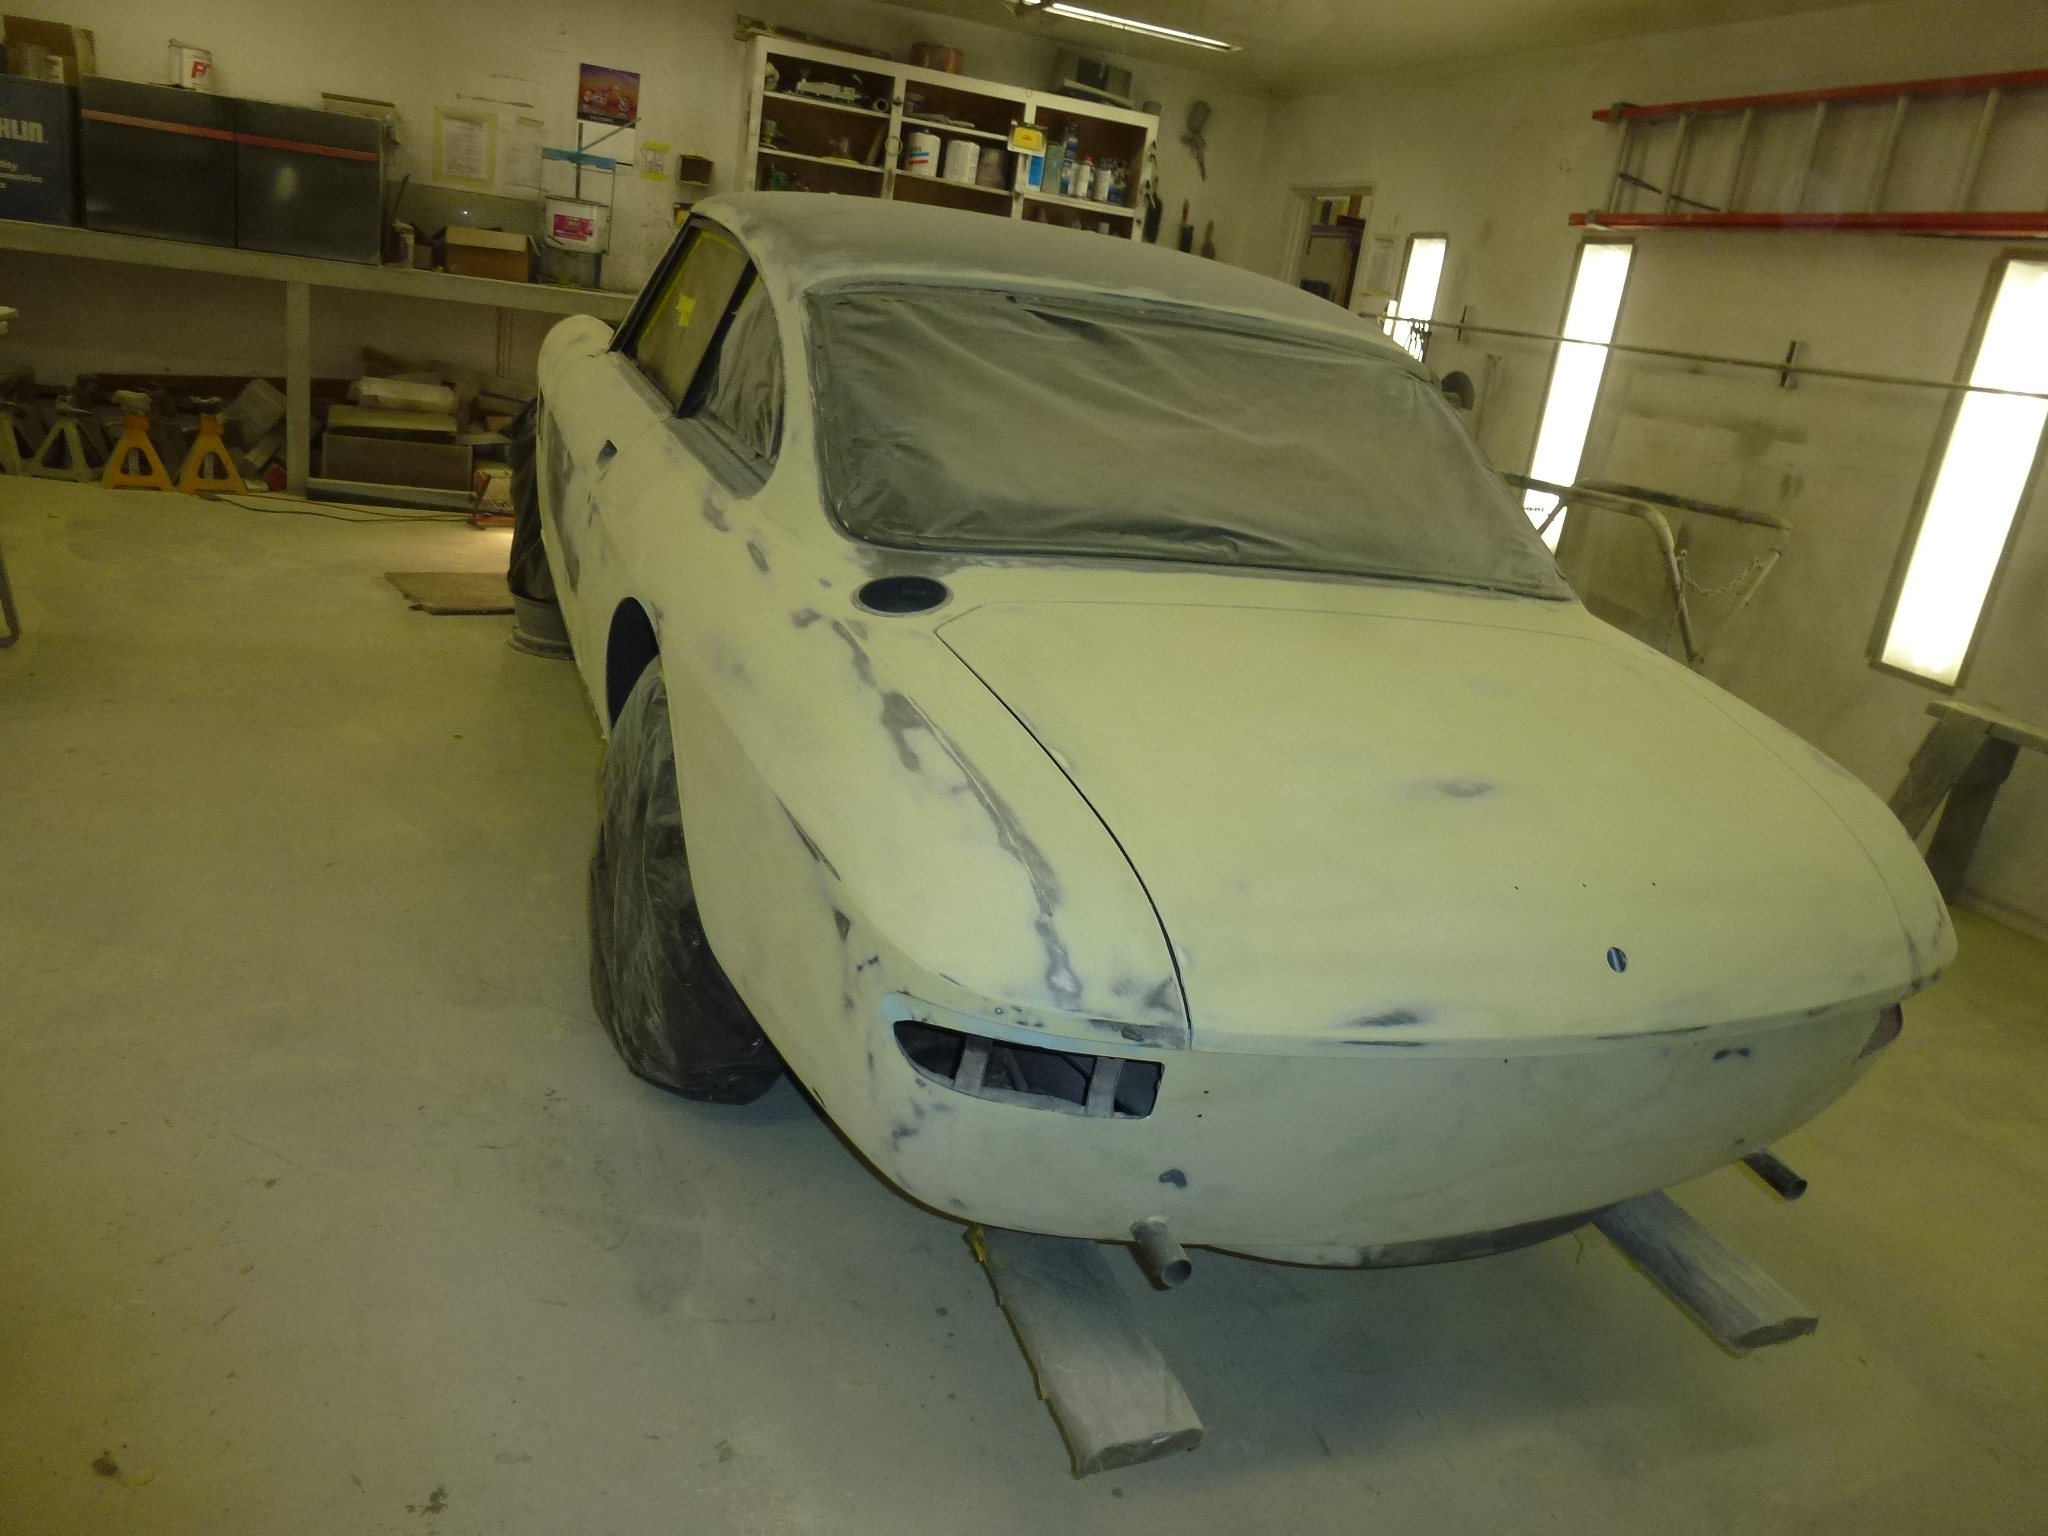
Another visit to drop off parts. The hood is now on and some exploratory work has been done on it.
The auto body shop wanted the front and rear signal assemblies to fit the body contours to fit them. So another trip.
I forgot the knock-off adaptor and 600 ft. lb. torque wrench, so I stopped by the shop and dropped it off.
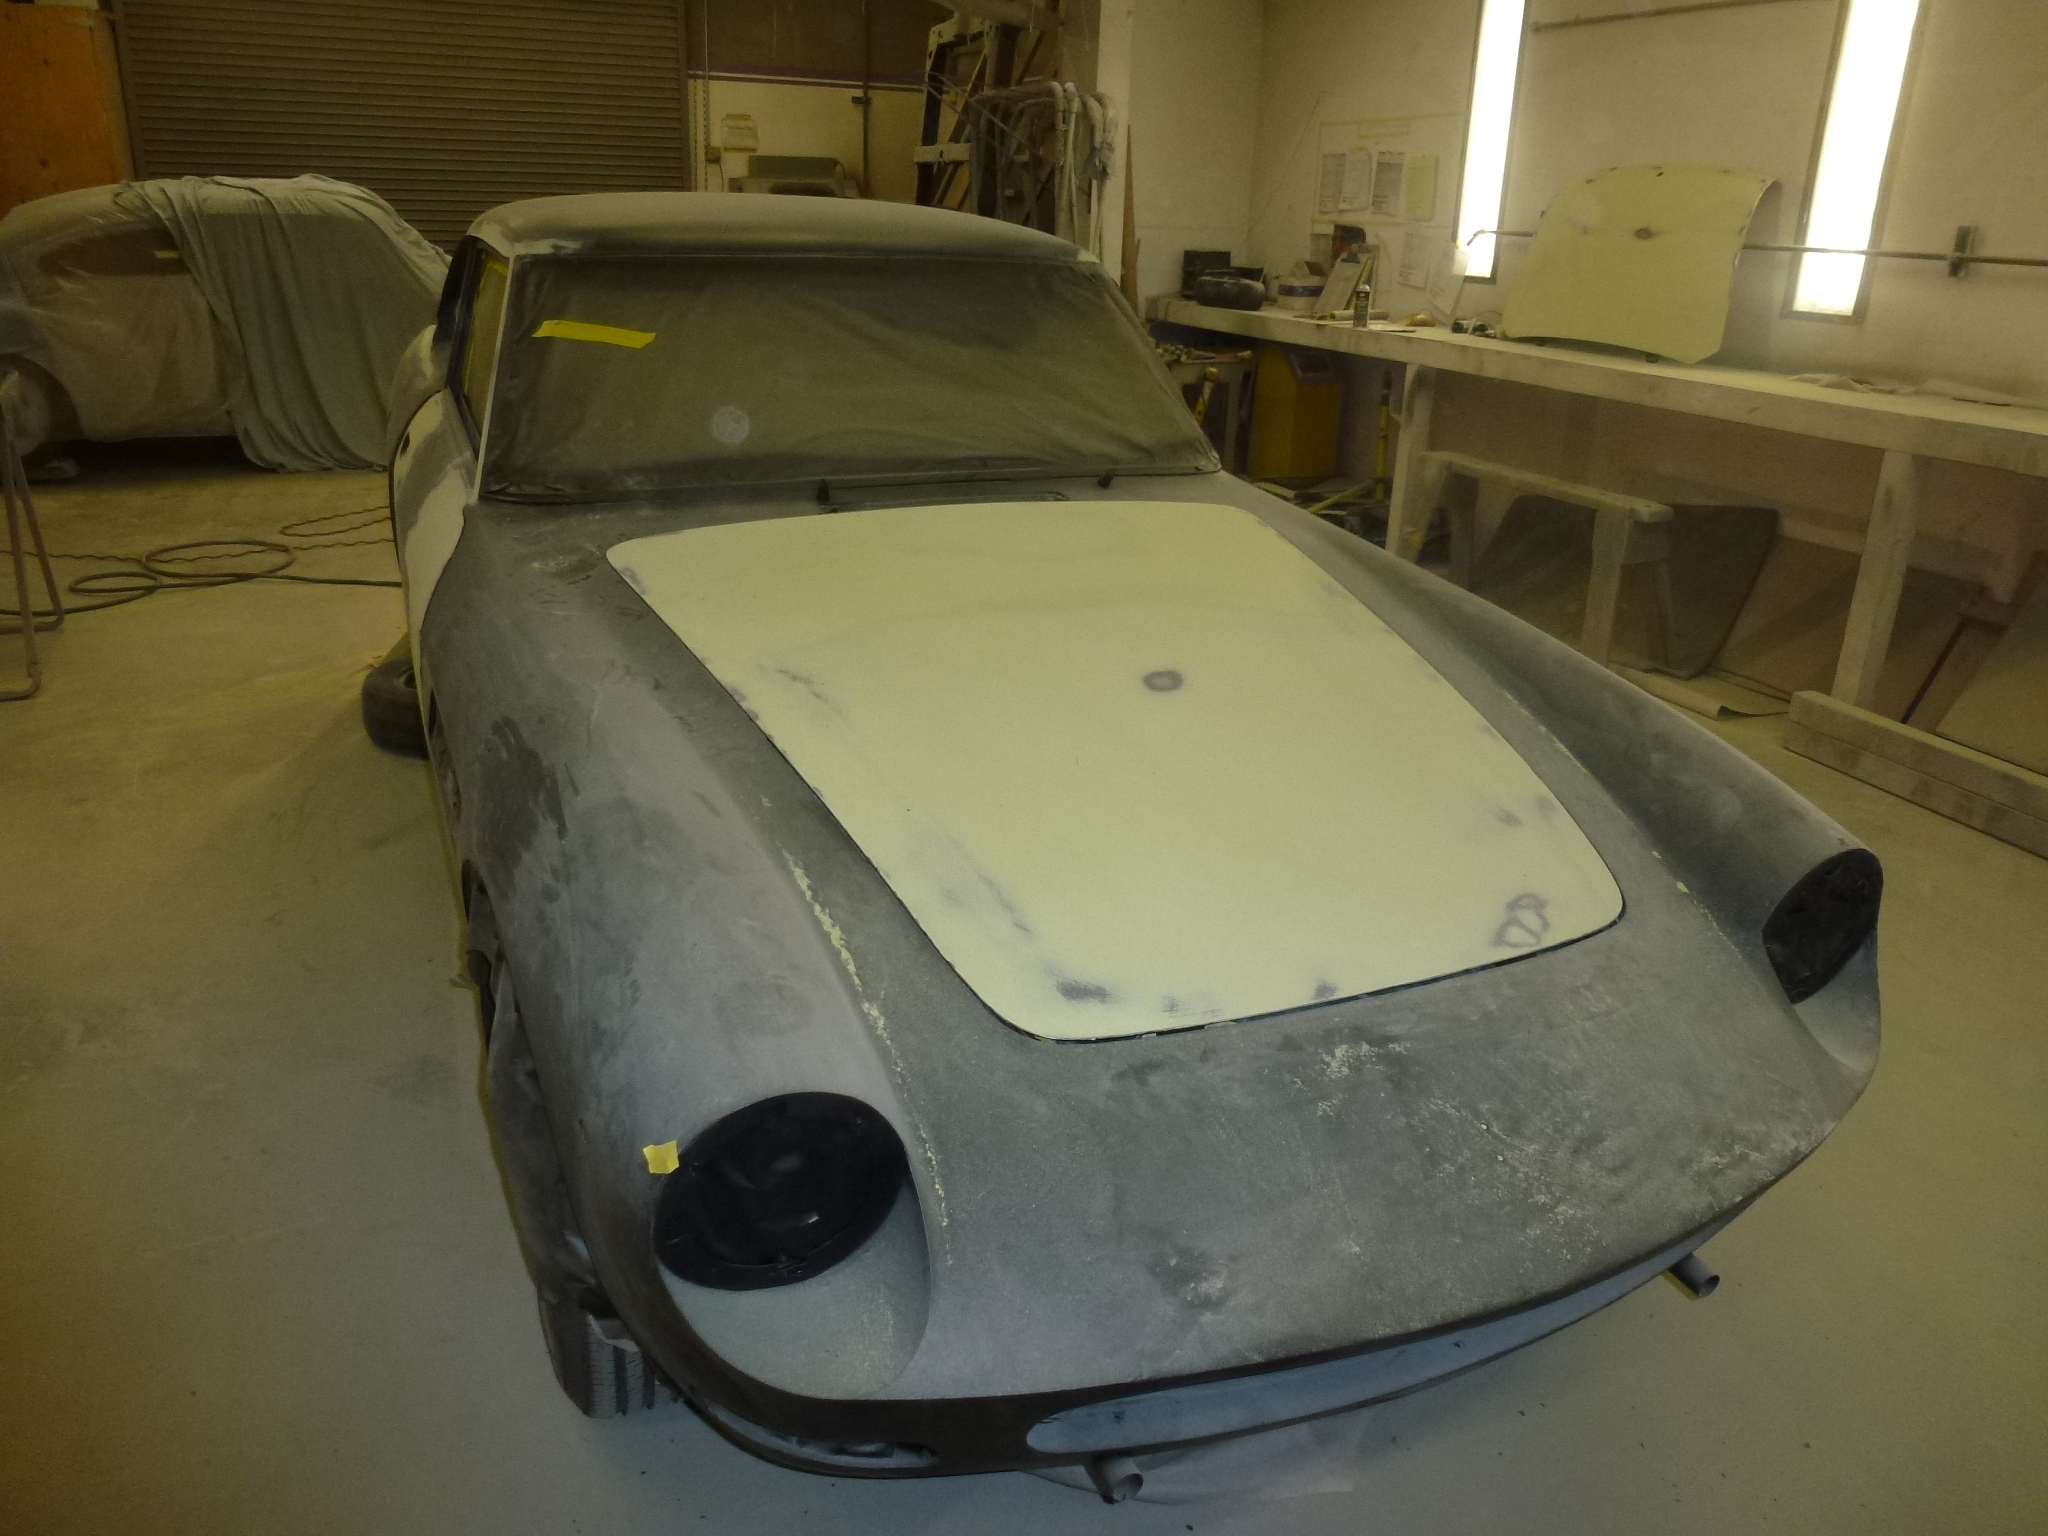
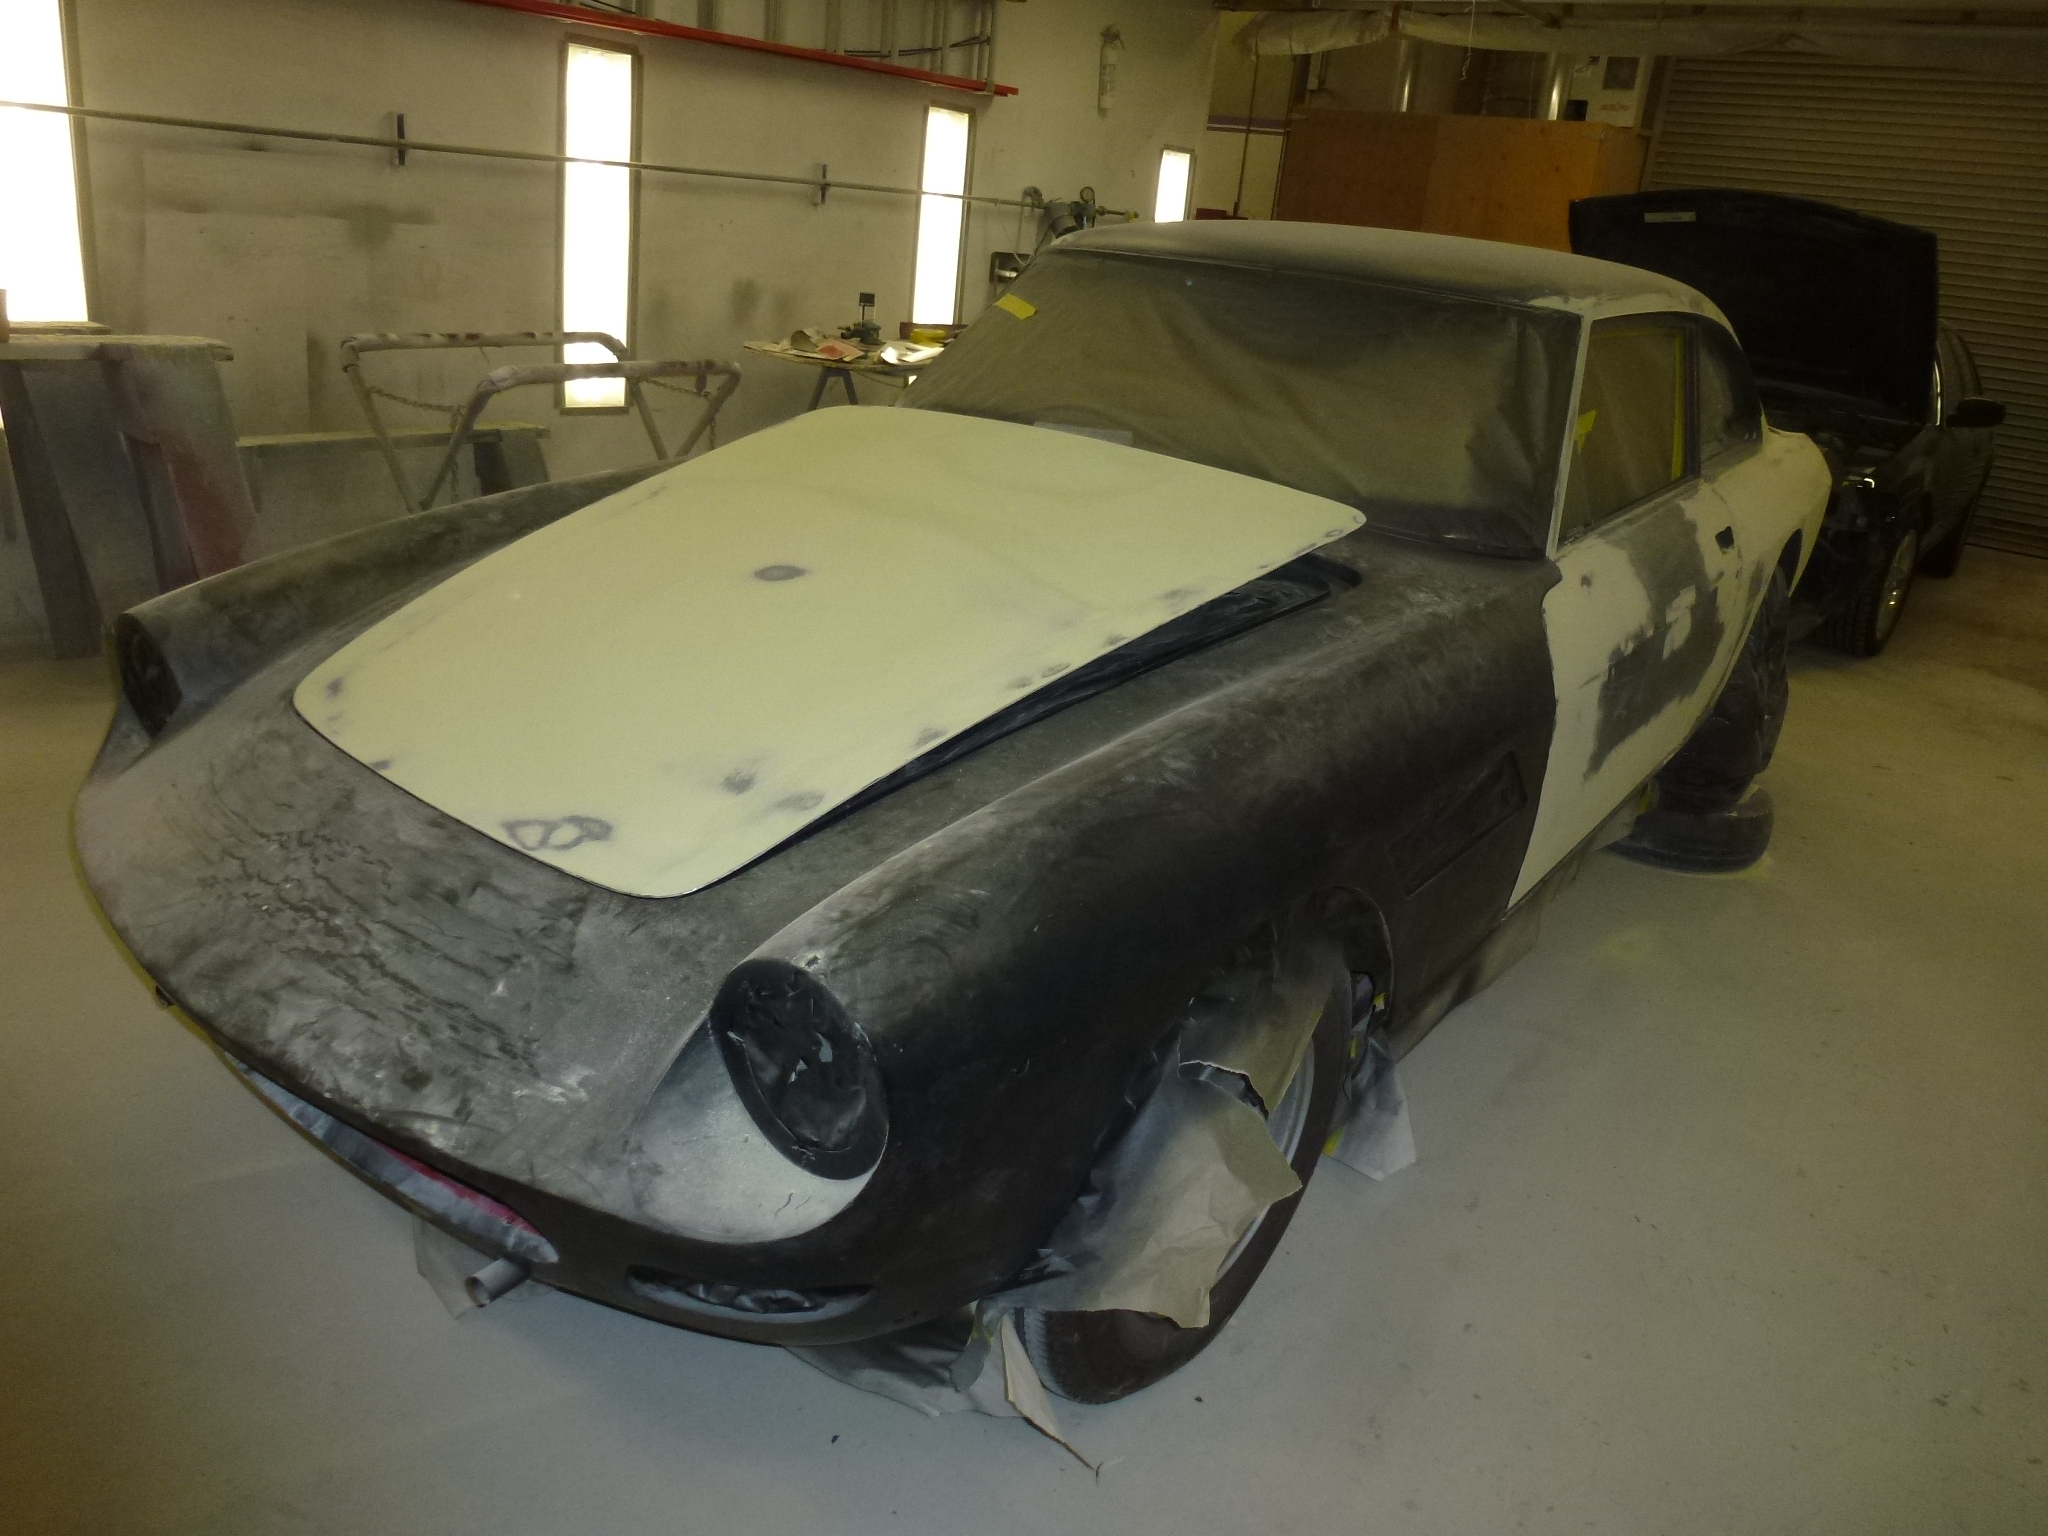
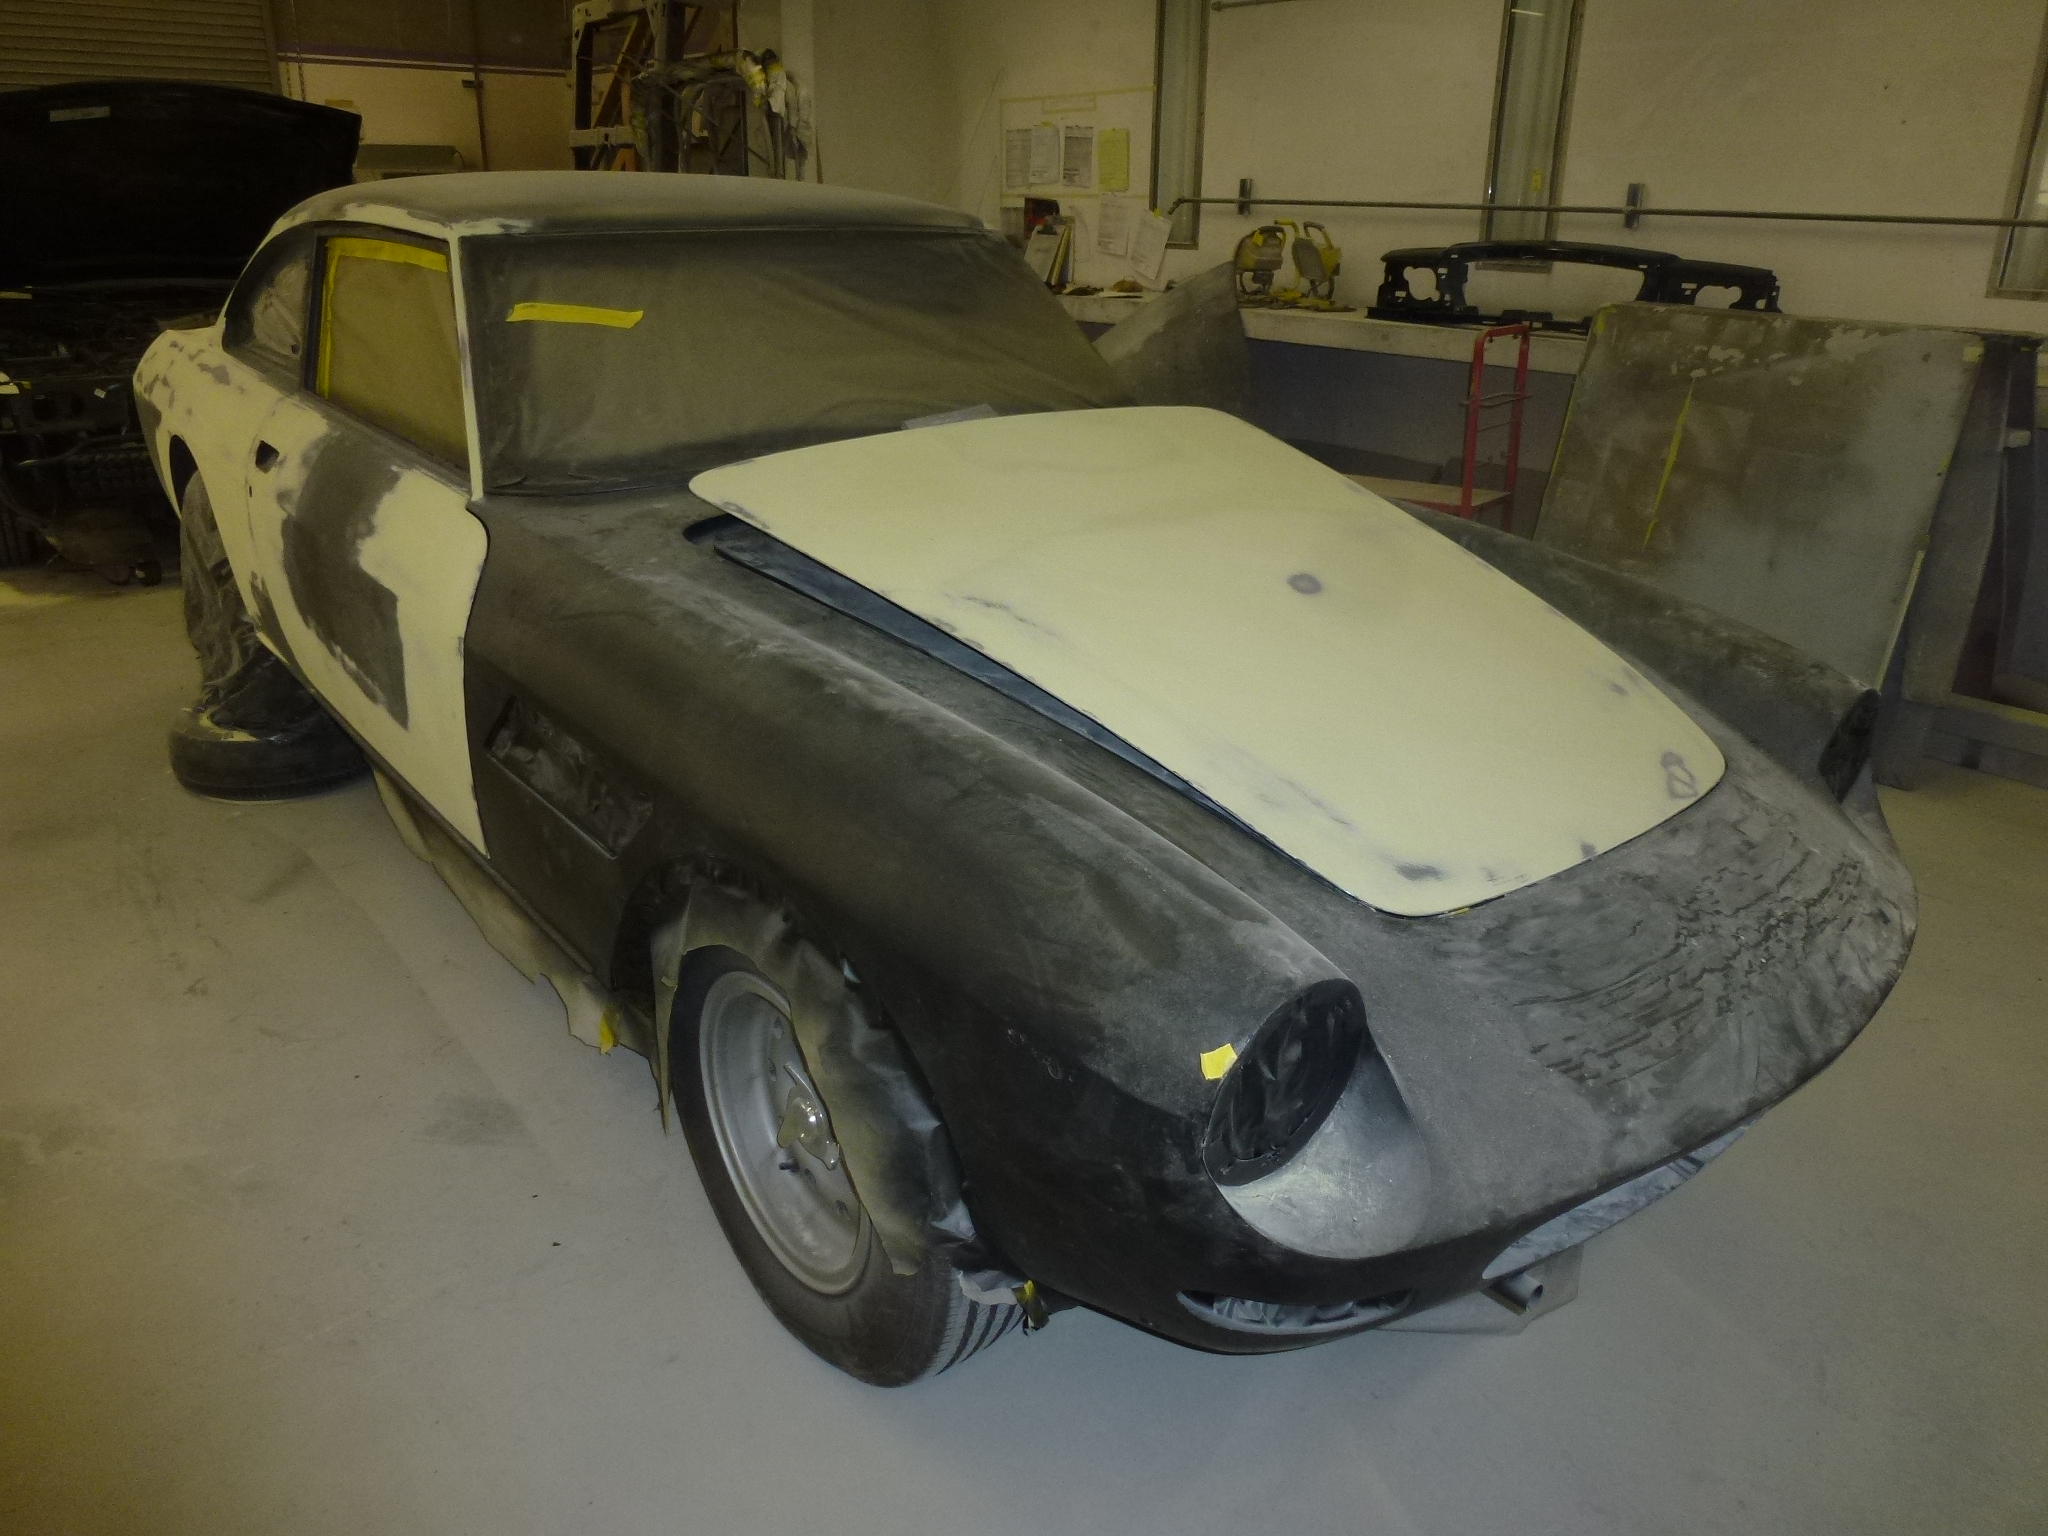
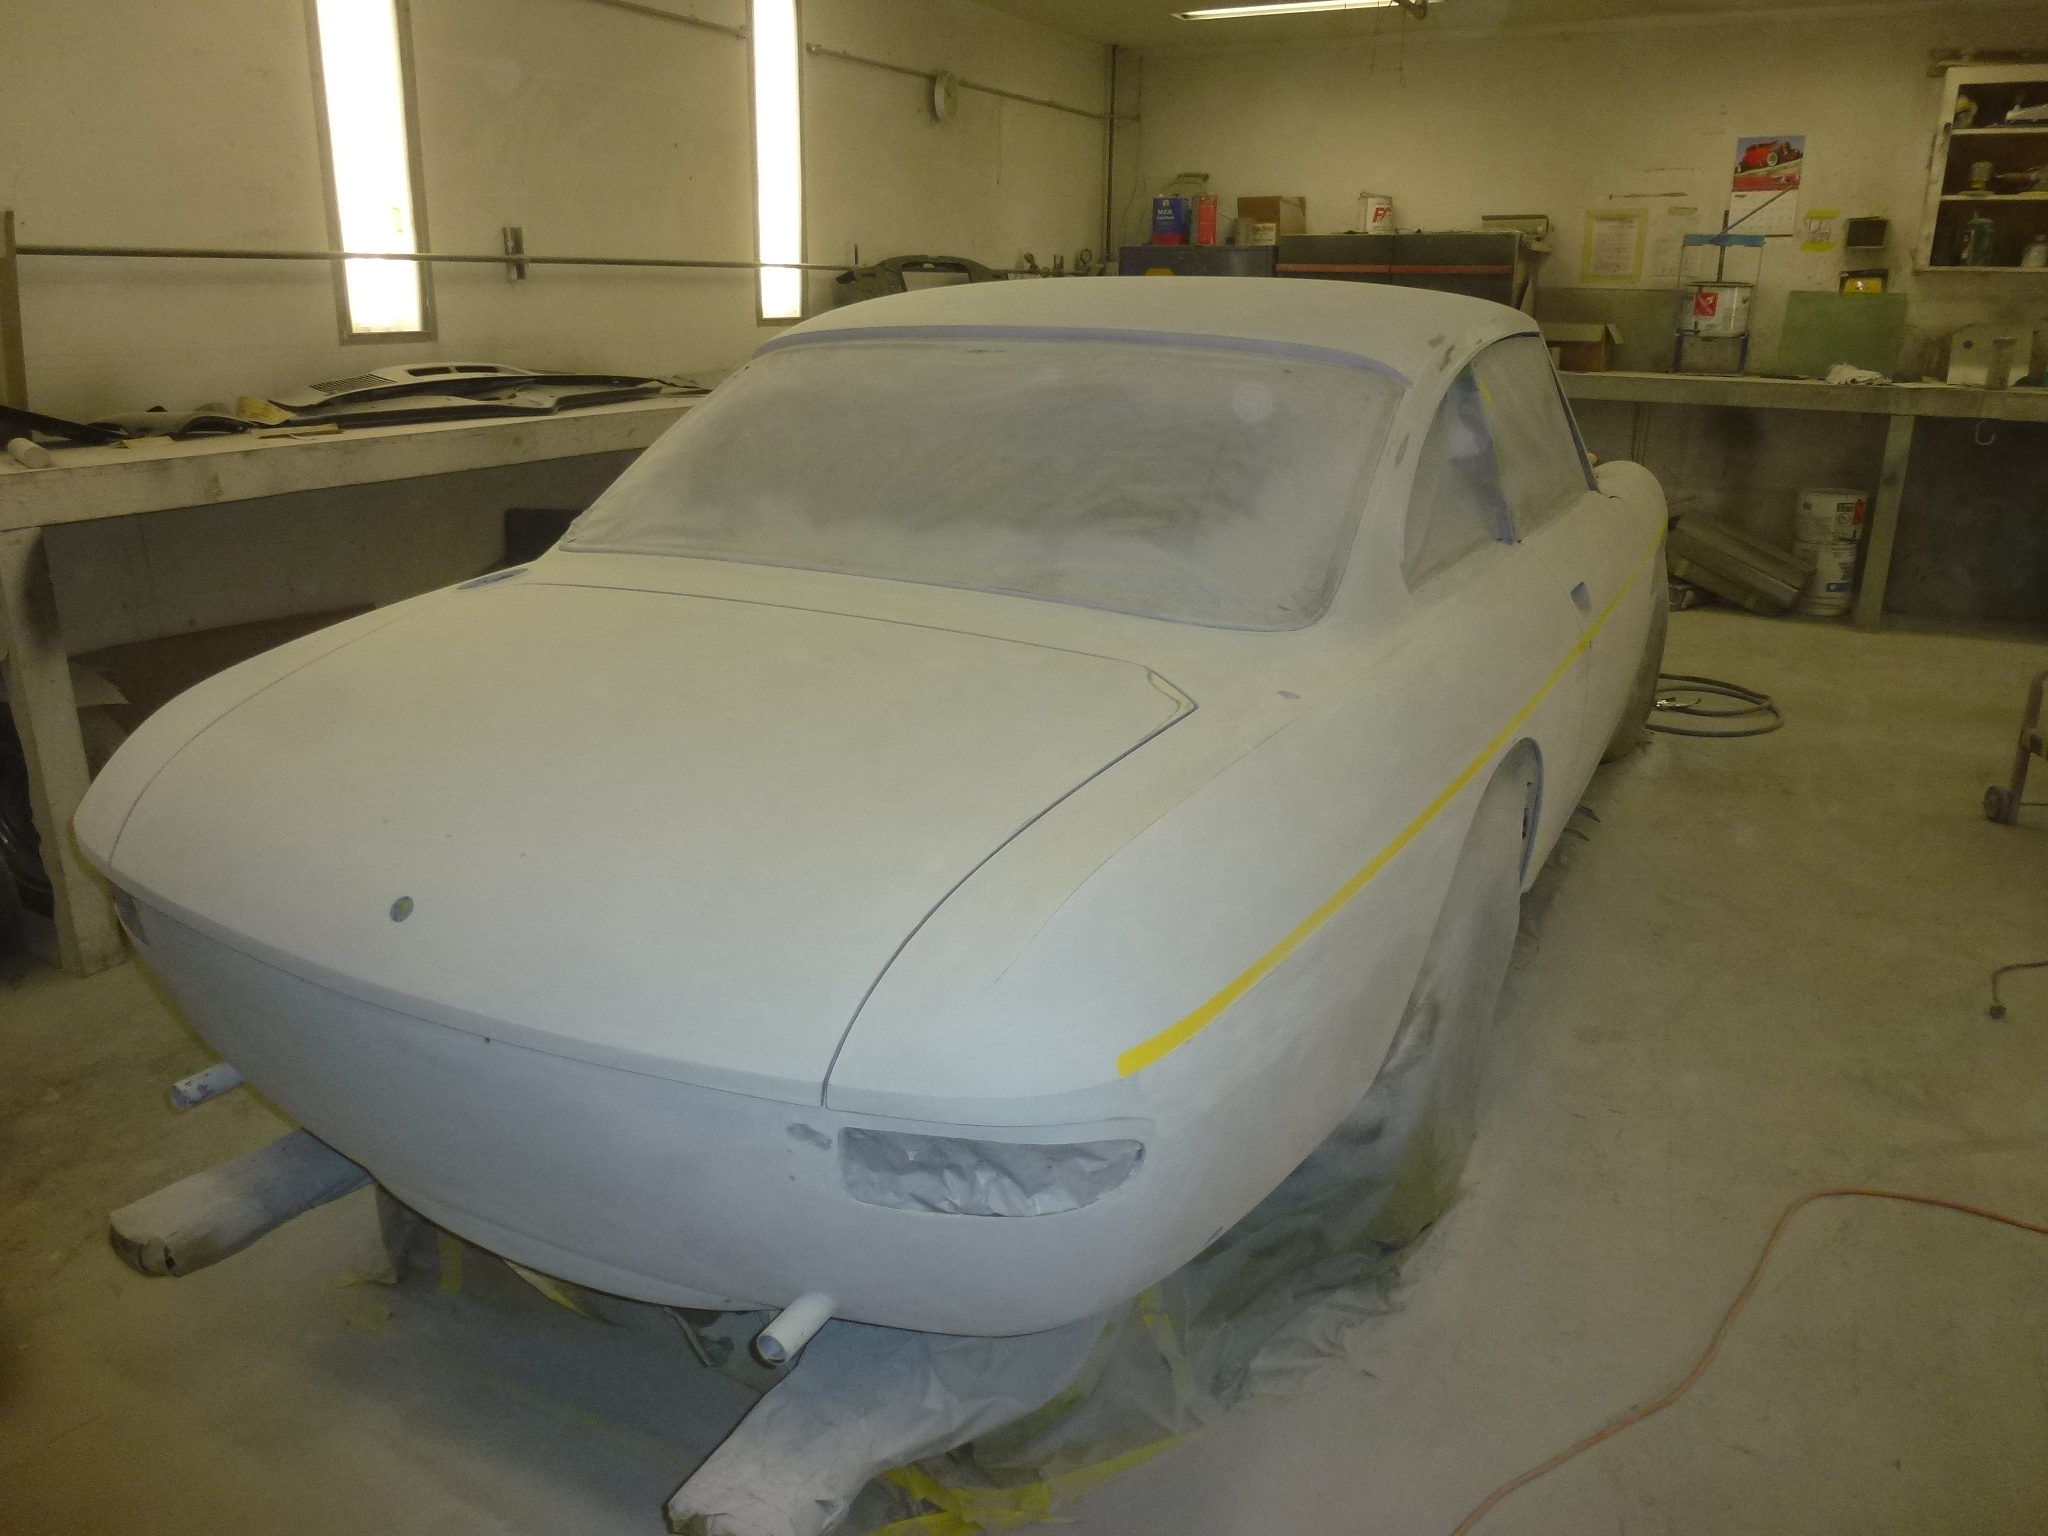
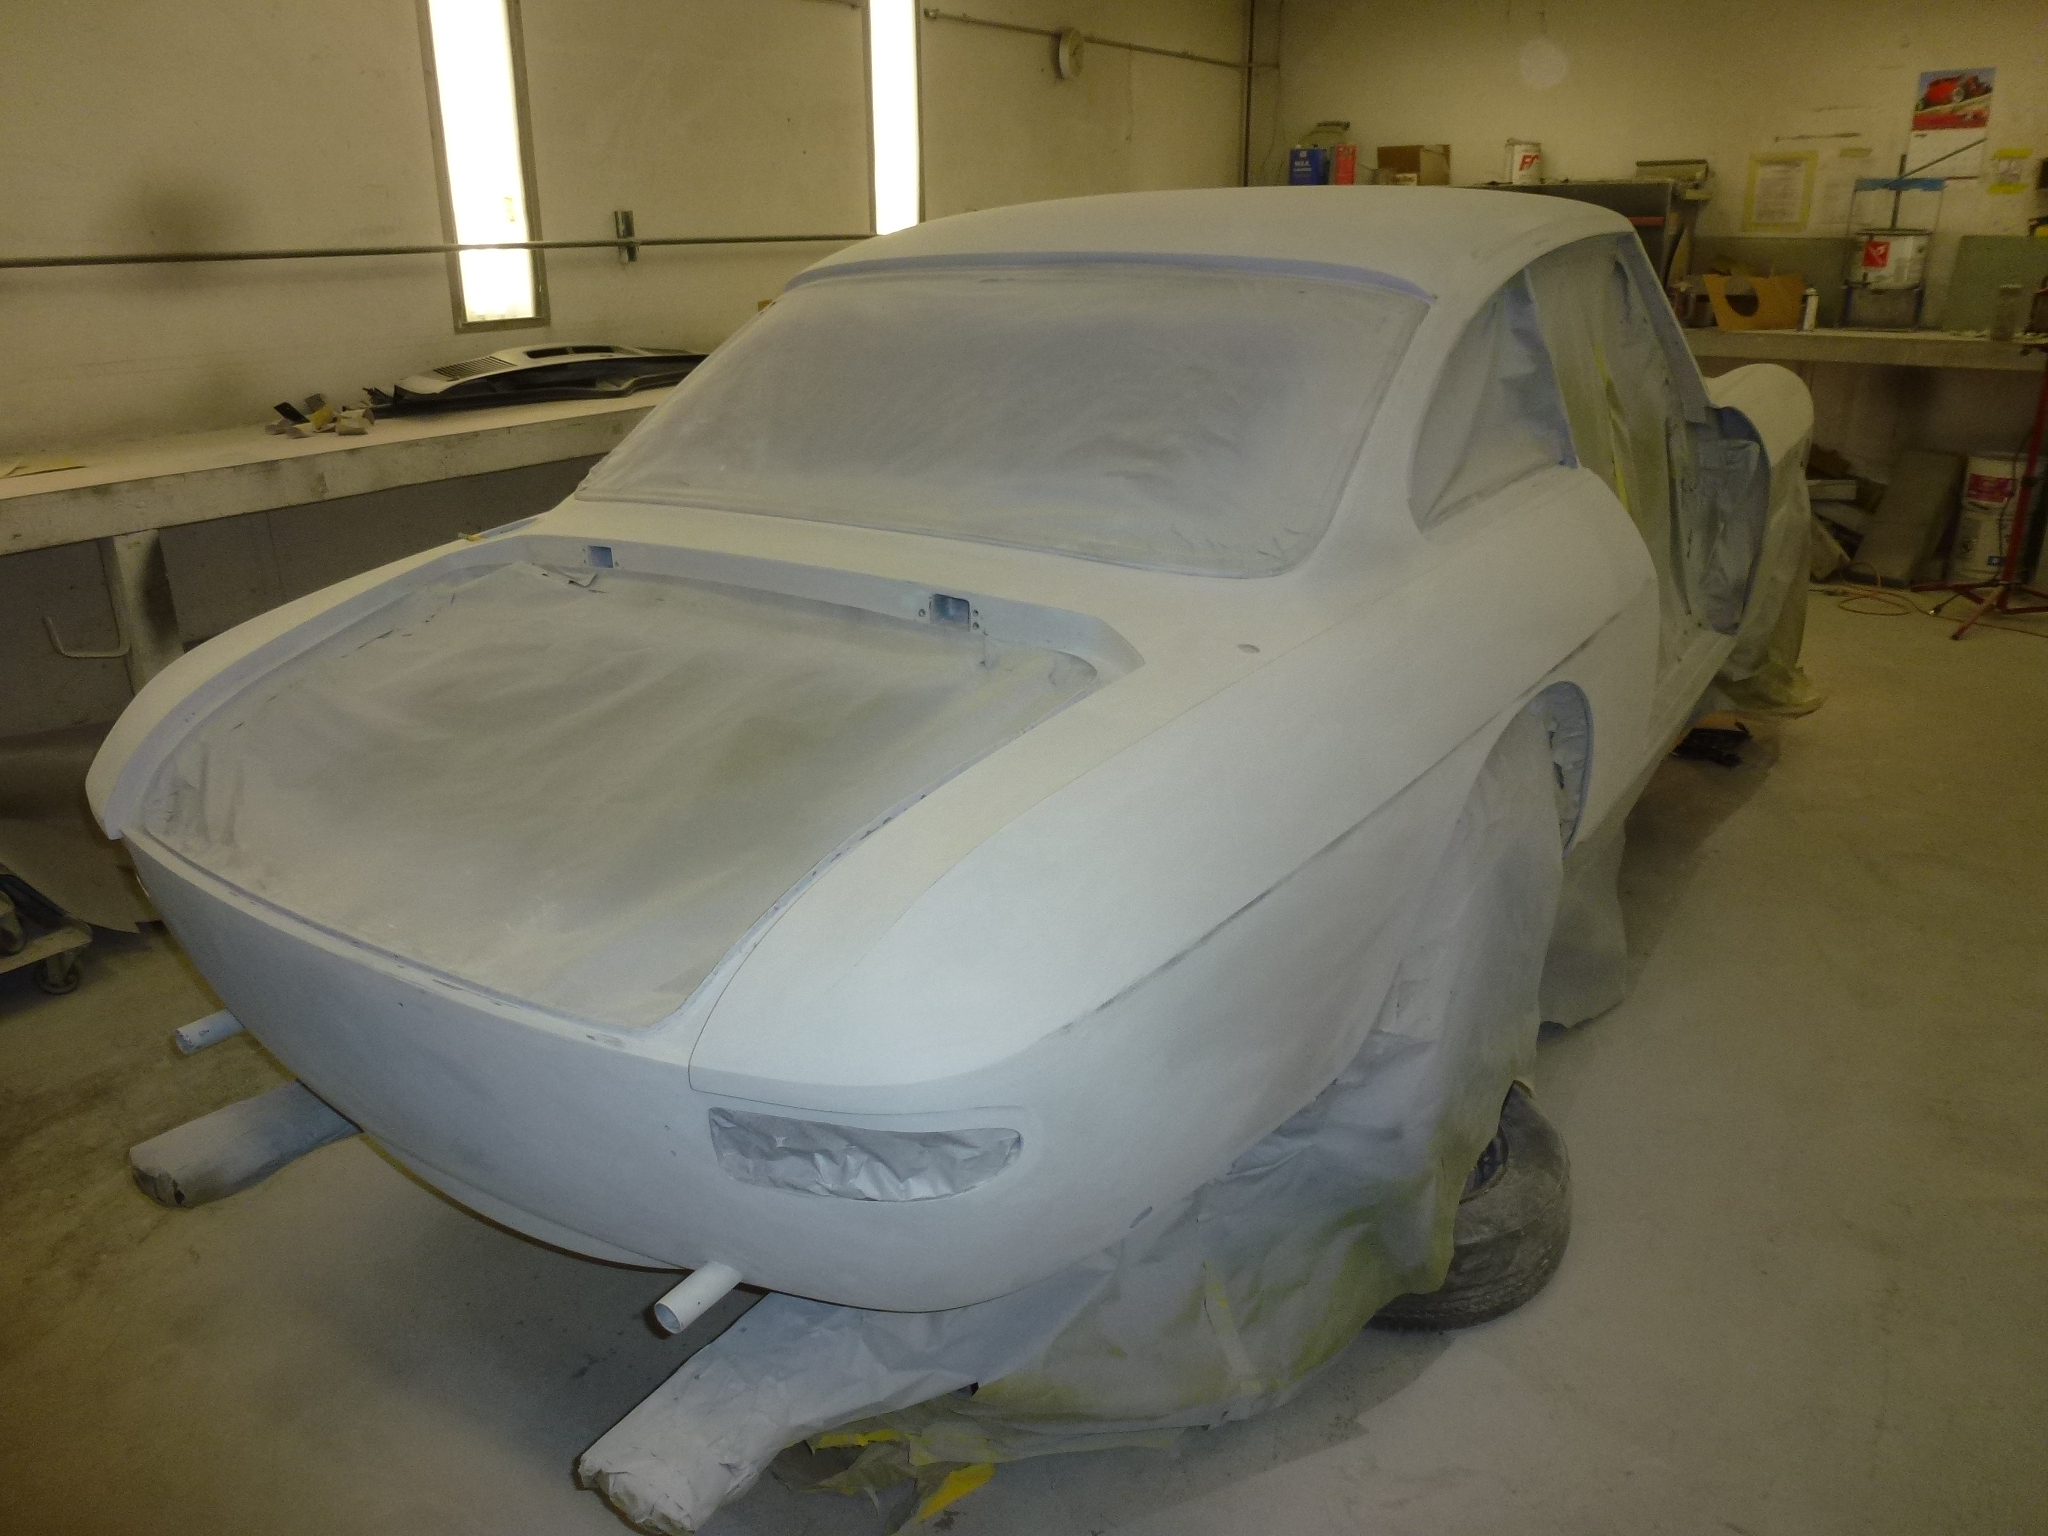
I dropped by the shop to check on progress. One thing nice about where I'm having this done is that they welcome you to check whenever you want. The rear is almost completely done. They are working on the front and have the roof yet to do.
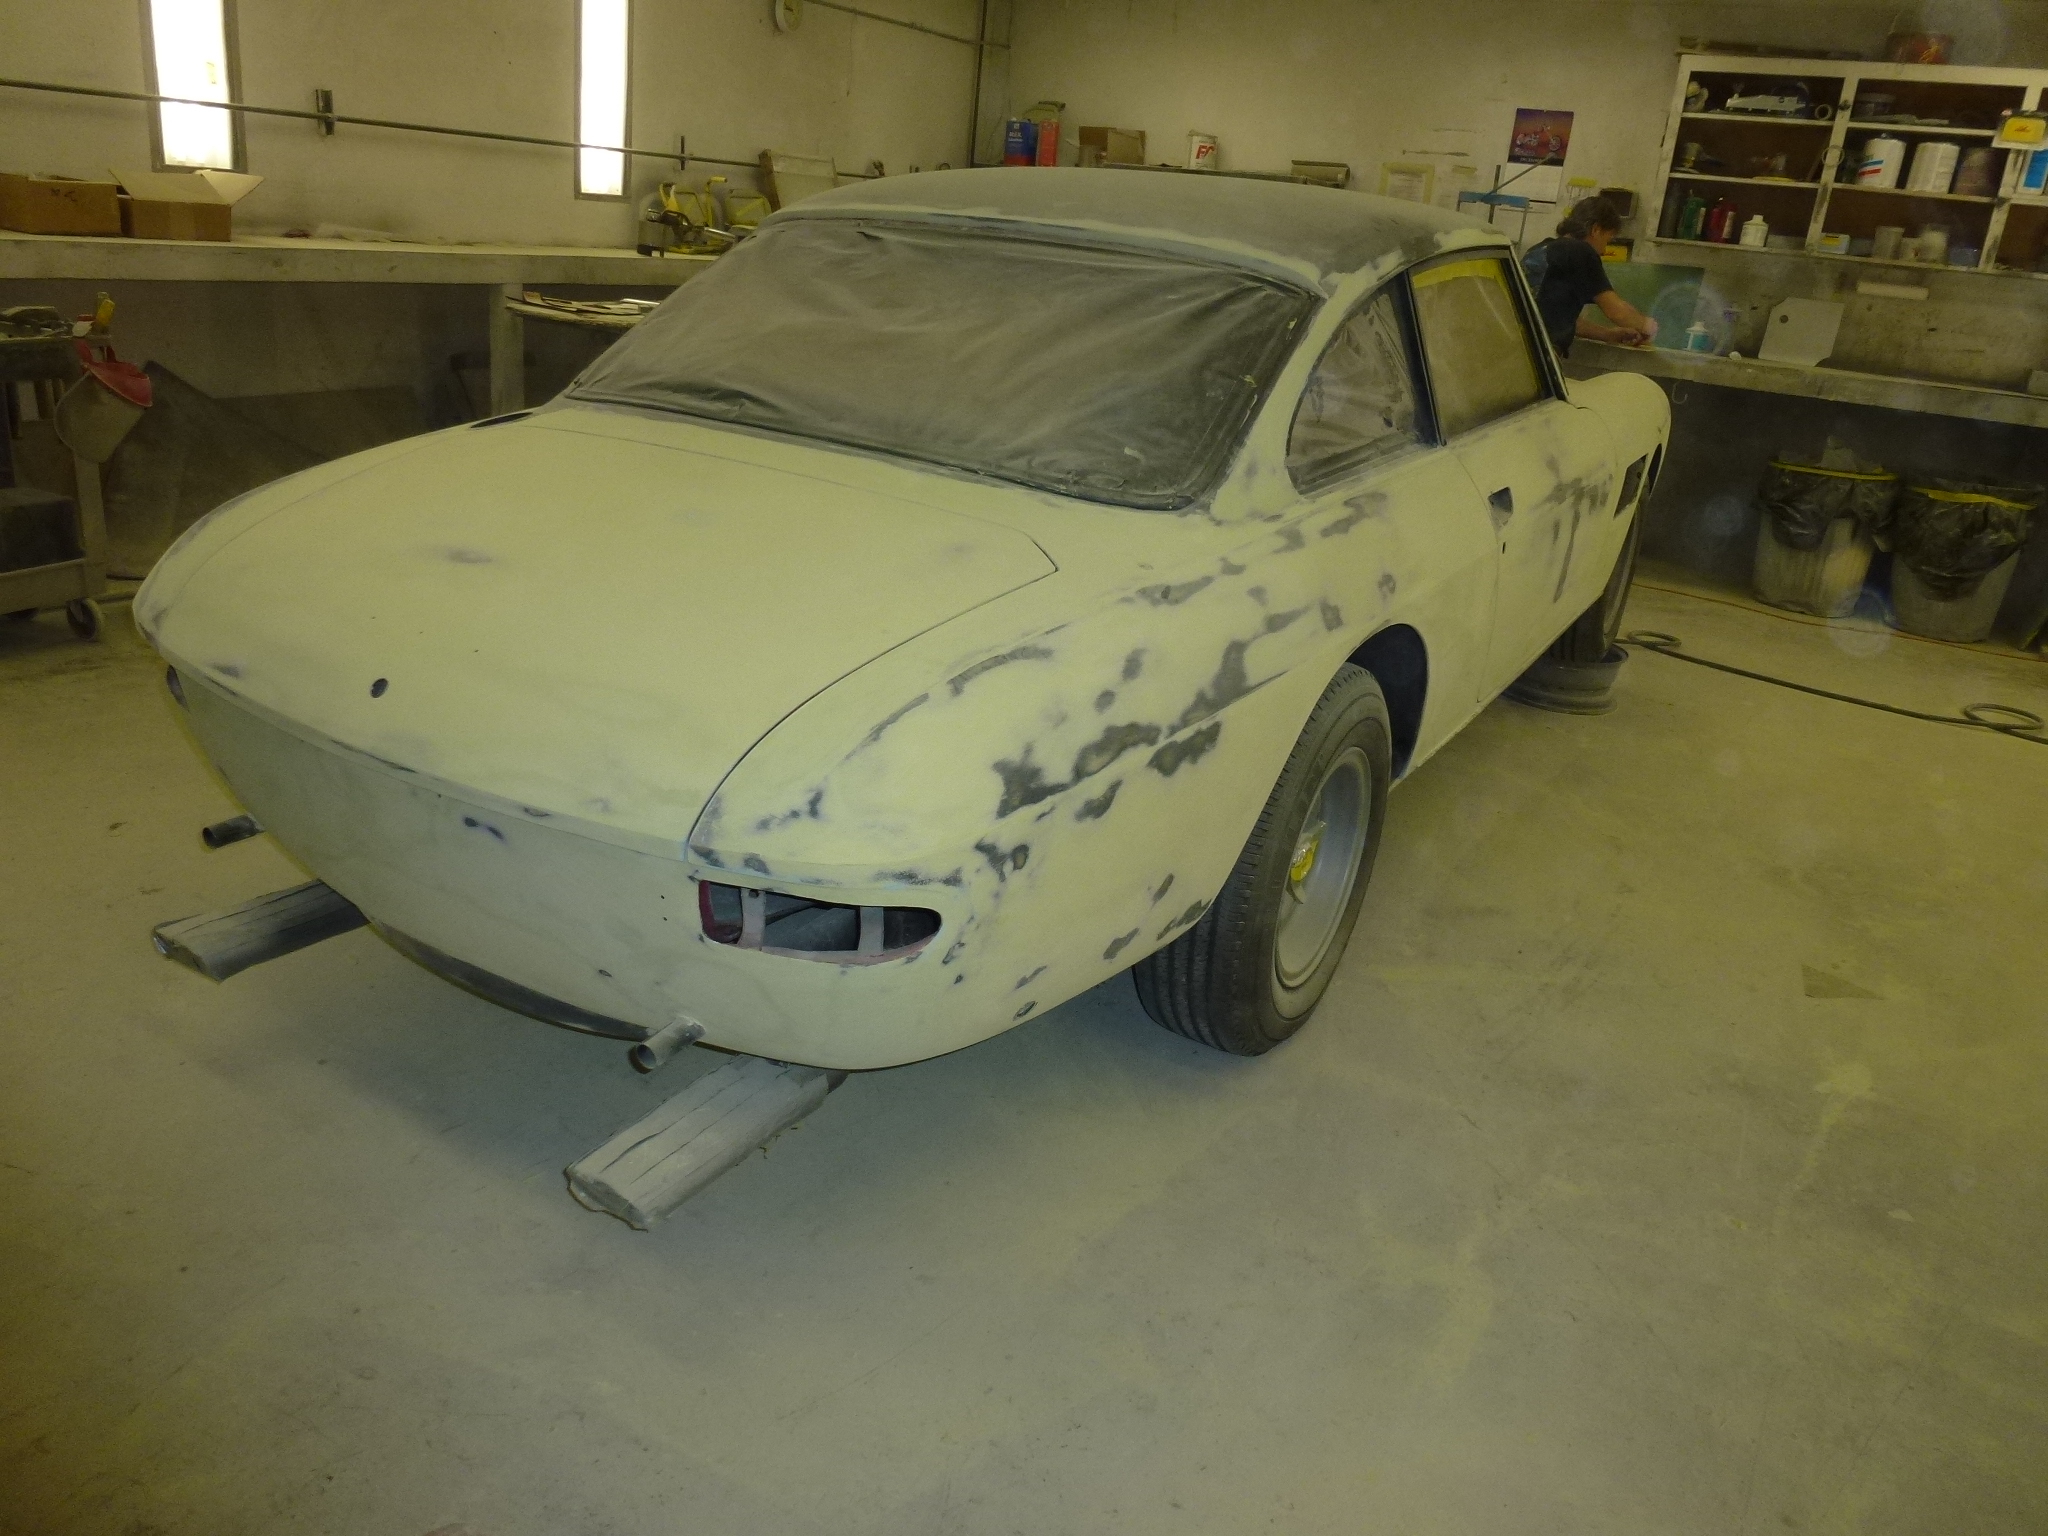
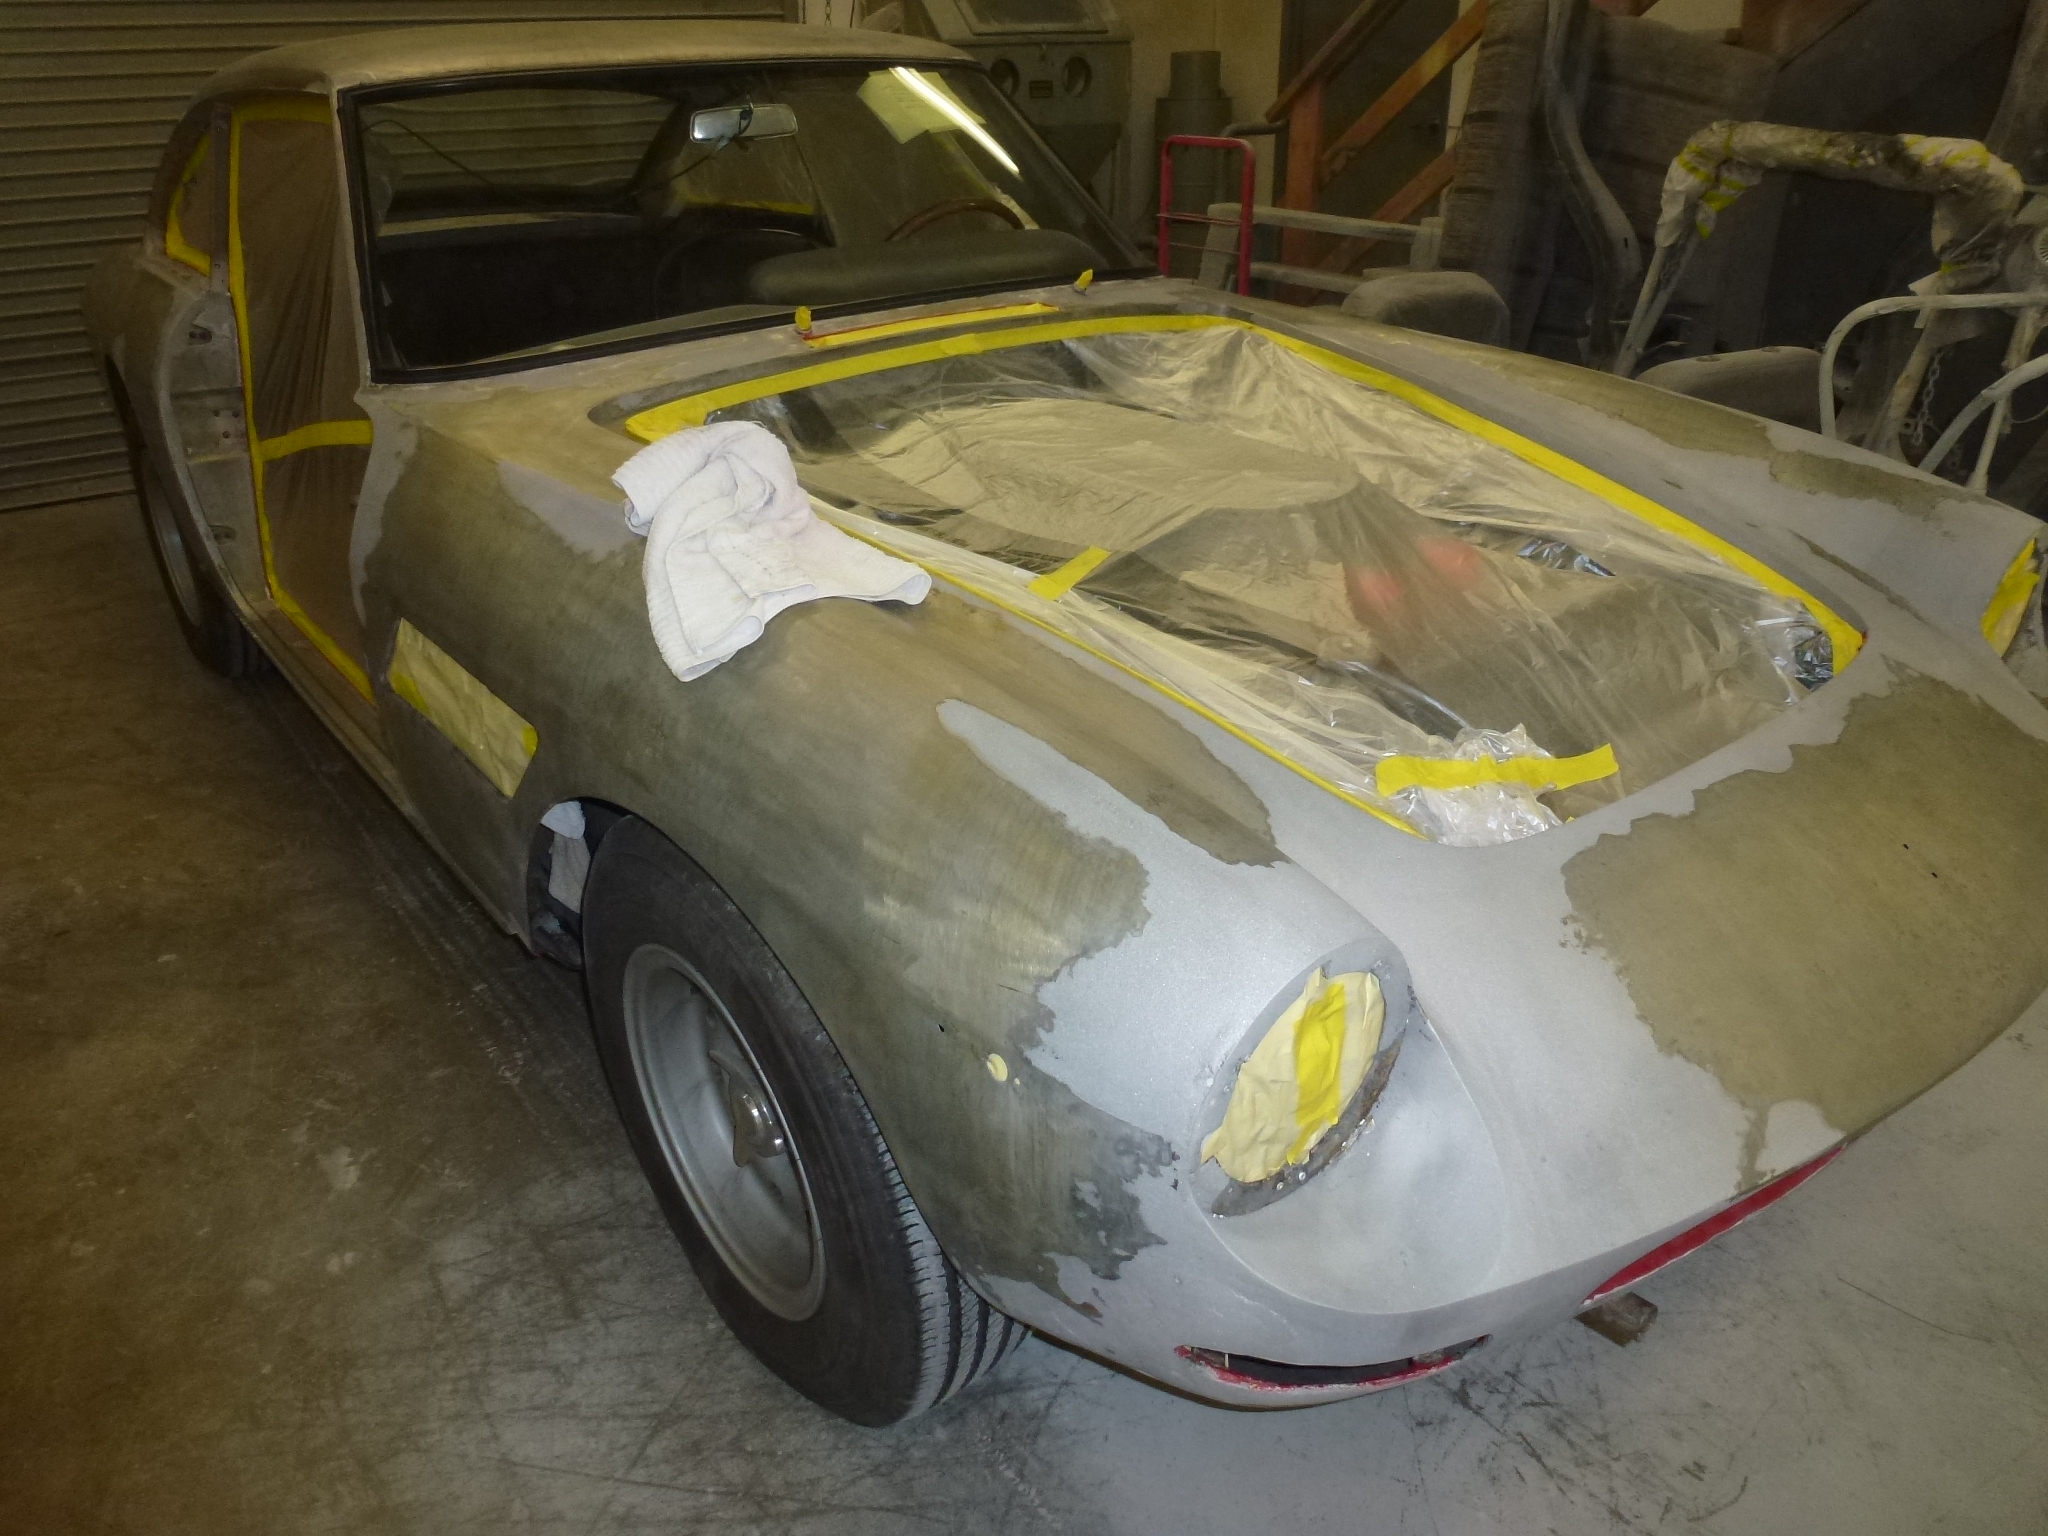
Another visit to my car. It's all one color now and time for the block sanding.

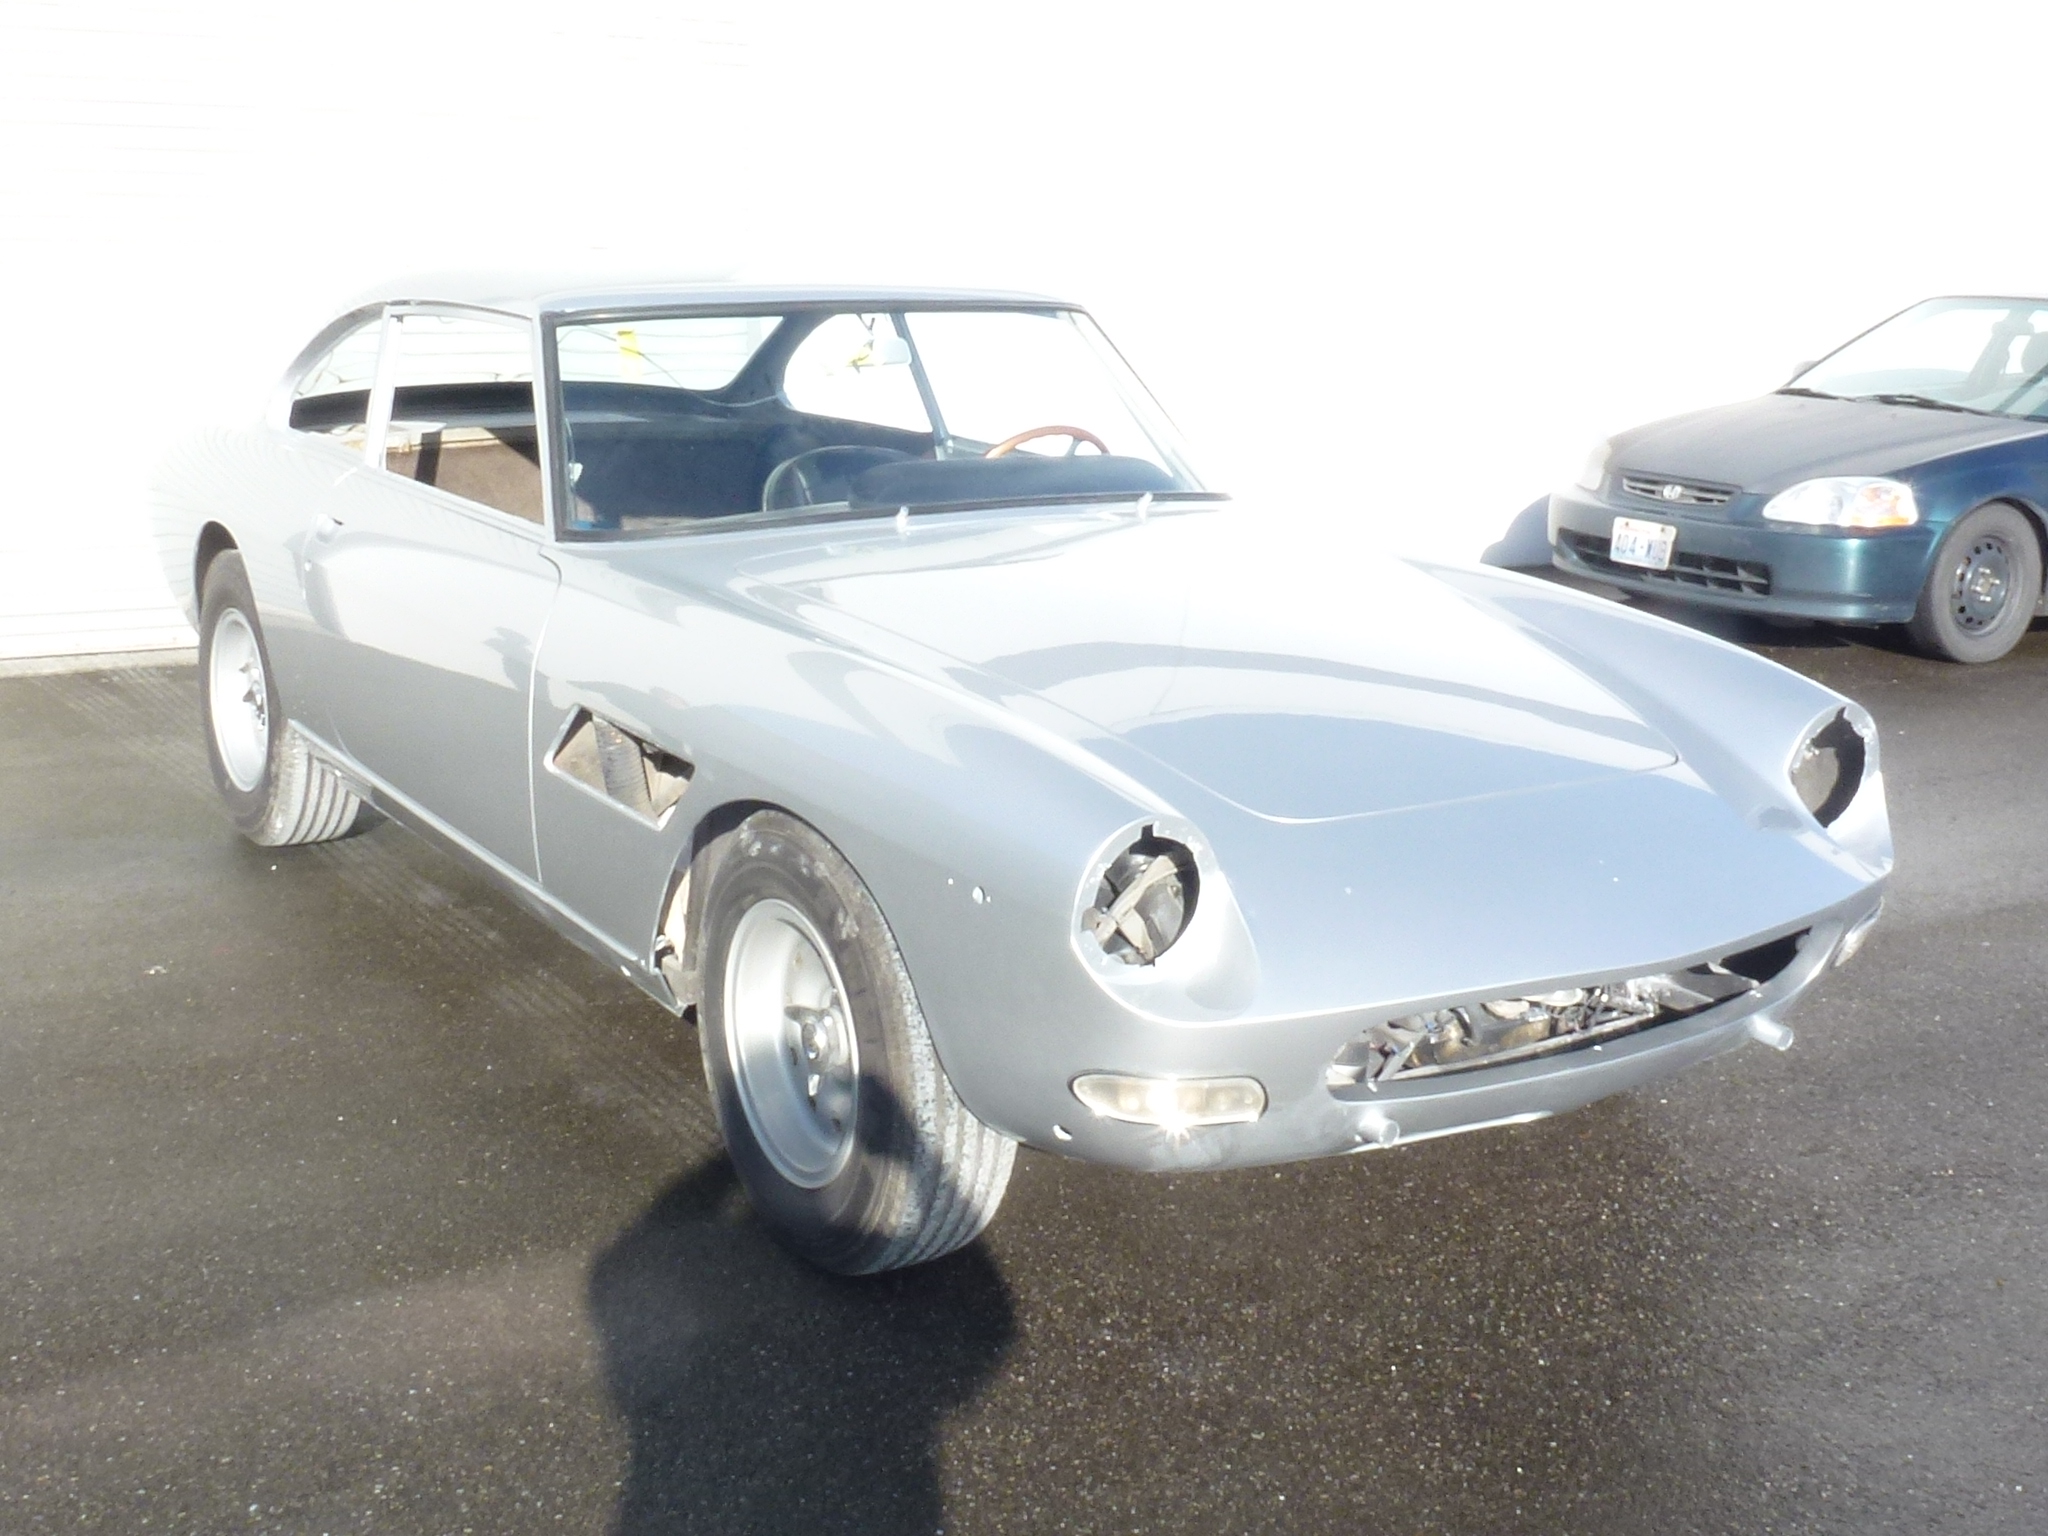
I picked up the car today. I am quite pleased with the final product. The body shop finished the project on time and below the budget that I had allotted. I highly recommend Moslander's Rod and Custom in Monroe, WA. When I started this project, I had a long discussion with Clyde Moslander about my expectations on the quality and time line for them to do their work. He met all of them and was a pleasure to work with. I've heard many horror stories about restorations that never get done on time or budget and I'm glad to not have to add mine to the list.
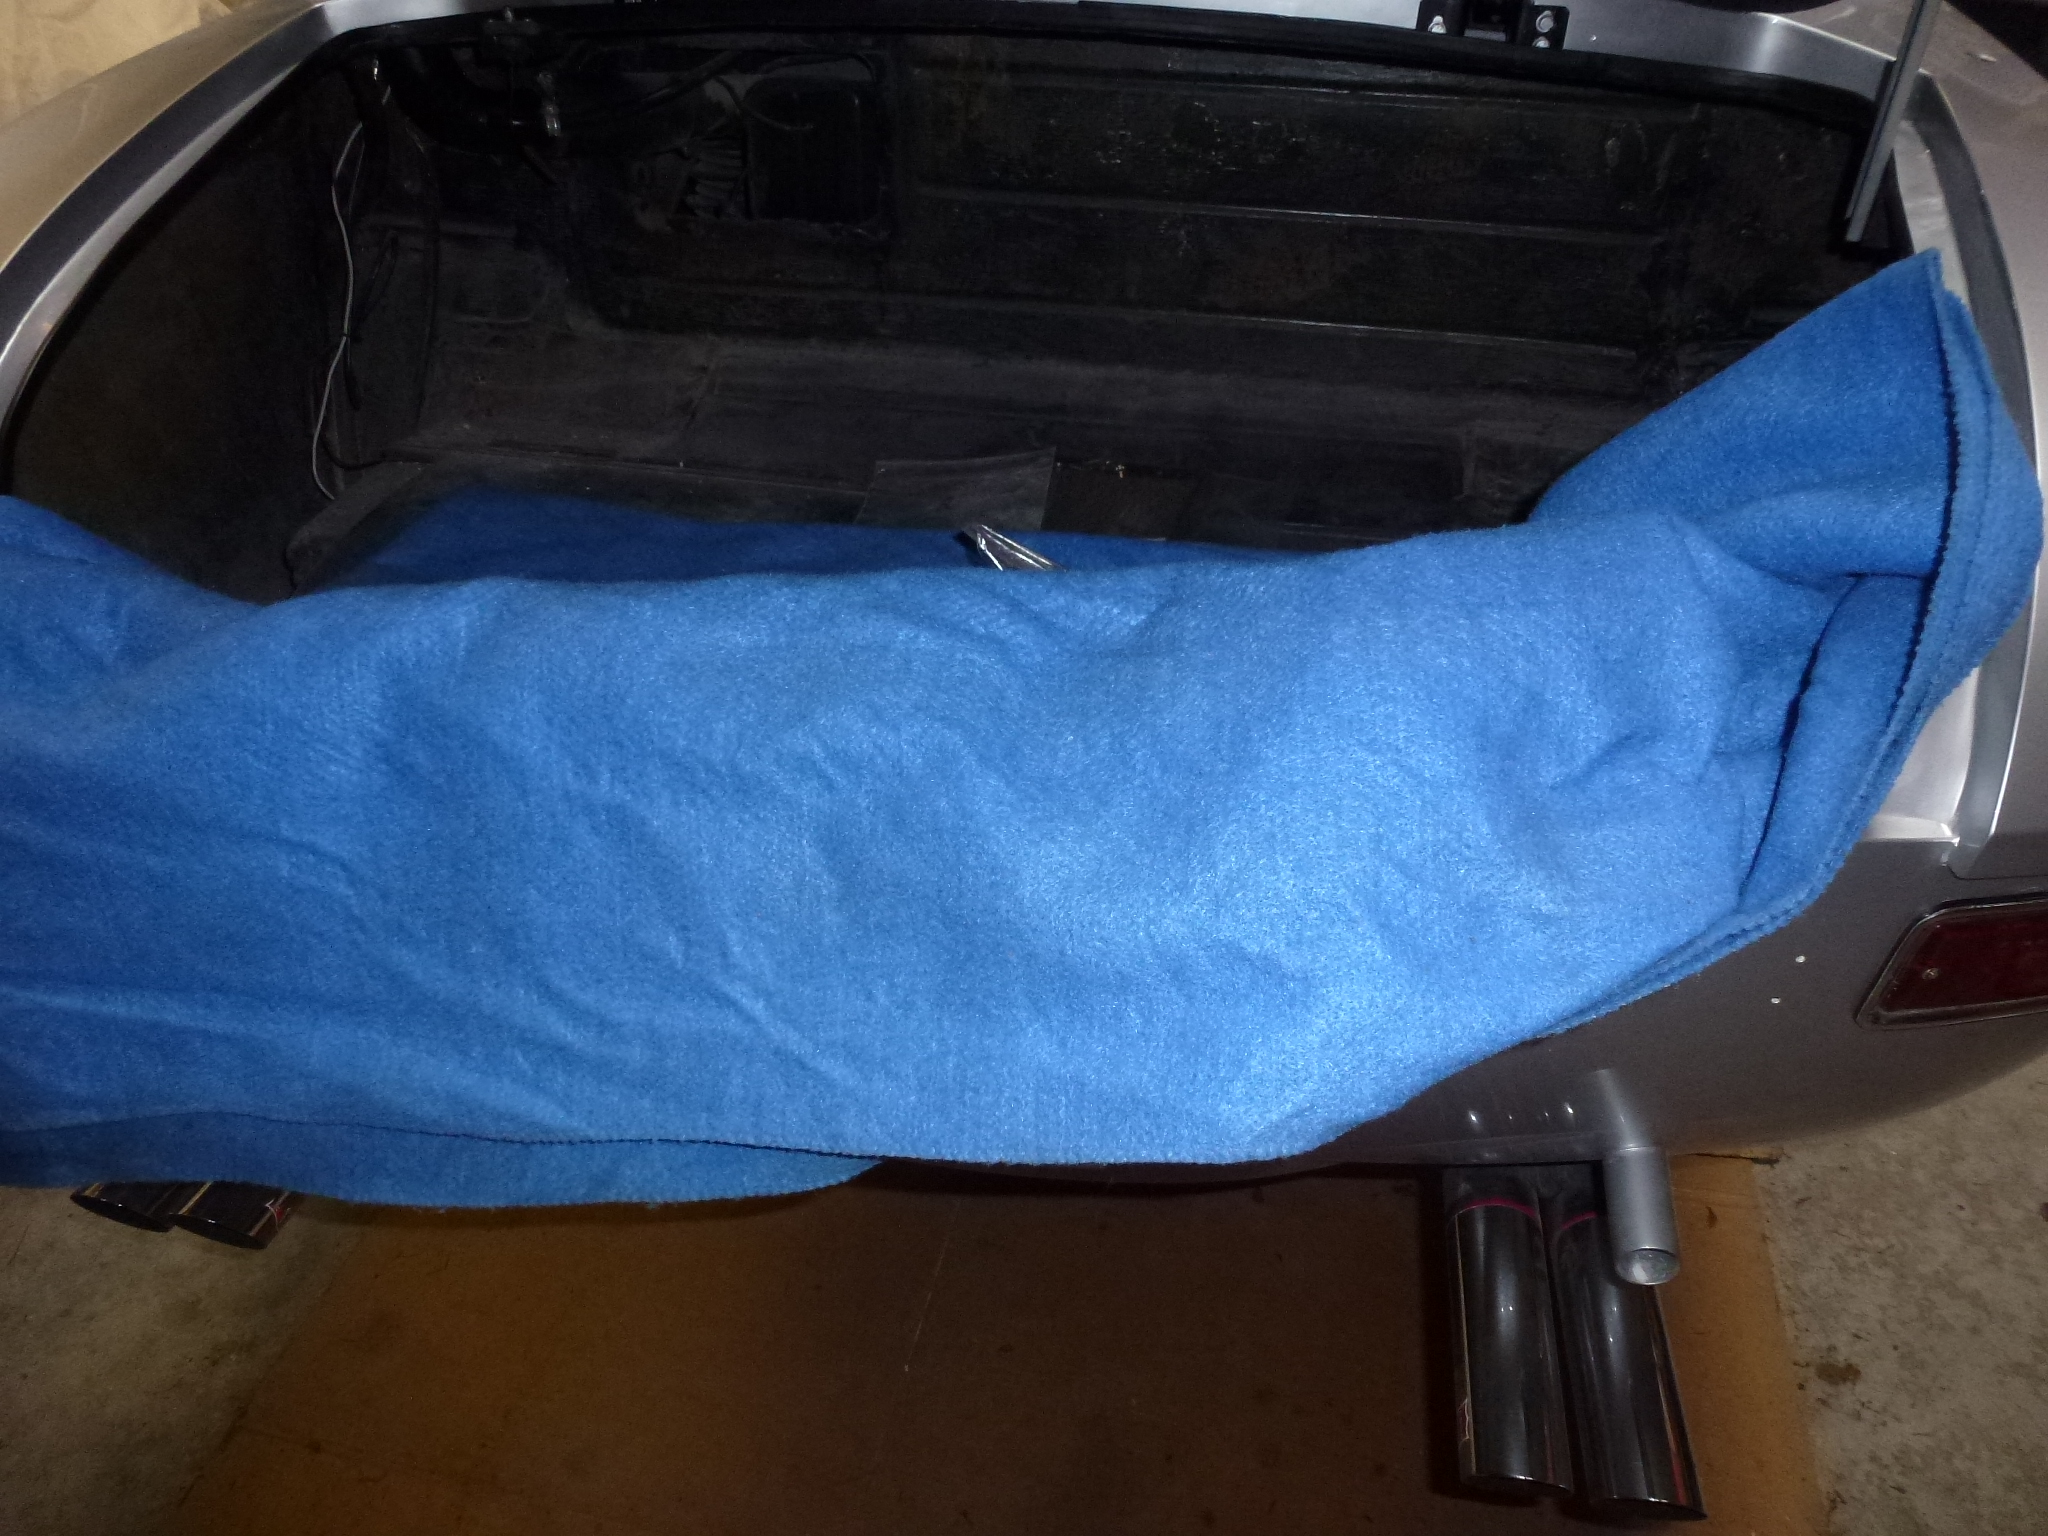
Assembly: The re-assembly process is time consuming and one needs to be very careful with the new paint. I realized that I particularly needed to watch what I was doing with tools. I have the habit of holding onto a wrench or other tool while continuing to work. This can lead to banging that tool into some paintwork. There are a few tools that are essential during the assembly process:
Blankets or pads to cover the immediate area around and under where you are working. These protect in the case of dropped tools or cords scraping across the paint.
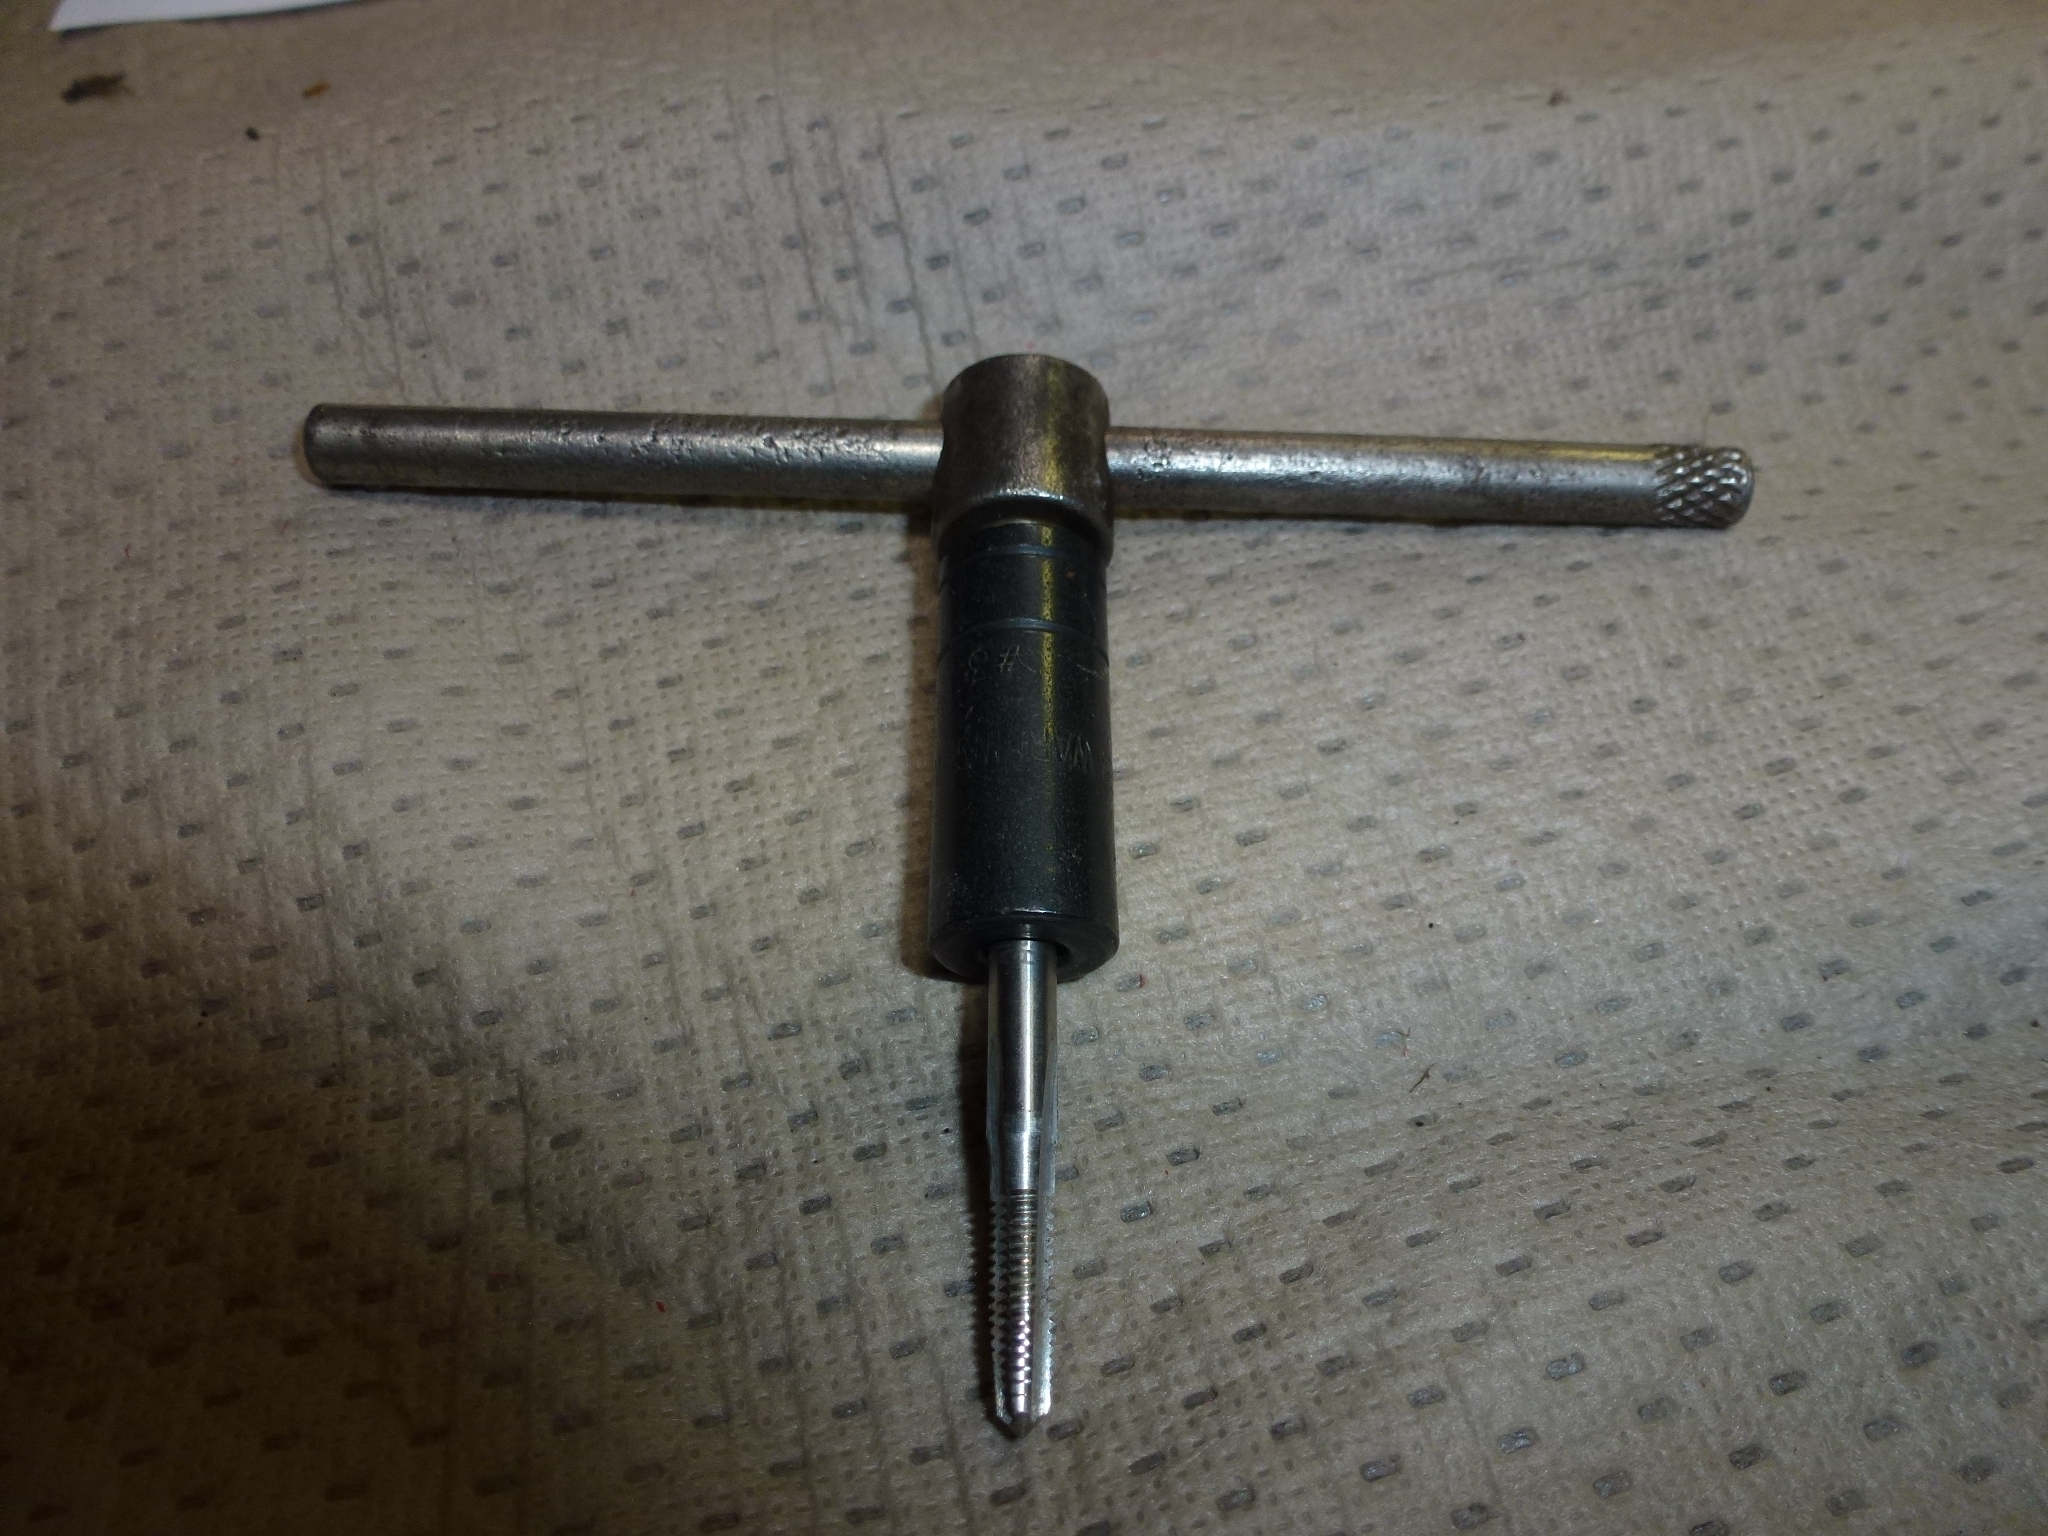
Taps. Frequently captured nuts will get over spray in their threads from the painting. If you run a tap through them first, the screws will go in with a lot less effort and likelihood of the wrench or screwdriver slipping and dinging the paint.
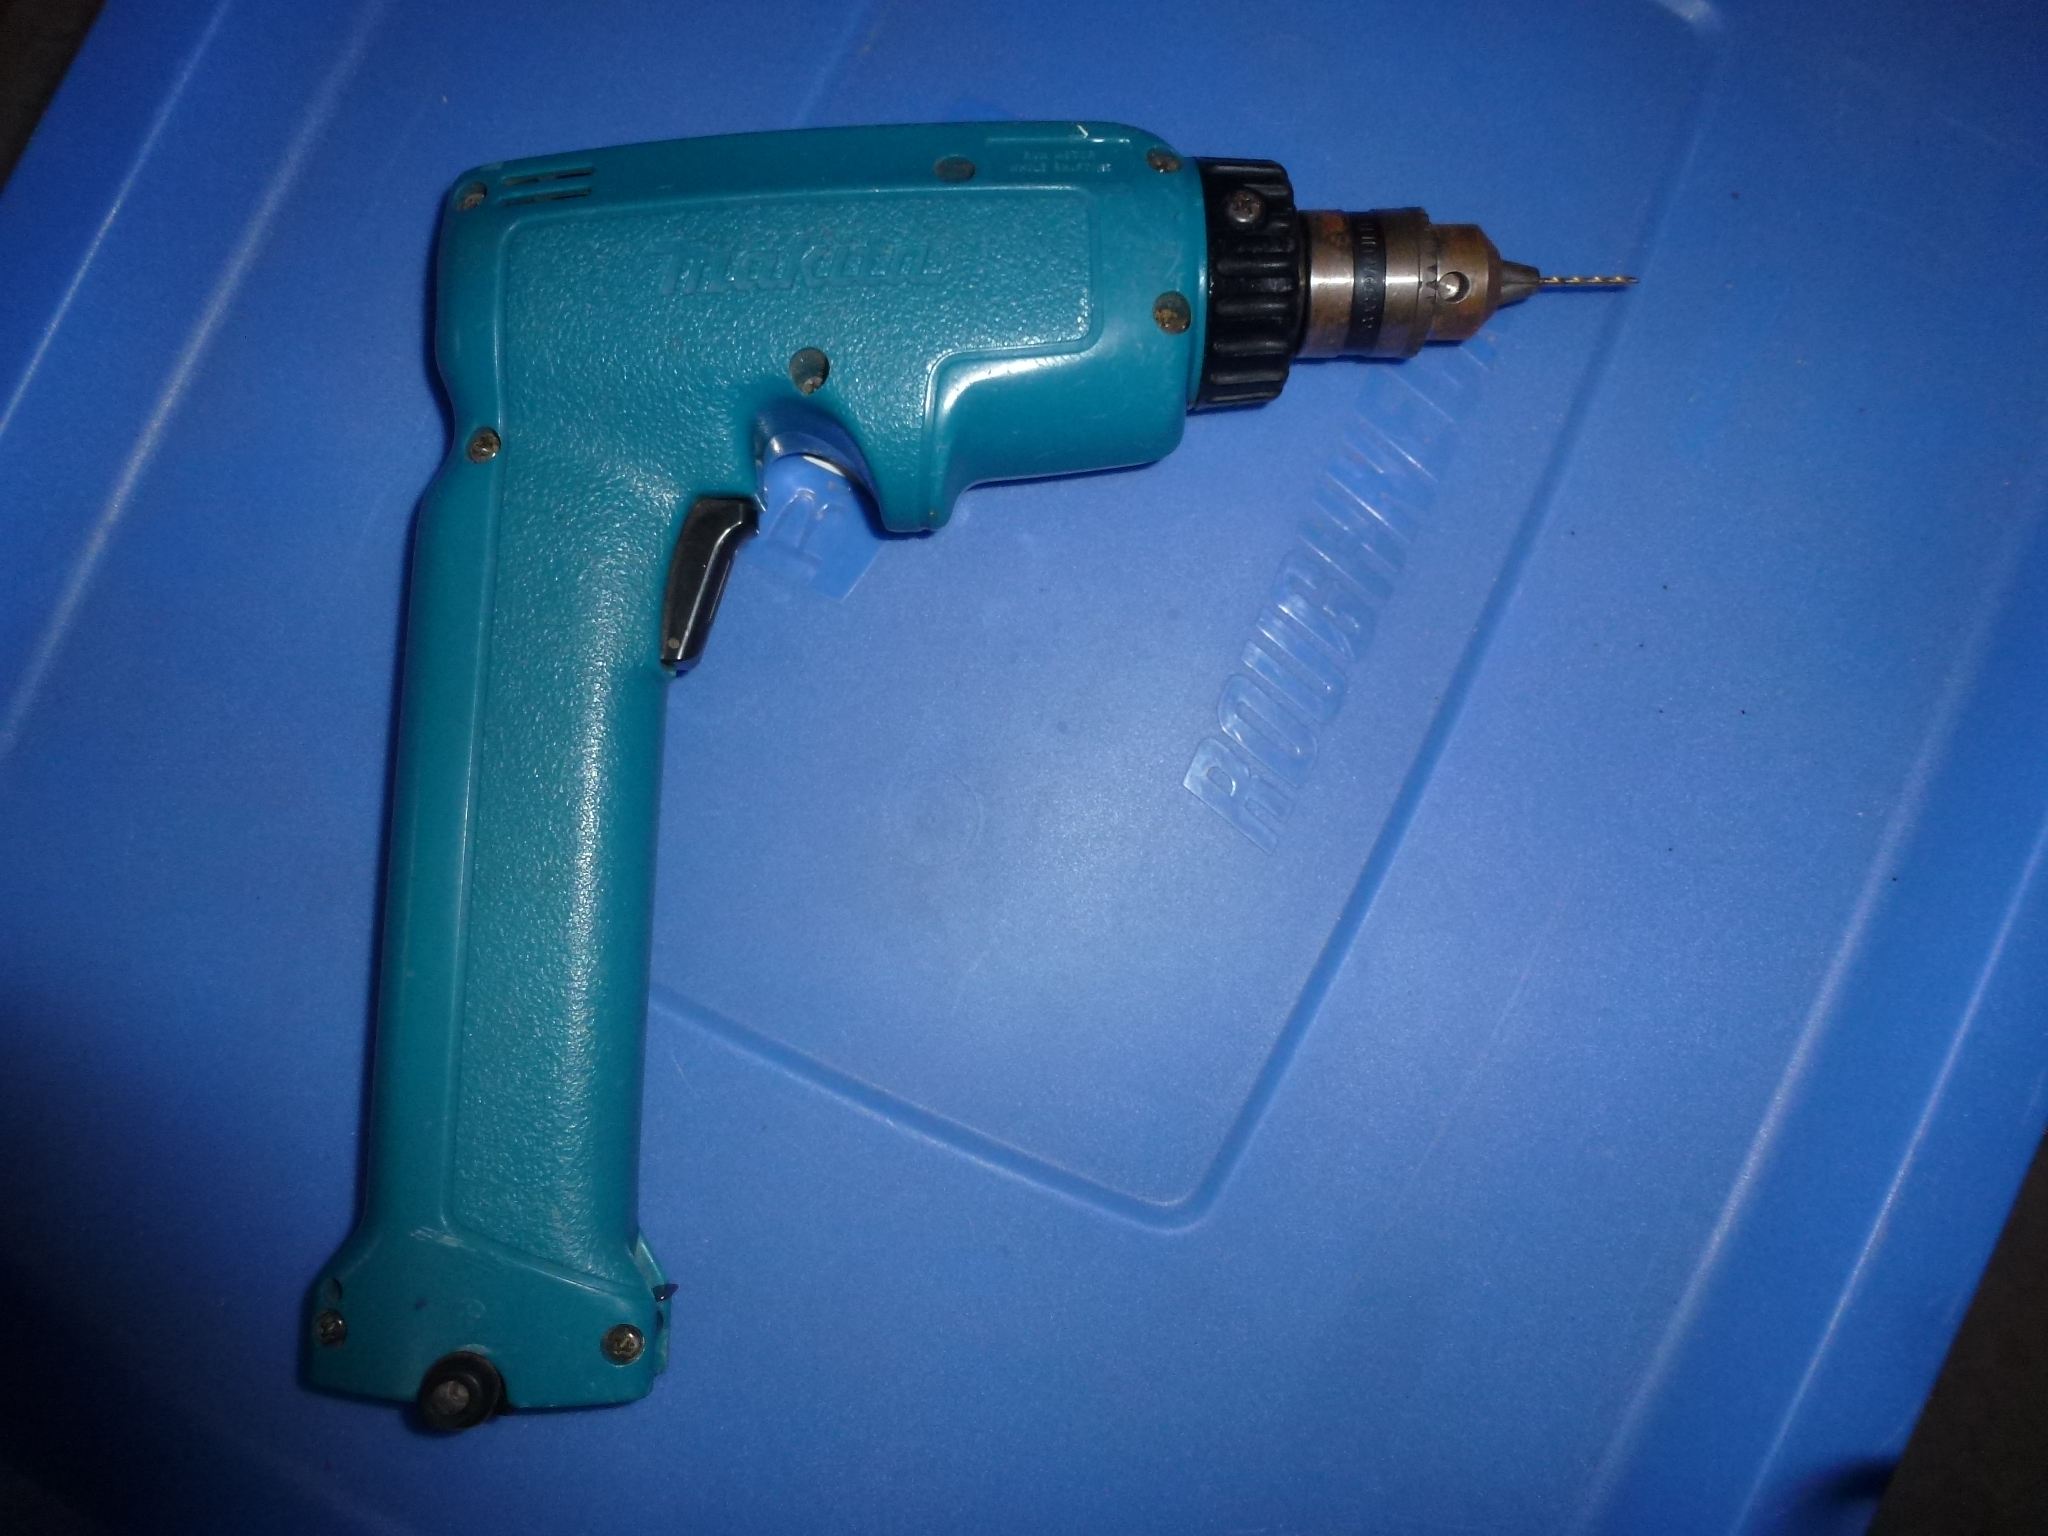
Small drill bit (1/16th) in a battery operated drill for locating and drilling out paint and filler covering a hole in the metal where a screw or stud from an emblem goes.
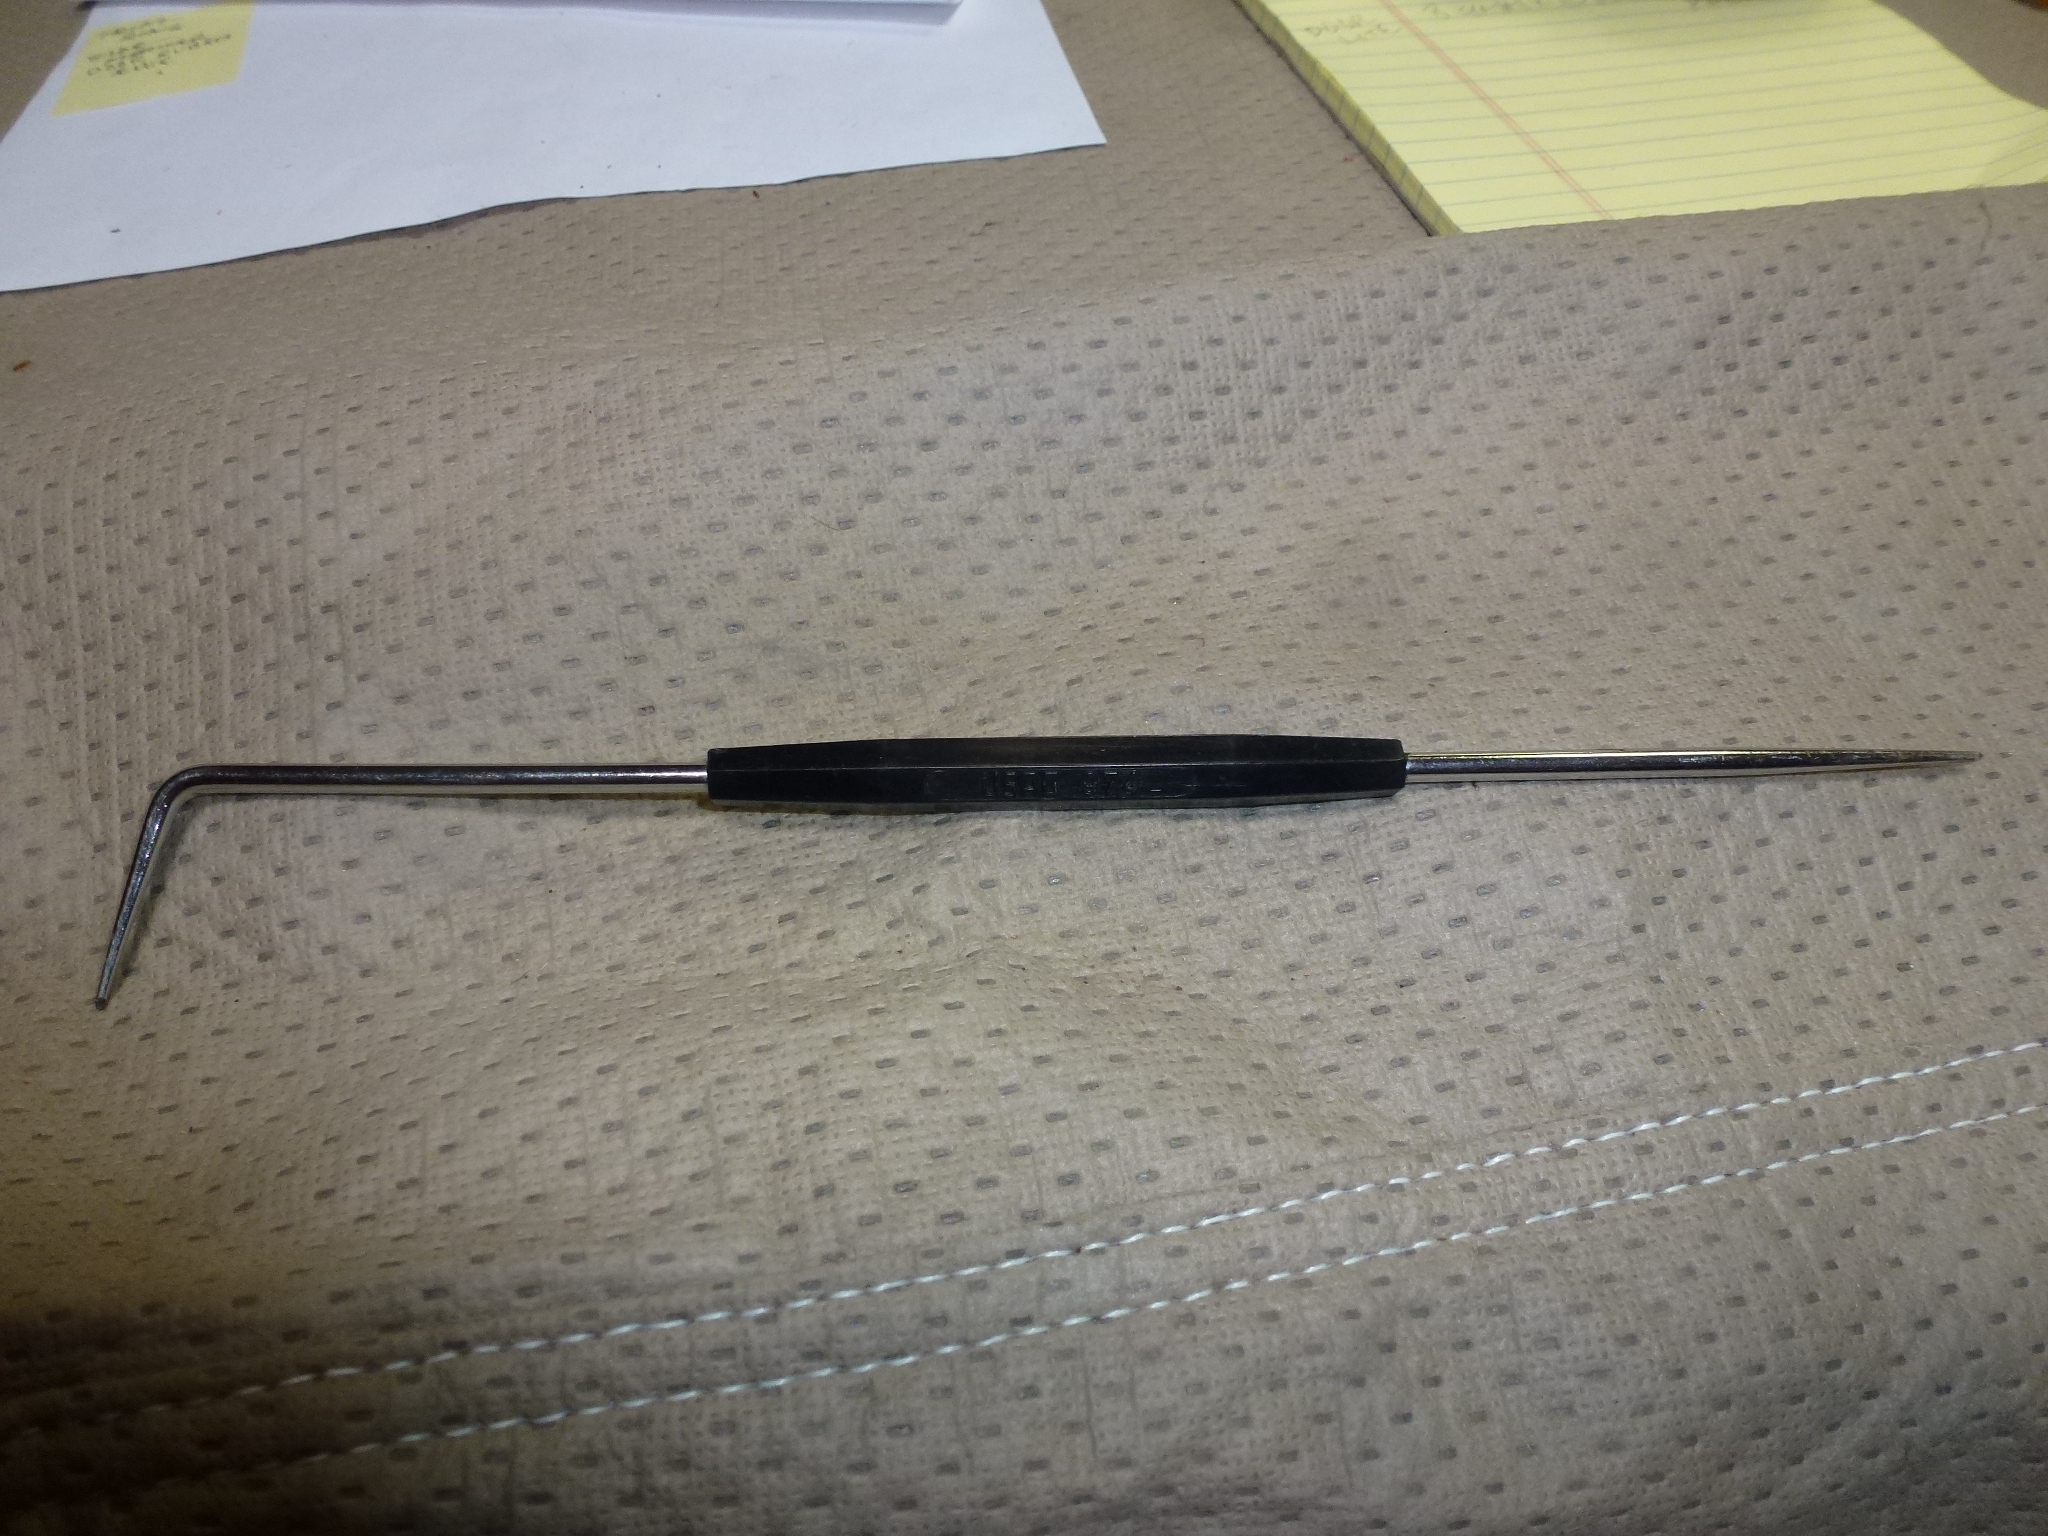
A probe for aligning the hole in a part with the matching hole or captured nut.
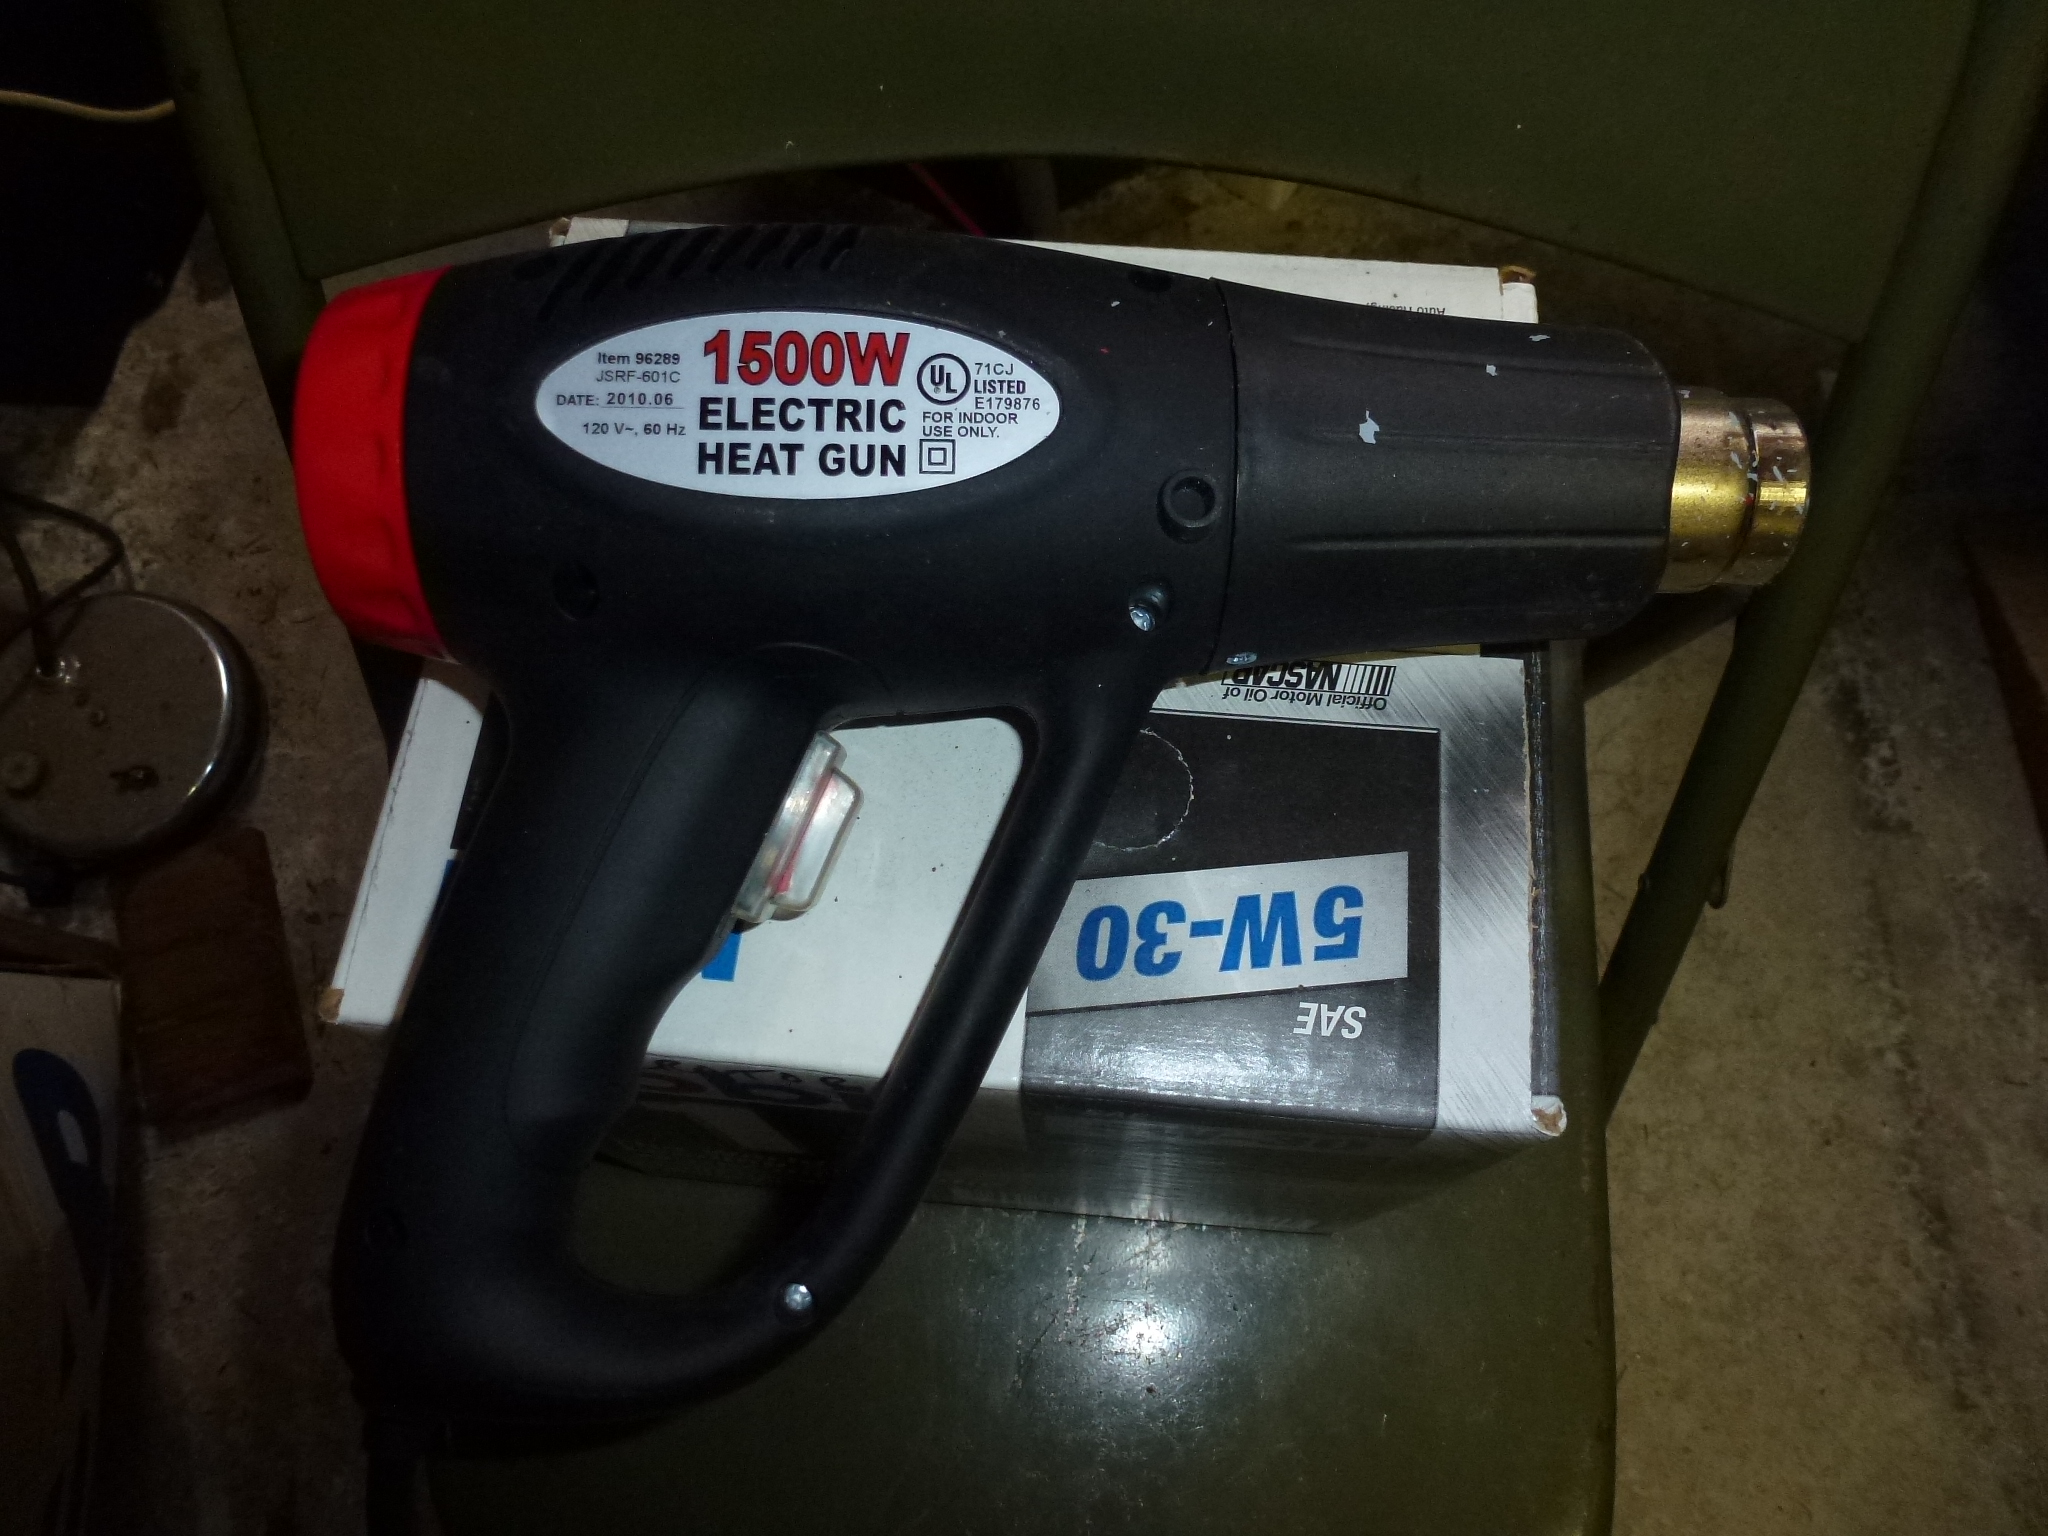
A hot air gun, useful for softening wiring harnesses, tubing and heating shrink wrap on wiring.
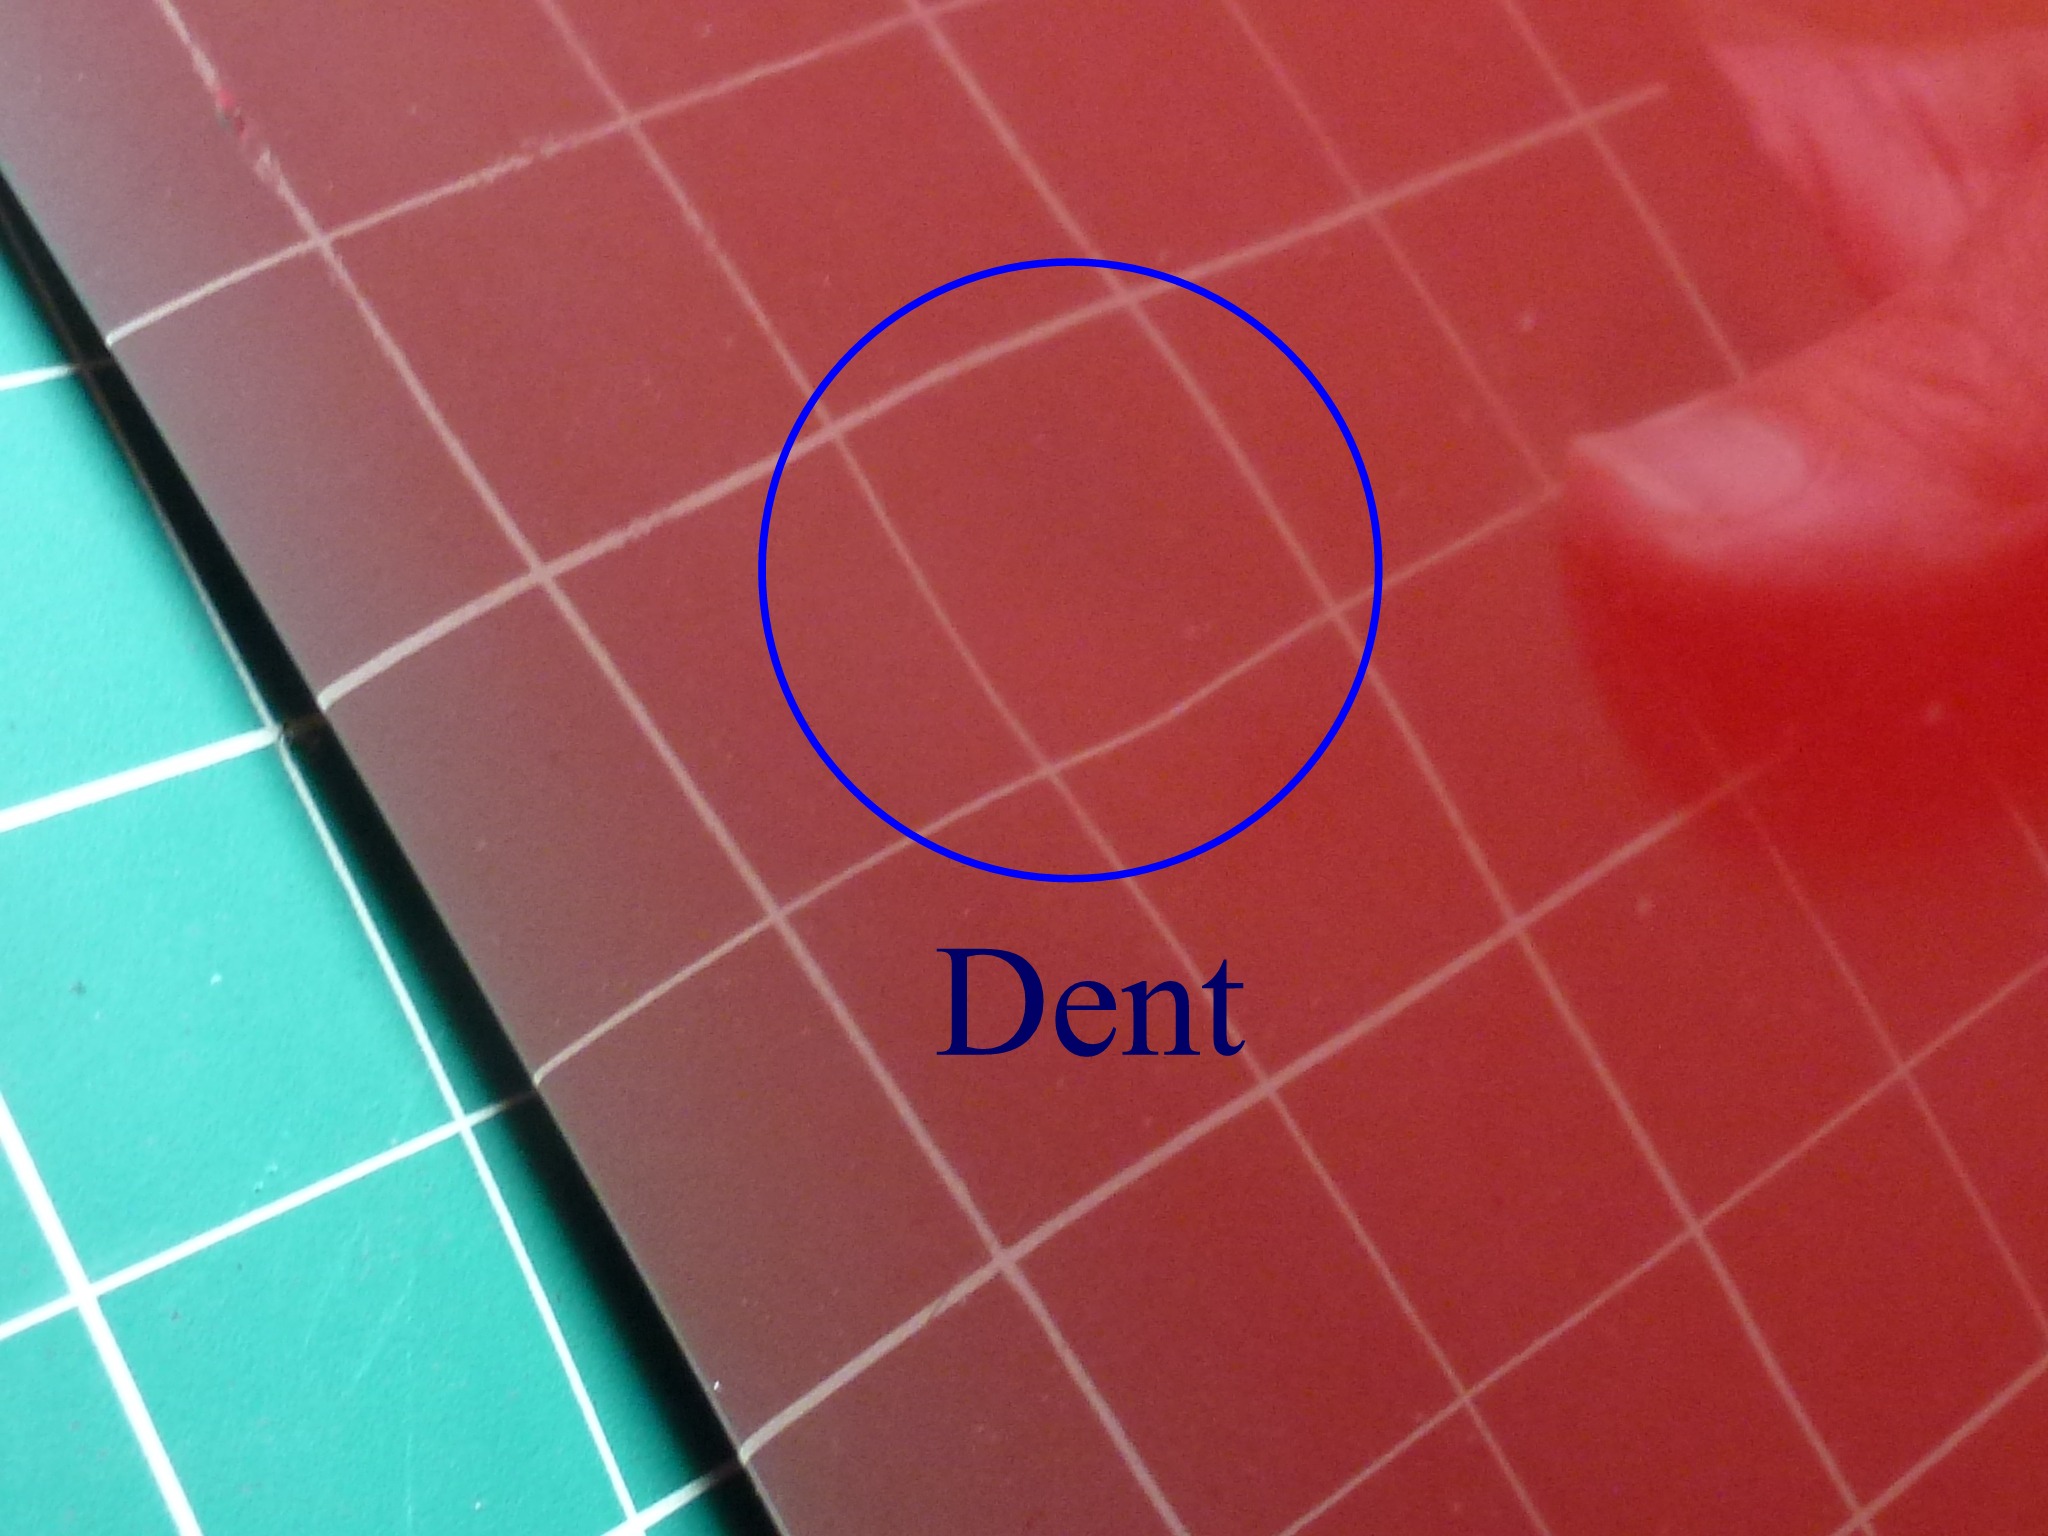
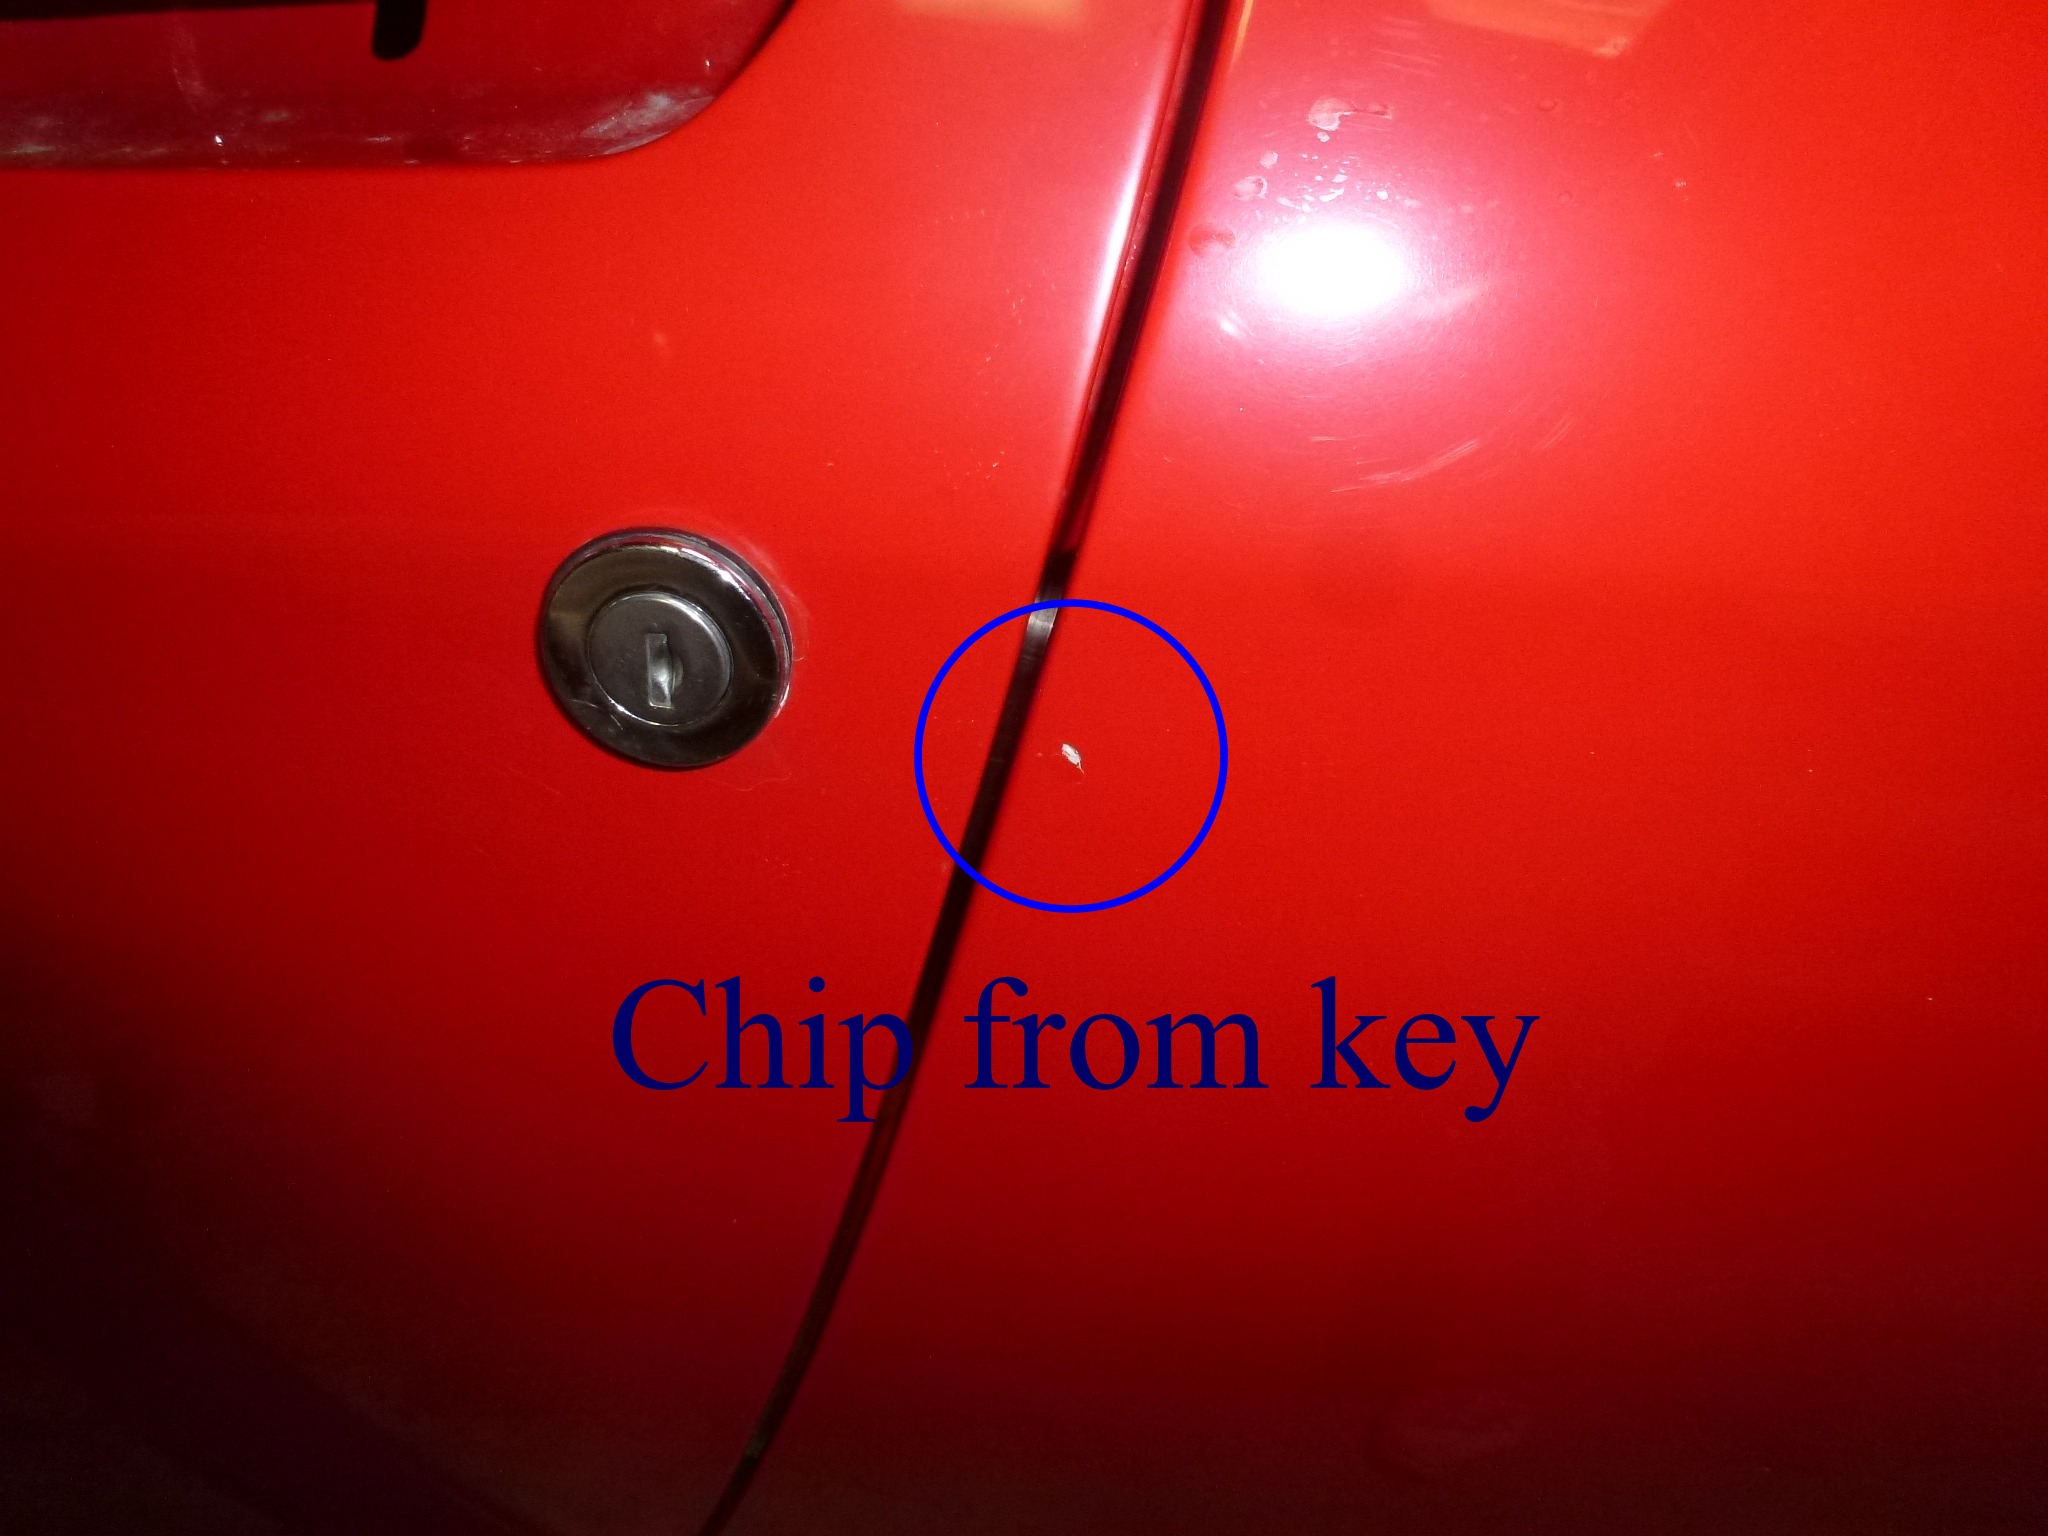
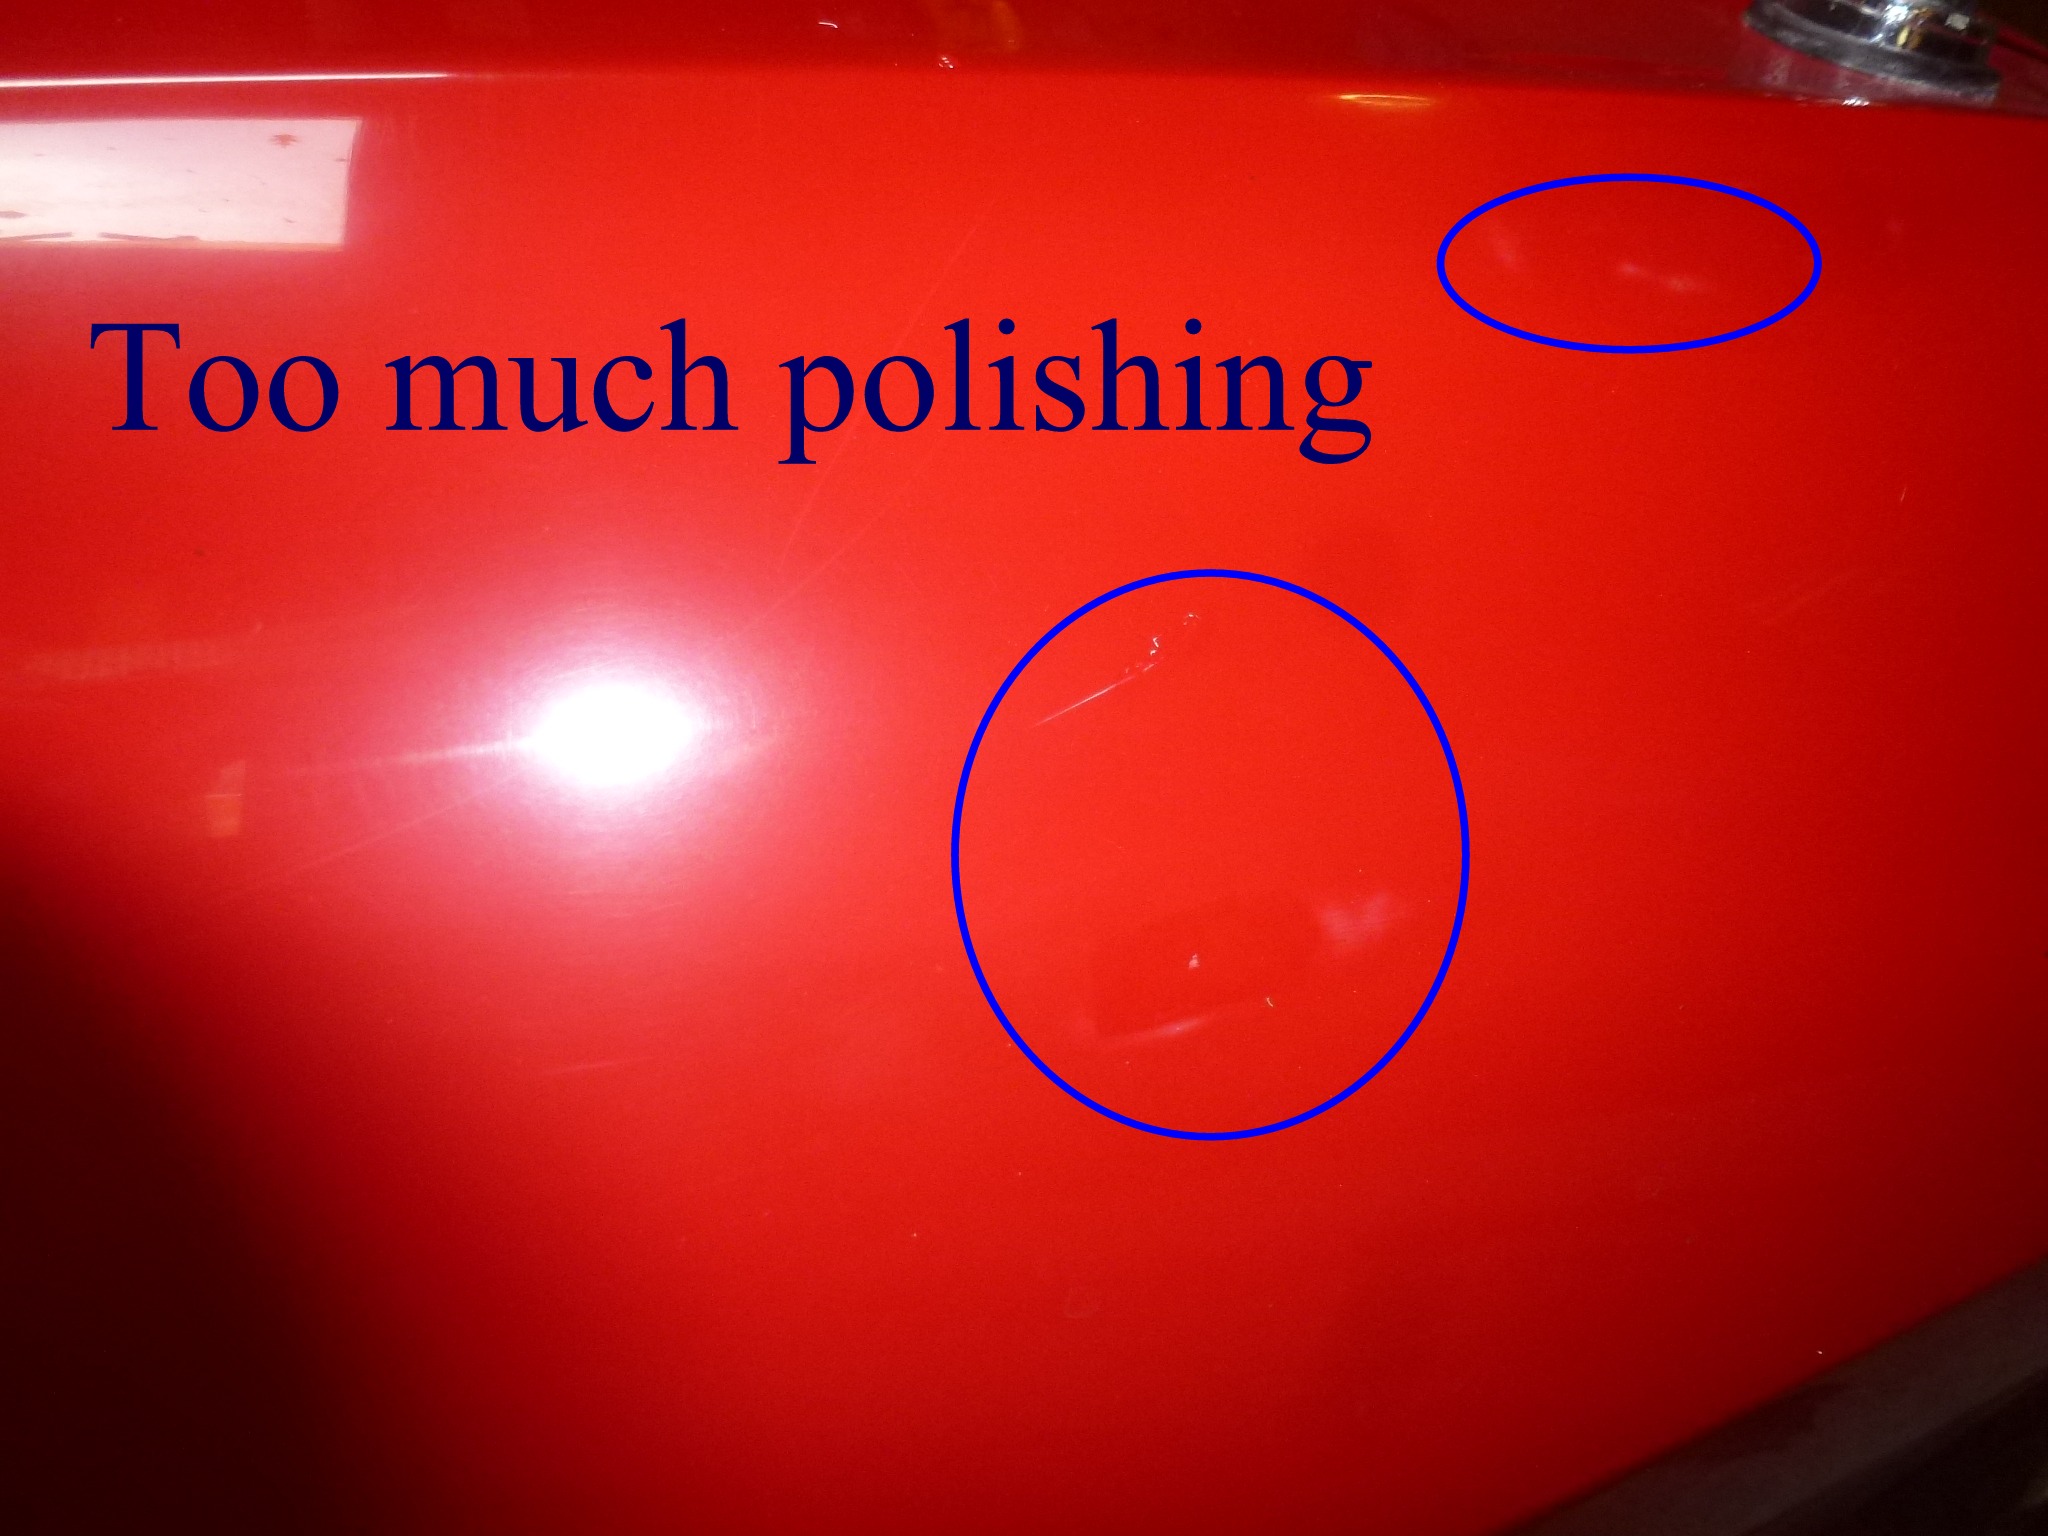
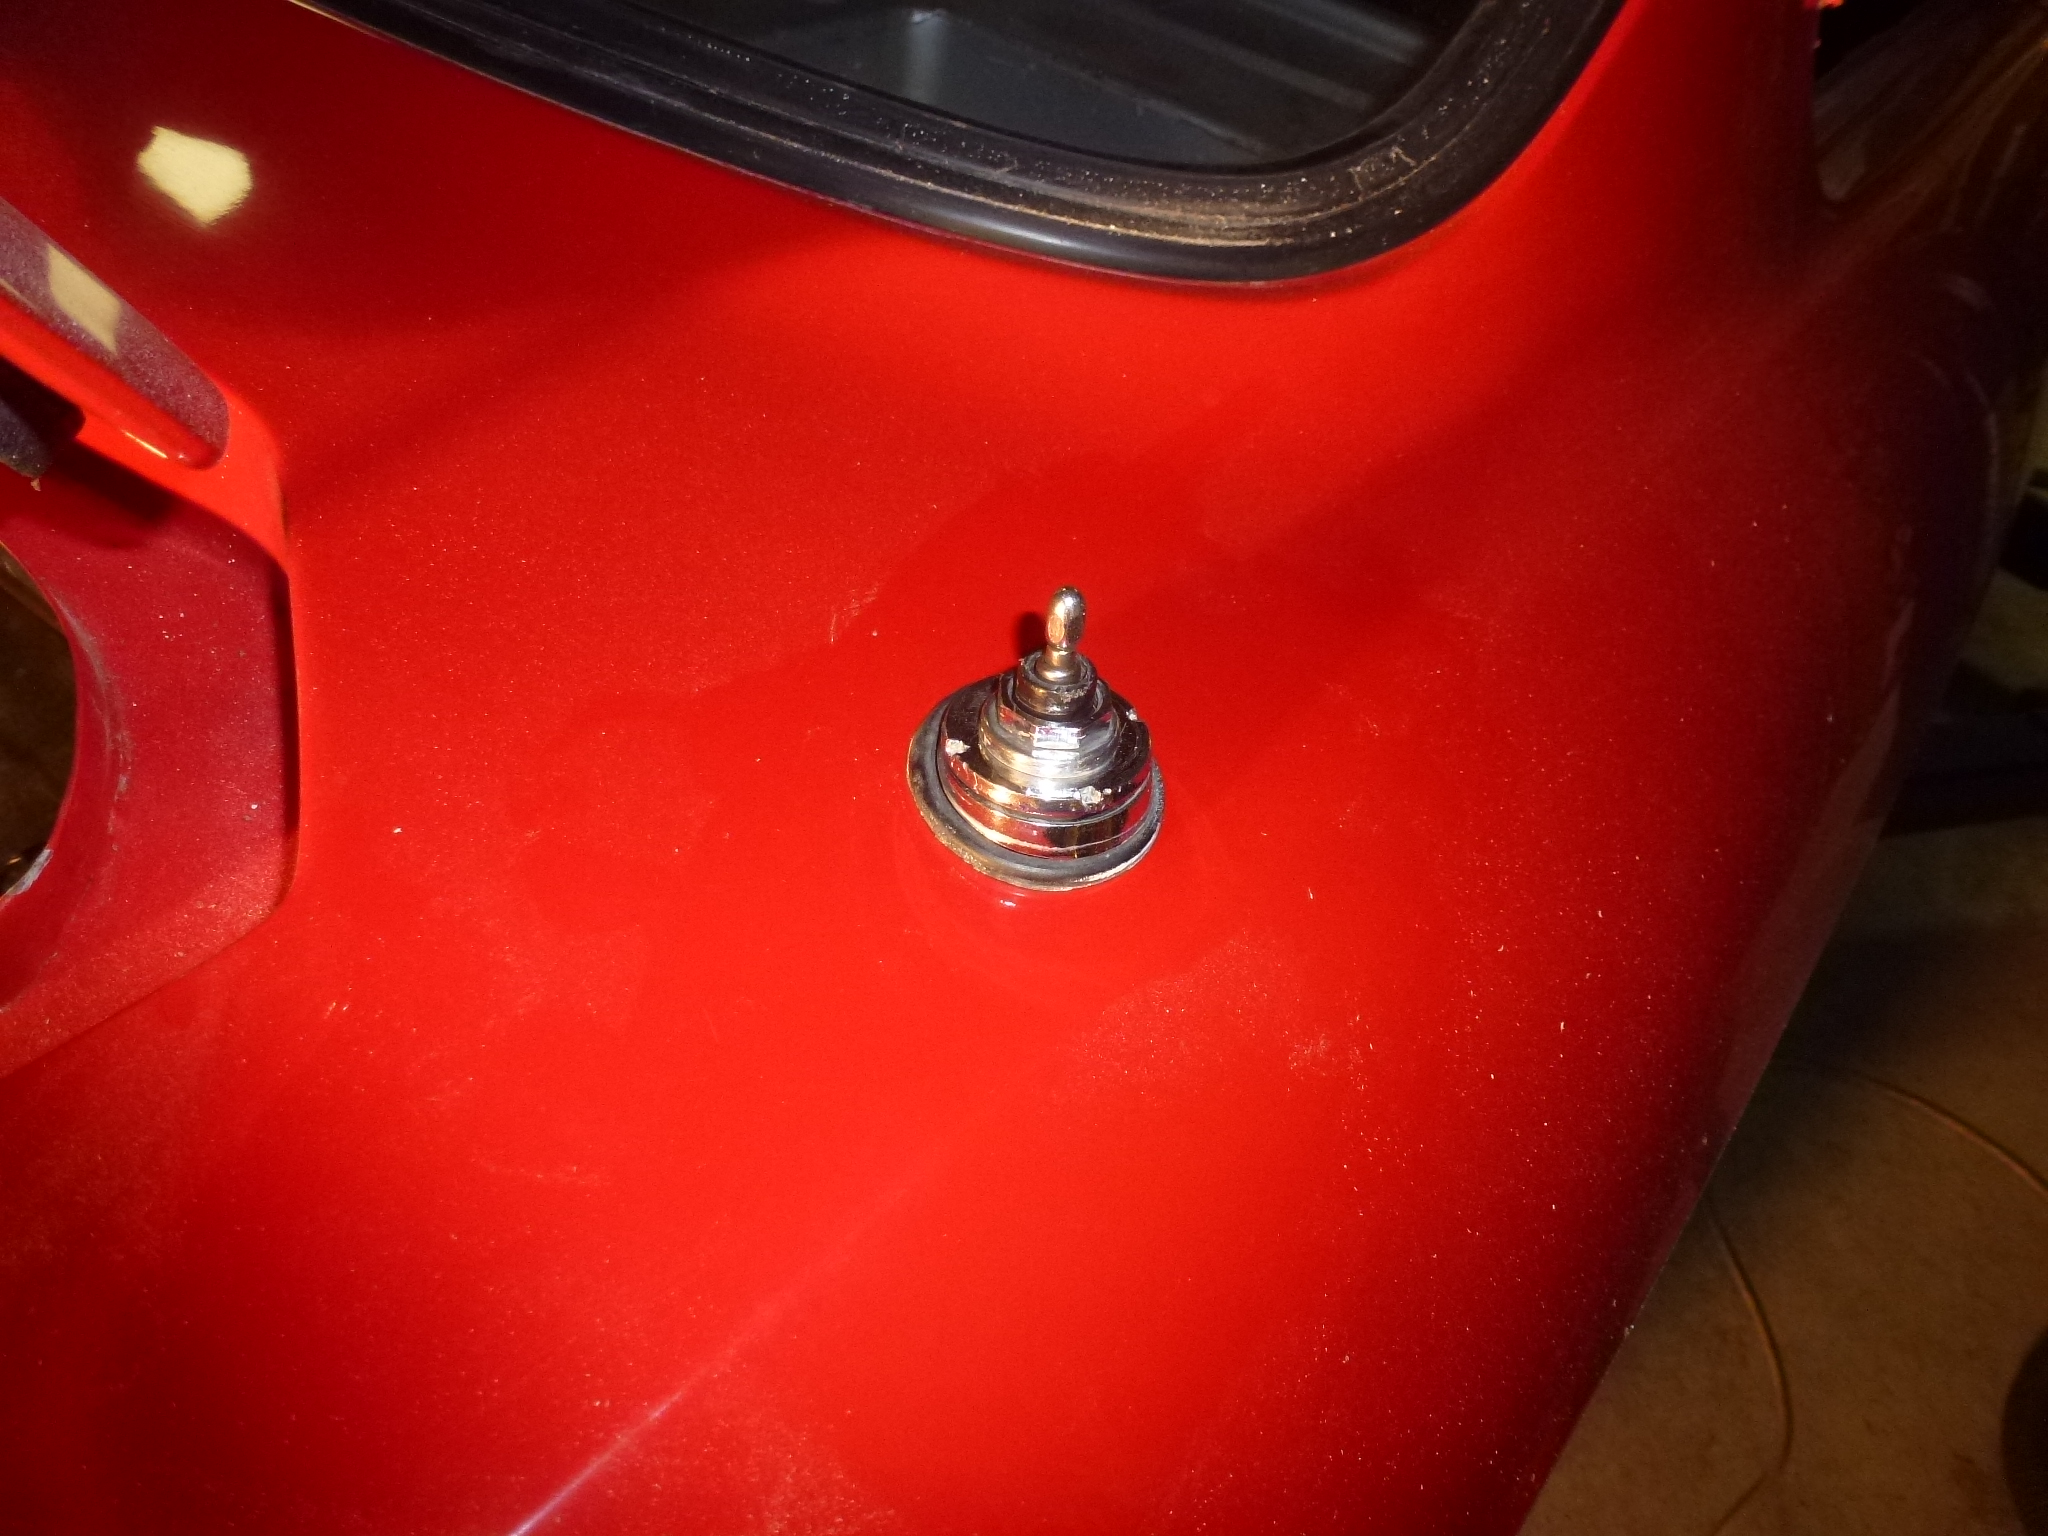
The paint has been on the car 2 years now and some issues have arisen. The paint near the fuel filler opening didn't adhere and stretched across and inside curve. Some contaminate occurred in a rocker panel and needed to be addresses. A tiny bubble appeared and there was a flaw by a jack hole. Lastly, I dropped a file and dinged the paint when I was fitting the stainless steel strips to the drivers door.
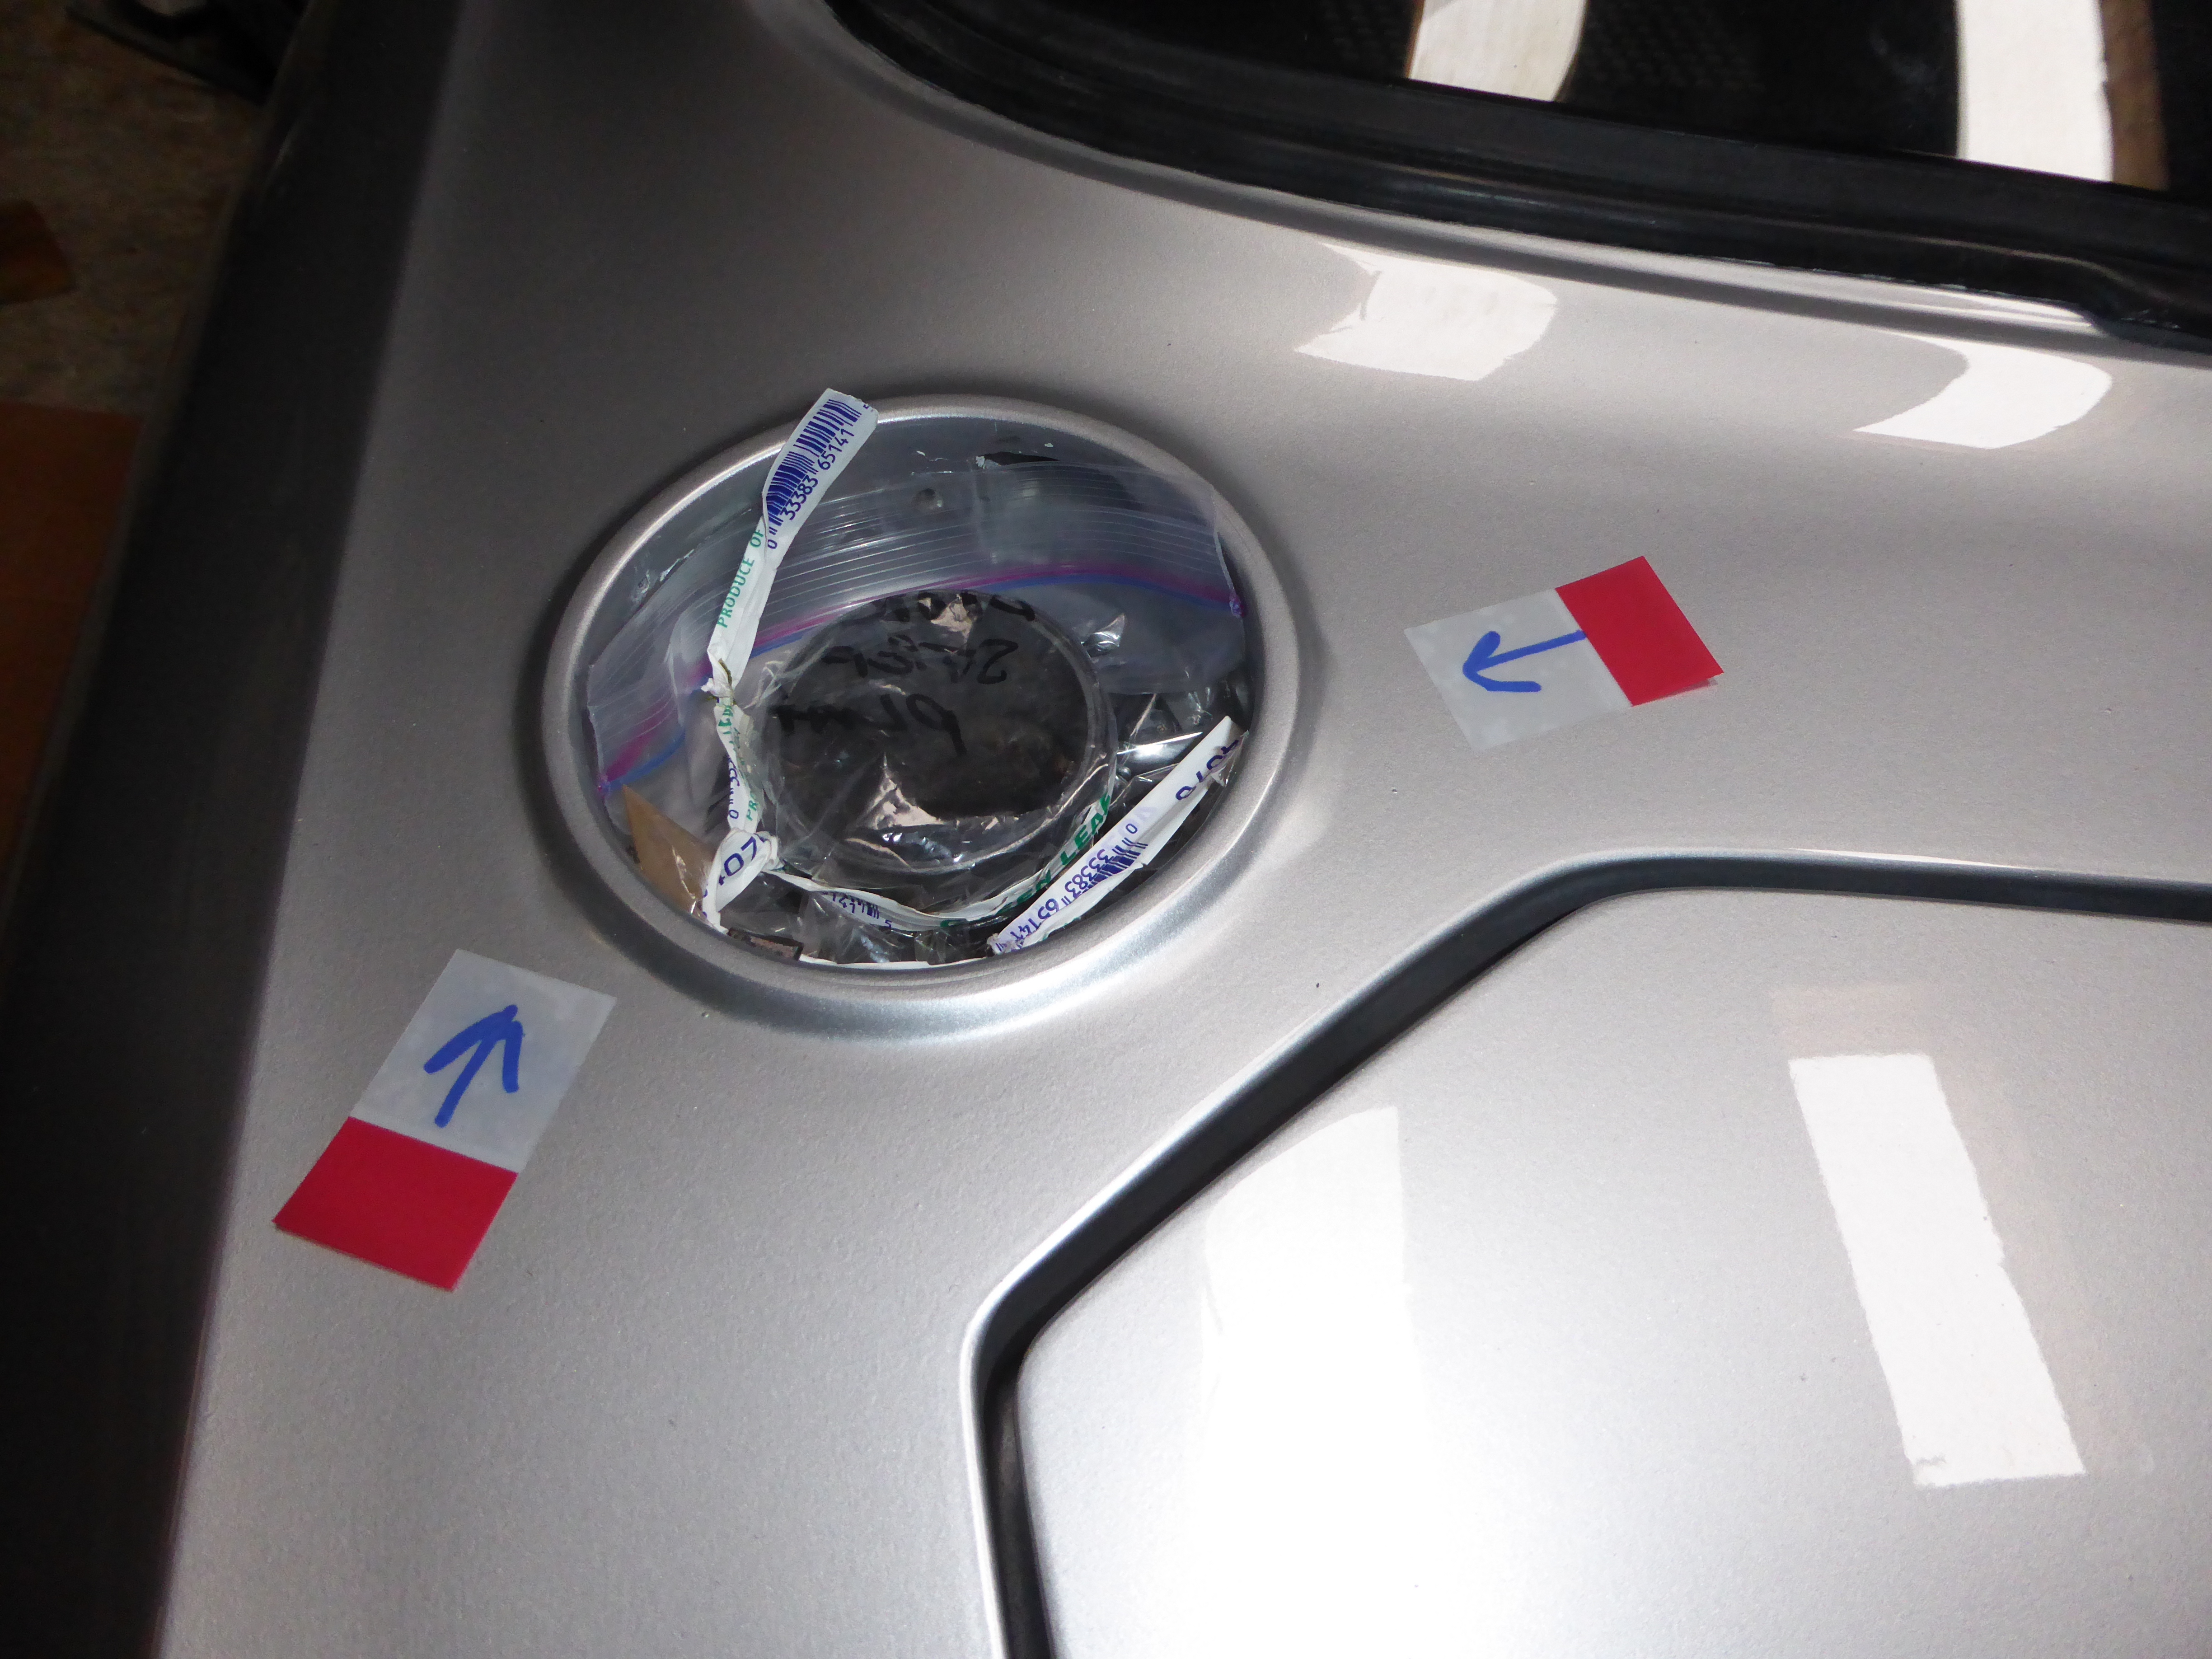
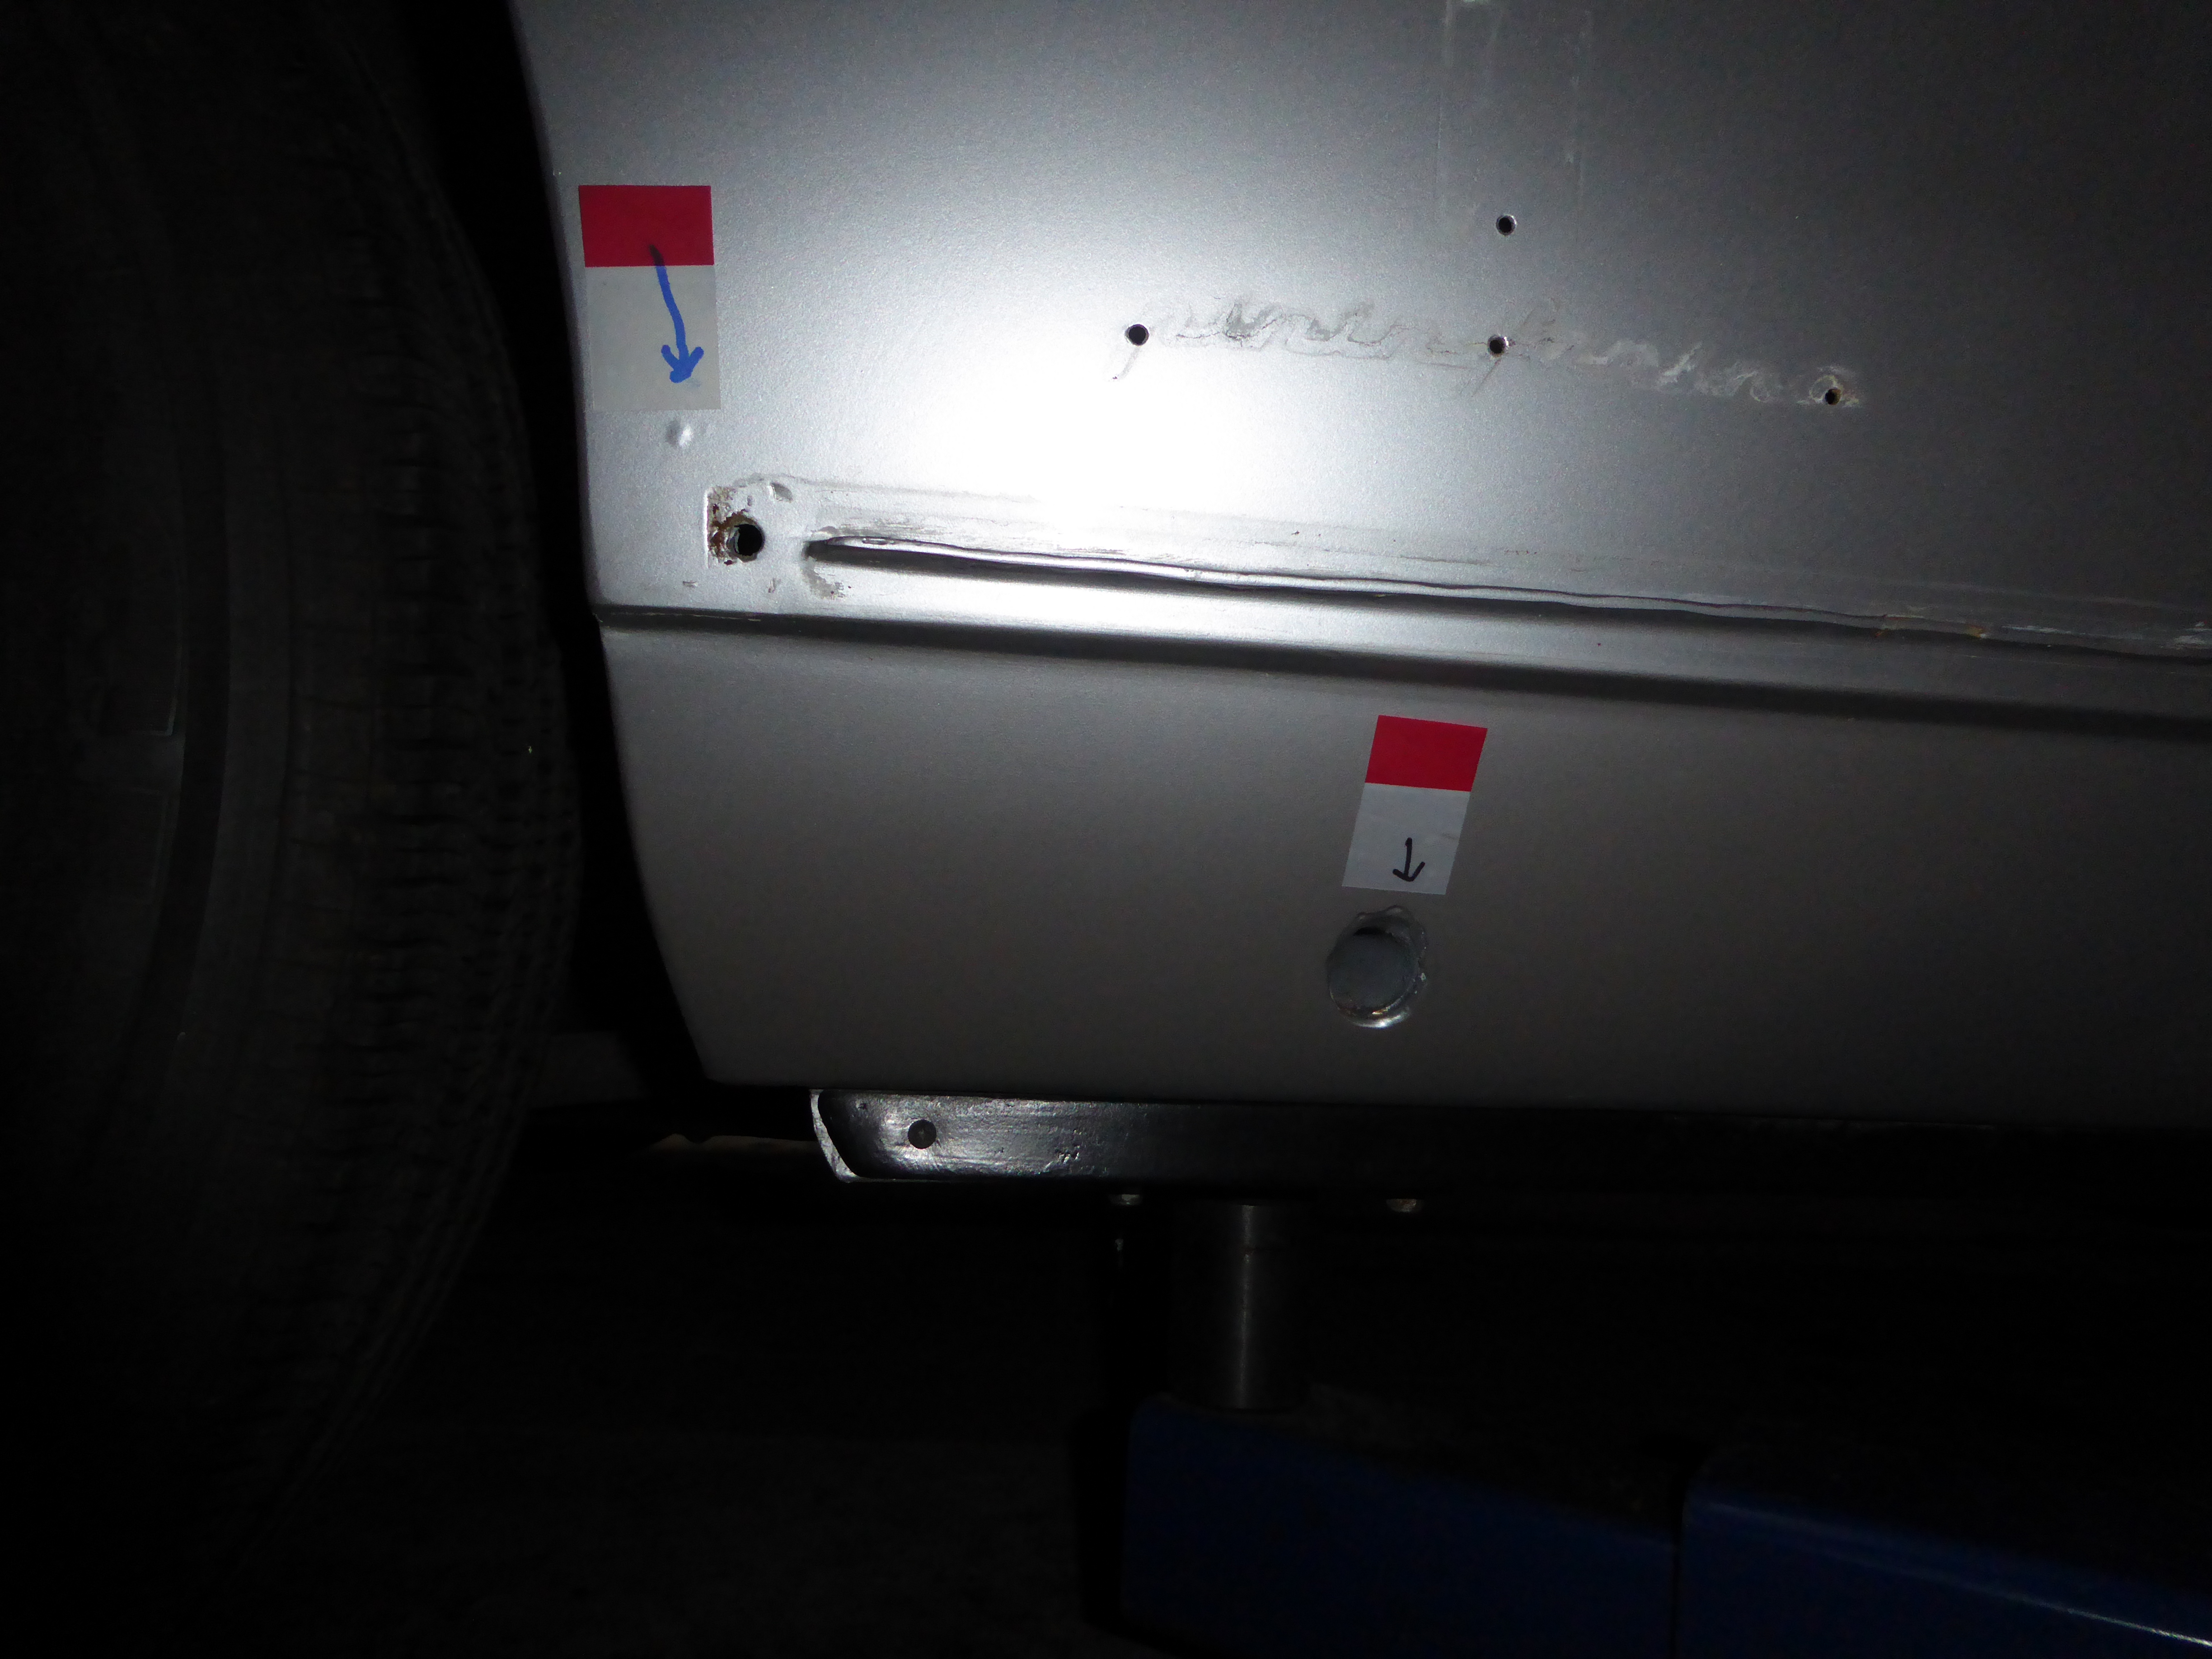
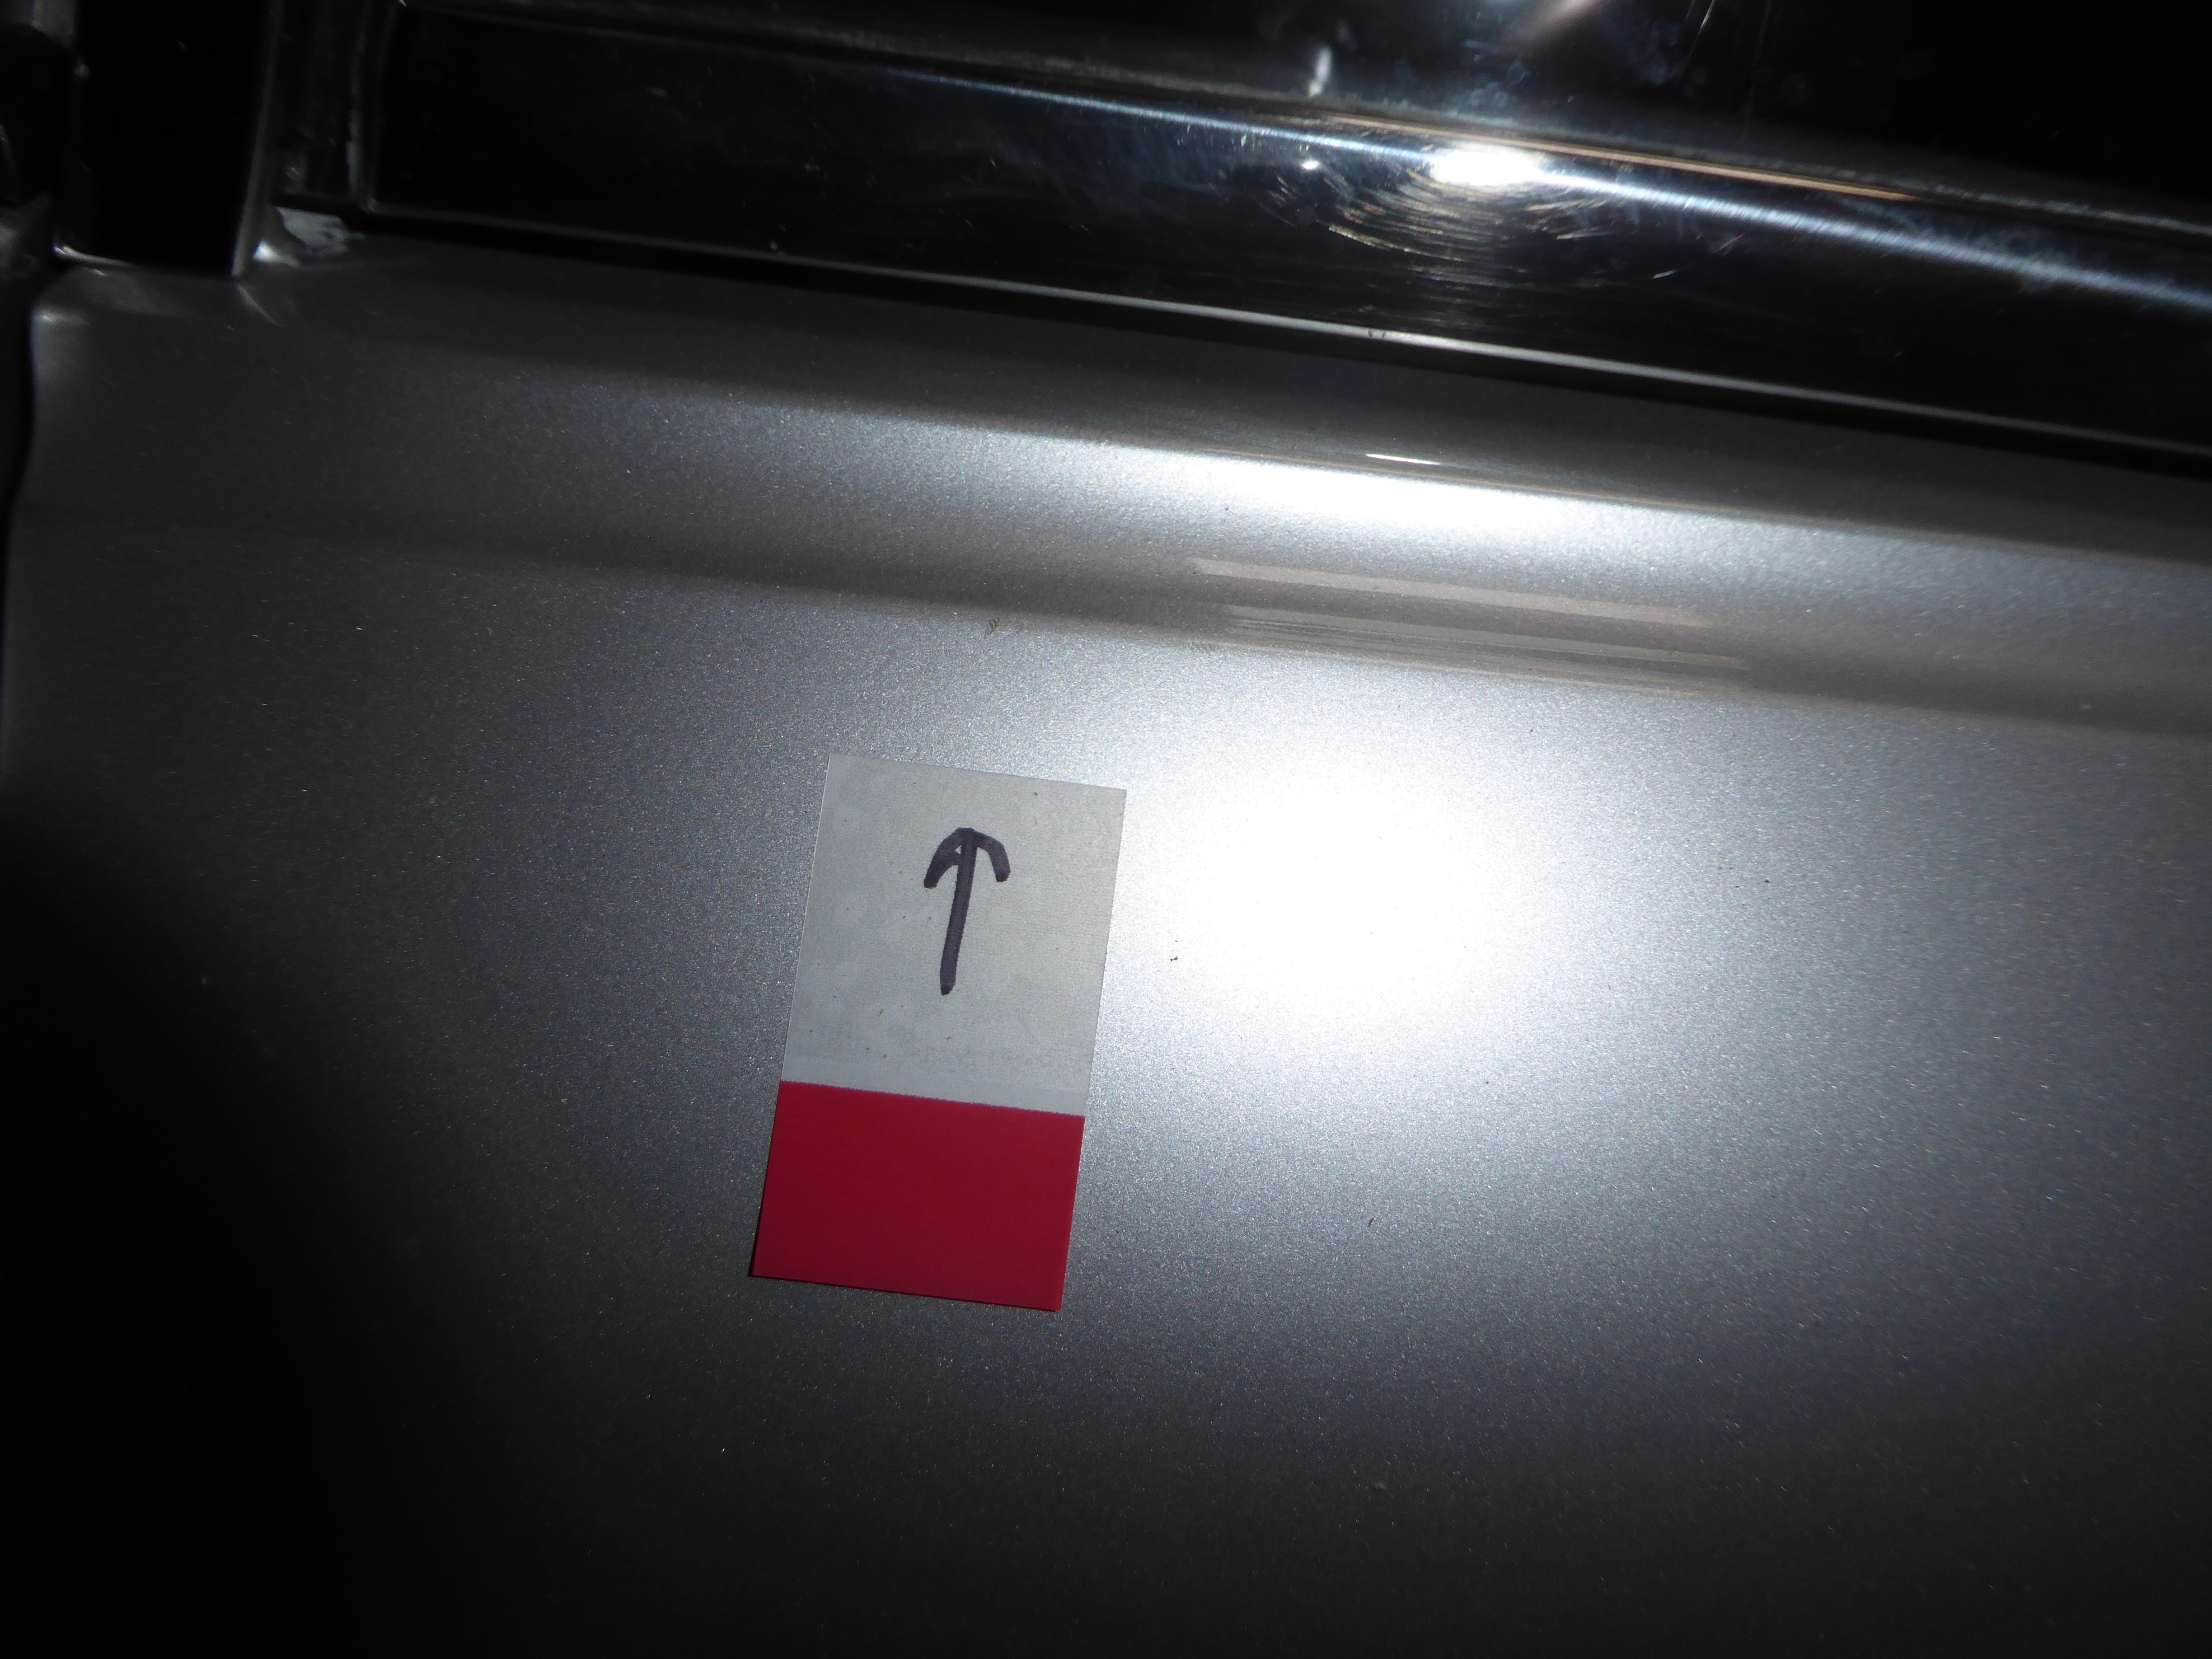
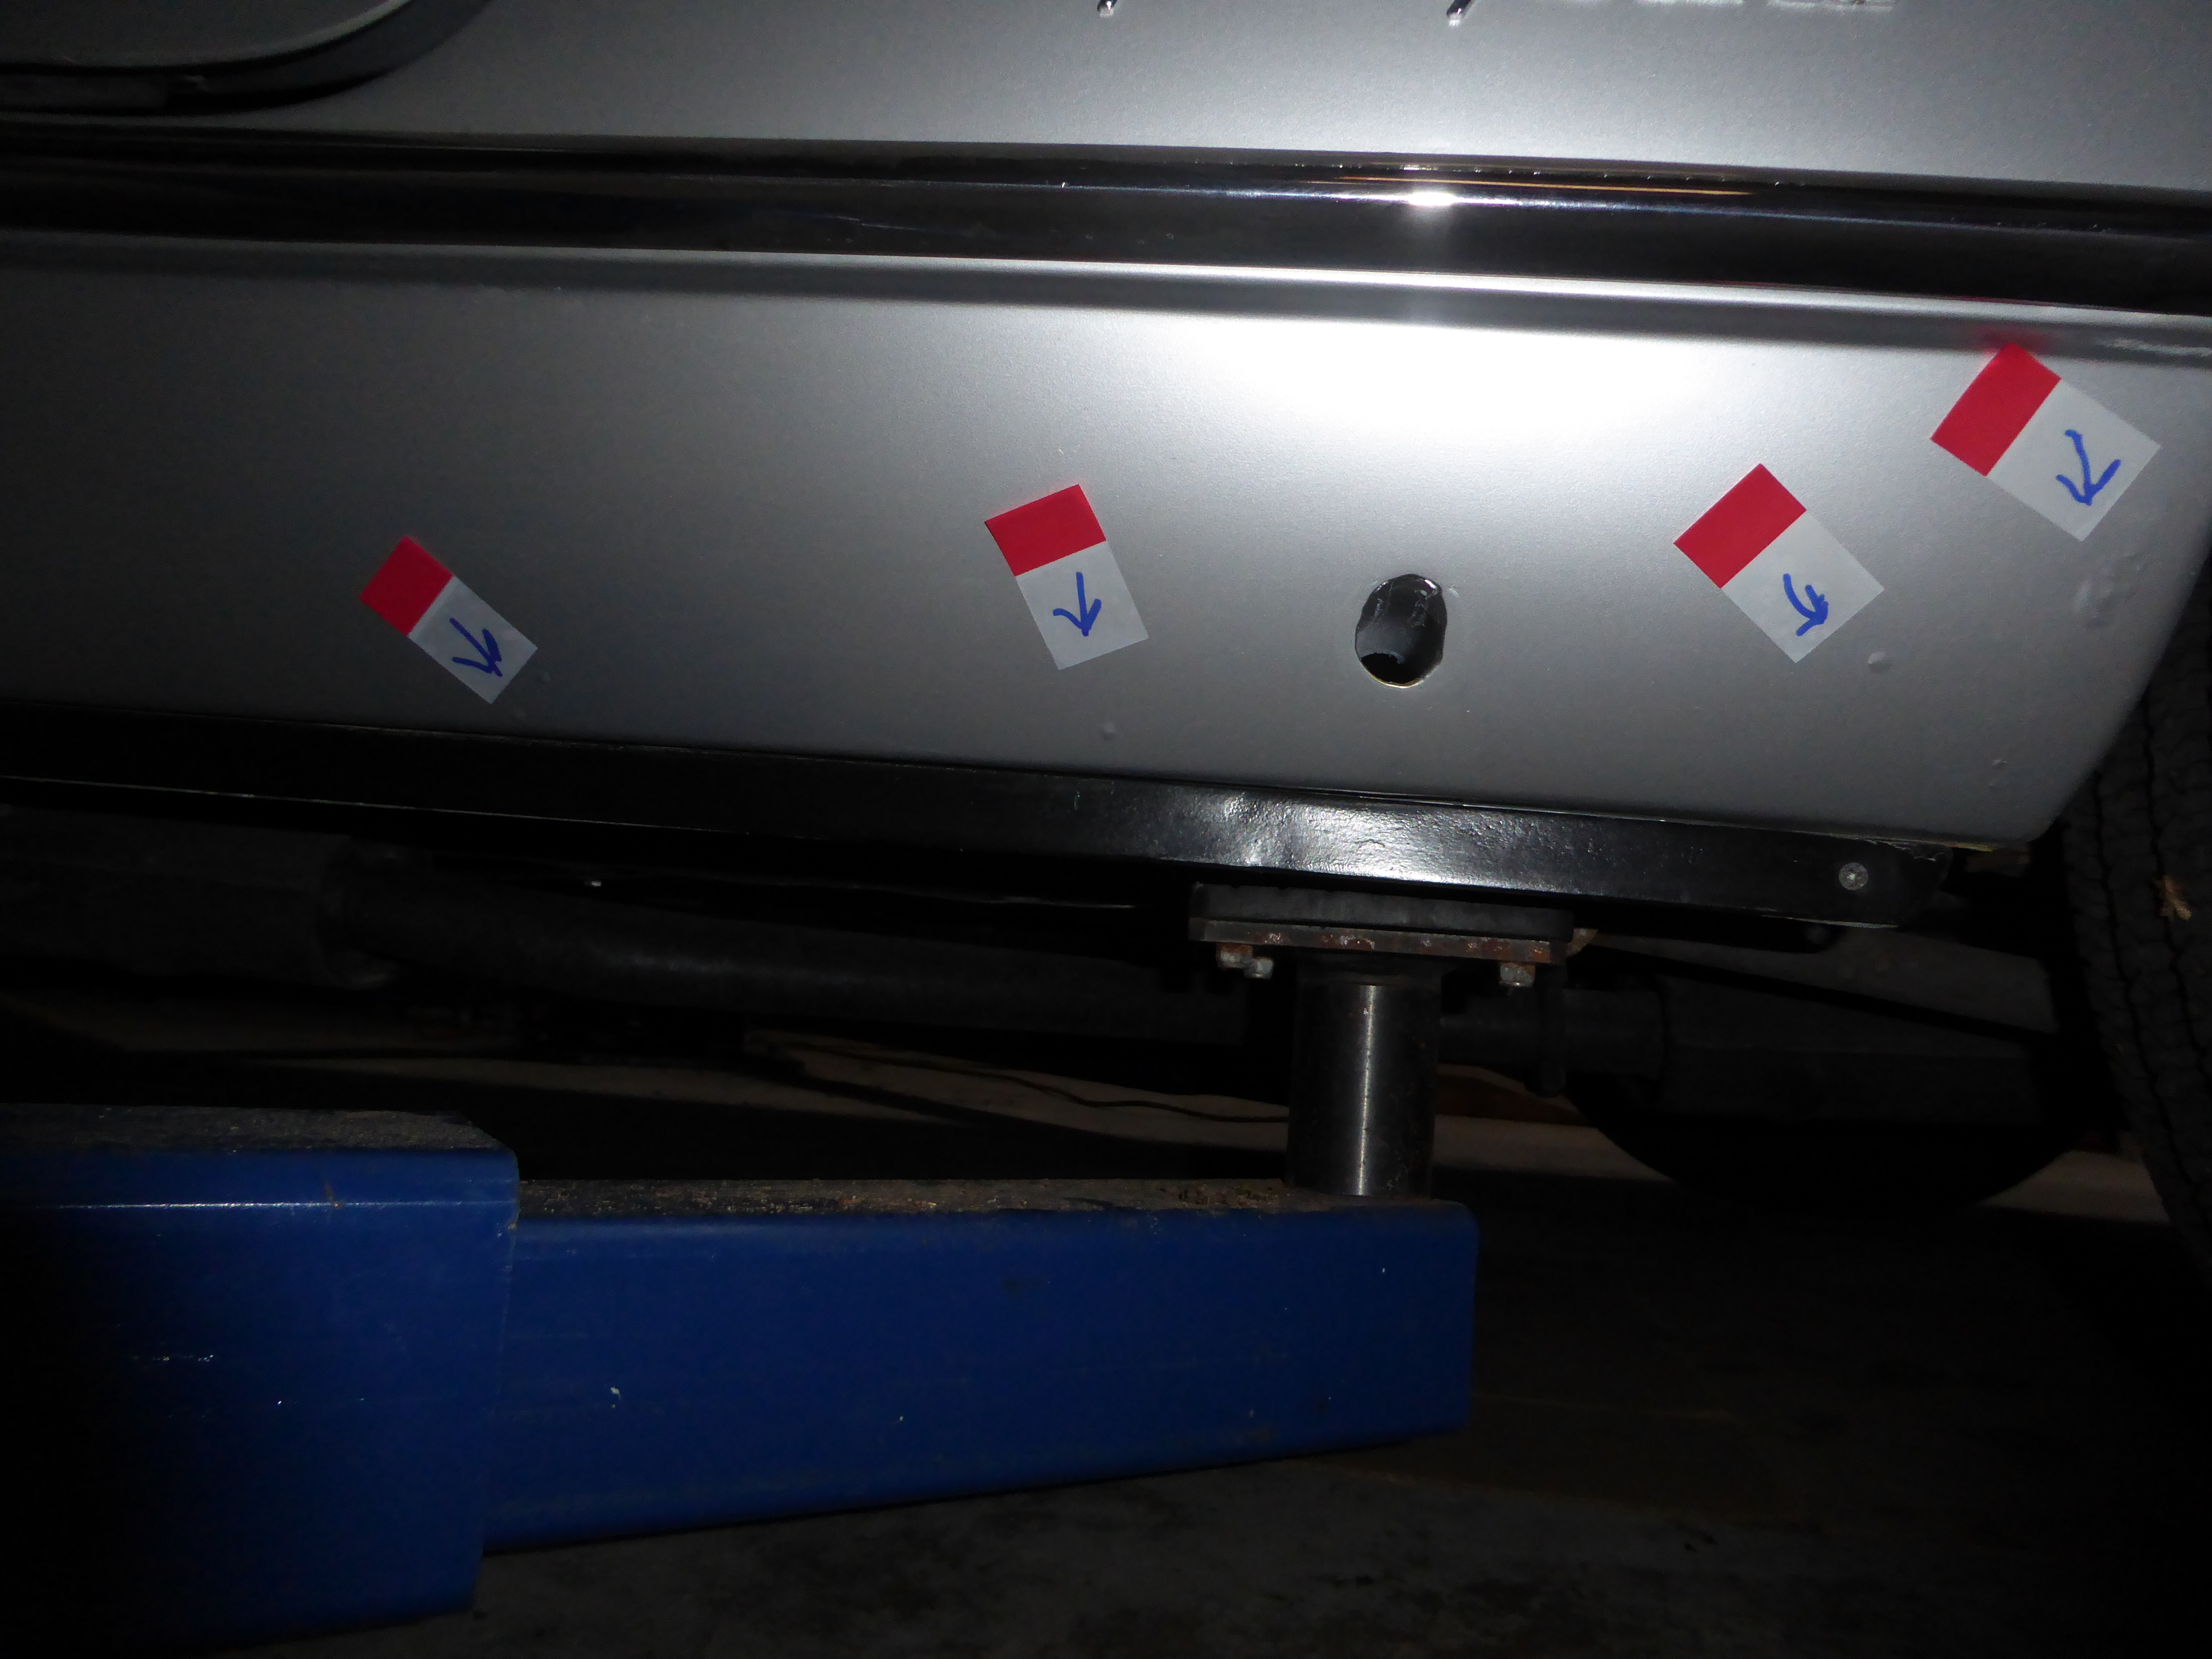
I had to remove the fuel filler flap, the PF script and the triangular stainless steel strip under the right door so the body shop could fix these. Then I marked everything with stickies and dropped the car off while I went spring skiing for a couple of weeks.
Everything was done by the time I got home, so I just had to put the parts I took off back on the car and it was back to new. Here's the rocker all nice and smooth now.
.JPG)